
Phase 7 section

Pokemon Emerald Route 124 and Mossdeep City Walkthrough
 Mind Badge
 Route 124 and Mossdeep City section for the Pokemon Emerald walkthrough with wild Pokemon, trainers, items, coordinates, requirements, and strategy notes.
Route 124 and Mossdeep City is a dedicated section page for Phase 7: Mind Badge. Surf east to Mossdeep, visit Steven's house, and prepare for the double Gym.
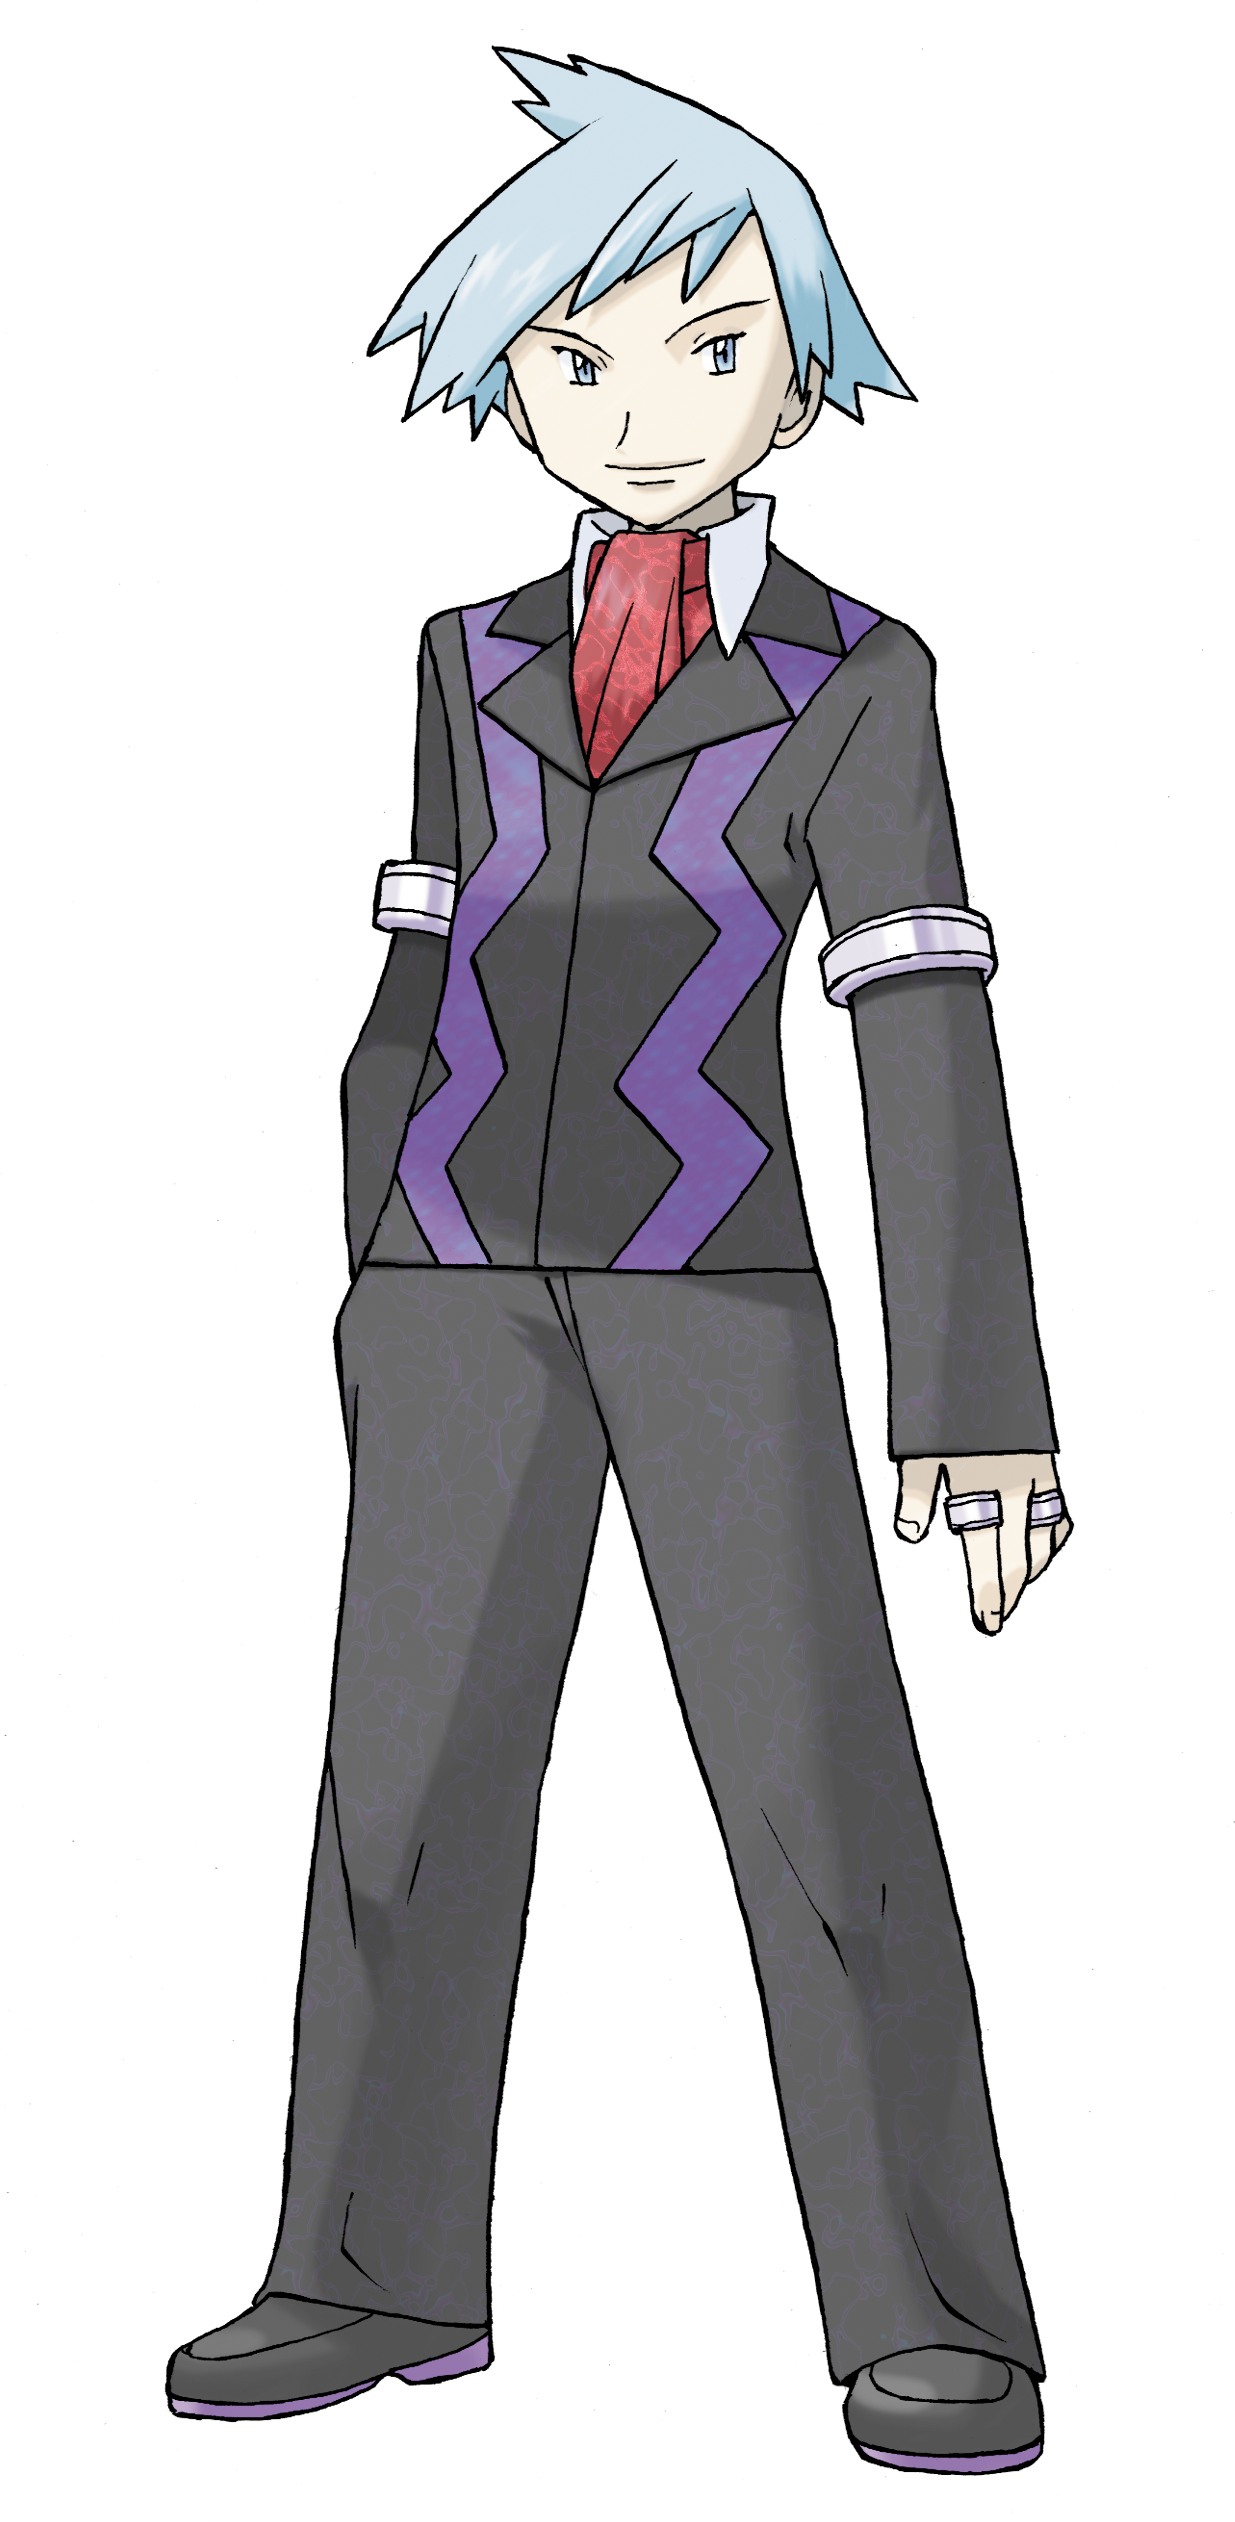
Trainer Art
Key Emerald trainers for this section are shown here so boss, rival, villain, and Frontier pages have the right character context.
Route Plan
Primary source maps covered here: Route 124, Underwater Route 124, Mossdeep City, Mossdeep City Stevens House, Mossdeep City Space Center 1F, Mossdeep City Game Corner 1F, Mossdeep City Game Corner B1F. Follow this page as its own checklist, then return to the phase index when the wild Pokemon, trainers, items, and boss notes are complete.
Wild Pokemon
Each area below has its own table, split by encounter method. A species row merges every slot that species occupies for the method, and rows sort by encounter rate. Emerald has no normal day/night wild encounter split, so every row applies at any time unless its note says otherwise (for example Shoal Cave tides or Altering Cave Mystery Gift tables). Underlying slot odds: grass/cave 20/20/10/10/10/10/5/5/4/4/1/1; Surf and Rock Smash 60/30/5/4/1; Old Rod 70/30; Good Rod 60/20/20; Super Rod 40/40/15/4/1.
Route 124
| Pokémon | Levels | Rate | Notes |
|---|---|---|---|
| Surfing | |||
 Tentacool Tentacool | 5-35 | 60% | — |
 Wingull Wingull | 10-30 | 35% | — |
 Pelipper Pelipper | 25-30 | 5% | — |
| Fishing — Old Rod | |||
 Magikarp Magikarp | 5-10 | 70% | — |
| Tentacool | 5-10 | 30% | — |
| Fishing — Good Rod | |||
| Magikarp | 10-30 | 60% | — |
| Tentacool | 10-30 | 20% | — |
 Wailmer Wailmer | 10-30 | 20% | — |
| Fishing — Super Rod | |||
| Wailmer | 25-45 | 60% | — |
 Sharpedo Sharpedo | 30-35 | 40% | — |
Underwater Route 124
| Pokémon | Levels | Rate | Notes |
|---|---|---|---|
| Surfing | |||
 Clamperl Clamperl | 20-35 | 65% | — |
 Chinchou Chinchou | 20-30 | 30% | — |
 Relicanth Relicanth | 30-35 | 5% | — |
Mossdeep City
| Pokémon | Levels | Rate | Notes |
|---|---|---|---|
| Surfing | |||
| Tentacool | 5-35 | 60% | — |
| Wingull | 10-30 | 35% | — |
| Pelipper | 25-30 | 5% | — |
| Fishing — Old Rod | |||
| Magikarp | 5-10 | 70% | — |
| Tentacool | 5-10 | 30% | — |
| Fishing — Good Rod | |||
| Magikarp | 10-30 | 60% | — |
| Tentacool | 10-30 | 20% | — |
| Wailmer | 10-30 | 20% | — |
| Fishing — Super Rod | |||
| Wailmer | 25-45 | 60% | — |
| Sharpedo | 30-35 | 40% | — |
Trainers
| Order | Area | Trainer | Team | Reward | Notes |
|---|---|---|---|---|---|
| 1 | Route 124 | Swimmer M Spencer | 264 | Story/route battle. | |
| 2 | Route 124 | Swimmer M Roland | 272 | Story/route battle. | |
| 3 | Route 124 | Swimmer F Jenny | 272 | May have Match Call/rematch data later. | |
| 4 | Route 124 | Swimmer F Grace | 272 | Story/route battle. | |
| 5 | Route 124 | Swimmer M Chad | 264 | Story/route battle. | |
| 6 | Route 124 | Sis And Bro Lila & Roy | 792 | May have Match Call/rematch data later. | |
| 7 | Route 124 | Swimmer M Declan | 272 | Story/route battle. | |
| 8 | Route 124 | Triathlete Isabella | 1360 | Story/route battle. | |
| 9 | Mossdeep City Space Center 1F | Team Magma Grunt | 620 | Story/route battle. | |
| 10 | Mossdeep City Space Center 1F | Team Magma Grunt | 640 | May have Match Call/rematch data later. | |
| 11 | Mossdeep City Space Center 1F | Team Magma Grunt | 640 | Story/route battle. | |
| 12 | Mossdeep City Space Center 1F | Team Magma Grunt | 600 | Story/route battle. |


Items
| Item | Type | Location | Requirement / flag context |
|---|---|---|---|
| Red Shard | Visible | Route 124, on the north side at map coordinates (28,12) | ROUTE 124 RED SHARD |
| Blue Shard | Visible | Route 124, on the central area at map coordinates (31,53) | ROUTE 124 BLUE SHARD |
| Yellow Shard | Visible | Route 124, on the northeast side at map coordinates (58,11) | ROUTE 124 YELLOW SHARD |
| Carbos | Hidden | Underwater Route 124, hidden on the central area at map coordinates (42,51) | UNDERWATER 124 CARBOS |
| Green Shard | Hidden | Underwater Route 124, hidden on the west side at map coordinates (14,40) | UNDERWATER 124 GREEN SHARD |
| Pearl | Hidden | Underwater Route 124, hidden on the east side at map coordinates (66,34) | UNDERWATER 124 PEARL |
| Big Pearl | Hidden | Underwater Route 124, hidden on the southeast side at map coordinates (64,54) | UNDERWATER 124 BIG PEARL |
| Heart Scale | Hidden | Underwater Route 124, hidden on the southeast side at map coordinates (70,64) | UNDERWATER 124 HEART SCALE 1 |
| Calcium | Hidden | Underwater Route 124, hidden on the north side at map coordinates (42,5) | UNDERWATER 124 CALCIUM |
| Heart Scale | Hidden | Underwater Route 124, hidden on the central area at map coordinates (45,36) | UNDERWATER 124 HEART SCALE 2 |
| Net Ball | Visible | Mossdeep City, on the southeast side at map coordinates (62,35) | MOSSDEEP CITY NET BALL |
| Kings Rock | Gift / reward | Mossdeep City, Kings Rock Boy | NPC gift or story reward |
| HM08 Dive | Gift / reward | Mossdeep City Stevens House, Steven Gives Dive | NPC gift or story reward |
| Sun Stone | Gift / reward | Mossdeep City Space Center 1F, from the first-floor NPC | Before or during the Magma Space Center story |
Completion Checklist
- Clear the main objective: Surf east to Mossdeep, visit Steven's house, and prepare for the double Gym.
- Review every wild Pokemon method listed for the section.
- Fight or deliberately skip every trainer listed in route order.
- Collect visible items, hidden items, and scripted rewards you care about before moving on.
Source Notes
- Source of truth: pret/pokeemerald
wild_encounters.json, mapmap.jsonobject/background events, mapscripts.inc,trainers.h, andtrainer_parties.h. - Encounter rates merge every slot a species occupies within each method band from Emerald slot rates. Emerald has no normal day/night wild encounter split, so rows apply at any time unless their notes say otherwise.
- Pokemon table sprites use locally cached Emerald front sprites from
/guides/pokemon-emerald-pokemon-sprites.json. - Trainer art on this page uses the local Emerald trainer manifest and reused Hoenn character art where Emerald-specific artwork is not available.