
Phase 8 section

Pokemon Emerald Sky Pillar and Rayquaza Walkthrough
 Rain Badge
 Sky Pillar and Rayquaza section for the Pokemon Emerald walkthrough with wild Pokemon, trainers, items, coordinates, requirements, and strategy notes.
Sky Pillar and Rayquaza is a dedicated section page for Phase 8: Rain Badge. Climb to Rayquaza for the Emerald-exclusive crisis resolution, then return to Sootopolis.
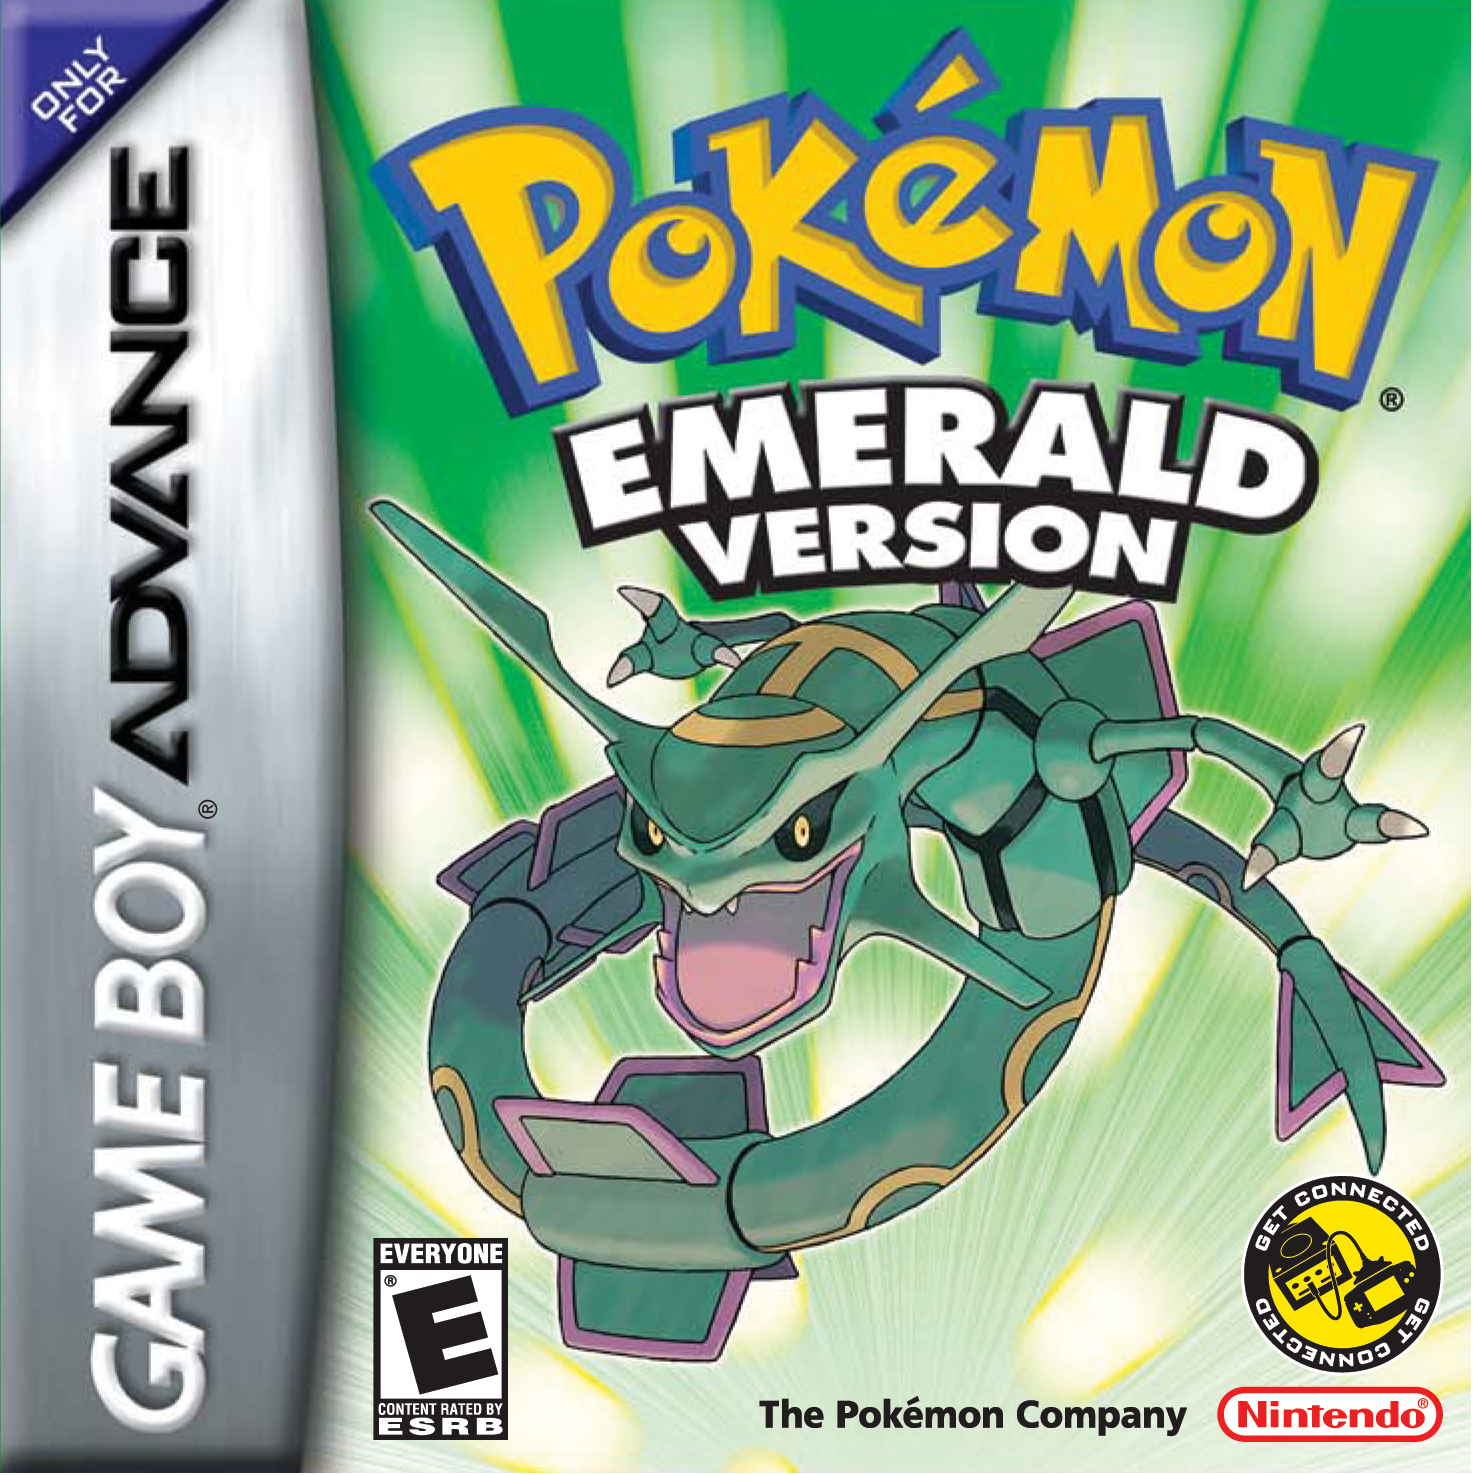
Phase 8 asset set
Rain Badge: Dive routes, Seafloor Cavern, Rayquaza, Sootopolis, Juan, and Pacifidlog.
Route Plan
Primary source maps covered here: Sky Pillar Outside, Sky Pillar Entrance, Sky Pillar 1F, Sky Pillar 2F, Sky Pillar 3F, Sky Pillar 4F, Sky Pillar 5F, Sky Pillar Top. Follow this page as its own checklist, then return to the phase index when the wild Pokemon, trainers, items, and boss notes are complete.
Wild Pokemon
Each area below has its own table, split by encounter method. A species row merges every slot that species occupies for the method, and rows sort by encounter rate. Emerald has no normal day/night wild encounter split, so every row applies at any time unless its note says otherwise (for example Shoal Cave tides or Altering Cave Mystery Gift tables). Underlying slot odds: grass/cave 20/20/10/10/10/10/5/5/4/4/1/1; Surf and Rock Smash 60/30/5/4/1; Old Rod 70/30; Good Rod 60/20/20; Super Rod 40/40/15/4/1.
Sky Pillar 1F
| Pokémon | Levels | Rate | Notes |
|---|---|---|---|
| Grass / cave floor | |||
 Golbat Golbat | 34-35 | 30% | — |
 Sableye Sableye | 33-34 | 30% | — |
 Claydol Claydol | 36-38 | 25% | — |
 Banette Banette | 37-38 | 15% | — |
Sky Pillar 3F
| Pokémon | Levels | Rate | Notes |
|---|---|---|---|
| Grass / cave floor | |||
| Golbat | 34-35 | 30% | — |
| Sableye | 33-34 | 30% | — |
| Claydol | 36-38 | 25% | — |
| Banette | 37-38 | 15% | — |
Sky Pillar 5F
| Pokémon | Levels | Rate | Notes |
|---|---|---|---|
| Grass / cave floor | |||
| Golbat | 34-35 | 30% | — |
| Sableye | 33-34 | 30% | — |
| Claydol | 36-37 | 19% | — |
| Banette | 37-38 | 15% | — |
 Altaria Altaria | 38-39 | 6% | — |
Trainers
No mandatory trainer battles are sourced for this section.
Items
No visible, hidden, or scripted item pickups are sourced for this section.
Completion Checklist
- Clear the main objective: Climb to Rayquaza for the Emerald-exclusive crisis resolution, then return to Sootopolis.
- Review every wild Pokemon method listed for the section.
- Fight or deliberately skip every trainer listed in route order.
- Collect visible items, hidden items, and scripted rewards you care about before moving on.
Source Notes
- Source of truth: pret/pokeemerald
wild_encounters.json, mapmap.jsonobject/background events, mapscripts.inc,trainers.h, andtrainer_parties.h. - Encounter rates merge every slot a species occupies within each method band from Emerald slot rates. Emerald has no normal day/night wild encounter split, so rows apply at any time unless their notes say otherwise.
- Pokemon table sprites use locally cached Emerald front sprites from
/guides/pokemon-emerald-pokemon-sprites.json.