Phase 10 section
Pokemon Emerald Battle Factory - Factory Head Noland Walkthrough
Battle Factory - Factory Head Noland section for the Pokemon Emerald walkthrough with wild Pokemon, trainers, items, coordinates, requirements, and strategy notes.
Battle Factory - Factory Head Noland is a dedicated section page for Phase 10: Post-Game + Battle Frontier. Use rental knowledge and swaps to reach Noland, whose Brain party is randomly generated from Factory rental pools.
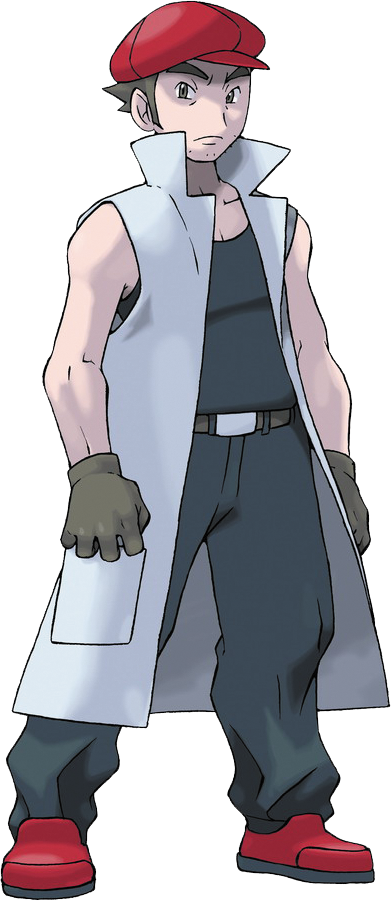
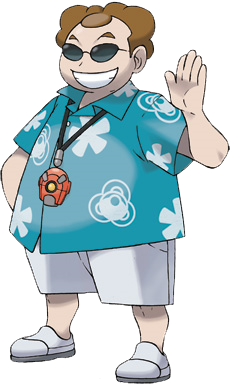
Trainer Art
Key Emerald trainers for this section are shown here so boss, rival, villain, and Frontier pages have the right character context.
Route Plan
Primary source maps covered here: Battle Frontier Battle Factory Lobby, Battle Frontier Battle Factory Pre Battle Room, Battle Frontier Battle Factory Battle Room. Follow this page as its own checklist, then return to the phase index when the wild Pokemon, trainers, items, and boss notes are complete.
Wild Pokemon
No wild Pokemon encounter table is sourced for this section.
Trainers
No mandatory trainer battles are sourced for this section.
Items
No visible, hidden, or scripted item pickups are sourced for this section.
Frontier Brain Rules
Facility: Rental Pokemon only; swap after wins; Noland uses randomly generated rental-style Pokemon, not a fixed static team.
Symbol: Knowledge Symbol. Silver challenge appears when the stored streak plus the facility offset reaches 21; in practical play this is after 20 wins/rooms/events in facilities with offset 1 and after 21 in facilities with offset 0. Gold appears at source value 42.
Level mode: Level 50 uses Lv. 50. Open Level uses the highest level in the player's selected party, with a minimum of Lv. 60, from GetFrontierEnemyMonLevel().
Noland does not have a fixed static team. FillFactoryBrainParty() repeatedly rolls three legal rental-style Pokemon from GetFactoryMonId(), rejects Unown, rejects duplicate species, rejects duplicate held items, rejects current rental duplicates, and uses the Factory IV table. The Steven-looking data inside sFrontierBrainsMons is not the party you face.
Past rental count improves the opening draft: fewer than 15 rentals gives no boosted slots, then the rank increases at 15, 22, 29, 36, and 43 rentals.
| Mode | Challenge set | Rental range | Source comment |
|---|---|---|---|
| Level 50 | 1 | Grimer to Furret 1 | 110 - 199 |
| Level 50 | 2 | Delcatty 1 to Cloyster 1 | 162 - 266 |
| Level 50 | 3 | Delcatty 2 to Cloyster 2 | 267 - 371 |
| Level 50 | 4 | Dugtrio 1 to Slaking 1 | 372 - 467 |
| Level 50 | 5 | Dugtrio 2 to Slaking 2 | 468 - 563 |
| Level 50 | 6 | Dugtrio 3 to Slaking 3 | 564 - 659 |
| Level 50 | 7 | Dugtrio 4 to Slaking 4 | 660 - 755 |
| Level 50 | 8 | Dugtrio 1 to Frontier Mons High Tier | 372 - 849 |
| Open Level | 1 | Dugtrio 1 to Slaking 1 | 372 - 467 |
| Open Level | 2 | Dugtrio 2 to Slaking 2 | 468 - 563 |
| Open Level | 3 | Dugtrio 3 to Slaking 3 | 564 - 659 |
| Open Level | 4 | Dugtrio 4 to Slaking 4 | 660 - 755 |
| Open Level | 5 | Dugtrio 1 to Full frontier mon pool | 372 - 881 |
| Open Level | 6 | Dugtrio 1 to Full frontier mon pool | 372 - 881 |
| Open Level | 7 | Dugtrio 1 to Full frontier mon pool | 372 - 881 |
| Open Level | 8 | Dugtrio 1 to Full frontier mon pool | 372 - 881 |
Completion Checklist
- Clear the main objective: Use rental knowledge and swaps to reach Noland, whose Brain party is randomly generated from Factory rental pools.
- Review every wild Pokemon method listed for the section.
- Fight or deliberately skip every trainer listed in route order.
- Collect visible items, hidden items, and scripted rewards you care about before moving on.
Source Notes
- Source of truth: pret/pokeemerald
wild_encounters.json, mapmap.jsonobject/background events, mapscripts.inc,trainers.h, andtrainer_parties.h. - Encounter odds are aggregated by species and method from Emerald slot rates. Most rows are marked Any time because Emerald has no normal day/night wild encounter split.
- Pokemon table sprites use locally cached Emerald front sprites from
/guides/pokemon-emerald-pokemon-sprites.json. - Frontier Brain streaks and teams come from
src/frontier_util.c; Factory rental behavior comes fromsrc/battle_factory.c; facility mon sets come fromsrc/data/battle_frontier/battle_frontier_mons.h. - Trainer art on this page uses the local Emerald trainer manifest and reused Hoenn character art where Emerald-specific artwork is not available.