
Phase 1 section


Pokemon Diamond and Pearl Oreburgh Gym and Roark Walkthrough
 Coal Badge
 Clear the raised walkway or fight both Gym trainers, then defeat Roark for the Coal Badge. Exact Diamond/Pearl encounters, every sourced trainer, visible and hidden items, puzzle notes, boss teams, and completion checks.
Phase 1 Coal Badge Twinleaf Town, Lake Verity, Sandgem, Jubilife, Oreburgh Gate, Oreburgh City, and Roark. 01 / 11 
Clear the raised walkway or fight both Gym trainers, then defeat Roark for the Coal Badge. This standalone section joins the route plan to the original Diamond/Pearl map, encounter, trainer, item, and script data; Platinum tables are not substituted.
Source maps
Oreburgh Gym.
Version discipline
Rows merge only when Diamond and Pearl are identical, and each row carries D/P game markers. Version-exclusive species, mascot encounters, swarms, Radar slots, and GBA insertion slots keep their own labeled rows.
Route Plan
Train the main team near Lv. 12-14; fight both Gym trainers for experience; lead with a reliable Geodude and Onix answer; keep a healthy Water, Grass, Fighting, or Ground attacker for Cranidos.
- Cranidos hits far harder than the first two Pokemon and can punish slow setup; preserve the strongest super-effective attacker for it.
- Roark's Badge enables Rock Smash in the field and opens the westbound return through Oreburgh Gate.
Exact pret map constants (1)
MAP_OREBURGH_GYM
Wild Pokémon
No random wild encounter archive or curated static/gift row applies to this section. This is expected for some buildings, story rooms, and Gym interiors.
Trainers
Field order follows the map's object-event order. Full teams include explicit held items and moves when trdata defines them; cash rewards use the in-engine final-party-slot level and trainer-class multiplier formula.
| Trainer | Route order / placement | Full team | Reward | Access requirement | Optional / rematch note |
|---|---|---|---|---|---|
 Youngster JonathonYoungster • source ID 244 Youngster JonathonYoungster • source ID 244 | Oreburgh Gym • field order 1 at (4, 18) |
| ₽160 | Reach the trainer's named field subarea; line of sight determines whether the battle is avoidable. | Field order 1, tile (4, 18); sightline/path determines whether it can be avoided. No higher-level same-trainer rematch variant is defined in trdata. |
| Youngster DariusYoungster • source ID 245 | Oreburgh Gym • field order 2 at (7, 11) | ₽128 | Reach the trainer's named field subarea; line of sight determines whether the battle is avoidable. | Field order 2, tile (7, 11); sightline/path determines whether it can be avoided. No higher-level same-trainer rematch variant is defined in trdata. | |
 Leader RoarkLeader Roark • source ID 246 Leader RoarkLeader Roark • source ID 246 | Oreburgh Gym • scripted | ₽1,680 | Scripted story trigger; complete the local objective described in the route plan. | Major or story battle; not a VS Seeker rematch row. |
Items
| Item | Version | Type | Area / exact direction | Coordinate / script | Requirement | Source |
|---|---|---|---|---|---|---|
| TM76 | Diamond / Pearl | NPC / scripted gift | Oreburgh Gym: Receive this TM from the Gym Leader immediately after the badge victory. | NPC (5, 3); script 1 | Defeat the Gym Leader; this is part of the one-time badge reward. | script bank 50 |
Hidden Items
No type-2 hidden-item event is present in the source maps assigned to this section.
Puzzles, Warps, And Switches
- The upper conveyor walkway bypasses the two Gym trainers, but a completion route should descend and battle both before taking the center stairs to Roark.
Boss Strategy And Partners
Leader RoarkLeader Roark • source ID 246Full team
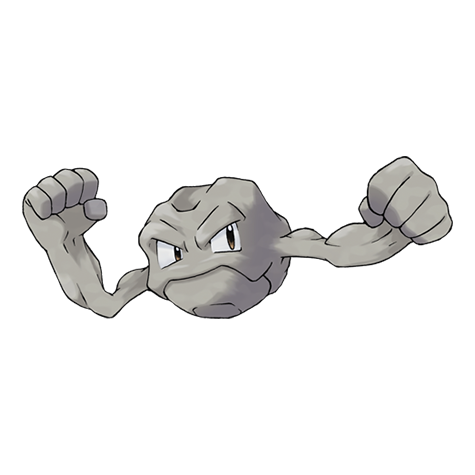 GeodudeStealth Rock / Rock Throw
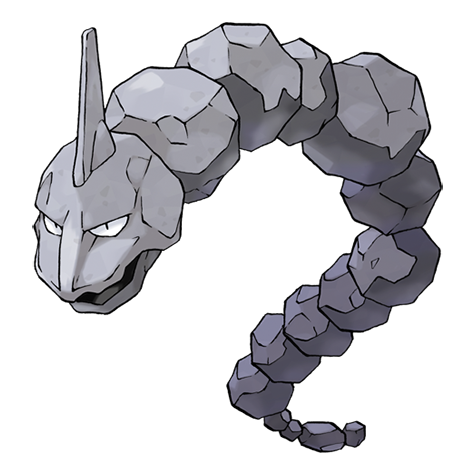 OnixStealth Rock / Rock Throw / Screech
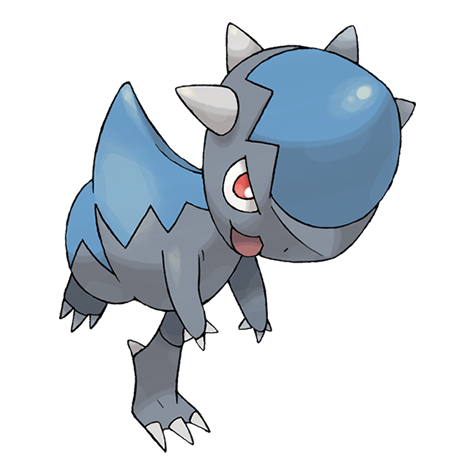 CranidosHeadbutt / Pursuit / Leer
Danger notes
Cranidos is the damage spike after Geodude and Onix; do not spend the best answer early.
Practical counters
Water, Grass, Fighting, or Ground attacks handle the entire team. Keep the Cranidos counter healthy and avoid unnecessary setup.
Completion Checklist
- Complete the currently reachable part of this route plan: Train the main team near Lv. 12-14; fight both Gym trainers for experience; lead with a reliable Geodude and Onix answer; keep a healthy Water, Grass, Fighting, or Ground attacker for Cranidos.
- Review all 0 encounter rows across the per-area tables, including game markers, method band, time-of-day rates, levels, and each conditional requirement; mark conditional rows for their stated revisit.
- Defeat or deliberately skip every currently reachable trainer row; leave HM-, story-, or National-Dex-gated rows checked only after their access requirement is met.
- Collect currently reachable visible/scripted items and berry trees, use the Dowsing Machine for reachable hidden rows, and retain every explicitly gated row for the named cleanup visit.
- Resolve every currently available puzzle note, boss branch, and partner scene before opening the next section.
Sources And Validation
pret/pokediamondat commit038cccaed5de8f013875bc5d734f912d1de08e0f:map_header.c, D/P encounter archives,trdata.json, zone events, script archives, item tables, and trainer graphics.- Encounter slots were decoded from exact 424-byte D/P members and cross-checked against Gen IV slot behavior; the 0x6C pair is day, morning uses base slots, and 0x74 is night.
- Coordinates remain visible as QA anchors, while each hidden row also provides a plain-English map-region instruction.
- Generation-wide systems that are not tied to a normal map archive—Honey Trees, Great Marsh daily rolls, Trophy Garden, fossils, Pal Park, and event items—are explicitly curated in their dedicated system pages.
Dex quick links