
Kalos route manual


Pokemon X and Y Phase 1 Bug Badge Walkthrough
 Bug Badge
 Pokemon X and Y Phase 1 walkthrough: Vaniville to Santalune, starter choice, Route 2, Santalune Forest, items, trainer battles, and Viola counters.
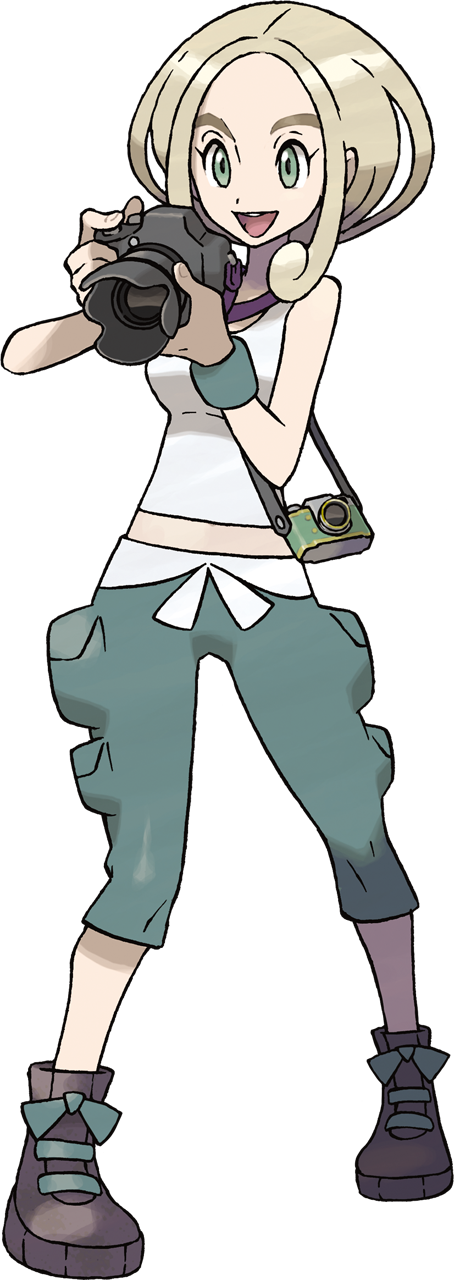 Phase 1 Bug Badge Viola Santalune Gym Leader Vaniville Town to Santalune City Gym. 01 / 10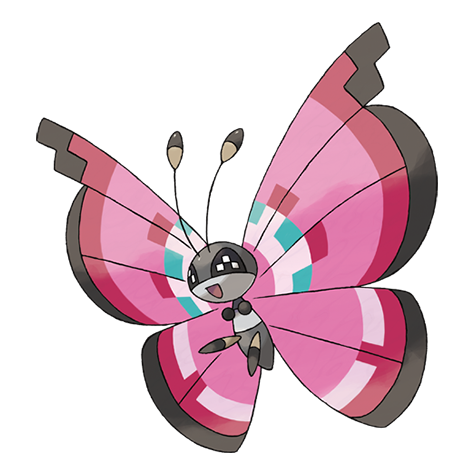
Pokemon X and Y optimal walkthrough
Vaniville Town → Santalune City Gym (Viola).
Route Map
This is the linear order of every meaningful stop in Phase 1. Routes 1, 2, and 3 are short, but Santalune Forest is where most of your early team-building happens.
Phase Route
| Order | Section | What it covers |
|---|---|---|
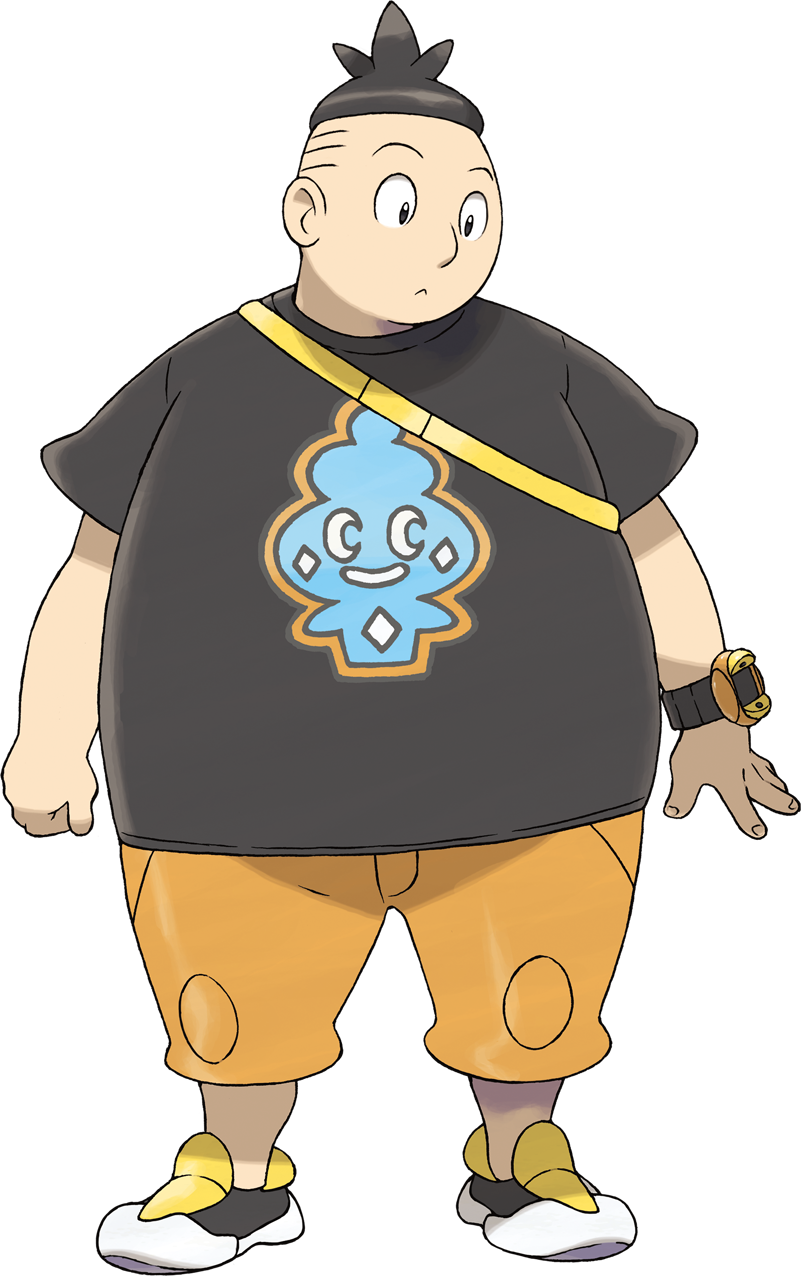
| 1 | Starter Choice | Tierno presents the three Kalos starters in Aquacorde Town. Your rival (Calem or Serena, depending on your character’s gender) will always pick the starter with the type advantage against yours — they’re testing you. |
| 2 | Vaniville Town | The opening sequence. There are no battles or items to collect here that matter long-term, but pay attention to two small things: Mom (your house, 1F): Talk to her before you leave. |
| 3 | Route 1 — Vaniville Pathway | A scripted walking path with no wild encounters and no items in the grass. Calem/Serena (your rival) joins you at the midpoint and walks you the rest of the way. |
| 4 | Aquacorde Town | The first real town. At the riverside cafe, all five protagonists gather and Tierno offers the starter Poke Balls. |
| 5 | Route 2 — Avance Trail | Your first proper route with wild Pokemon and items. The Pokedex is delivered here by Sina and Dexio , Sycamore’s lab assistants, near the route’s northern bridge. |
| 6 | Santalune Forest | The first real grind area. You’ll do most of your level 2→8 grinding here, complete your first trainer gauntlet, and pick up a free elemental monkey (Pansage/Pansear/Panpour) from a friendly NPC. |
| 7 | Route 3 — Ouvert Way | Wider, more open route with a brook running through it. This is where the trainer density picks up — expect ~6–8 trainer battles depending on path choice. |
| 8 | Santalune City | The first real city — full Pokemon Center with PSS (Player Search System), Wonder Trade, GTS, and Super Training. |
| 9 | Gym Strategy — Viola, the Bug Leader | Viola — Santalune City Gym Bug-type · Photographer · Specialty: setup + chip-damage moves like Infestation Gym puzzle: A giant spider-web criss-crossing the gym floor. |
| 10 | Phase 1 Resources And Checklist | Team Recommendations By the time you enter Viola’s Gym, you want a 3–4 Pokemon party at Lv 10–12. |
Starter Choice
Tierno presents the three Kalos starters in Aquacorde Town. Your rival (Calem or Serena, depending on your character's gender) will always pick the starter with the type advantage against yours — they're testing you. Trevor's gift later in Phase 5 (a Kanto starter from Sycamore in Lumiose) does not overlap, so commit confidently here.
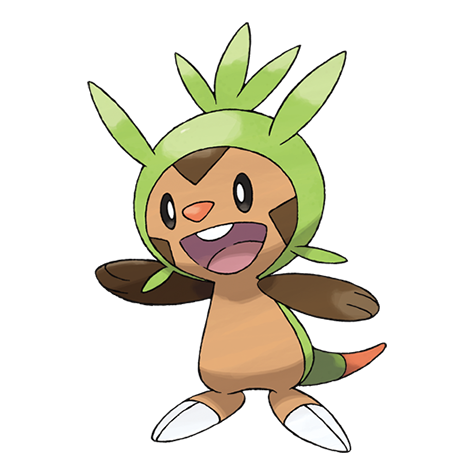
Chespin
GrassFinal form: Chesnaught (Grass/Fighting). Bulky physical wall with priority Spiky Shield. Vs Viola: ✗ weak to Bug — Chespin will struggle, plan for Pansear/Fletchling as backup.
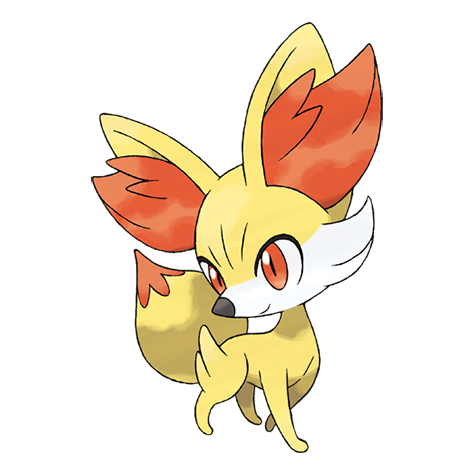
Fennekin
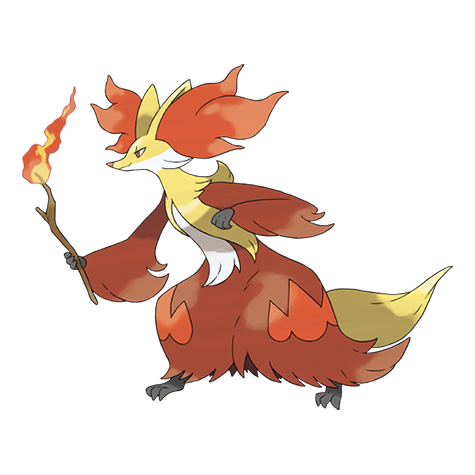
FireFinal form: Delphox (Fire/Psychic). Special-attacking glass cannon with Mystical Fire. Vs Viola: ★ best starter — Ember 2HKOs both her Pokémon, and Vivillon's Gust does neutral damage.
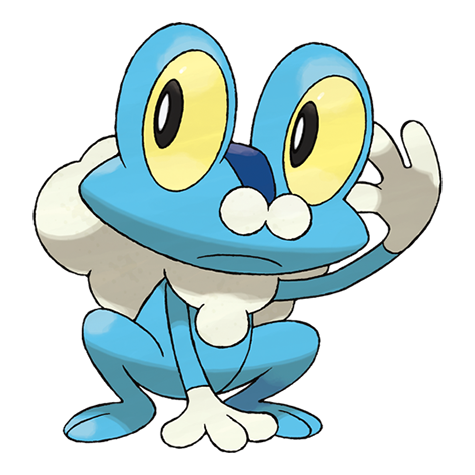
Froakie
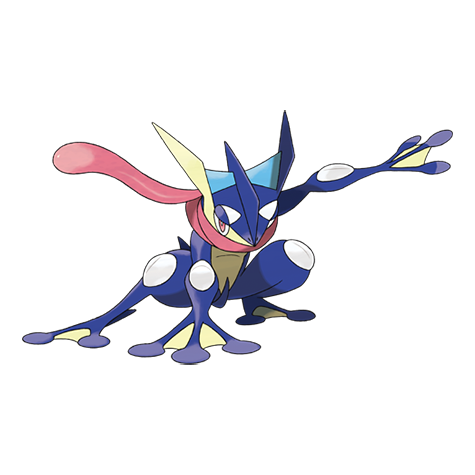
WaterFinal form: Greninja (Water/Dark) with Protean — every move you use changes Greninja's type to match, then gains STAB. Strongest endgame starter. Vs Viola: neutral — Bubble works but it's a slow start.
Vaniville Town
The opening sequence. There are no battles or items to collect here that matter long-term, but pay attention to two small things:
Route 1 — Vaniville Pathway
A scripted walking path with no wild encounters and no items in the grass. Calem/Serena (your rival) joins you at the midpoint and walks you the rest of the way. Nothing missable.
Aquacorde Town
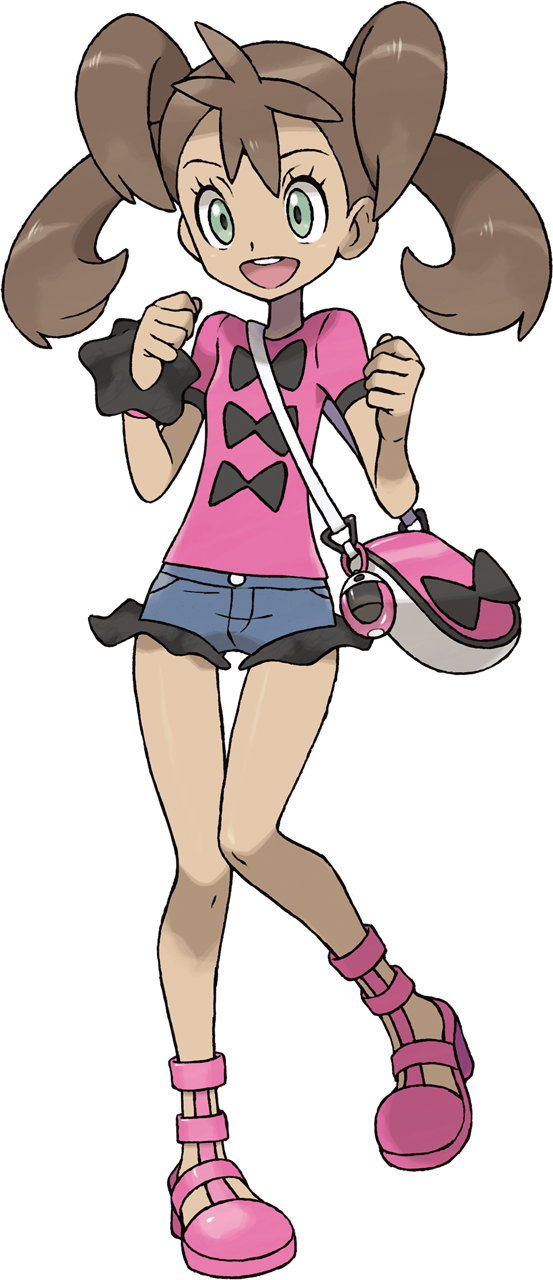
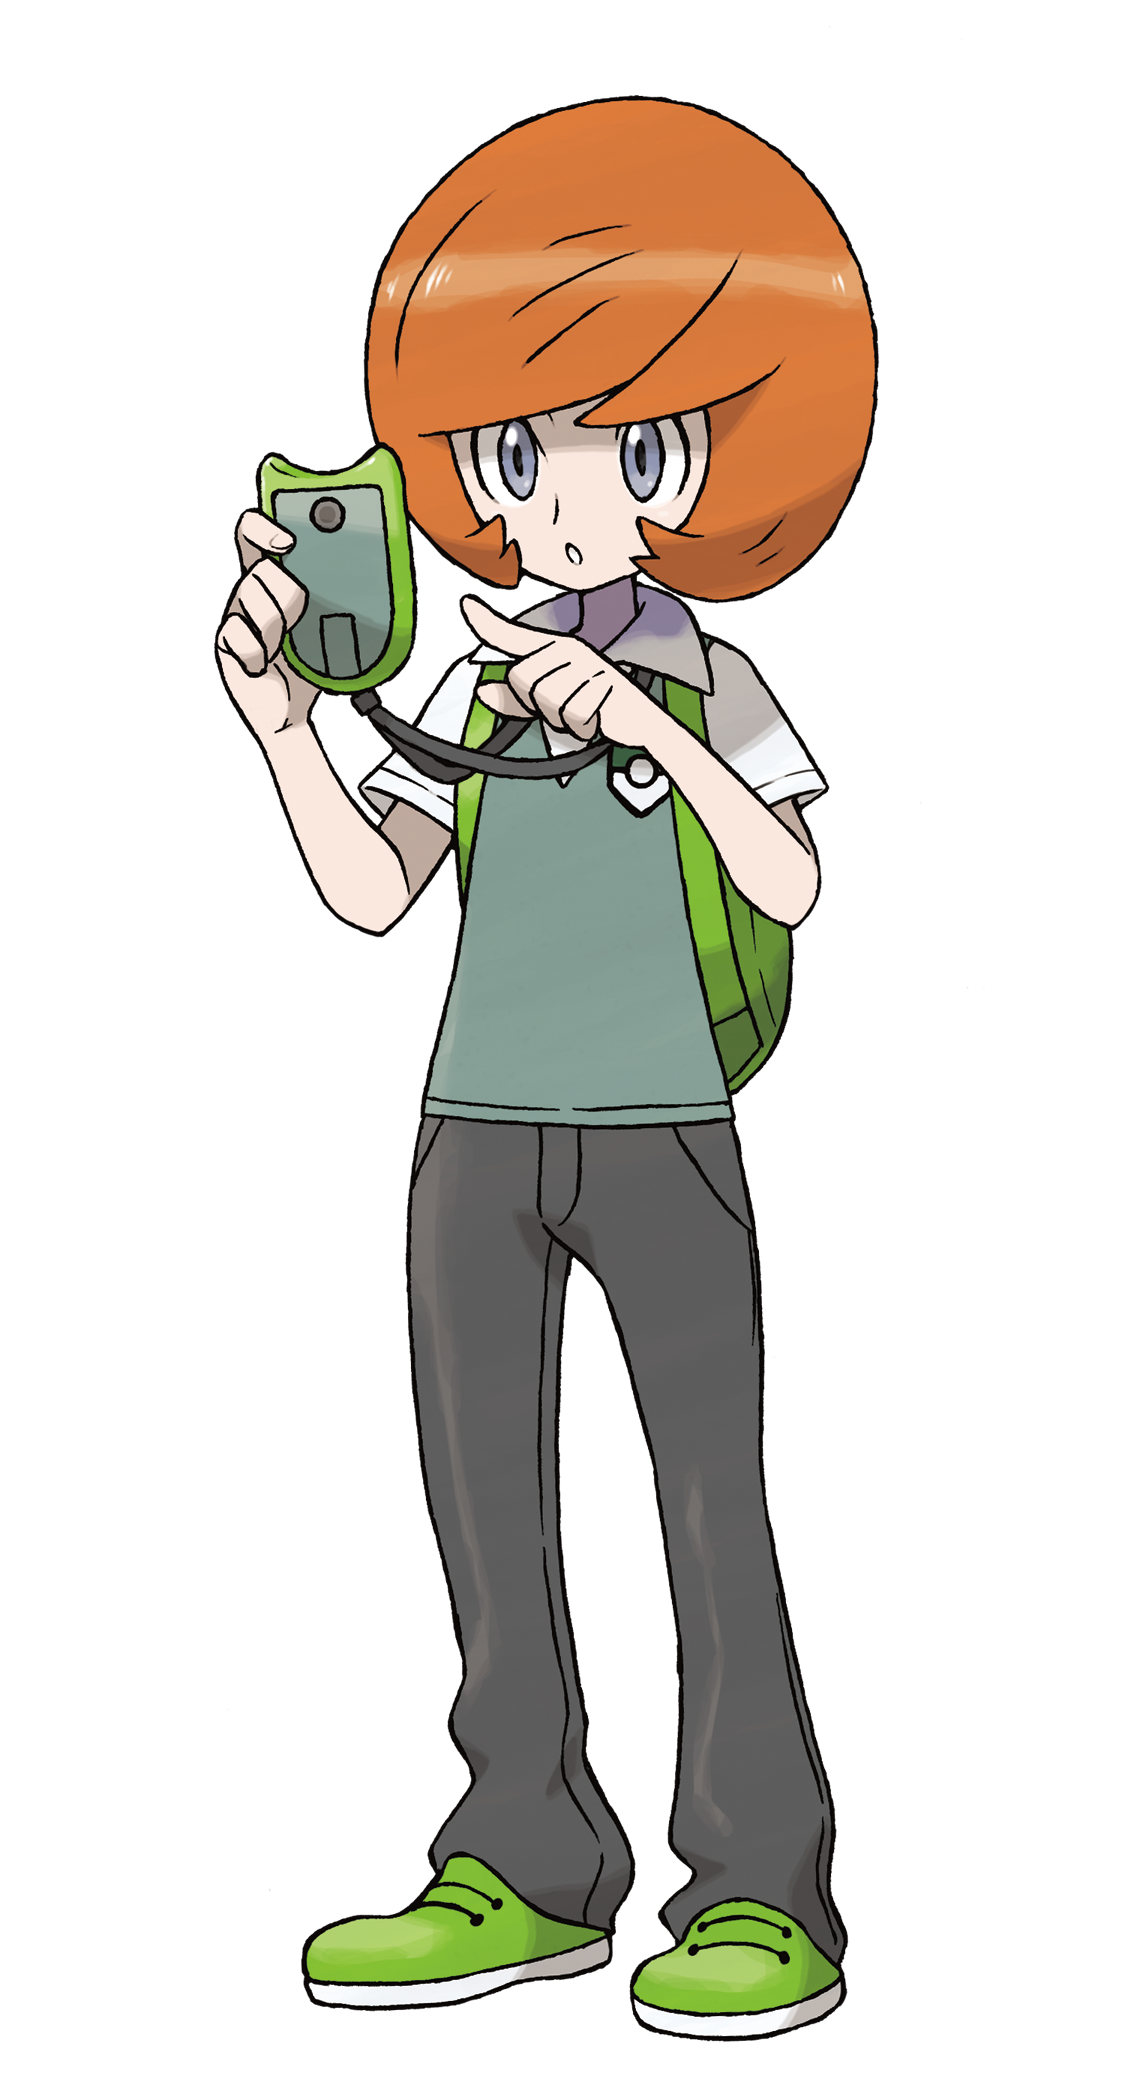
The first real town. At the riverside café, all five protagonists gather and Tierno offers the starter Poké Balls.
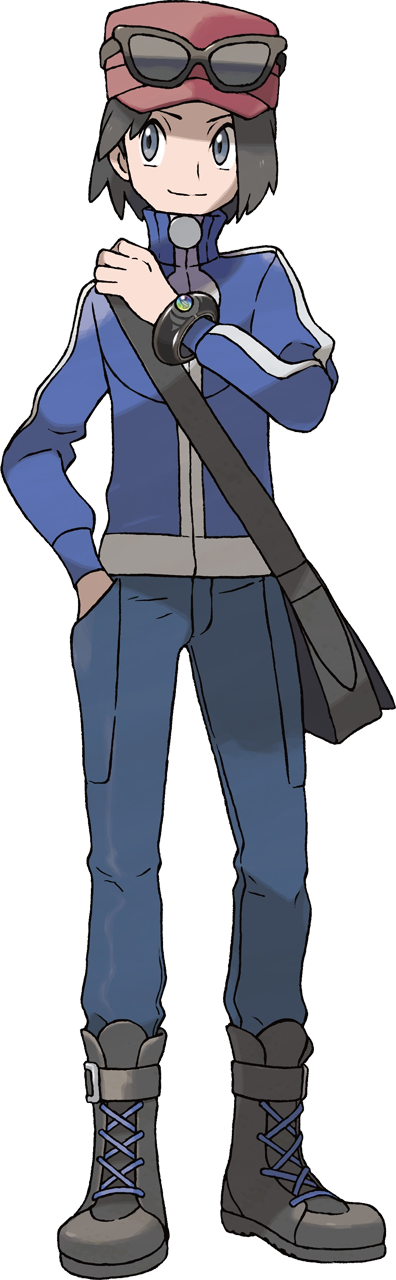
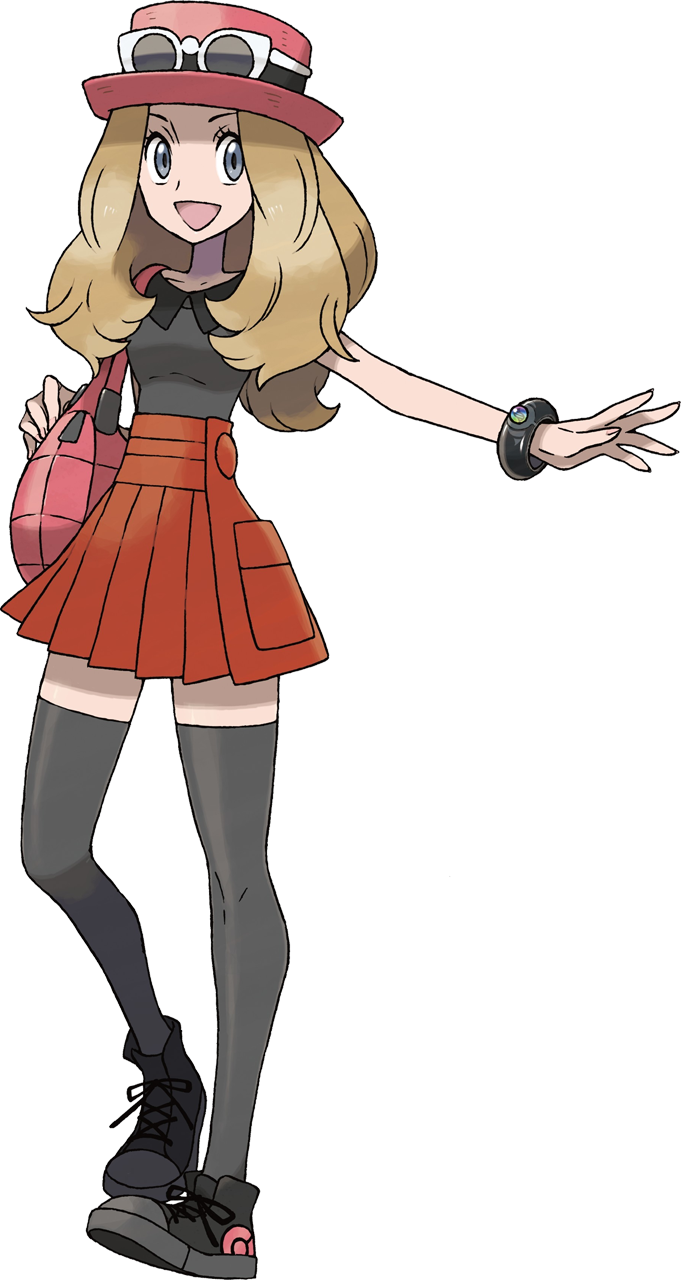
Key events, in order
- Starter selection — pick from Chespin, Fennekin, or Froakie.
- Your rival picks the type-advantage starter against yours and challenges you to your first battle (Lv 5 vs Lv 5).
- Naming — Shauna asks for your name and your rival's name. You can rename your rival here, but their default (Calem or Serena) is canonical.
- Trevor gives you a Pokédex on Sycamore's behalf — actually, the Pokédex itself is delivered shortly after on Route 2 by Sina and Dexio; in Aquacorde, Trevor only explains the assignment.
- Pokémon Center (north of café) — first save point. Heal up.
- Poké Mart counter inside the Pokémon Center — you'll have ~3,000 Pokédollars from your first battle prize. Buy 5× Poké Balls (200 each) and 2× Potion backup. Don't overspend; Santalune City has a wider stock.
Trainers in Aquacorde
| Trainer | Roster | Reward | Notes |
|---|---|---|---|
| Calem / Serena Rival at café table |
Lv 5 starter (the one with type advantage over yours) | ~500 P + free heal after | First battle of the game. Heals are automatic after — no risk. |
Side NPCs worth talking to in Aquacorde
Route 2 — Avance Trail
Your first proper route with wild Pokémon and items. The Pokédex is delivered here by Sina and Dexio, Sycamore's lab assistants, near the route's northern bridge. After that you can scan the encounter list.
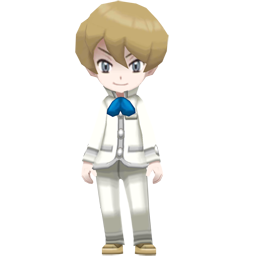
Wild Pokémon — Route 2
| Pokémon | Versions | Method | Notes |
|---|---|---|---|
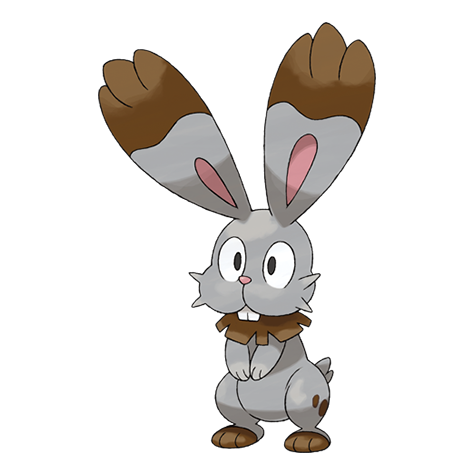 Bunnelby |
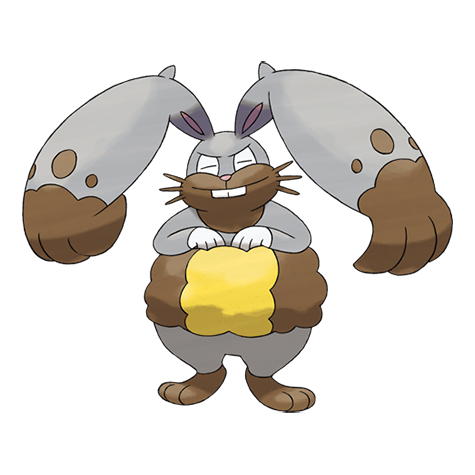
X & Y | Grass | Evolves into Diggersby with Huge Power. Will be your Cut/Strength HM mule later. |
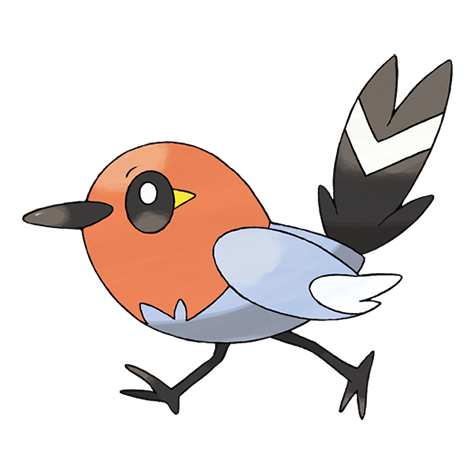 Fletchling |
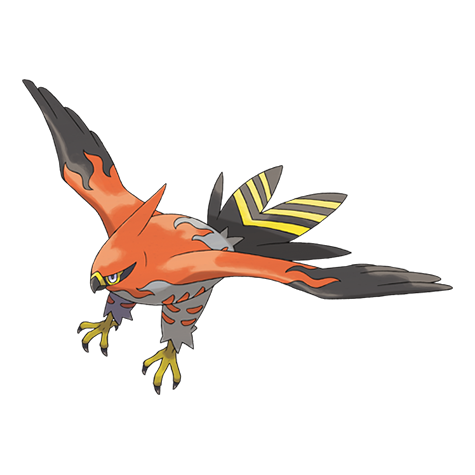
X & Y | Grass | ★ Priority catch. Evolves into Talonflame — Gale Wings priority makes it dominant for the next 5 phases. |
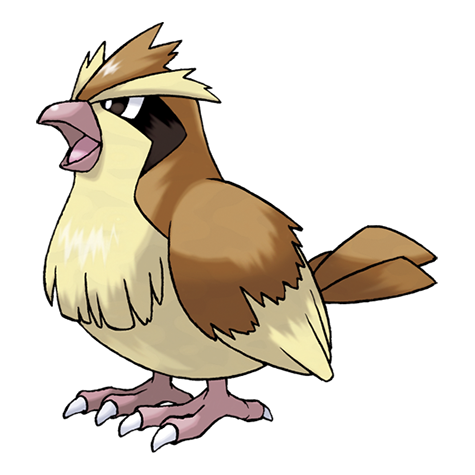 Pidgey |
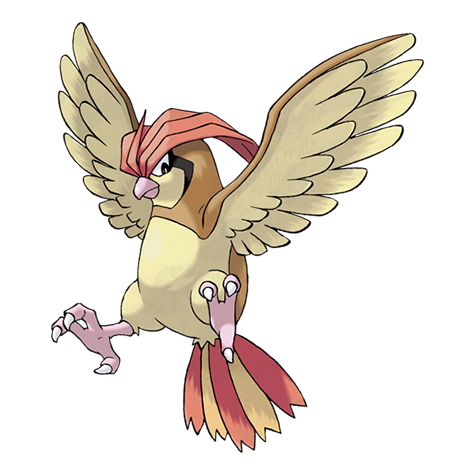
X & Y | Grass | Solid alternative if Fletchling won't appear. Pidgeotto handles Viola fine. |
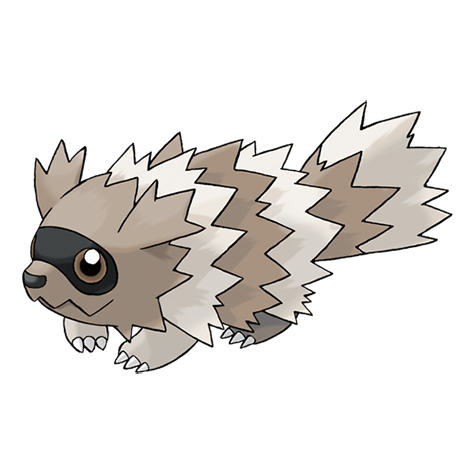 Zigzagoon |
X & Y | Grass | Catch one even if you don't use it — Pickup ability nets you free items (Potions, Repels, Revives) every battle. |
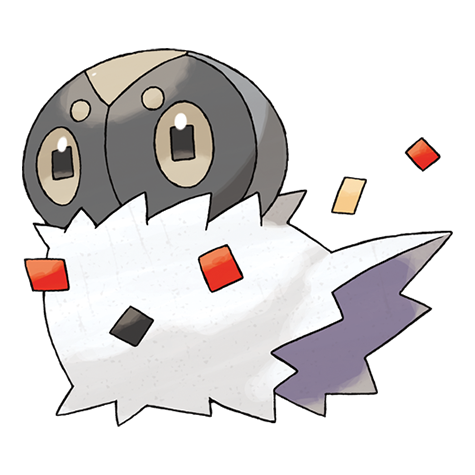
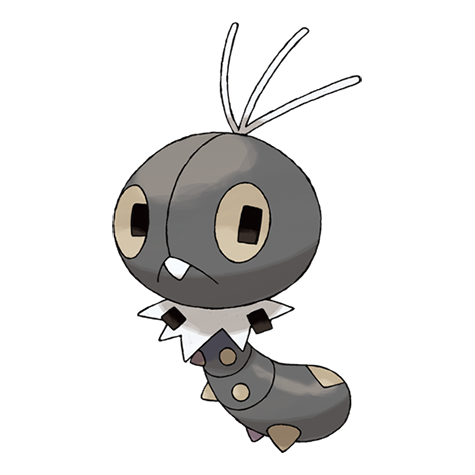 Scatterbug |
X & Y | Grass | Evolves into Vivillon — pattern depends on your 3DS region setting, not version. Pattern is locked at catch. |
Items on Route 2
| Item | Location | Notes |
|---|---|---|
| Potion ×1 | Visible, in tall grass on the west side | Pick it up as you walk through |
| Pokédex | Mid-route, given by Sina & Dexio | Triggers the catching tutorial — they'll show you how to throw a ball |
Trainers on Route 2
| Trainer | Roster | Reward | Notes |
|---|---|---|---|
| Youngster Austin north end of trail |
Zigzagoon Lv 5 | ~80 P | Easy. Stand-in for the only Route 2 trainer battle. |
Notable NPCs & side events on Route 2
Santalune Forest
The first real grind area. You'll do most of your level 2→8 grinding here, complete your first trainer gauntlet, and pick up a free elemental monkey (Pansage/Pansear/Panpour) from a friendly NPC. Many trees can be examined for hidden items.
Wild Pokémon — Santalune Forest
| Pokémon | Versions | Method | Notes |
|---|---|---|---|
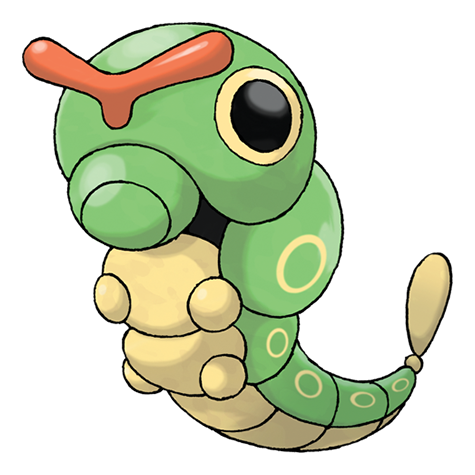 Caterpie |
X only | Grass (common) | Butterfree gets Compound Eyes — useful if you plan to fish for hidden abilities later. |
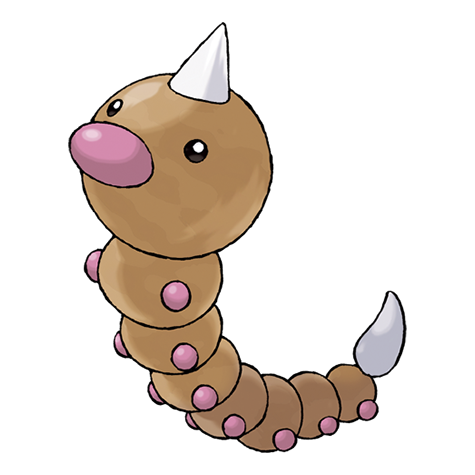 Weedle |
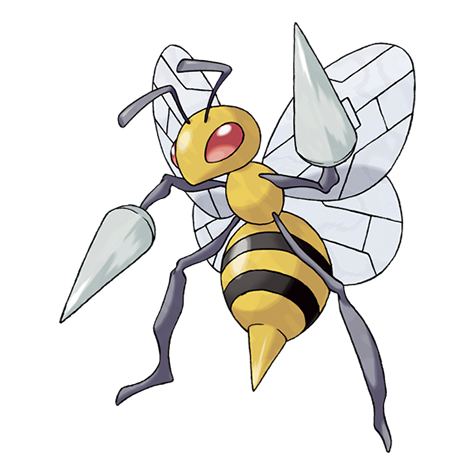
Y only | Grass (common) | Beedrill is the Y counterpart. Eventually gets a Mega Stone post-game (Beedrillite is OR/AS-era, not here). |
Pidgey |
X & Y | Grass | Same as Route 2 — fine pick if you didn't get Fletchling. |
Fletchling |
X & Y | Grass (uncommon) | Second chance if you missed it on Route 2. |
Scatterbug |
X & Y | Grass | Higher encounter rate here than on Route 2. |
 Pikachu |
X & Y | Grass Rare | ~10% encounter rate. Worth a few minutes of grass-cycling — Static is annoying for opponents and Pikachu evolves on demand with the Thunder Stone. |
The elemental monkey gift (do not skip)
A friendly NPC partway through the forest will offer you one of Pansage, Pansear, or Panpour — but only the one whose type beats your starter's. This is a one-time, missable gift. You cannot trade for the other two until much later, so the call is: do you keep the monkey, or release it and use the slot?
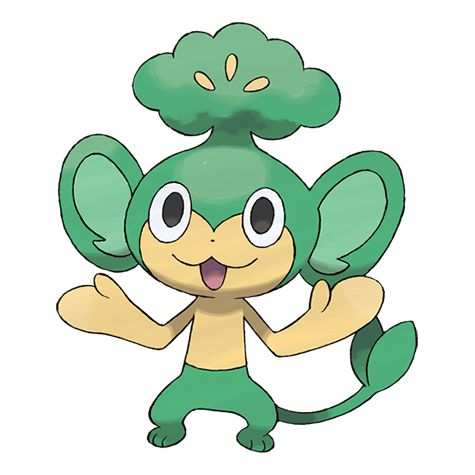
Pansage
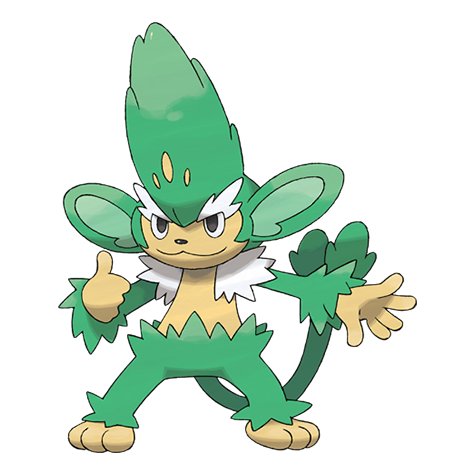
Given if you chose Froakie. Use a Leaf Stone (Phase 4+) to evolve into Simisage.
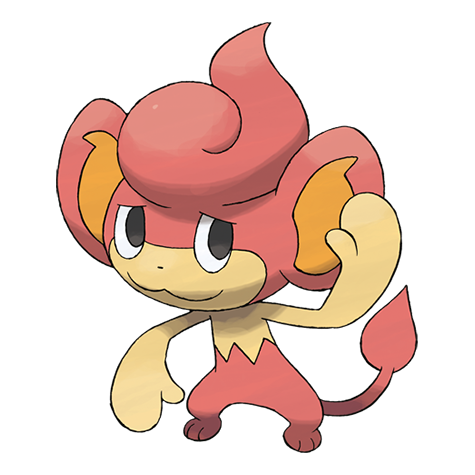
Pansear
Given if you chose Chespin. ★ Best of the three for Phase 1 — covers Viola directly with Incinerate.
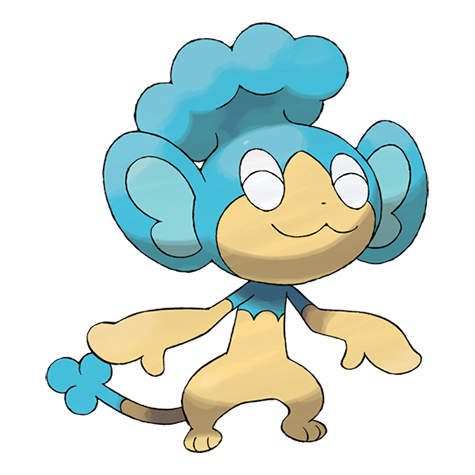
Panpour
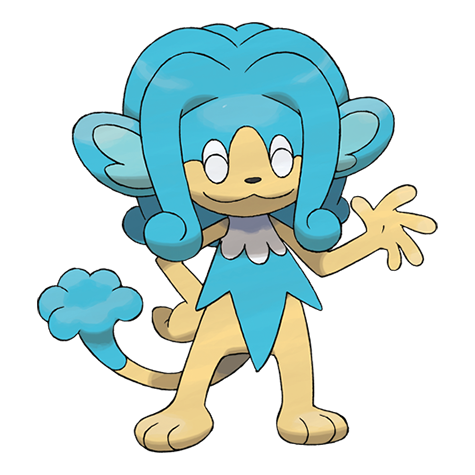
Given if you chose Fennekin. Use a Water Stone to evolve into Simipour later.
Items in Santalune Forest
| Item | Location |
|---|---|
| Potion | Visible, west side near a stump |
| Antidote | Visible, mid-forest (handy against Weedle/Caterpie poison) |
| Paralyze Heal | Visible, near eastern path — Pikachu/Static makes this useful |
| Poké Ball ×3 (hidden) | Various tree-rustle spots — examine glowing/wobbling foliage |
| Tiny Mushroom (hidden) | One of the mushroom clusters on the forest floor — sells for ~250P |
Trainers in Santalune Forest
Three confirmed trainers, spaced south → middle → north. Calem/Serena heals between fights if you talk to them.
| Trainer | Roster | Reward | Notes |
|---|---|---|---|
| Youngster Joey western trail |
Scatterbug Lv 3, Fletchling Lv 3 | 72 P | Bug + Flying — Fennekin's Ember 2HKOs both. Watch Fletchling's Tackle priority. |
| Lass Anna middle trail |
Pikachu Lv 5 (♂) | 250 P | Pikachu hits hard for this point in the game. Lead with anything non-Water; Static paralysis is the bigger risk. Fennekin's Ember works — Pika has no Ground move. |
| Lass Lise south, near exit |
Weedle Lv 2, Bunnelby Lv 4 | 96 P | Weedle's Poison Sting can poison your lead. Fennekin/Fletchling clear easily. |
Notable NPCs & side events in Santalune Forest
Route 3 — Ouvert Way
Wider, more open route with a brook running through it. This is where the trainer density picks up — expect ~6–8 trainer battles depending on path choice. Skiddo Ranch sits just to the north (Phase 2 content; you can peek but you'll be turned back).
Wild Pokémon — Route 3
| Pokémon | Versions | Method | Notes |
|---|---|---|---|
Bunnelby |
X & Y | Grass | Slightly higher level than Route 2 — better catch if you skipped earlier. |
Fletchling |
X & Y | Grass | Third and final easy chance — past this you'll need to evolve a Pidgey instead. |
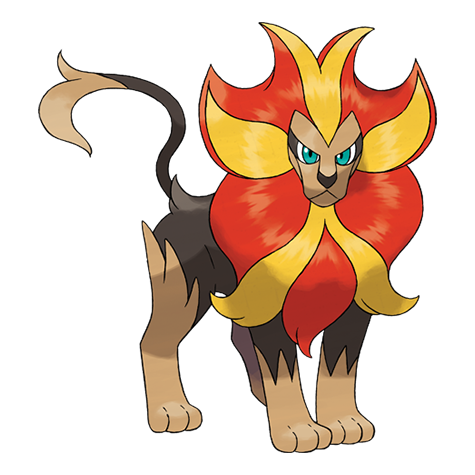
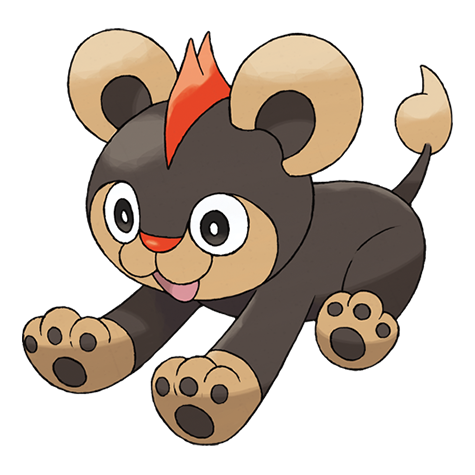 Litleo |
X & Y | Grass | ★ Excellent pick if you chose Chespin or Froakie. Evolves into Pyroar — strong special attacker. |
Pidgey |
X & Y | Grass | Same notes as before. |
 Marill |
X & Y | Grass near brook | Fairy typing introduced this gen — Azumarill with Huge Power + Belly Drum is a late-game terror. |
 Azurill |
X & Y | Grass near brook | Pre-evolution of Marill. Skippable — Marill spawns in the same area. |
 Surskit |
X & Y | Grass (uncommon) | Same species as Viola's lead — useful scouting catch to study its moves. |
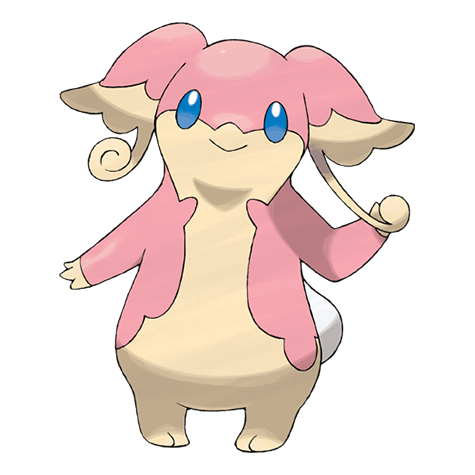 Audino |
X & Y | Rustling Grass Rustle | Big EXP yield. Always engage rustling grass for free XP throughout the game. |
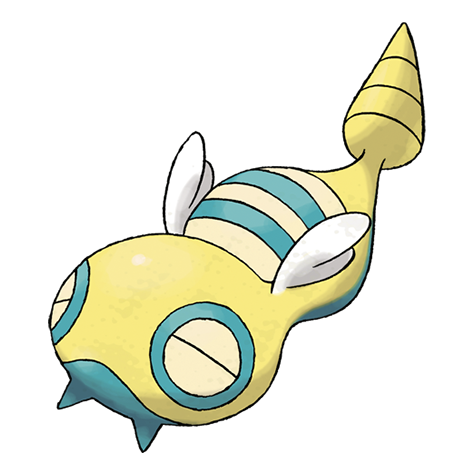 Dunsparce |
X & Y | Rustling Grass Rustle | Rare rustle. Serene Grace + Headbutt later makes it surprisingly playable. |
Items on Route 3
| Item | Location |
|---|---|
| Potion ×1 | Visible, just past the second trainer |
| Repel | Visible, mid-route |
| Antidote | Hidden, in the small grass patch east |
| Great Ball (post-Gym) | Hidden — only reachable after Viola because Roller Skates are required for the ledge |
Trainers on Route 3
Mostly schoolchildren and Roller Skaters from the Trainer's School. The Schoolboy is your first triple-Pokémon battle of the game.
| Trainer | Roster | Reward | Notes |
|---|---|---|---|
| Schoolboy Brighton near the brook |
Pansage Lv 3, Pansear Lv 3, Panpour Lv 3 | ~144 P | ★ The "monkey trio" trainer. Triple-Pokémon battle — bring your strongest starter and clean up. |
| Youngster (various) | Bunnelby / Fletchling Lv 5–7 | varies | 2–3 Youngsters scattered along the route. |
| Lass (various) | Pidgey / Caterpie Lv 5–7 | varies | 1–2 Lass trainers along the route. |
| Roller Skater curving slope |
Zigzagoon Lv 6–7 | varies | Skating Trick demo NPC. Worth fighting for the Roller Skater Trick reveal. |
Notable NPCs & side events on Route 3
Santalune City
The first real city — full Pokémon Center with PSS (Player Search System), Wonder Trade, GTS, and Super Training. Stock up before the gym and finish a few side errands.
Pokémon Center upgrades (Phase 1)
| Service | What it does | Use it now? |
|---|---|---|
| Heal counter | Full party heal | Every visit |
| Poké Mart counter | Wider stock — Poké Balls, Potions, Antidote, Paralyze Heal, Repel, Super Potion (after Badge 1) | Buy 10 Poké Balls + 5 Potions |
| PSS (touch screen) | Online battles, trades, Wonder Trade, Holo-Caster news | Wonder Trade once you have a spare Bunnelby — surprisingly good early |
| Super Training (touch screen) | EV training via mini-games | Skip for now — better unlocks later |
Trainer's School (left side of city)
A one-room schoolhouse west of the Gym. Four children and an old man — all dialogue NPCs, no battles. Free items and a key freebie inside.
| NPC | What they do |
|---|---|
| Old Man (back of room) | Gives 3× X Attack + 3× X Defense |
| Teacher (front) | ★ Gives you a Quick Ball after the first chat (missable — only first visit) |
| Schoolboy (front row) | Tutorial dialogue on type matchups |
| Schoolgirl (back row) | Tutorial dialogue on status conditions |
| Two more children | Tutorial dialogue on items and abilities |
| Chalkboard (left wall) | Status condition reference chart |
Roller Skates
Outside the Pokémon Center (or near the south gate, depending on entry path), a Roller Skater girl gives you the Roller Skates automatically. They're a permanent traversal upgrade — Circle Pad to walk, slide pad fully tilted to skate. Skates also unlock a few ledges and shortcuts on Routes 4, 5, 7, and 9.
Other Santalune NPCs
Gym Strategy — Viola, the Bug Leader
Viola — Santalune City Gym
Gym puzzle: A giant spider-web criss-crossing the gym floor. You walk along strands and drop through "torn" sections — there's no real puzzle skill required, just navigation. Three gym trainers stand on the webs; only Lass Charlotte is mandatory to fight Viola, the other two can be skipped if you route around them.
| Gym Trainer | Roster | Notes |
|---|---|---|
| Youngster David | Ledyba Lv 10 | Optional — can be avoided by web routing. Bug/Flying; weak to Fire/Flying/Rock. |
| Youngster Zachary | Spewpa Lv 10 | Optional. Spewpa only knows Protect + Tackle — slow battle but easy XP. |
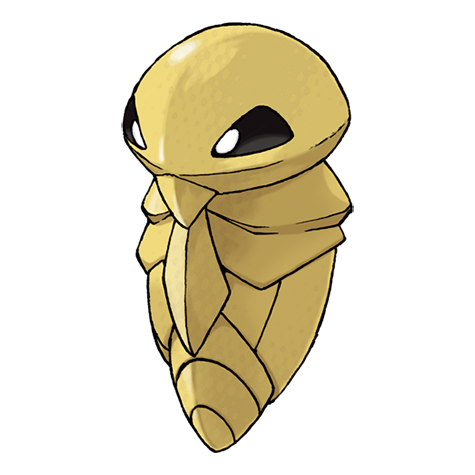
| Lass Charlotte | Kakuna Lv 7, Combee Lv 9 | Mandatory — fight her to reach Viola. Combee's Gust is your only real threat. |
Viola's team
| Pokémon | Lv | Type | Moves | Held Item | Ability |
|---|---|---|---|---|---|
Surskit |
10 | Bug/Water | Bubble, Quick Attack, Sweet Scent | None | Swift Swim |
Vivillon |
12 | Bug/Flying | Tackle, Gust, Harden, Infestation | None | Shield Dust |
Threat assessment
| Pokémon | Threat level | Why |
|---|---|---|
| Surskit | Low | Bubble is weak Water STAB; Sweet Scent does nothing in singles besides lowering your evasion. Outsped only if Rain is active (it isn't here). |
| Vivillon | Medium | Gust is the real threat — STAB Bug-type Flying move at decent power, will OHKO weakened mons. Infestation chip-locks slower attackers. Shield Dust blocks secondary effects (no flinching with Bite, no burns with Ember, etc.). |
Recommended counters (in order of effectiveness)
| Counter | Why | Recommended moves |
|---|---|---|
| Fennekin (Lv 10+) | Ember is neutral on Surskit because Water resists Fire, but Fennekin still controls the tempo and hits Vivillon super-effectively. | Ember, Scratch as filler |
| Fletchling (Lv 9+) | Flying STAB on both. Peck is super-effective; Quick Attack finishes weakened mons. Wary of Bubble on switch-in. | Peck, Quick Attack |
| Pansear (Lv 10+) | If you went Chespin/Froakie, this is your Viola-killer. Incinerate 2× on both. | Incinerate, Lick (utility) |
| Pidgey/Pidgeotto | Gust gives you neutral Bug coverage and matches Vivillon's tempo. | Gust, Quick Attack |
| Litleo | Ember + STAB Tackle. Slower than Fennekin but bulkier. | Ember, Headbutt (post-Lv 12) |
Avoid leading with
- Chespin / any Grass type — Gust hits Grass super-effectively, so do not make Chespin your main Viola answer.
- Froakie — Survivable but Bubble damage on Surskit is mediocre and Vivillon's Gust is neutral. Not the worst, just slow.
- Bunnelby — Normal-type, takes neutral from Bug. Slow and underleveled at this stage.
- Pansage — same Grass-type problem as Chespin; useful later, but not here.
Predicted threat order & recommended play
- Viola leads with Surskit. Open with Fennekin/Pansear and Ember/Incinerate. ~2 turns to KO.
- She sends out Vivillon. If your Fire mon is healthy, stay in — Ember 2HKOs, Gust 3HKOs you back. If under 50%, switch to Fletchling for Peck.
- Watch for Infestation on the switch — it traps you for 4–5 turns and chips. If you predict it, switch to Fletchling preemptively (Flying resists Bug, so Fletchling is your cleanest pivot if Infestation starts trapping your Fire-type).
Reward
- Bug Badge — all traded Pokémon up to Lv 30 will obey.
- TM83 Infestation — 20 power Bug move that traps for 4–5 turns. Niche but useful for catching legendaries later.
- Prize money — roughly 1,440 Pokédollars.
Team Recommendations
By the time you enter Viola's Gym, you want a 3–4 Pokémon party at Lv 10–12. The ideal Phase 1 build:
| Slot | Pokémon | Reasoning | Target Lv |
|---|---|---|---|
| 1 | Your starter | Story-mandated. Fennekin = best vs Viola. Chespin = struggles vs Viola, lean on Pansear/Fletchling. Froakie = neutral, gets there. | Lv 11 |
| 2 | Fletchling | Peck is super effective on Bug, comes with priority Quick Attack via leveling. Future Talonflame is your phase 2–5 MVP. | Lv 10 |
| 3 | Pansage / Pansear / Panpour | Gifted in Santalune Forest. Whichever you get, it covers your starter's weakness. Pansear/Fennekin is a Fire double-up — totally fine for Phase 1. | Lv 10 |
| 4 (optional) | Bunnelby | Future Cut/Strength HM mule and a real attacker with Huge Power Diggersby. Catch on Route 2. | Lv 8–9 |
| 5 (optional) | Litleo (if not Fennekin) | Fire backup if you went Chespin or Froakie. Pyroar is a strong Phase 3+ special attacker. | Lv 8–9 |
Trade evolutions / held items to start considering
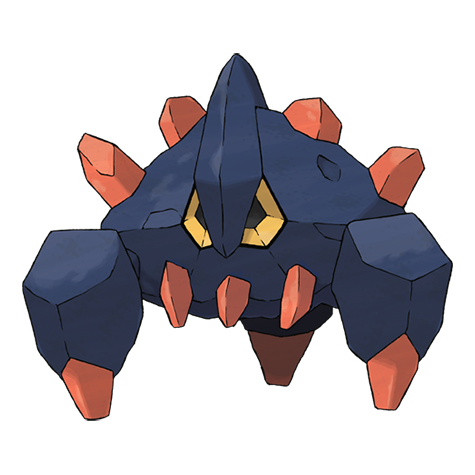
None of your Phase 1 catches trade-evolve. The earliest trade evos in the main story are Phase 4+ (Boldore→Gigalith, Karrablast↔Shelmet, etc.). For Phase 1, just focus on raw levels.
Mega Evolution
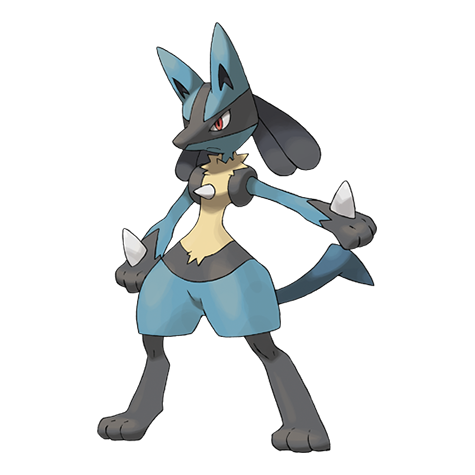
Mega Evolution doesn't unlock until Phase 3 when Korrina hands you the Mega Ring in Shalour City. You can see a Mega Lucario in cutscenes before that, but you can't use Megas yet.
Must-Grab Items (Phase 1 Master List)
| Item | Where | Missable? |
|---|---|---|
| Town Map | Route 2, given by Calem/Serena | No |
| Pokédex | Route 2, Sina & Dexio | No (story-locked) |
| Potion ×5 | Aquacorde, talk to Shauna second time at café | ★ Yes |
| Potion ×1 | Route 2 grass | No |
| Potion ×1 | Santalune Forest | No |
| Antidote | Santalune Forest | No |
| Paralyze Heal | Santalune Forest | No |
| Poké Ball ×3 (hidden) | Santalune Forest, examine rustling trees | No, but easy to walk past |
| Tiny Mushroom (hidden) | Santalune Forest mushroom cluster | No |
| Pansage / Pansear / Panpour | Santalune Forest, friendly NPC | ★ Yes |
| Potion ×1 | Route 3 | No |
| Repel | Route 3 | No |
| Antidote (hidden) | Route 3 east grass | No |
| Quick Ball | Santalune Trainer's School teacher | ★ Yes |
| Old Rod | Santalune City, fisherman on lower bridge | No (story-locked, but easy to miss the conversation) |
| Roller Skates | Santalune City, Roller Skater outside Pokémon Center | No (story-locked) |
| TM83 Infestation | Viola, after defeat | No (gym reward) |
| Bug Badge | Viola, after defeat | No (gym reward) |
| Exp. Share (Key Item, all-party) | Route 4 gate, from Alexa after Viola — Phase 2 entry | No, but leads directly into Phase 2 |
Version Note Summary
Phase 1 — Pokémon X vs Pokémon Y differences
Phase 1 Checklist
- Pick a starter and beat your rival in Aquacorde
- Talk to Shauna a second time for 5× Potion (missable)
- Receive the Pokédex from Sina & Dexio on Route 2
- Catch a Fletchling on Route 2 (★ priority)
- Catch a Bunnelby on Route 2 (HM mule + future Diggersby)
- Catch a Zigzagoon for Pickup utility (optional but recommended)
- Catch a Pikachu in Santalune Forest if you want Electric coverage
- Accept the Pansage/Pansear/Panpour gift in Santalune Forest (missable)
- Pick up Potion, Antidote, Paralyze Heal in Santalune Forest
- Meet Tierno and Trevor on Route 3; their trainer battles happen later on Route 7.
- Catch a Litleo on Route 3 if your starter isn't Fire
- Trigger any rustling-grass encounters for Audino XP
- Visit the Trainer's School in Santalune City
- Collect the Quick Ball from the school teacher (missable)
- Receive the Old Rod from the fisherman in Santalune City
- Receive the Roller Skates outside the Pokémon Center
- Buy 10× Poké Balls and 5× Potions before entering the Gym
- Defeat the two gym trainers (Metapod/Kakuna Harden walls)
- Defeat Viola — earn Bug Badge + TM83 Infestation
- Meet Alexa before Route 4 for the Exp. Share
Dex quick links
Pokemon in this phase
Caterpie 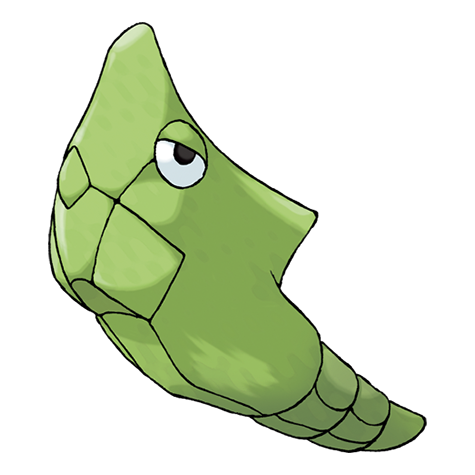 Metapod
 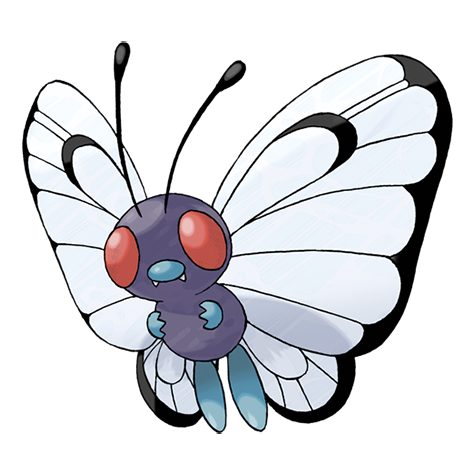 Butterfree Weedle
  Kakuna
  Beedrill Pidgey
  Pidgeotto Pikachu
  Poliwag
  Magikarp
 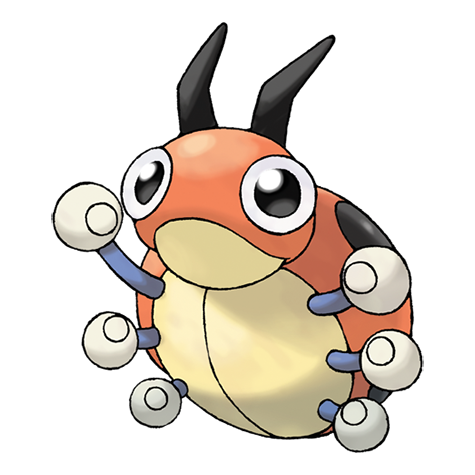 Ledyba Marill
 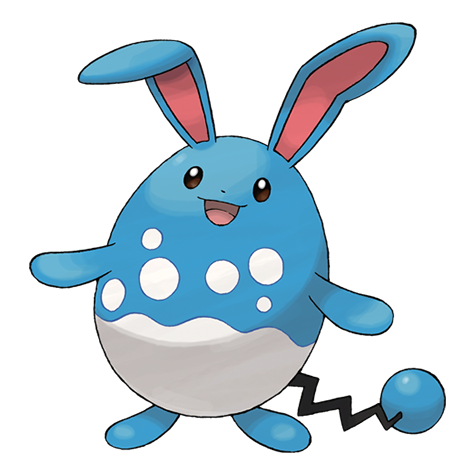 Azumarill Dunsparce Zigzagoon Surskit Azurill
 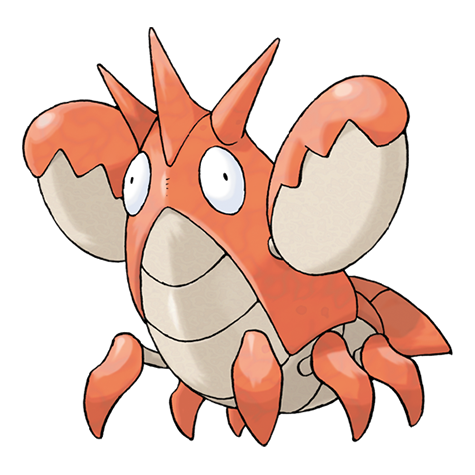 Corphish
 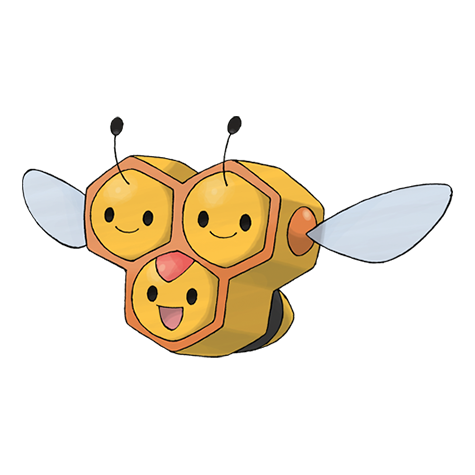 Combee
  Lucario Pansage
  Simisage Pansear Panpour
  Simipour
  Boldore
 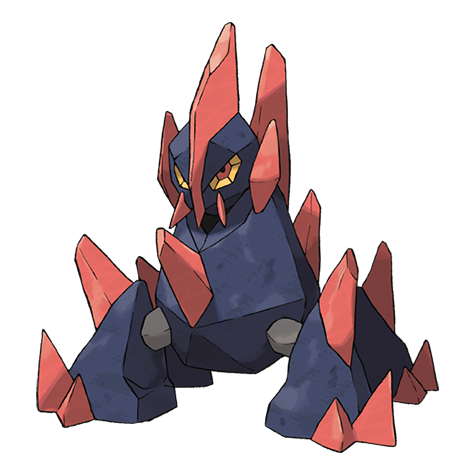 Gigalith Audino
 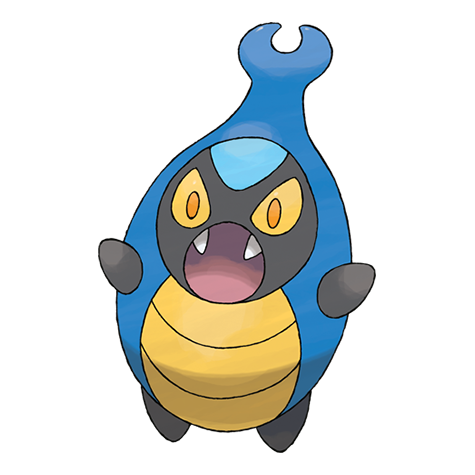 Karrablast
 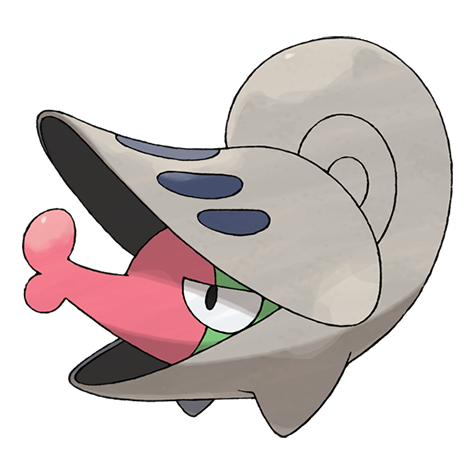 Shelmet Chespin
 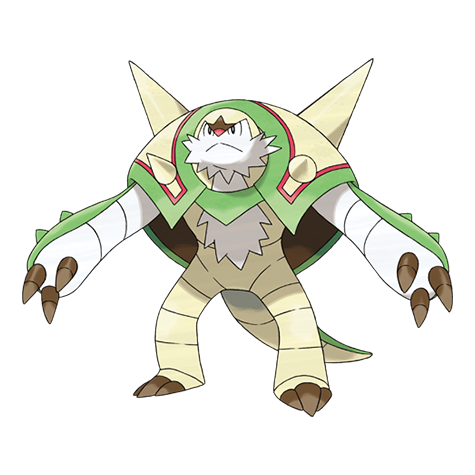 Chesnaught Fennekin
  Delphox Froakie
  Greninja Bunnelby
  Diggersby Fletchling
  Talonflame Scatterbug
  Spewpa Vivillon Litleo
  Pyroar
  Flabebe
  Skiddo
  Skrelp
  Clauncher
  Helioptile