
Phase 1 section


Pokemon Diamond and Pearl Route 203 and the First Barry Battle Walkthrough
 Coal Badge
 Defeat Barry's first starter-dependent team and sweep the ridge trainers leading to Oreburgh Gate. Exact Diamond/Pearl encounters, every sourced trainer, visible and hidden items, puzzle notes, boss teams, and completion checks.
Phase 1 Coal Badge Twinleaf Town, Lake Verity, Sandgem, Jubilife, Oreburgh Gate, Oreburgh City, and Roark. 01 / 11 
Defeat Barry's first starter-dependent team and sweep the ridge trainers leading to Oreburgh Gate. This standalone section joins the route plan to the original Diamond/Pearl map, encounter, trainer, item, and script data; Platinum tables are not substituted.
Source maps
Route 203.
Version discipline
Rows merge only when Diamond and Pearl are identical, and each row carries D/P game markers. Version-exclusive species, mascot encounters, swarms, Radar slots, and GBA insertion slots keep their own labeled rows.
Route Plan
Heal in Jubilife; save before walking east; defeat Barry; catch Abra or other desired route encounters; clear the upper and lower trainer paths; collect the Repel; enter Oreburgh Gate.
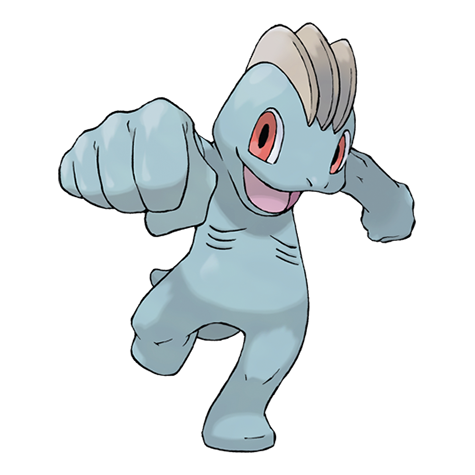
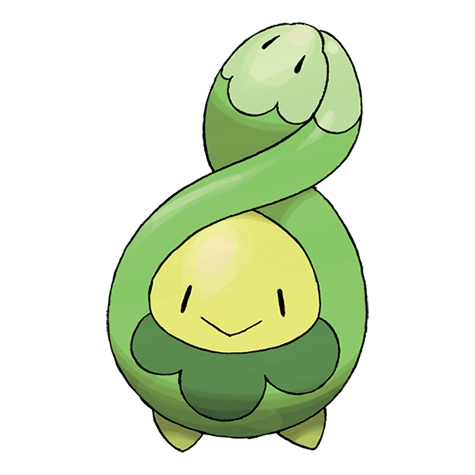
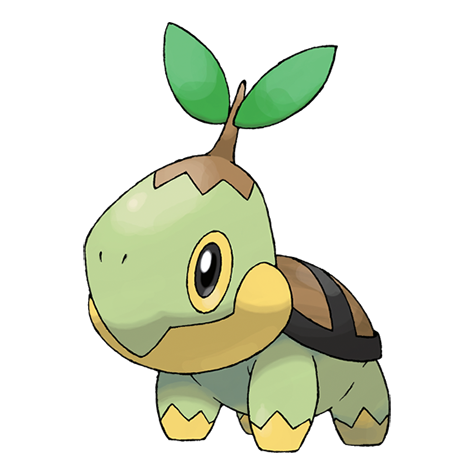
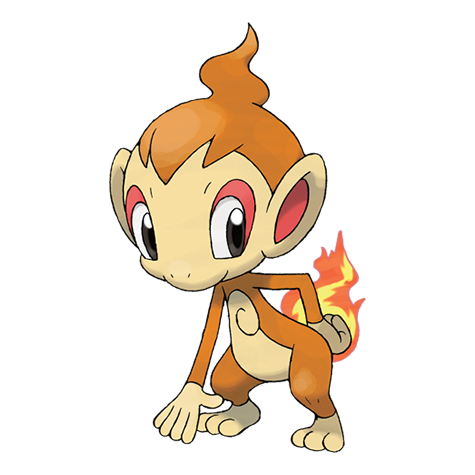
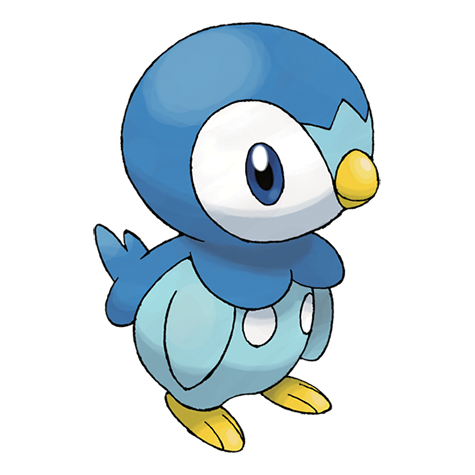
- Barry is named by the player; the source trainer name is a placeholder. His starter is always the type with an advantage over yours.
- Abra usually escapes with Teleport, so lead with a status move or throw a Poke Ball immediately.
Exact pret map constants (1)
MAP_ROUTE_203
Wild Pokémon
Each area below has its own table, split by encounter method. Standard grass and cave rates merge every base slot for a species and are shown per time window: morning 04:00-09:59, day 10:00-19:59, night 20:00-03:59. Swarm, Poké Radar, and GBA dual-slot replacements keep their own labeled rows. Underlying slot odds: grass 20/20/10/10/10/10/5/5/4/4/1/1; Surf and Old Rod 60/30/5/4/1; Good and Super Rod 40/40/15/4/1.
| Pokémon | Games | Levels | Rate | Requirement / notes | ||
|---|---|---|---|---|---|---|
| Morning | Day | Night | ||||
| Grass / cave floor | ||||||
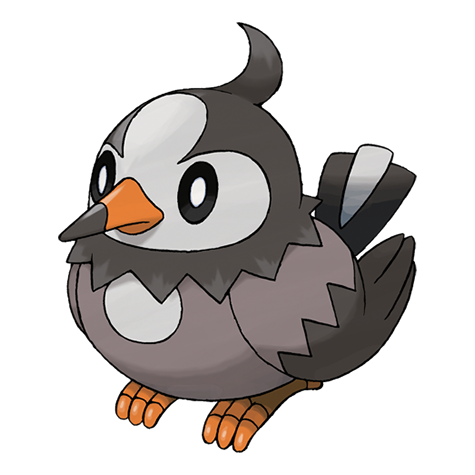 Starly Starly | DP | 4-6 | 35% | 45% | 25% | Rate counts base slots temporarily replaced by the daily swarm, hard-shaking Poké Radar patches, and GBA dual-slot insertions. |
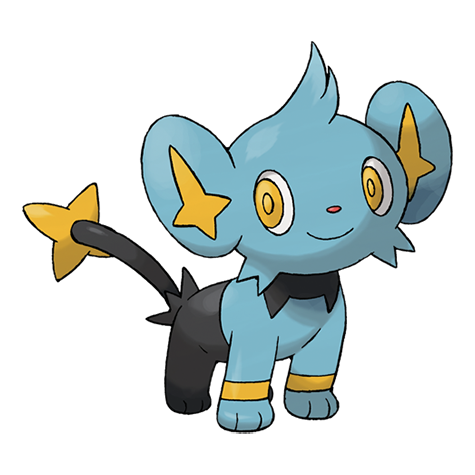 Shinx Shinx | DP | 4-5 | 25% | Rate counts base slots temporarily replaced by the daily swarm. | ||
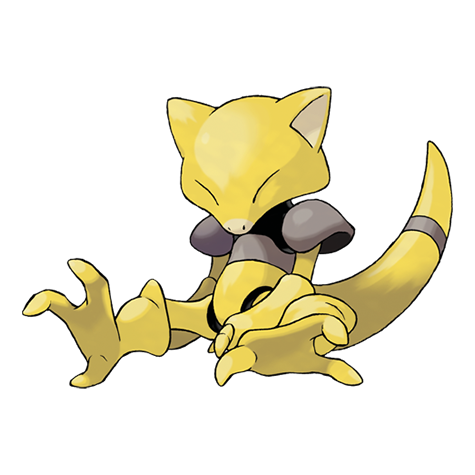 Abra Abra | DP | 4-5 | 15% | Rate counts base slots temporarily replaced by hard-shaking Poké Radar patches. | ||
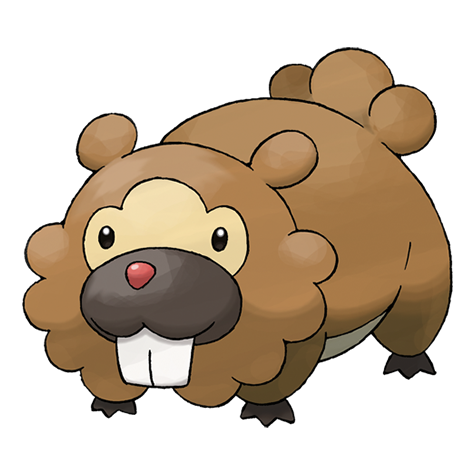 Bidoof Bidoof | DP | 4-6 | 15% | Rate counts base slots temporarily replaced by hard-shaking Poké Radar patches and GBA dual-slot insertions. | ||
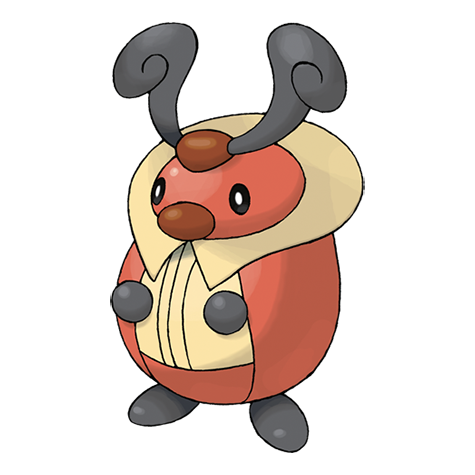 Kricketot Kricketot | DP | 4 | 10% | — | 10% | — |
 Zubat Zubat | DP | 5 | — | — | 10% | — |
| Swarm (post-National Dex daily announcement) | ||||||
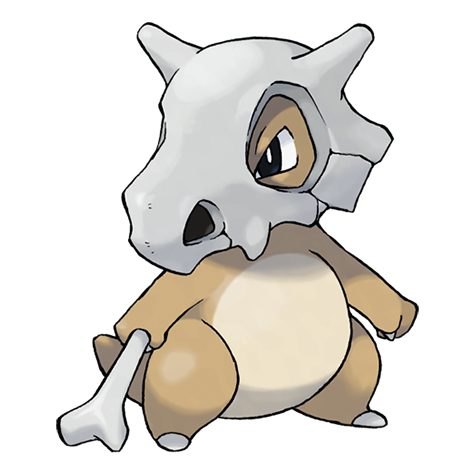 Cubone Cubone | DP | 4 | 40% | Post-National Dex daily swarm; replaces grass slots 0-1. | ||
| Poké Radar (post-National Dex) | ||||||
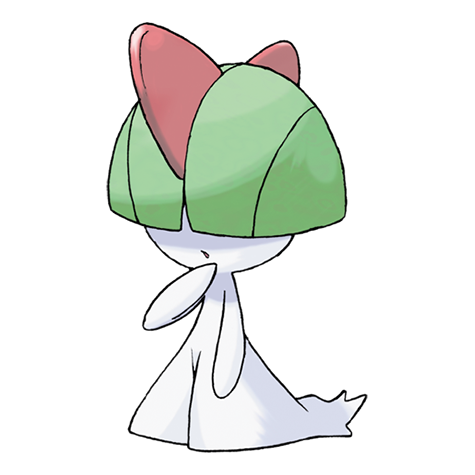 Ralts Ralts | DP | 4-6 | 21% | National Dex and Poké Radar required; replacement slot applies only in a hard/vigorous-shaking Radar patch. | ||
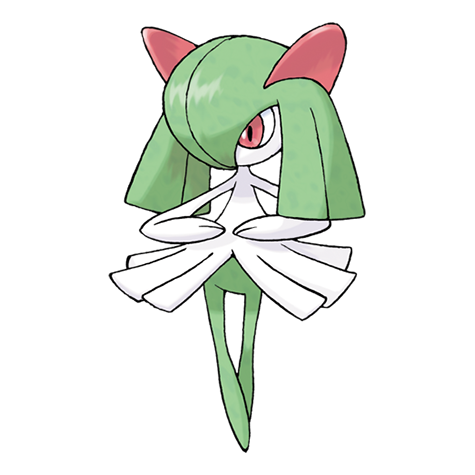 Kirlia Kirlia | DP | 6 | 1% | National Dex and Poké Radar required; replacement slot applies only in a hard/vigorous-shaking Radar patch. | ||
| Dual-slot GBA insertion (post-National Dex) | ||||||
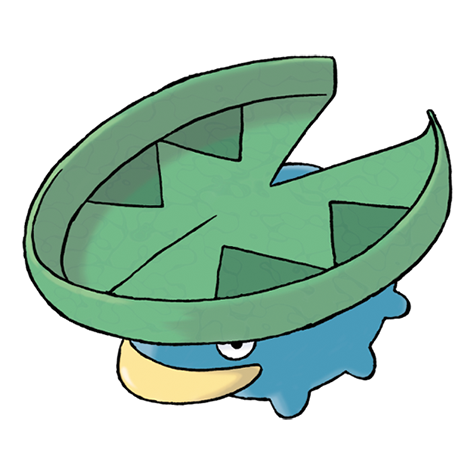 Lotad Lotad | DP | 5 | 8% | National Dex plus Pokémon Sapphire inserted in the Nintendo DS GBA slot; replaces grass slots 8-9. | ||
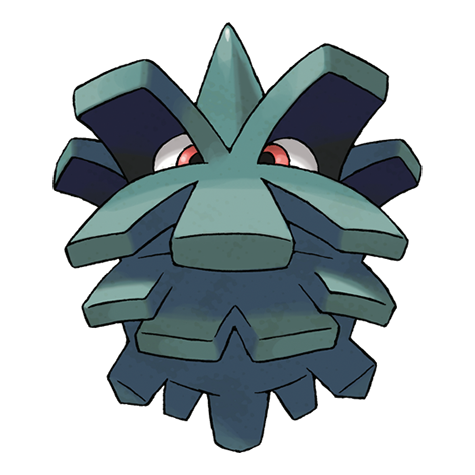 Pineco Pineco | DP | 5 | 8% | National Dex plus Pokémon Emerald inserted in the Nintendo DS GBA slot; replaces grass slots 8-9. | ||
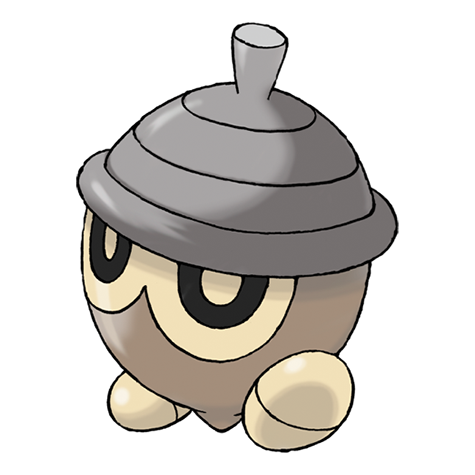 Seedot Seedot | DP | 5 | 8% | National Dex plus Pokémon Ruby inserted in the Nintendo DS GBA slot; replaces grass slots 8-9. | ||
| Surfing | ||||||
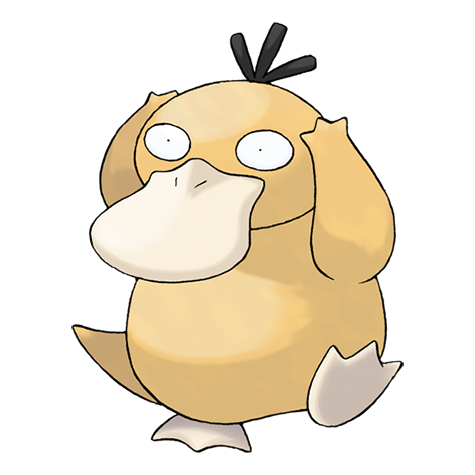 Psyduck Psyduck | DP | 20-40 | 90% | — | ||
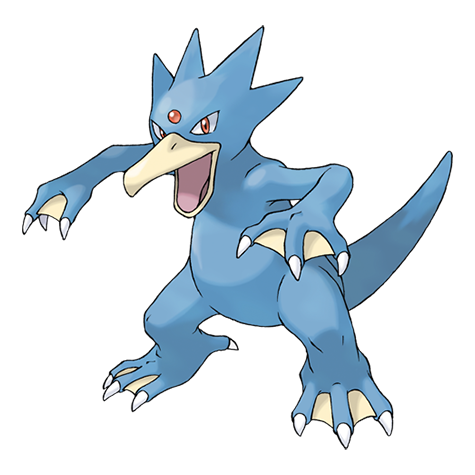 Golduck Golduck | DP | 20-40 | 10% | — | ||
| Fishing — Old Rod | ||||||
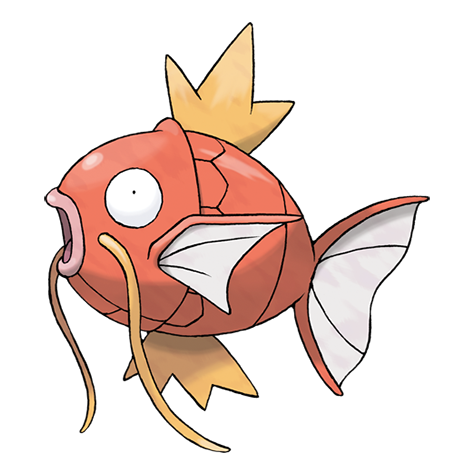 Magikarp Magikarp | DP | 3-10 | 100% | — | ||
| Fishing — Good Rod | ||||||
| Magikarp | DP | 10-25 | 55% | — | ||
 Goldeen Goldeen | DP | 10-25 | 45% | — | ||
| Fishing — Super Rod | ||||||
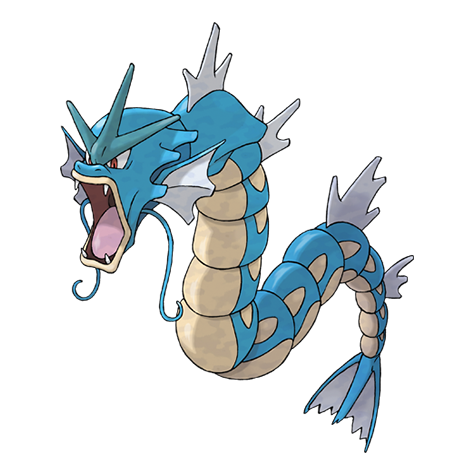 Gyarados Gyarados | DP | 30-55 | 55% | — | ||
 Seaking Seaking | DP | 20-50 | 45% | — | ||
Trainers
Field order follows the map's object-event order. Full teams include explicit held items and moves when trdata defines them; cash rewards use the in-engine final-party-slot level and trainer-class multiplier formula.
| Trainer | Route order / placement | Full team | Reward | Access requirement | Optional / rematch note |
|---|---|---|---|---|---|
 Youngster SebastianYoungster • source ID 356 Youngster SebastianYoungster • source ID 356 | Route 203 • field order 1 at (245, 756) |
| ₽112 | Reach the trainer's named field subarea; line of sight determines whether the battle is avoidable. | Field order 1, tile (245, 756); sightline/path determines whether it can be avoided. No higher-level same-trainer rematch variant is defined in trdata. |
| Youngster MichaelYoungster • source ID 4 | Route 203 • field order 2 at (204, 750) | ₽80 | Reach the trainer's named field subarea; line of sight determines whether the battle is avoidable. | Field order 2, tile (204, 750); sightline/path determines whether it can be avoided. No higher-level same-trainer rematch variant is defined in trdata. | |
 Lass KaitlinLass • source ID 323 Lass KaitlinLass • source ID 323 | Route 203 • field order 3 at (234, 757) | ₽64 | Reach the trainer's named field subarea; line of sight determines whether the battle is avoidable. | Field order 3, tile (234, 757); sightline/path determines whether it can be avoided. No higher-level same-trainer rematch variant is defined in trdata. | |
| Youngster DallasYoungster • source ID 355 | Route 203 • field order 4 at (222, 756) | ₽112 | Reach the trainer's named field subarea; line of sight determines whether the battle is avoidable. | Field order 4, tile (222, 756); sightline/path determines whether it can be avoided. Higher-level source variants used by the rematch system: ID 768: Lv. 19; ID 769: Lv. 31; ID 770: Lv. 55. | |
| Lass MadelineLass • source ID 322 | Route 203 • field order 5 at (240, 748) | ₽80 | Reach the trainer's named field subarea; line of sight determines whether the battle is avoidable. | Field order 5, tile (240, 748); sightline/path determines whether it can be avoided. Higher-level source variants used by the rematch system: ID 706: Lv. 17/Lv. 17; ID 707: Lv. 29/Lv. 29; ID 708: Lv. 38/Lv. 38. | |
 Pokémon Trainer BarryPokémon Trainer Barry • source ID 247 Pokémon Trainer BarryPokémon Trainer Barry • source ID 247 | Route 203 • scripted | ₽900 | Scripted story trigger; complete the local objective described in the route plan. | Major or story battle; not a VS Seeker rematch row. | |
| Pokémon Trainer BarryPokémon Trainer Barry • source ID 248 | Route 203 • scripted | ₽900 | Scripted story trigger; complete the local objective described in the route plan. | Major or story battle; not a VS Seeker rematch row. | |
| Pokémon Trainer BarryPokémon Trainer Barry • source ID 249 | Route 203 • scripted | ₽900 | Scripted story trigger; complete the local objective described in the route plan. | Major or story battle; not a VS Seeker rematch row. |
Items
| Item | Version | Type | Area / exact direction | Coordinate / script | Requirement | Source |
|---|---|---|---|---|---|---|
| Repel | Diamond / Pearl | Visible item ball | Route 203: Pick up the item ball in the northern part of Route 203, 24 tiles west and 4 tiles north of the Oreburgh Gate 1F doorway or transition. | (222, 745) | Reach this subarea; check the route and puzzle notes for HM, Bicycle, time, or story gates. | event bank 329, script 7003 |
| Poké Ball | Diamond / Pearl | Visible item ball | Route 203: Pick up the item ball in the central part of Route 203, 35 tiles west and 1 tile south of the Oreburgh Gate 1F doorway or transition. | (211, 750) | Reach this subarea; check the route and puzzle notes for HM, Bicycle, time, or story gates. | event bank 329, script 7004 |
Hidden Items
No type-2 hidden-item event is present in the source maps assigned to this section.
Puzzles, Warps, And Switches
- The northern ledge route and southern grass route reconnect before the cave. Sweep both branches before jumping the final ledge if completing every trainer and item.
Boss Strategy And Partners
Pokémon Trainer BarryPokémon Trainer Barry • source ID 247Full team
Danger notes
Barry's starter branch changes with the player's choice; later teams also swap the complementary Roserade/Floatzel/Rapidash slot.
Practical counters
Read the full branch team rather than countering only the starter. Rock or Electric covers the bird, while the remaining slots need broad Water, Grass, Fire, Flying, or Fighting coverage.
Pokémon Trainer BarryPokémon Trainer Barry • source ID 248Full team
Danger notes
Barry's starter branch changes with the player's choice; later teams also swap the complementary Roserade/Floatzel/Rapidash slot.
Practical counters
Read the full branch team rather than countering only the starter. Rock or Electric covers the bird, while the remaining slots need broad Water, Grass, Fire, Flying, or Fighting coverage.
Pokémon Trainer BarryPokémon Trainer Barry • source ID 249Full team
Danger notes
Barry's starter branch changes with the player's choice; later teams also swap the complementary Roserade/Floatzel/Rapidash slot.
Practical counters
Read the full branch team rather than countering only the starter. Rock or Electric covers the bird, while the remaining slots need broad Water, Grass, Fire, Flying, or Fighting coverage.
Completion Checklist
- Complete the currently reachable part of this route plan: Heal in Jubilife; save before walking east; defeat Barry; catch Abra or other desired route encounters; clear the upper and lower trainer paths; collect the Repel; enter Oreburgh Gate.
- Review all 19 encounter rows across the per-area tables, including game markers, method band, time-of-day rates, levels, and each conditional requirement; mark conditional rows for their stated revisit.
- Defeat or deliberately skip every currently reachable trainer row; leave HM-, story-, or National-Dex-gated rows checked only after their access requirement is met.
- Collect currently reachable visible/scripted items and berry trees, use the Dowsing Machine for reachable hidden rows, and retain every explicitly gated row for the named cleanup visit.
- Resolve every currently available puzzle note, boss branch, and partner scene before opening the next section.
Sources And Validation
pret/pokediamondat commit038cccaed5de8f013875bc5d734f912d1de08e0f:map_header.c, D/P encounter archives,trdata.json, zone events, script archives, item tables, and trainer graphics.- Encounter slots were decoded from exact 424-byte D/P members and cross-checked against Gen IV slot behavior; the 0x6C pair is day, morning uses base slots, and 0x74 is night.
- Coordinates remain visible as QA anchors, while each hidden row also provides a plain-English map-region instruction.
- Generation-wide systems that are not tied to a normal map archive—Honey Trees, Great Marsh daily rolls, Trophy Garden, fossils, Pal Park, and event items—are explicitly curated in their dedicated system pages.
Dex quick links