
Phase 8 section


Pokemon Diamond and Pearl Sunyshore Gym and Volkner Walkthrough
 Beacon Badge
 Rotate gear bridges through three electrical rooms and defeat Volkner's mixed Electric-focused team. Exact Diamond/Pearl encounters, every sourced trainer, visible and hidden items, puzzle notes, boss teams, and completion checks.
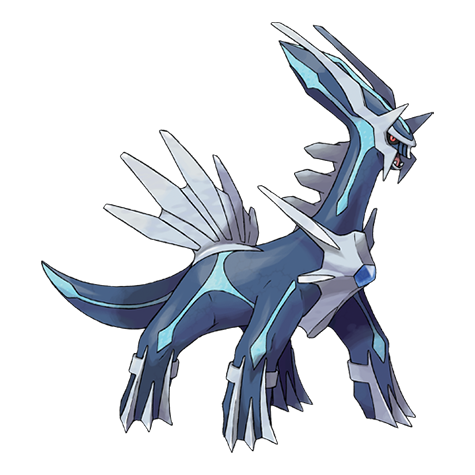
Phase 8 Beacon Badge Galactic HQ, Mt. Coronet, Spear Pillar, Dialga or Palkia, Sunyshore City, and Volkner. 08 / 11 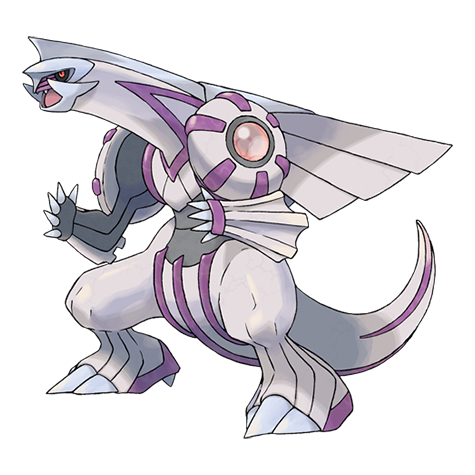
Rotate gear bridges through three electrical rooms and defeat Volkner's mixed Electric-focused team. This standalone section joins the route plan to the original Diamond/Pearl map, encounter, trainer, item, and script data; Platinum tables are not substituted.
Source maps
Sunyshore Gym Room 1, Sunyshore Gym Room 2, and Sunyshore Gym Room 3.
Version discipline
Rows merge only when Diamond and Pearl are identical, and each row carries D/P game markers. Version-exclusive species, mascot encounters, swarms, Radar slots, and GBA insertion slots keep their own labeled rows.
Route Plan
Bring Ground attacks but account for Ambipom and Octillery; step on colored switches to rotate gears; clear all trainers before leaving each stable alignment; create the final bridge to Volkner; save; defeat Raichu, Ambipom, Octillery, and Luxray.
- Only half of Volkner's Diamond/Pearl team is Electric type because the original regional Pokedex is small; Ground alone does not sweep Ambipom or Octillery super effectively.
- The Beacon Badge enables Waterfall, which Jasmine gives on Sunyshore's north beach after the victory.
Exact pret map constants (3)
MAP_SUNYSHORE_GYM_ROOM_1 MAP_SUNYSHORE_GYM_ROOM_2 MAP_SUNYSHORE_GYM_ROOM_3
Wild Pokémon
No random wild encounter archive or curated static/gift row applies to this section. This is expected for some buildings, story rooms, and Gym interiors.
Trainers
Field order follows the map's object-event order. Full teams include explicit held items and moves when trdata defines them; cash rewards use the in-engine final-party-slot level and trainer-class multiplier formula.
| Trainer | Route order / placement | Full team | Reward | Access requirement | Optional / rematch note |
|---|---|---|---|---|---|
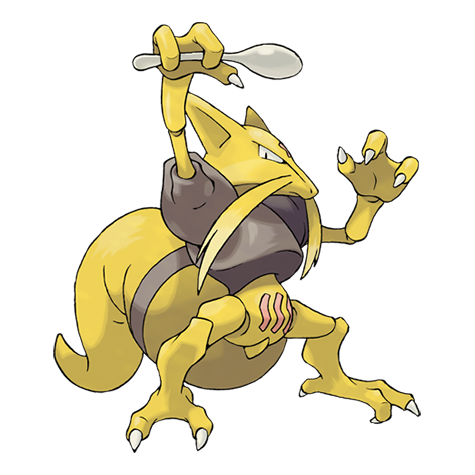
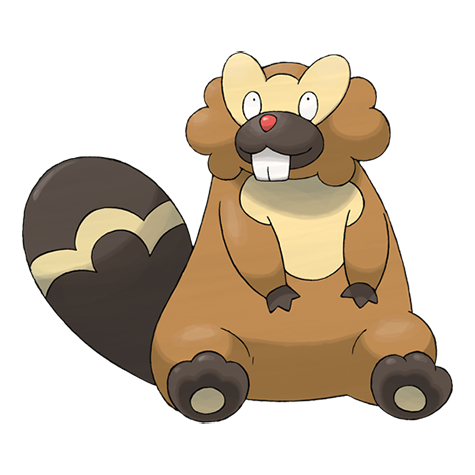
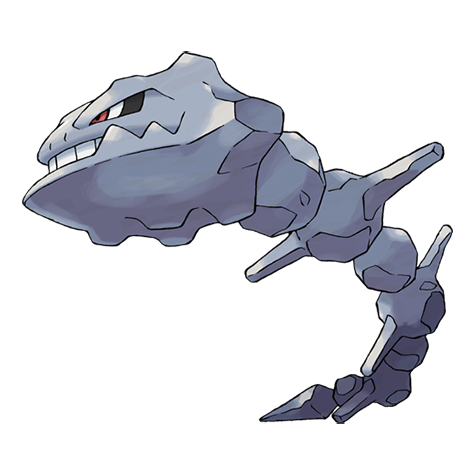
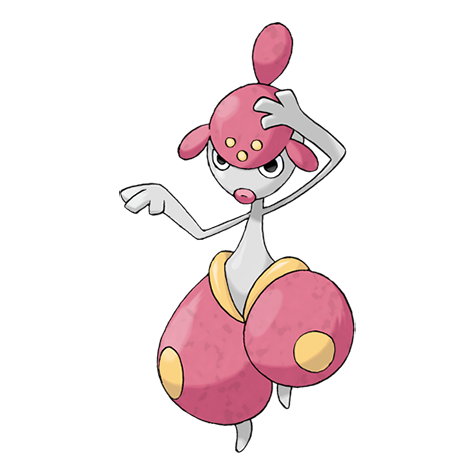
 School Kid Female TieraSchool Kid Female • source ID 344 School Kid Female TieraSchool Kid Female • source ID 344 | Sunyshore Gym Room 1 • field order 1 at (6, 4) |
| ₽880 | Reach the trainer's named field subarea; line of sight determines whether the battle is avoidable. | Field order 1, tile (6, 4); sightline/path determines whether it can be avoided. No higher-level same-trainer rematch variant is defined in trdata. |
 School Kid Male ForrestSchool Kid Male • source ID 341 School Kid Male ForrestSchool Kid Male • source ID 341 | Sunyshore Gym Room 2 • field order 1 at (4, 5) |
| ₽880 | Reach the trainer's named field subarea; line of sight determines whether the battle is avoidable. | Field order 1, tile (4, 5); sightline/path determines whether it can be avoided. No higher-level same-trainer rematch variant is defined in trdata. |
 Guitarist JerryGuitarist • source ID 301 Guitarist JerryGuitarist • source ID 301 | Sunyshore Gym Room 2 • field order 2 at (14, 11) |
| ₽1,056 | Reach the trainer's named field subarea; line of sight determines whether the battle is avoidable. | Field order 2, tile (14, 11); sightline/path determines whether it can be avoided. No higher-level same-trainer rematch variant is defined in trdata. |
 Poké Kid MeghanPoké Kid • source ID 331 Poké Kid MeghanPoké Kid • source ID 331 | Sunyshore Gym Room 2 • field order 3 at (12, 4) | ₽328 | Reach the trainer's named field subarea; line of sight determines whether the battle is avoidable. | Field order 3, tile (12, 4); sightline/path determines whether it can be avoided. No higher-level same-trainer rematch variant is defined in trdata. | |
 Ace Trainer Female DestinyAce Trainer Female • source ID 285 Ace Trainer Female DestinyAce Trainer Female • source ID 285 | Sunyshore Gym Room 3 • field order 1 at (4, 23) | ₽2,640 | Reach the trainer's named field subarea; line of sight determines whether the battle is avoidable. | Field order 1, tile (4, 23); sightline/path determines whether it can be avoided. No higher-level same-trainer rematch variant is defined in trdata. | |
| Guitarist PrestonGuitarist • source ID 302 | Sunyshore Gym Room 3 • field order 2 at (3, 3) | ₽1,008 | Reach the trainer's named field subarea; line of sight determines whether the battle is avoidable. | Field order 2, tile (3, 3); sightline/path determines whether it can be avoided. No higher-level same-trainer rematch variant is defined in trdata. | |
| Guitarist LonnieGuitarist • source ID 303 | Sunyshore Gym Room 3 • field order 3 at (16, 23) |
| ₽1,056 | Reach the trainer's named field subarea; line of sight determines whether the battle is avoidable. | Field order 3, tile (16, 23); sightline/path determines whether it can be avoided. No higher-level same-trainer rematch variant is defined in trdata. |
 Ace Trainer Male ZacheryAce Trainer Male • source ID 281 Ace Trainer Male ZacheryAce Trainer Male • source ID 281 | Sunyshore Gym Room 3 • field order 4 at (21, 10) | ₽2,640 | Reach the trainer's named field subarea; line of sight determines whether the battle is avoidable. | Field order 4, tile (21, 10); sightline/path determines whether it can be avoided. No higher-level same-trainer rematch variant is defined in trdata. | |
 Leader VolknerLeader Volkner • source ID 320 Leader VolknerLeader Volkner • source ID 320 | Sunyshore Gym Room 3 • scripted | ₽5,880 | Scripted story trigger; complete the local objective described in the route plan. | Major or story battle; not a VS Seeker rematch row. |


Items
| Item | Version | Type | Area / exact direction | Coordinate / script | Requirement | Source |
|---|---|---|---|---|---|---|
| TM57 | Diamond / Pearl | NPC / scripted gift | Sunyshore Gym Room 3: Receive this TM from the Gym Leader immediately after the badge victory. | NPC (11, 3); script 4 | Defeat the Gym Leader; this is part of the one-time badge reward. | script bank 154 |
| HM07 Waterfall | Diamond / Pearl | Gift after Gym | Sunyshore Gym and Volkner: Jasmine gives it on Sunyshore's north beach after Volkner is defeated; field use requires the Beacon Badge. | NPC / system | See the route plan. | editorial script/system note |
Hidden Items
No type-2 hidden-item event is present in the source maps assigned to this section.
Puzzles, Warps, And Switches
- Green switches rotate adjacent gears a quarter turn and blue/red switches make larger changes. Step off after each rotation, inspect every bridge, then use the next switch only if it opens a new platform.
- In the final room, rotate the outer gears to cross both sides, then restore the center gear so its bridge points toward Volkner.
Boss Strategy And Partners
Leader VolknerLeader Volkner • source ID 320Full team
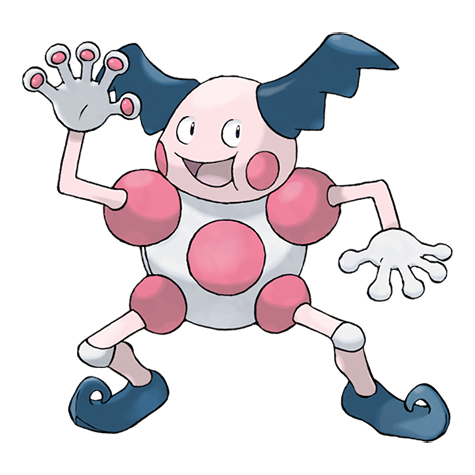
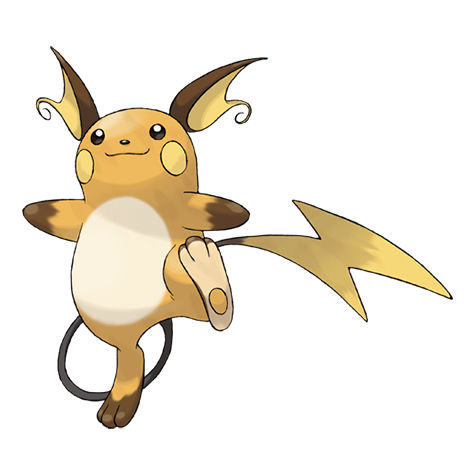 RaichuCharge Beam / Brick Break / Thunder Wave / Light Screen
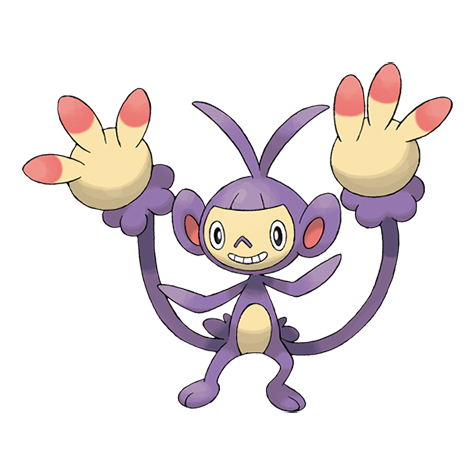 AmbipomShock Wave / Agility / Nasty Plot / Baton Pass
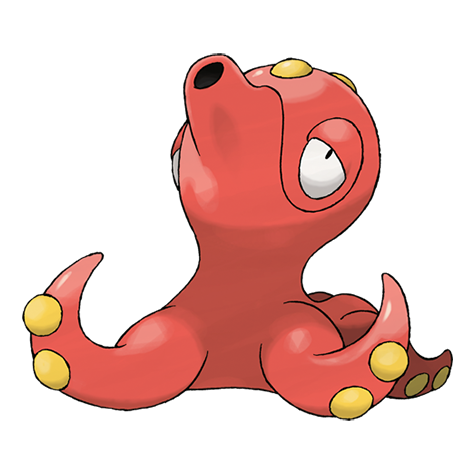 OctilleryCharge Beam / Octazooka / Aurora Beam / Bullet Seed
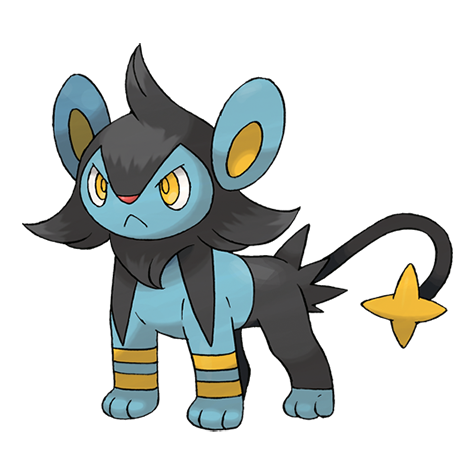
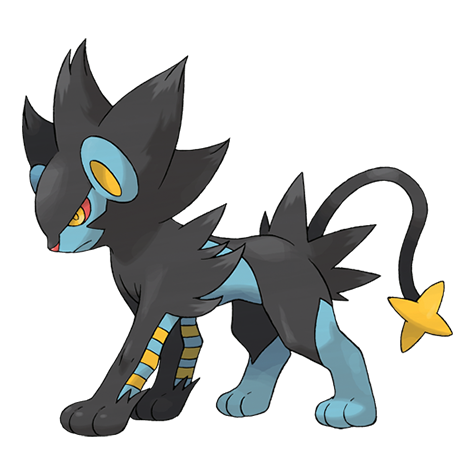 Luxrayholds Sitrus Berry • Charge Beam / Thunder Fang / Crunch / Thunder Wave
Danger notes
Volkner's Ambipom and Octillery punish a one-note Ground plan, while Luxray closes with high power.
Practical counters
Ground is central but not sufficient alone. Grass or Electric handles Octillery; Fighting checks Ambipom; preserve the Ground user for Raichu and Luxray.
Completion Checklist
- Complete the currently reachable part of this route plan: Bring Ground attacks but account for Ambipom and Octillery; step on colored switches to rotate gears; clear all trainers before leaving each stable alignment; create the final bridge to Volkner; save; defeat Raichu, Ambipom, Octillery, and Luxray.
- Review all 0 encounter rows across the per-area tables, including game markers, method band, time-of-day rates, levels, and each conditional requirement; mark conditional rows for their stated revisit.
- Defeat or deliberately skip every currently reachable trainer row; leave HM-, story-, or National-Dex-gated rows checked only after their access requirement is met.
- Collect currently reachable visible/scripted items and berry trees, use the Dowsing Machine for reachable hidden rows, and retain every explicitly gated row for the named cleanup visit.
- Resolve every currently available puzzle note, boss branch, and partner scene before opening the next section.
Sources And Validation
pret/pokediamondat commit038cccaed5de8f013875bc5d734f912d1de08e0f:map_header.c, D/P encounter archives,trdata.json, zone events, script archives, item tables, and trainer graphics.- Encounter slots were decoded from exact 424-byte D/P members and cross-checked against Gen IV slot behavior; the 0x6C pair is day, morning uses base slots, and 0x74 is night.
- Coordinates remain visible as QA anchors, while each hidden row also provides a plain-English map-region instruction.
- Generation-wide systems that are not tied to a normal map archive—Honey Trees, Great Marsh daily rolls, Trophy Garden, fossils, Pal Park, and event items—are explicitly curated in their dedicated system pages.
Dex quick links