
Phase 9 of 11


Pokemon Diamond and Pearl Phase 9: Victory Road and Pokemon League Walkthrough
Climb Route 223, master Victory Road's HM maze, defeat Barry, and overcome the Elite Four and Cynthia. 8 detailed sections with Diamond/Pearl encounters, trainers, items, puzzles, boss teams, and checklists.
Phase Snapshot
Phase 9: Victory Road and Pokemon League
Climb Route 223, master Victory Road's HM maze, defeat Barry, and overcome the Elite Four and Cynthia.
Data rows
Phase Sections
Major Battles And Partners
 Pokémon Trainer BarryPokémon Trainer Barry • source ID 479
Full team
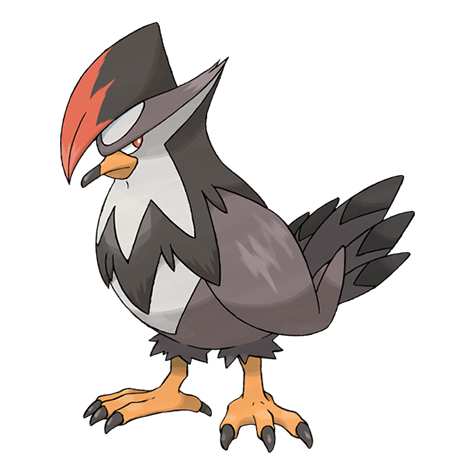 StaraptorClose Combat / Aerial Ace / Steel Wing / U Turn
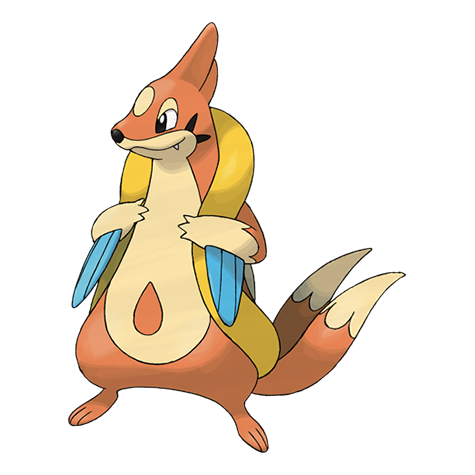 FloatzelAqua Jet / Crunch / Ice Fang / Brick Break
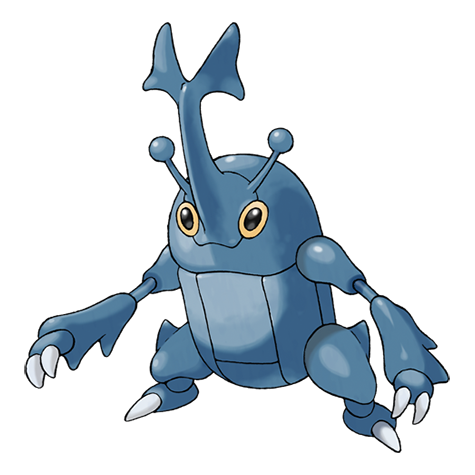 HeracrossClose Combat / Rock Slide / Night Slash / Aerial Ace
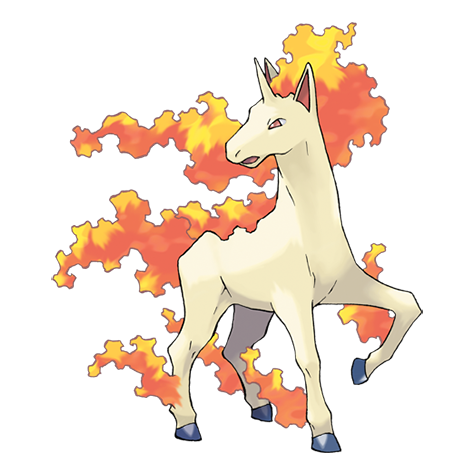 RapidashFire Blast / Sunny Day / Bounce / Will O Wisp
 SnorlaxBody Slam / Crunch / Earthquake / Rest
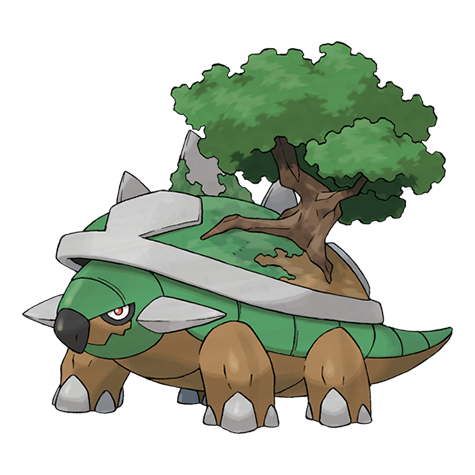 TorterraLeaf Storm / Earthquake / Crunch / Synthesis
Practical counters
Pokémon Trainer BarryPokémon Trainer Barry • source ID 480Full team
- StaraptorClose Combat / Aerial Ace / Steel Wing / U Turn
- FloatzelAqua Jet / Crunch / Ice Fang / Brick Break
- HeracrossClose Combat / Rock Slide / Night Slash / Aerial Ace
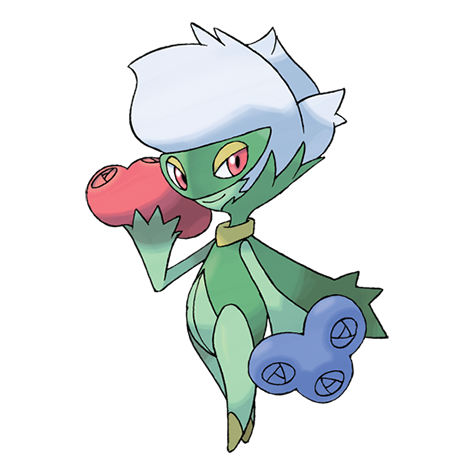 RoseradePoison Jab / Giga Drain / Shadow Ball / Grass Whistle
- SnorlaxBody Slam / Crunch / Earthquake / Rest
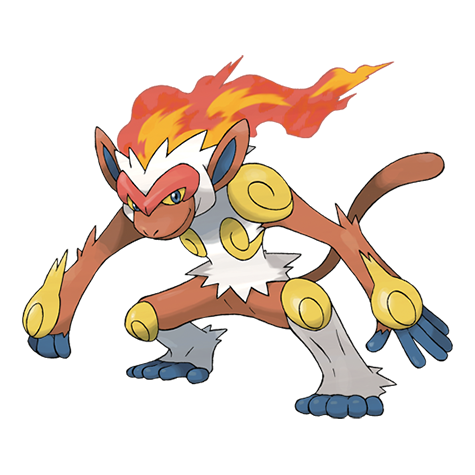 InfernapeFlamethrower / Focus Blast / Shadow Claw / Aerial Ace
Practical counters
Pokémon Trainer BarryPokémon Trainer Barry • source ID 481Full team
- StaraptorClose Combat / Aerial Ace / Steel Wing / U Turn
- RoseradePoison Jab / Giga Drain / Shadow Ball / Grass Whistle
- HeracrossClose Combat / Rock Slide / Night Slash / Aerial Ace
- RapidashFire Blast / Sunny Day / Bounce / Will O Wisp
- SnorlaxBody Slam / Crunch / Earthquake / Rest
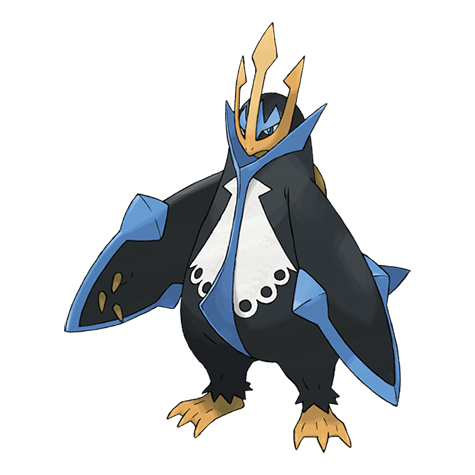 EmpoleonBrine / Aerial Ace / Metal Claw / Shadow Claw
Practical counters
 Elite Four AaronElite Four Aaron • source ID 261
Full team
 DustoxToxic / Bug Buzz / Double Team / Light Screen
 BeautiflyEnergy Ball / Bug Buzz / Psychic / Shadow Ball
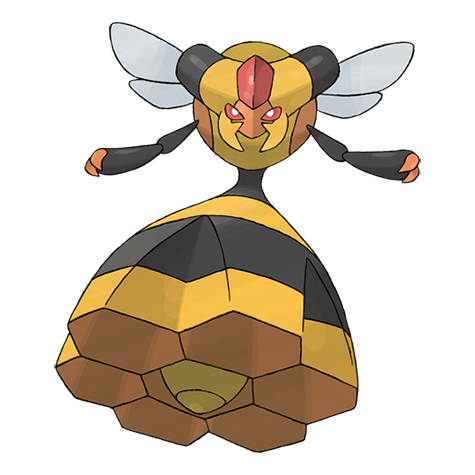 VespiquenAttack Order / Defend Order / Heal Order / Power Gem
- HeracrossMegahorn / Close Combat / Night Slash / Stone Edge
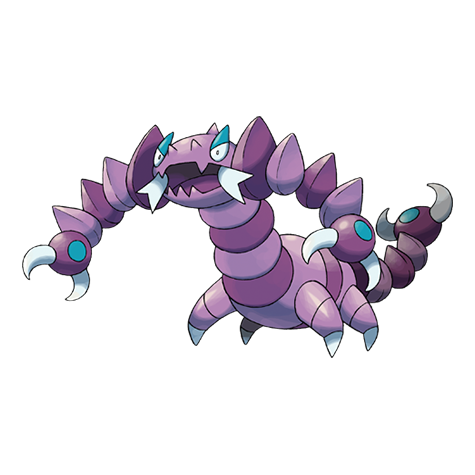 Drapionholds Sitrus Berry • X Scissor / Cross Poison / Ice Fang / Aerial Ace
Danger notes
Drapion is not weak to Fire, Flying, or Rock like Aaron's Bug members and is his strongest closer.
Practical counters
Use Fire, Flying, or Rock early, then save Ground coverage for Drapion. Heracross also demands a fast Flying answer.
 Elite Four BerthaElite Four Bertha • source ID 262
Full team
 QuagsireDig / Double Team / Protect / Sandstorm
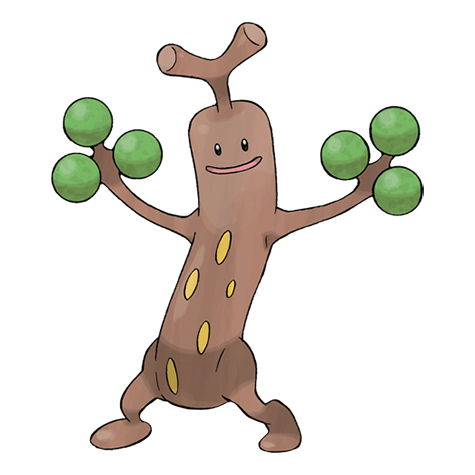 SudowoodoEarthquake / Sucker Punch / Hammer Arm / Sandstorm
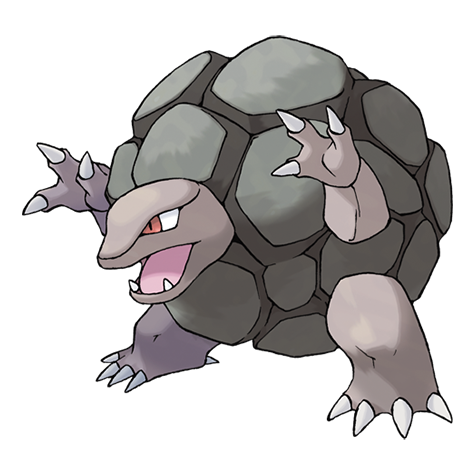 GolemEarthquake / Gyro Ball / Brick Break / Sandstorm
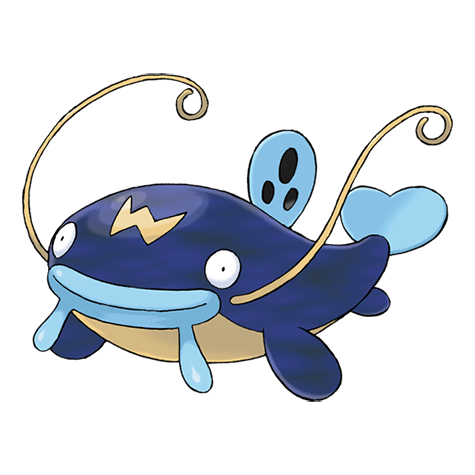 WhiscashFissure / Aqua Tail / Zen Headbutt / Rock Slide
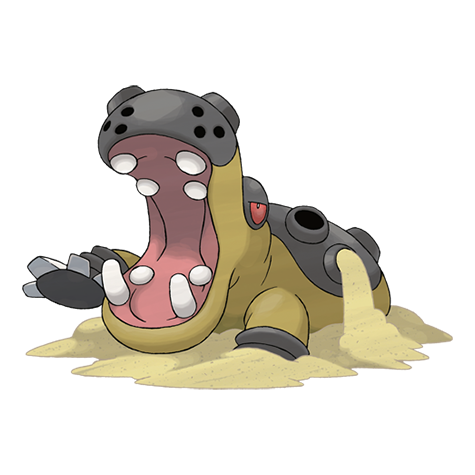 Hippowdonholds Sitrus Berry • Earthquake / Stone Edge / Crunch / Curse
Danger notes
Quagsire and Whiscash negate Electric and are four-times weak to Grass; Hippowdon brings sand and bulk.
Practical counters
A reliable Grass move is the cleanest route. Water and Ice help elsewhere, but avoid relying on Water alone into the Water/Ground members.
 Elite Four FlintElite Four Flint • source ID 263
Full team
- RapidashFlare Blitz / Solar Beam / Bounce / Sunny Day
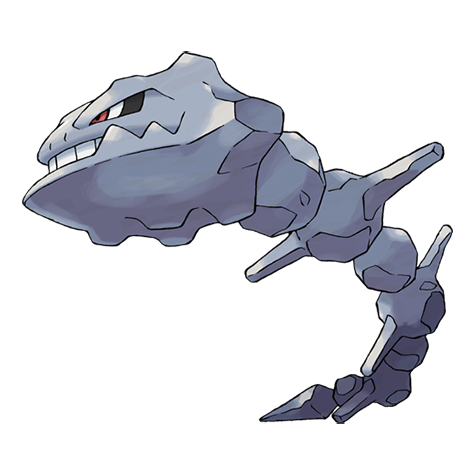 SteelixFire Fang / Rock Tomb / Screech / Sunny Day
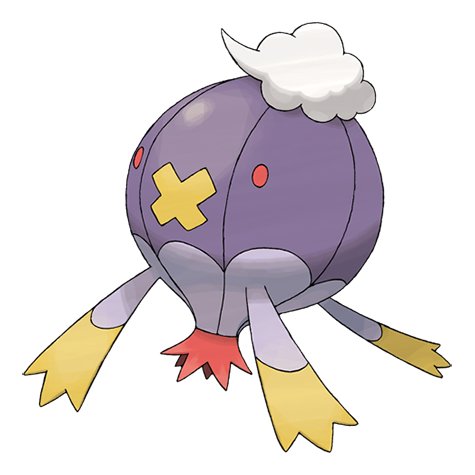 DrifblimWill O Wisp / Ominous Wind / Double Team / Baton Pass
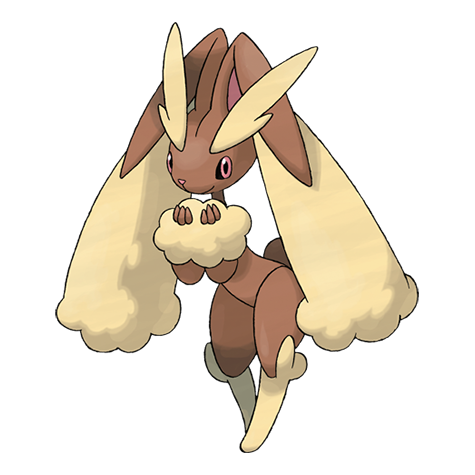 LopunnyFire Punch / Charm / Mirror Coat / Sunny Day
- Infernapeholds Sitrus Berry • Flare Blitz / Thunder Punch / Mach Punch / Earthquake
Danger notes
Flint has only two Fire types in Diamond/Pearl; Steelix, Drifblim, and Lopunny punish a pure Water sweep.
Practical counters
Use Water or Ground for Rapidash and Infernape, Fighting or Ground for Steelix/Lopunny, and Electric/Dark/Ghost for Drifblim.
 Elite Four LucianElite Four Lucian • source ID 264
Full team
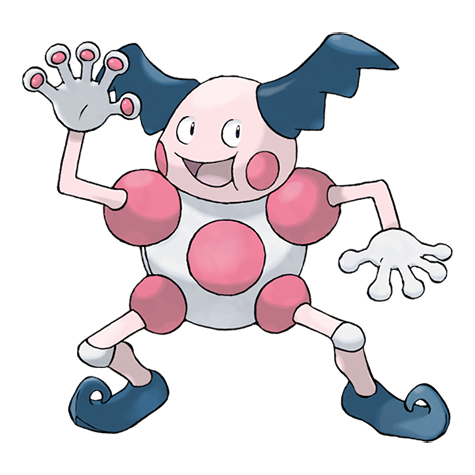 Mr MimePsychic / Thunderbolt / Reflect / Light Screen
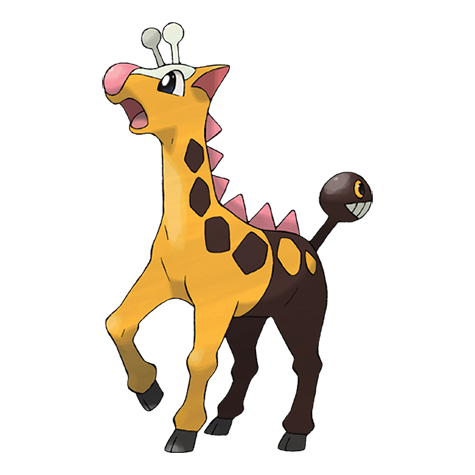 GirafarigPsychic / Shadow Ball / Double Hit / Crunch
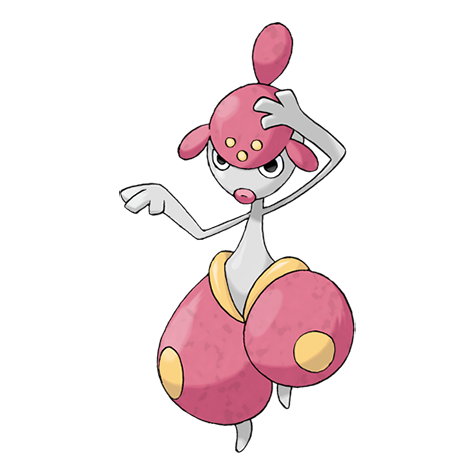 MedichamDrain Punch / Fire Punch / Thunder Punch / Ice Punch
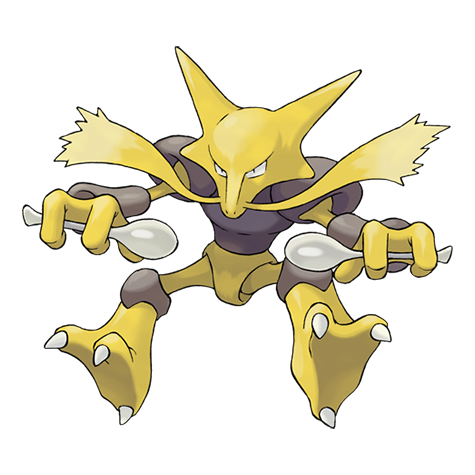 AlakazamPsychic / Energy Ball / Focus Blast / Recover
 Bronzongholds Sitrus Berry • Psychic / Gyro Ball / Earthquake / Calm Mind
Danger notes
Mr. Mime can establish screens and Bronzong may erase the Ground or Fire weakness you expected.
Practical counters
Dark, Ghost, and Bug pressure the Psychic core. Remove screens quickly and use battle feedback to identify Bronzong's safer weakness.
 Champion CynthiaChampion • source ID 267
Full team
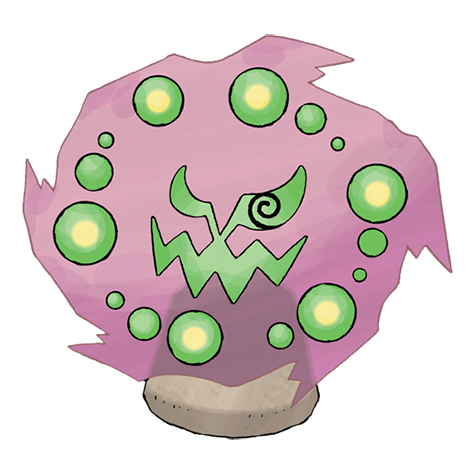 SpiritombDark Pulse / Psychic / Silver Wind / Embargo
- RoseradeEnergy Ball / Sludge Bomb / Shadow Ball / Extrasensory
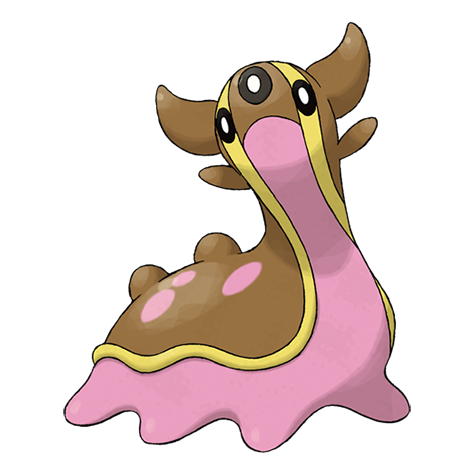 GastrodonMuddy Water / Earthquake / Stone Edge / Sludge Bomb
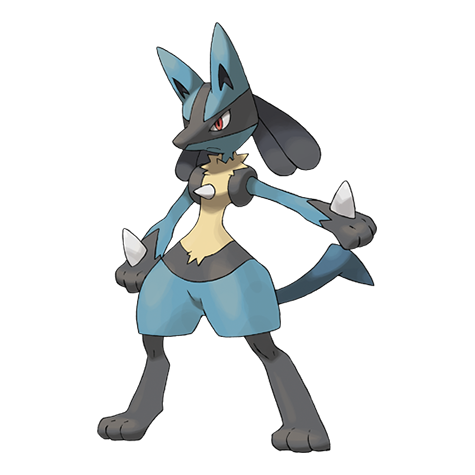 LucarioAura Sphere / Dragon Pulse / Psychic / Earthquake
 MiloticSurf / Ice Beam / Mirror Coat / Aqua Ring
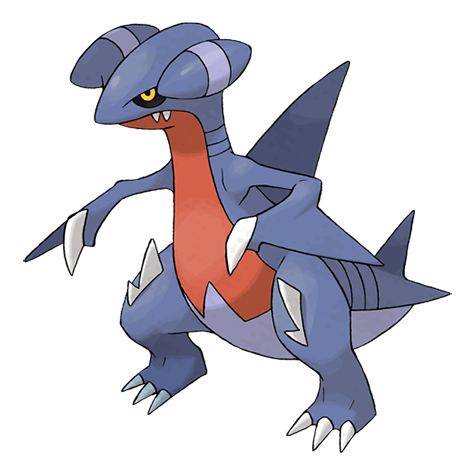
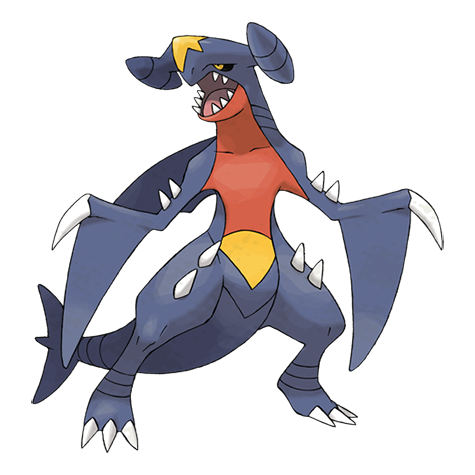 Garchompholds Sitrus Berry • Dragon Rush / Earthquake / Brick Break / Giga Impact
Danger notes
Spiritomb has no weakness in Generation IV, Milotic is difficult to wear down, and Lv. 66 Garchomp can sweep weakened teams.
Practical counters
Win Spiritomb through strong neutral damage, save Grass for Gastrodon, Fighting/Ground/Fire for Lucario, Electric/Grass for Milotic, and a healthy Ice user for Garchomp.
Data Coverage
This phase owns 24 Diamond/Pearl source maps and publishes 39 encounter rows, 35 trainer rows, 12 visible/scripted items, and 9 hidden-item rows. Counts include explicit starter/rival branches and curated systems but never substitute Platinum encounters or story maps.
Route 223 and the Pokemon League Waterfall
Surf north through swimmers, collect offshore items, climb the final Waterfall, and heal beneath Victory Road.
Source maps
Pokémon League, Pokémon League Pokémon Center, Pokémon League Pokémon Center 2F, Pokémon League Entrance, Route 223, and Pokémon League Pokémon Center B1F.
Route Plan
Receive Waterfall from Jasmine; leave Sunyshore north; clear every swimmer and sailor; inspect side channels for items; climb the waterfall; enter the League Pokemon Center; heal, shop, and verify all required HMs before Victory Road.
- Victory Road's main traversal needs Surf, Strength, Rock Smash, Rock Climb, and Waterfall; Defog is useful in the fog room.
- The League exterior connects to a second Pokemon Center at the summit after Victory Road, so this first stop is the last easy preparation point below the cave.
Routes and encounters on this page are compiled from 6 pret map headers.
Pokémon League
| Pokémon | Games | Levels | Rate | Requirement / notes | ||
|---|---|---|---|---|---|---|
| Morning | Day | Night | ||||
| Surfing | ||||||
 Pelipper Pelipper | DP | 35-45 | 65% | — | ||
 Tentacruel Tentacruel | DP | 35-45 | 35% | — | ||
| Fishing — Old Rod | ||||||
 Magikarp Magikarp | DP | 3-10 | 100% | — | ||
| Fishing — Good Rod | ||||||
| Magikarp | DP | 10-25 | 55% | — | ||
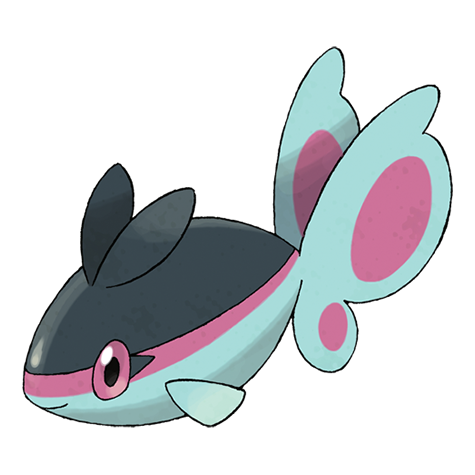
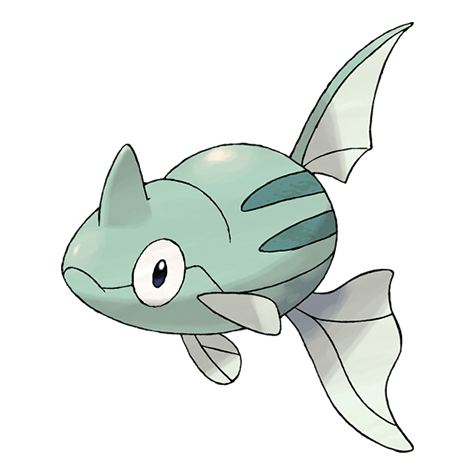 Remoraid Remoraid | DP | 10-25 | 45% | — | ||
| Fishing — Super Rod | ||||||
 Octillery Octillery | DP | 20-50 | 45% | — | ||
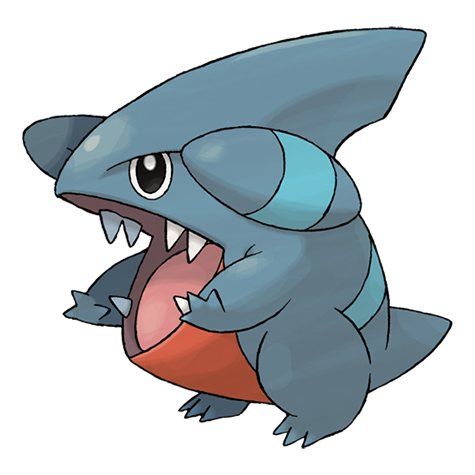
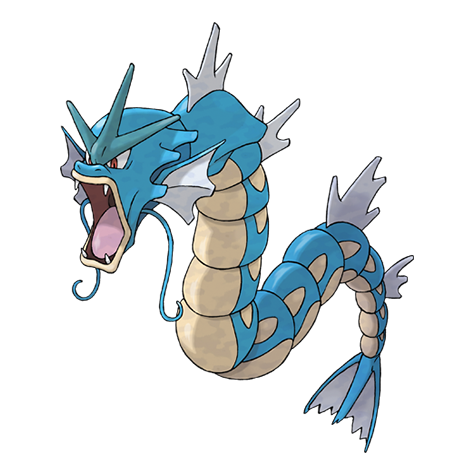 Gyarados Gyarados | DP | 30-40 | 40% | — | ||
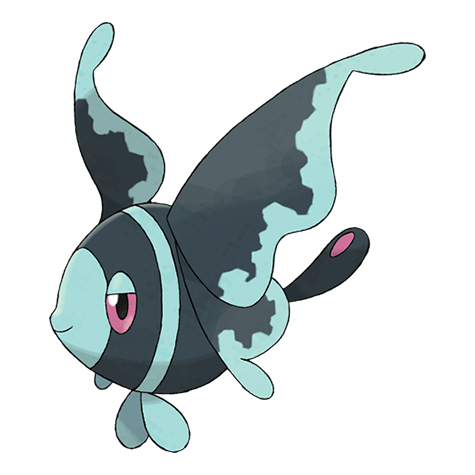
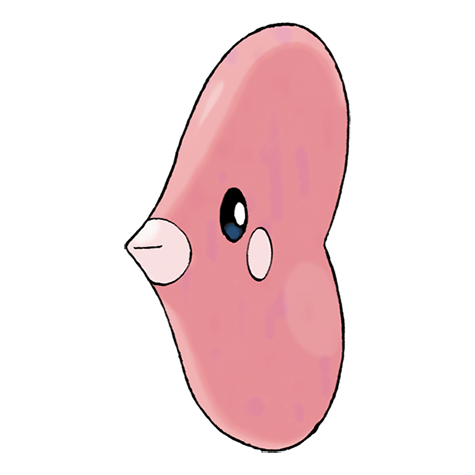 Luvdisc Luvdisc | DP | 20-30 | 15% | — | ||
Route 223
| Pokémon | Games | Levels | Rate | Requirement / notes | ||
|---|---|---|---|---|---|---|
| Morning | Day | Night | ||||
| Surfing | ||||||
| Tentacruel | DP | 35-45 | 60% | — | ||
| Pelipper | DP | 35-45 | 30% | — | ||
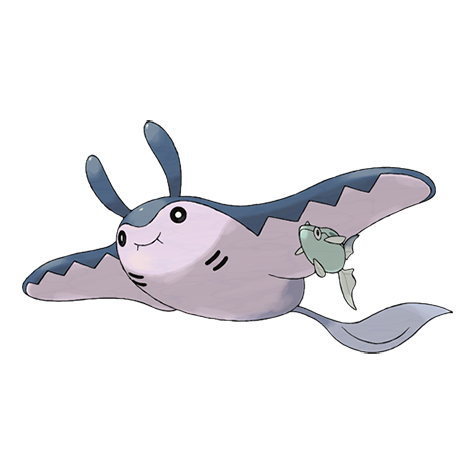
 Mantyke Mantyke | DP | 30-45 | 10% | — | ||
| Fishing — Old Rod | ||||||
| Magikarp | DP | 3-10 | 100% | — | ||
| Fishing — Good Rod | ||||||
| Magikarp | DP | 10-25 | 55% | — | ||
| Remoraid | DP | 10-25 | 45% | — | ||
| Fishing — Super Rod | ||||||
| Gyarados | DP | 30-40 | 40% | — | ||
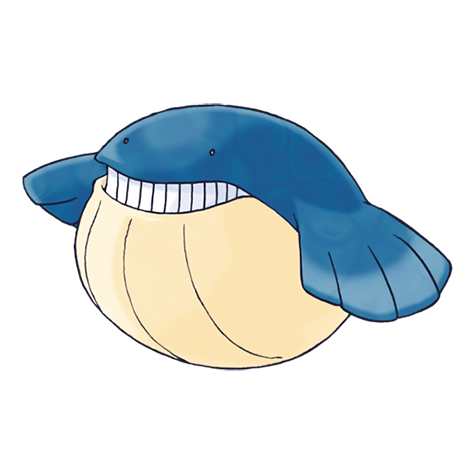 Wailmer Wailmer | DP | 30-40 | 40% | — | ||
| Octillery | DP | 40-55 | 15% | — | ||
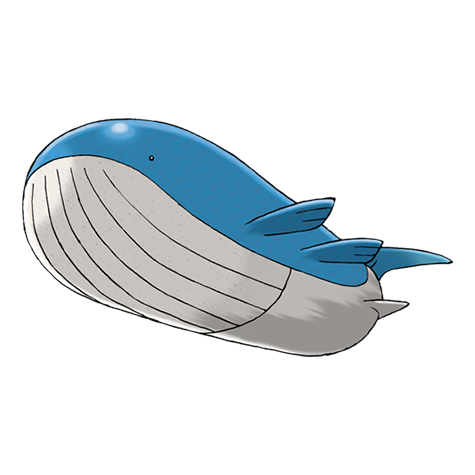 Wailord Wailord | DP | 35-55 | 5% | — | ||
Trainers
| Trainer | Route order / placement | Full team | Reward | Access requirement | Optional / rematch note |
|---|---|---|---|---|---|
 Swimmer Male WesleySwimmer Male • source ID 183 Swimmer Male WesleySwimmer Male • source ID 183 | Route 223 • field order 1 at (837, 664) | ₽656 | The Pokemon League approach requires Waterfall; Victory Road branches also use Surf, Strength, and Rock Smash. The eastern postgame wing waits for the National Dex. | Field order 1, tile (837, 664); sightline/path determines whether it can be avoided. Higher-level source variants used by the rematch system: ID 759: Lv. 58/Lv. 58. | |
| Swimmer Male RicardoSwimmer Male • source ID 184 | Route 223 • field order 2 at (844, 682) | ₽688 | The Pokemon League approach requires Waterfall; Victory Road branches also use Surf, Strength, and Rock Smash. The eastern postgame wing waits for the National Dex. | Field order 2, tile (844, 682); sightline/path determines whether it can be avoided. No higher-level same-trainer rematch variant is defined in trdata. | |
| Swimmer Male FranciscoSwimmer Male • source ID 185 | Route 223 • field order 3 at (861, 655) | ₽672 | The Pokemon League approach requires Waterfall; Victory Road branches also use Surf, Strength, and Rock Smash. The eastern postgame wing waits for the National Dex. | Field order 3, tile (861, 655); sightline/path determines whether it can be avoided. Higher-level source variants used by the rematch system: ID 760: Lv. 58/Lv. 58. | |
| Swimmer Male ColtonSwimmer Male • source ID 186 | Route 223 • field order 4 at (854, 689) | ₽656 | The Pokemon League approach requires Waterfall; Victory Road branches also use Surf, Strength, and Rock Smash. The eastern postgame wing waits for the National Dex. | Field order 4, tile (854, 689); sightline/path determines whether it can be avoided. No higher-level same-trainer rematch variant is defined in trdata. | |
| Swimmer Male TroySwimmer Male • source ID 187 | Route 223 • field order 5 at (850, 622) | ₽688 | The Pokemon League approach requires Waterfall; Victory Road branches also use Surf, Strength, and Rock Smash. The eastern postgame wing waits for the National Dex. | Field order 5, tile (850, 622); sightline/path determines whether it can be avoided. No higher-level same-trainer rematch variant is defined in trdata. | |
| Swimmer Male OscarSwimmer Male • source ID 188 | Route 223 • field order 6 at (844, 698) | ₽672 | The Pokemon League approach requires Waterfall; Victory Road branches also use Surf, Strength, and Rock Smash. The eastern postgame wing waits for the National Dex. | Field order 6, tile (844, 698); sightline/path determines whether it can be avoided. No higher-level same-trainer rematch variant is defined in trdata. | |
 Swimmer Female MirandaSwimmer Female • source ID 189 Swimmer Female MirandaSwimmer Female • source ID 189 | Route 223 • field order 7 at (847, 723) | ₽688 | The Pokemon League approach requires Waterfall; Victory Road branches also use Surf, Strength, and Rock Smash. The eastern postgame wing waits for the National Dex. | Field order 7, tile (847, 723); sightline/path determines whether it can be avoided. Higher-level source variants used by the rematch system: ID 762: Lv. 60. | |
| Swimmer Female AubreeSwimmer Female • source ID 190 | Route 223 • field order 8 at (851, 715) | ₽656 | The Pokemon League approach requires Waterfall; Victory Road branches also use Surf, Strength, and Rock Smash. The eastern postgame wing waits for the National Dex. | Field order 8, tile (851, 715); sightline/path determines whether it can be avoided. No higher-level same-trainer rematch variant is defined in trdata. | |
| Swimmer Female PaigeSwimmer Female • source ID 191 | Route 223 • field order 9 at (847, 689) | ₽656 | The Pokemon League approach requires Waterfall; Victory Road branches also use Surf, Strength, and Rock Smash. The eastern postgame wing waits for the National Dex. | Field order 9, tile (847, 689); sightline/path determines whether it can be avoided. No higher-level same-trainer rematch variant is defined in trdata. | |
| Swimmer Female CrystalSwimmer Female • source ID 192 | Route 223 • field order 10 at (848, 668) | ₽656 | The Pokemon League approach requires Waterfall; Victory Road branches also use Surf, Strength, and Rock Smash. The eastern postgame wing waits for the National Dex. | Field order 10, tile (848, 668); sightline/path determines whether it can be avoided. Higher-level source variants used by the rematch system: ID 763: Lv. 58/Lv. 58. | |
| Swimmer Female CassandraSwimmer Female • source ID 193 | Route 223 • field order 11 at (855, 636) | ₽656 | The Pokemon League approach requires Waterfall; Victory Road branches also use Surf, Strength, and Rock Smash. The eastern postgame wing waits for the National Dex. | Field order 11, tile (855, 636); sightline/path determines whether it can be avoided. No higher-level same-trainer rematch variant is defined in trdata. | |
| Swimmer Female GabrielleSwimmer Female • source ID 194 | Route 223 • field order 12 at (843, 642) | ₽688 | The Pokemon League approach requires Waterfall; Victory Road branches also use Surf, Strength, and Rock Smash. The eastern postgame wing waits for the National Dex. | Field order 12, tile (843, 642); sightline/path determines whether it can be avoided. No higher-level same-trainer rematch variant is defined in trdata. | |
 Sailor ZachariahSailor • source ID 482 Sailor ZachariahSailor • source ID 482 | Route 223 • field order 13 at (847, 655) | ₽1,408 | The Pokemon League approach requires Waterfall; Victory Road branches also use Surf, Strength, and Rock Smash. The eastern postgame wing waits for the National Dex. | Field order 13, tile (847, 655); sightline/path determines whether it can be avoided. Higher-level source variants used by the rematch system: ID 742: Lv. 55/Lv. 58/Lv. 58. |






Items
| Item | Version | Type | Area / exact direction | Coordinate / script | Requirement | Source |
|---|---|---|---|---|---|---|
| TM18 | Diamond / Pearl | Visible item ball | Route 223: Pick up the item ball in the western part of Route 223, 4 tiles west and 2 tiles south of the Swimmer Male Ricardo's field position. | (840, 684) | The Pokemon League approach requires Waterfall; Victory Road branches also use Surf, Strength, and Rock Smash. The eastern postgame wing waits for the National Dex. | event bank 446, script 7197 |
| Pearl | Diamond / Pearl | Visible item ball | Route 223: Pick up the item ball in the northern part of Route 223, 3 tiles east and 6 tiles north of the Sailor Zachariah's field position. | (850, 649) | The Pokemon League approach requires Waterfall; Victory Road branches also use Surf, Strength, and Rock Smash. The eastern postgame wing waits for the National Dex. | event bank 446, script 7195 |
Hidden Items
| Hidden item | Area / plain-English placement | QA coordinate | Requirement | Source |
|---|---|---|---|---|
| Sky Plate | Pokémon League: Use the Dowsing Machine in the western part of Pokémon League, 11 tiles west and 2 tiles north of the Victory Road 1F doorway or transition and inspect that exact ground tile. | (842, 580) | Dowsing Machine Pokétch app. Reach this subarea; check the route and puzzle notes for HM, Bicycle, time, or story gates. | event bank 171, script 8120 |
| Big Pearl | Route 223: Use the Dowsing Machine in the southeast water lane beside the eastern rock wall, before the final northbound approach. | (859, 707) | Dowsing Machine Pokétch app. Beacon Badge and Surf; Waterfall is needed to finish the route but not to search the water lane. | event bank 446, script 8112 |
Puzzles, Warps, And Switches
- Route 223 has branching water lanes around rocks. Clear each east-west pocket before committing north to the waterfall.
Completion Checklist
- Complete the currently reachable part of this route plan: Receive Waterfall from Jasmine; leave Sunyshore north; clear every swimmer and sailor; inspect side channels for items; climb the waterfall; enter the League Pokemon Center; heal, shop, and verify all required HMs before Victory Road.
- Review all 18 encounter rows across the per-area tables, including game markers, method band, time-of-day rates, levels, and each conditional requirement; mark conditional rows for their stated revisit.
Victory Road
Solve Strength boulders, Bicycle ramps, fog, Surf, Waterfall, and Rock Climb floors while defeating the region's strongest route trainers.
Source maps
Victory Road Unused, Victory Road 1F, Victory Road 2F, and Victory Road B1F.
Route Plan
Enter 1F and clear side ledges; use Rock Climb to reach 2F; switch Bicycle gears for ramps; push Strength boulders without sealing items; use Defog on B1F; Surf and Waterfall through the lower chamber; climb back to 1F; exit north; reserve the eastern back area for the National Dex visit with Marley.
- The rear Victory Road rooms are blocked until after the National Dex and lead to Route 224; they are intentionally assigned to the postgame section.
- Wild levels are high enough for last-minute training, but cave attrition can drain League resources; use the summit Pokemon Center before challenging Barry.
Routes and encounters on this page are compiled from 4 pret map headers.
Victory Road 1F
| Pokémon | Games | Levels | Rate | Requirement / notes | ||
|---|---|---|---|---|---|---|
| Morning | Day | Night | ||||
| Grass / cave floor | ||||||
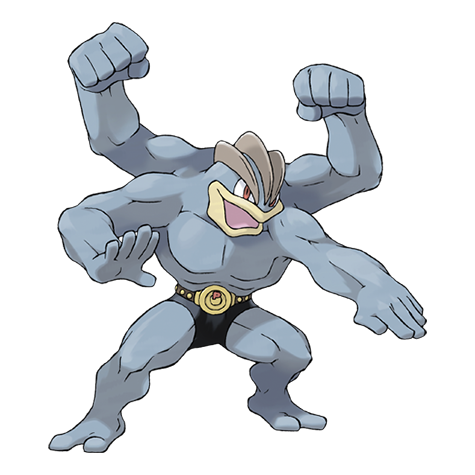
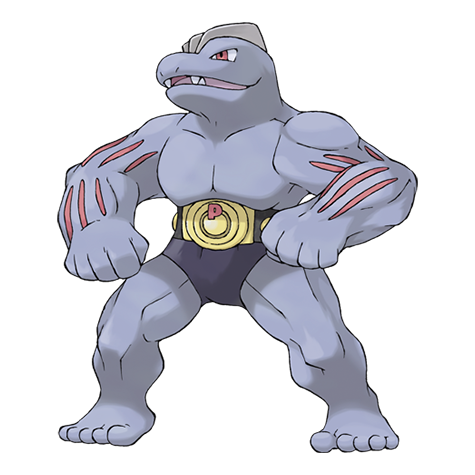 Machoke Machoke | DP | 44-46 | 25% | — | ||
 Golbat Golbat | DP | 44-46 | 20% | — | ||
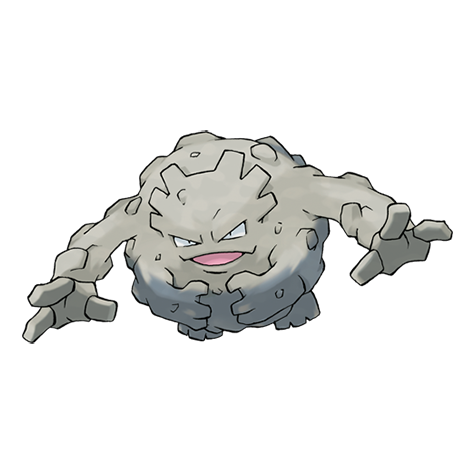 Graveler Graveler | DP | 45 | 20% | — | ||
| Medicham | DP | 44-46 | 15% | — | ||
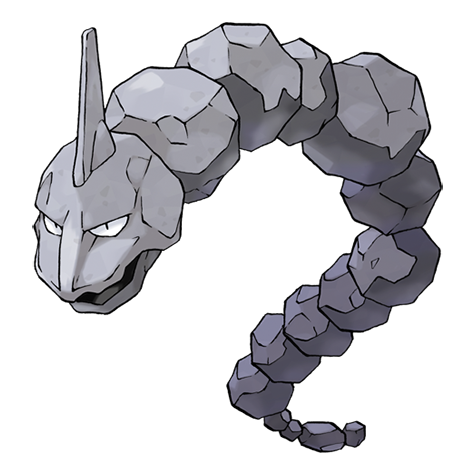 Onix Onix | DP | 44 | 10% | — | ||
| Steelix | DP | 46 | 10% | — | ||
Victory Road 2F
| Pokémon | Games | Levels | Rate | Requirement / notes | ||
|---|---|---|---|---|---|---|
| Morning | Day | Night | ||||
| Grass / cave floor | ||||||
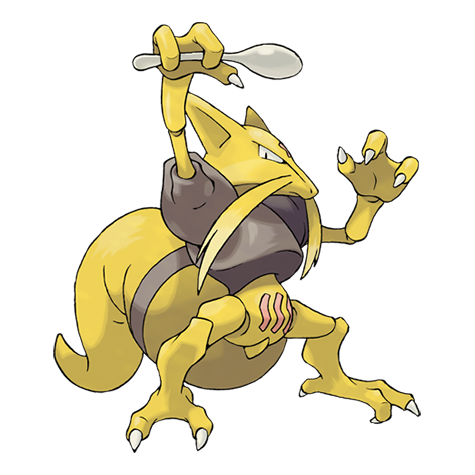 Kadabra Kadabra | DP | 45-47 | 25% | — | ||
| Golbat | DP | 45-47 | 20% | — | ||
| Graveler | DP | 46 | 20% | — | ||
| Medicham | DP | 45-47 | 15% | — | ||
| Onix | DP | 45 | 10% | — | ||
| Steelix | DP | 47 | 10% | — | ||
Victory Road B1F
| Pokémon | Games | Levels | Rate | Requirement / notes | ||
|---|---|---|---|---|---|---|
| Morning | Day | Night | ||||
| Grass / cave floor | ||||||
| Floatzel | DP | 44-45 | 30% | — | ||
| Machoke | DP | 44-46 | 25% | — | ||
| Golbat | DP | 44-46 | 20% | — | ||
| Medicham | DP | 44-46 | 15% | — | ||
| Steelix | DP | 46 | 10% | — | ||
| Surfing | ||||||
| Golbat | DP | 35-50 | 100% | — | ||
| Fishing — Old Rod | ||||||
| Magikarp | DP | 3-10 | 100% | — | ||
| Fishing — Good Rod | ||||||
| Magikarp | DP | 10-25 | 100% | — | ||
| Fishing — Super Rod | ||||||
| Gyarados | DP | 20-55 | 100% | — | ||
Trainers
| Trainer | Route order / placement | Full team | Reward | Access requirement | Optional / rematch note |
|---|---|---|---|---|---|
 Psychic Male BrycePsychic Male • source ID 234 Psychic Male BrycePsychic Male • source ID 234 | Victory Road 1F • field order 1 at (7, 69) | ₽1,472 | The Pokemon League approach requires Waterfall; Victory Road branches also use Surf, Strength, and Rock Smash. The eastern postgame wing waits for the National Dex. | Field order 1, tile (7, 69); sightline/path determines whether it can be avoided. No higher-level same-trainer rematch variant is defined in trdata. | |
 Black Belt MilesBlack Belt • source ID 444 Black Belt MilesBlack Belt • source ID 444 | Victory Road 1F • field order 2 at (30, 41) | ₽1,176 | The Pokemon League approach requires Waterfall; Victory Road branches also use Surf, Strength, and Rock Smash. The eastern postgame wing waits for the National Dex. | Field order 2, tile (30, 41); sightline/path determines whether it can be avoided. No higher-level same-trainer rematch variant is defined in trdata. | |
 Bird Keeper HanaBird Keeper • source ID 233 Bird Keeper HanaBird Keeper • source ID 233 | Victory Road 1F • field order 3 at (31, 58) | ₽1,536 | The Pokemon League approach requires Waterfall; Victory Road branches also use Surf, Strength, and Rock Smash. The eastern postgame wing waits for the National Dex. | Field order 3, tile (31, 58); sightline/path determines whether it can be avoided. No higher-level same-trainer rematch variant is defined in trdata. | |
 Ace Trainer Female MariahAce Trainer Female • source ID 226 Ace Trainer Female MariahAce Trainer Female • source ID 226 | Victory Road 1F • field order 4 at (10, 42) | ₽2,880 | The Pokemon League approach requires Waterfall; Victory Road branches also use Surf, Strength, and Rock Smash. The eastern postgame wing waits for the National Dex. | Field order 4, tile (10, 42); sightline/path determines whether it can be avoided. No higher-level same-trainer rematch variant is defined in trdata. | |
 Veteran EdgarVeteran • source ID 228 Veteran EdgarVeteran • source ID 228 | Victory Road 1F • field order 5 at (27, 25) |
| ₽3,840 | The Pokemon League approach requires Waterfall; Victory Road branches also use Surf, Strength, and Rock Smash. The eastern postgame wing waits for the National Dex. | Field order 5, tile (27, 25); sightline/path determines whether it can be avoided. No higher-level same-trainer rematch variant is defined in trdata. |
 Dragon Tamer ClintonDragon Tamer • source ID 231 Dragon Tamer ClintonDragon Tamer • source ID 231 | Victory Road 1F • field order 6 at (40, 31) | ₽1,472 | The Pokemon League approach requires Waterfall; Victory Road branches also use Surf, Strength, and Rock Smash. The eastern postgame wing waits for the National Dex. | Field order 6, tile (40, 31); sightline/path determines whether it can be avoided. No higher-level same-trainer rematch variant is defined in trdata. | |
 Ace Trainer Male OmarAce Trainer Male • source ID 224 Ace Trainer Male OmarAce Trainer Male • source ID 224 | Victory Road 2F • field order 1 at (5, 27) | ₽2,880 | The Pokemon League approach requires Waterfall; Victory Road branches also use Surf, Strength, and Rock Smash. The eastern postgame wing waits for the National Dex. | Field order 1, tile (5, 27); sightline/path determines whether it can be avoided. No higher-level same-trainer rematch variant is defined in trdata. | |
| Ace Trainer Female SydneyAce Trainer Female • source ID 227 | Victory Road 2F • field order 2 at (15, 37) | ₽2,880 | The Pokemon League approach requires Waterfall; Victory Road branches also use Surf, Strength, and Rock Smash. The eastern postgame wing waits for the National Dex. | Field order 2, tile (15, 37); sightline/path determines whether it can be avoided. No higher-level same-trainer rematch variant is defined in trdata. | |
| Veteran ClaytonVeteran • source ID 229 | Victory Road 2F • field order 3 at (23, 29) | ₽3,760 | The Pokemon League approach requires Waterfall; Victory Road branches also use Surf, Strength, and Rock Smash. The eastern postgame wing waits for the National Dex. | Field order 3, tile (23, 29); sightline/path determines whether it can be avoided. No higher-level same-trainer rematch variant is defined in trdata. | |
 Double Team Al & KayDouble Team • source ID 237 Double Team Al & KayDouble Team • source ID 237 | Victory Road 2F • field order 4 at (57, 20) + field order 5 at (57, 19) | ₽11,280 | The Pokemon League approach requires Waterfall; Victory Road branches also use Surf, Strength, and Rock Smash. The eastern postgame wing waits for the National Dex. | Field order 4, tile (57, 20); Field order 5, tile (57, 19); sightline/path determines whether it can be avoided. No higher-level same-trainer rematch variant is defined in trdata. | |
| Double Team Jo & PatDouble Team • source ID 236 | Victory Road B1F • field order 1 at (33, 43) + field order 2 at (33, 44) | ₽11,280 | The Pokemon League approach requires Waterfall; Victory Road branches also use Surf, Strength, and Rock Smash. The eastern postgame wing waits for the National Dex. | Field order 1, tile (33, 43); Field order 2, tile (33, 44); sightline/path determines whether it can be avoided. No higher-level same-trainer rematch variant is defined in trdata. | |
| Dragon Tamer OndrejDragon Tamer • source ID 230 | Victory Road B1F • field order 3 at (10, 6) | ₽1,568 | The Pokemon League approach requires Waterfall; Victory Road branches also use Surf, Strength, and Rock Smash. The eastern postgame wing waits for the National Dex. | Field order 3, tile (10, 6); sightline/path determines whether it can be avoided. No higher-level same-trainer rematch variant is defined in trdata. | |
 Psychic Female ValenciaPsychic Female • source ID 235 Psychic Female ValenciaPsychic Female • source ID 235 | Victory Road B1F • field order 4 at (22, 29) | ₽1,536 | The Pokemon League approach requires Waterfall; Victory Road branches also use Surf, Strength, and Rock Smash. The eastern postgame wing waits for the National Dex. | Field order 4, tile (22, 29); sightline/path determines whether it can be avoided. No higher-level same-trainer rematch variant is defined in trdata. | |
| Ace Trainer Male HenryAce Trainer Male • source ID 225 | Victory Road B1F • field order 5 at (32, 14) |
| ₽2,940 | The Pokemon League approach requires Waterfall; Victory Road branches also use Surf, Strength, and Rock Smash. The eastern postgame wing waits for the National Dex. | Field order 5, tile (32, 14); sightline/path determines whether it can be avoided. No higher-level same-trainer rematch variant is defined in trdata. |



Items
| Item | Version | Type | Area / exact direction | Coordinate / script | Requirement | Source |
|---|---|---|---|---|---|---|
| Rare Candy | Diamond / Pearl | Visible item ball | Victory Road 1F: Pick up the item ball in the eastern part of Victory Road 1F, 2 tiles west of the Victory Road B1F doorway or transition. | (42, 48) | The Pokemon League approach requires Waterfall; Victory Road branches also use Surf, Strength, and Rock Smash. The eastern postgame wing waits for the National Dex. | event bank 237, script 7200 |
| Full Heal | Diamond / Pearl | Visible item ball | Victory Road 1F: Pick up the item ball in the central part of Victory Road 1F, 16 tiles west and 2 tiles north of the Victory Road B1F doorway or transition. | (28, 46) | The Pokemon League approach requires Waterfall; Victory Road branches also use Surf, Strength, and Rock Smash. The eastern postgame wing waits for the National Dex. | event bank 237, script 7199 |
| TM41 | Diamond / Pearl | Visible item ball | Victory Road 1F: Pick up the item ball in the southwestern part of Victory Road 1F, 14 tiles south of the Victory Road 2F doorway or transition. | (7, 61) | The Pokemon League approach requires Waterfall; Victory Road branches also use Surf, Strength, and Rock Smash. The eastern postgame wing waits for the National Dex. | event bank 237, script 7198 |
| Razor Claw | Diamond / Pearl | Visible item ball | Victory Road 1F: Pick up the item ball in the western part of Victory Road 1F, 9 tiles east and 1 tile south of the Victory Road 2F doorway or transition. | (13, 38) | The Pokemon League approach requires Waterfall; Victory Road branches also use Surf, Strength, and Rock Smash. The eastern postgame wing waits for the National Dex. | event bank 237, script 7202 |
| Zinc | Diamond / Pearl | Visible item ball | Victory Road 1F: Pick up the item ball in the eastern part of Victory Road 1F, 1 tile west and 3 tiles south of the Victory Road 1F Back 1 doorway or transition. | (44, 36) | The Pokemon League approach requires Waterfall; Victory Road branches also use Surf, Strength, and Rock Smash. The eastern postgame wing waits for the National Dex. | event bank 237, script 7201 |
| TM79 | Diamond / Pearl | Visible item ball | Victory Road 2F: Pick up the item ball in the northwestern part of Victory Road 2F, 4 tiles west of the Victory Road 1F doorway or transition. | (16, 4) | The Pokemon League approach requires Waterfall; Victory Road branches also use Surf, Strength, and Rock Smash. The eastern postgame wing waits for the National Dex. | event bank 238, script 7205 |
| Max Ether | Diamond / Pearl | Visible item ball | Victory Road 2F: Pick up the item ball in the northwestern part of Victory Road 2F, 16 tiles west and 1 tile south of the Victory Road 1F doorway or transition. | (4, 5) | The Pokemon League approach requires Waterfall; Victory Road branches also use Surf, Strength, and Rock Smash. The eastern postgame wing waits for the National Dex. | event bank 238, script 7203 |
| Full Restore | Diamond / Pearl | Visible item ball | Victory Road 2F: Pick up the item ball in the central part of Victory Road 2F, 11 tiles east and 4 tiles north of the Victory Road 1F doorway or transition. | (34, 22) | The Pokemon League approach requires Waterfall; Victory Road branches also use Surf, Strength, and Rock Smash. The eastern postgame wing waits for the National Dex. | event bank 238, script 7204 |
| TM71 | Diamond / Pearl | Visible item ball | Victory Road 2F: Pick up the item ball in the northeastern part of Victory Road 2F, 23 tiles east and 4 tiles north of the Victory Road 1F doorway or transition. | (43, 12) | The Pokemon League approach requires Waterfall; Victory Road branches also use Surf, Strength, and Rock Smash. The eastern postgame wing waits for the National Dex. | event bank 238, script 7206 |
| TM59 | Diamond / Pearl | Visible item ball | Victory Road B1F: Pick up the item ball in the northwestern part of Victory Road B1F, 10 tiles east and 4 tiles north of the Victory Road 1F doorway or transition. | (13, 18) | The Pokemon League approach requires Waterfall; Victory Road branches also use Surf, Strength, and Rock Smash. The eastern postgame wing waits for the National Dex. | event bank 239, script 7207 |
Hidden Items
| Hidden item | Area / plain-English placement | QA coordinate | Requirement | Source |
|---|---|---|---|---|
| Ultra Ball | Victory Road 1F: Use the Dowsing Machine in the southeastern part of Victory Road 1F, 21 tiles east and 8 tiles north of the Pokémon League doorway or transition and inspect that exact ground tile. | (36, 70) | Dowsing Machine Pokétch app. The Pokemon League approach requires Waterfall; Victory Road branches also use Surf, Strength, and Rock Smash. The eastern postgame wing waits for the National Dex. | event bank 237, script 8114 |
| Max Revive | Victory Road 1F: Use the Dowsing Machine in the eastern part of Victory Road 1F, 3 tiles west and 2 tiles south of the Victory Road B1F doorway or transition and inspect that exact ground tile. | (41, 50) | Dowsing Machine Pokétch app. The Pokemon League approach requires Waterfall; Victory Road branches also use Surf, Strength, and Rock Smash. The eastern postgame wing waits for the National Dex. | event bank 237, script 8115 |
| Max Elixir | Victory Road 1F: Use the Dowsing Machine in the northwestern part of Victory Road 1F, 6 tiles east and 1 tile south of the Victory Road 2F doorway or transition and inspect that exact ground tile. | (10, 26) | Dowsing Machine Pokétch app. The Pokemon League approach requires Waterfall; Victory Road branches also use Surf, Strength, and Rock Smash. The eastern postgame wing waits for the National Dex. | event bank 237, script 8113 |
| Full Restore | Victory Road 2F: Use the Dowsing Machine in the northwestern part of Victory Road 2F, 14 tiles west and 1 tile north of the Victory Road 1F doorway or transition and inspect that exact ground tile. | (6, 15) | Dowsing Machine Pokétch app. The Pokemon League approach requires Waterfall; Victory Road branches also use Surf, Strength, and Rock Smash. The eastern postgame wing waits for the National Dex. | event bank 238, script 8116 |
| Rare Candy | Victory Road 2F: Use the Dowsing Machine in the southwestern part of Victory Road 2F, 1 tile west and 13 tiles south of the Victory Road 1F doorway or transition and inspect that exact ground tile. | (22, 39) | Dowsing Machine Pokétch app. The Pokemon League approach requires Waterfall; Victory Road branches also use Surf, Strength, and Rock Smash. The eastern postgame wing waits for the National Dex. | event bank 238, script 8117 |
| Pearl | Victory Road B1F: Use the Dowsing Machine in the southeastern part of Victory Road B1F, 20 tiles east and 4 tiles north of the Victory Road 1F doorway or transition and inspect that exact ground tile. | (24, 35) | Dowsing Machine Pokétch app. The Pokemon League approach requires Waterfall; Victory Road branches also use Surf, Strength, and Rock Smash. The eastern postgame wing waits for the National Dex. | event bank 239, script 8118 |
| Big Mushroom | Victory Road B1F: Use the Dowsing Machine in the western part of Victory Road B1F, 4 tiles east and 1 tile south of the Victory Road 1F doorway or transition and inspect that exact ground tile. | (7, 23) | Dowsing Machine Pokétch app. The Pokemon League approach requires Waterfall; Victory Road branches also use Surf, Strength, and Rock Smash. The eastern postgame wing waits for the National Dex. | event bank 239, script 8119 |
Puzzles, Warps, And Switches
- On 2F, use the fast Bicycle gear for long ramps and the slow gear for exact turns. Reset misplaced Strength boulders by changing floors.
- On B1F, Defog first, then clear dry-land trainers before Surfing; Waterfall loops lead to both progress and optional item islands.
Completion Checklist
- Complete the currently reachable part of this route plan: Enter 1F and clear side ledges; use Rock Climb to reach 2F; switch Bicycle gears for ramps; push Strength boulders without sealing items; use Defog on B1F; Surf and Waterfall through the lower chamber; climb back to 1F; exit north; reserve the eastern back area for the National Dex visit with Marley.
- Review all 21 encounter rows across the per-area tables, including game markers, method band, time-of-day rates, levels, and each conditional requirement; mark conditional rows for their stated revisit.
League Lobby and Final Barry Battle
Finish the badge check, make the final supply plan, and defeat Barry's six-Pokemon team before entering the Elite Four rooms.
Source maps
Pokémon League Lobby 1F, Pokémon League Lobby 2F, and Pokémon League Lobby B1F.
Route Plan
Heal at the summit; buy Full Restores, Revives, status cures, and PP restoration; equip held items; save; approach the League attendant; defeat Barry; heal again; save in a separate slot state if possible; enter only when ready for five consecutive bosses.
- Barry's final pre-Hall-of-Fame team has six members, including Snorlax and starter-dependent Roserade/Rapidash/Floatzel coverage.
- Once the Elite Four door closes, ordinary exits are unavailable until the challenge is won or lost; prepare moves and held items first.
Routes and encounters on this page are compiled from 3 pret map headers.
Trainers
| Trainer | Route order / placement | Full team | Reward | Access requirement | Optional / rematch note |
|---|---|---|---|---|---|
| Pokémon Trainer BarryPokémon Trainer Barry • source ID 479 | Pokémon League Lobby 1F • scripted |
| ₽5,300 | Scripted story trigger; complete the local objective described in the route plan. | Major or story battle; not a VS Seeker rematch row. |
| Pokémon Trainer BarryPokémon Trainer Barry • source ID 480 | Pokémon League Lobby 1F • scripted |
| ₽5,300 | Scripted story trigger; complete the local objective described in the route plan. | Major or story battle; not a VS Seeker rematch row. |
| Pokémon Trainer BarryPokémon Trainer Barry • source ID 481 | Pokémon League Lobby 1F • scripted |
| ₽5,300 | Scripted story trigger; complete the local objective described in the route plan. | Major or story battle; not a VS Seeker rematch row. |
Puzzles, Warps, And Switches
- The rival triggers near the challenge desk. Do not spend the last healing items on him without returning to the Pokemon Center before entering Aaron's room.
Completion Checklist
- Complete the currently reachable part of this route plan: Heal at the summit; buy Full Restores, Revives, status cures, and PP restoration; equip held items; save; approach the League attendant; defeat Barry; heal again; save in a separate slot state if possible; enter only when ready for five consecutive bosses.
Elite Four Aaron
Defeat Aaron's Bug team while accounting for Beautifly, Dustox, Vespiquen, Heracross, and Drapion's varied secondary types.
Source maps
Pokémon League Aaron Room and Pokémon League Aaron Bertha Link.
Route Plan
Lead with strong Flying, Fire, or Rock damage; remove setup and status users quickly; preserve a Ground attacker for Drapion; heal and restore PP before taking the north lift.
- Drapion is Poison/Dark and is not weak to Fire or Flying; Ground is its only standard super-effective weakness in Generation IV.
- Vespiquen is bulky and can prolong the fight, so avoid wasting the key Ground user's health before Drapion.
Routes and encounters on this page are compiled from 2 pret map headers.
Trainers
| Trainer | Route order / placement | Full team | Reward | Access requirement | Optional / rematch note |
|---|---|---|---|---|---|
| Elite Four AaronElite Four Aaron • source ID 261 | Pokémon League Aaron Room • scripted |
| ₽6,840 | Scripted story trigger; complete the local objective described in the route plan. | Major or story battle; not a VS Seeker rematch row. |
Puzzles, Warps, And Switches
- The Elite Four rooms are linear. Use the connecting lift only after checking party HP, status, PP, and held-item consumption.
Completion Checklist
- Complete the currently reachable part of this route plan: Lead with strong Flying, Fire, or Rock damage; remove setup and status users quickly; preserve a Ground attacker for Drapion; heal and restore PP before taking the north lift.
Elite Four Bertha
Break Bertha's Ground team with Grass and Water while respecting Quagsire and Whiscash's Electric immunity and Hippowdon's sand.
Source maps
Pokémon League Bertha Room and Pokémon League Bertha Flint Link.
Route Plan
Lead with Grass coverage for Quagsire; use special Water or Grass attacks on Golem and Hippowdon; avoid careless physical contact into bulky targets; cure status and sand damage after the win.
- Quagsire and Whiscash are four-times weak to Grass and immune to Electric. Sudowoodo is pure Rock despite its appearance.
- Hippowdon's Sand Stream creates residual damage that persists until weather changes, increasing healing pressure for the next rooms.
Routes and encounters on this page are compiled from 2 pret map headers.
Trainers
| Trainer | Route order / placement | Full team | Reward | Access requirement | Optional / rematch note |
|---|---|---|---|---|---|
| Elite Four BerthaElite Four Bertha • source ID 262 | Pokémon League Bertha Room • scripted | ₽7,080 | Scripted story trigger; complete the local objective described in the route plan. | Major or story battle; not a VS Seeker rematch row. |
Puzzles, Warps, And Switches
- If sand remains active at the end, heal non-Rock/Ground/Steel team members before advancing instead of relying on the next battle's opening turn.
Completion Checklist
- Complete the currently reachable part of this route plan: Lead with Grass coverage for Quagsire; use special Water or Grass attacks on Golem and Hippowdon; avoid careless physical contact into bulky targets; cure status and sand damage after the win.
Elite Four Flint
Handle Diamond/Pearl's mixed Fire specialist roster, including Steelix, Drifblim, and Lopunny alongside Rapidash and Infernape.
Source maps
Pokémon League Flint Room and Pokémon League Flint Lucian Link.
Route Plan
Use Water or Rock for Rapidash; Ground or Water for Steelix; carry Ghost, Dark, or Electric coverage for Drifblim; avoid assuming every target is Fire-weak; save the best Infernape answer for last.
- Flint's original Diamond/Pearl roster is deliberately mixed because the Sinnoh regional Pokedex contains very few Fire types. Platinum's all-Fire rematch composition does not belong here.
- Drifblim can use evasive or passing tactics, so remove it quickly rather than letting it amplify a later teammate.
Routes and encounters on this page are compiled from 2 pret map headers.
Trainers
| Trainer | Route order / placement | Full team | Reward | Access requirement | Optional / rematch note |
|---|---|---|---|---|---|
| Elite Four FlintElite Four Flint • source ID 263 | Pokémon League Flint Room • scripted | ₽7,320 | Scripted story trigger; complete the local objective described in the route plan. | Major or story battle; not a VS Seeker rematch row. |
Puzzles, Warps, And Switches
- Reorder the lead before entering: a single Water lead is excellent into Rapidash but should not be the only answer to Flint's non-Fire members.
Completion Checklist
- Complete the currently reachable part of this route plan: Use Water or Rock for Rapidash; Ground or Water for Steelix; carry Ghost, Dark, or Electric coverage for Drifblim; avoid assuming every target is Fire-weak; save the best Infernape answer for last.
Elite Four Lucian
Defeat Lucian's fast and bulky Psychic team, then fully restore the party for Cynthia.
Source maps
Pokémon League Lucian Room and Pokémon League Lucian Cynthia Link.
Route Plan
Use Dark, Ghost, or Bug attacks; prevent Mr. Mime from establishing screens; answer Medicham with Flying or Ghost pressure; break Bronzong with the weakness its ability leaves open; heal every member and restore critical PP after victory.
- Lucian's source class is misspelled internally, but the displayed specialist is Lucian. Preserve the official English name in guide copy.
- Bronzong can negate Ground or Fire weakness depending on ability; use battle feedback and strong neutral damage if the expected weakness fails.
Routes and encounters on this page are compiled from 2 pret map headers.
Trainers
| Trainer | Route order / placement | Full team | Reward | Access requirement | Optional / rematch note |
|---|---|---|---|---|---|
| Elite Four LucianElite Four Lucian • source ID 264 | Pokémon League Lucian Room • scripted | ₽7,560 | Scripted story trigger; complete the local objective described in the route plan. | Major or story battle; not a VS Seeker rematch row. |
Puzzles, Warps, And Switches
- There is no free heal before Cynthia. Treat the connecting corridor as the final inventory checkpoint and restore PP, status, HP, and held items now.
Completion Checklist
- Complete the currently reachable part of this route plan: Use Dark, Ghost, or Bug attacks; prevent Mr. Mime from establishing screens; answer Medicham with Flying or Ghost pressure; break Bronzong with the weakness its ability leaves open; heal every member and restore critical PP after victory.
Champion Cynthia and Hall of Fame
Defeat Cynthia's balanced six-Pokemon team, register the Hall of Fame, and return home for the postgame.
Source maps
Pokémon League Cynthia Room, Pokémon League Hall Of Fame Corridor, and Pokémon League Hall Of Fame.
Route Plan
Plan around Spiritomb's lack of weaknesses in Generation IV; preserve Ice or Dragon coverage for Garchomp; carry Grass for Gastrodon, Fighting/Ground/Fire for Lucario, and Electric/Grass pressure for Milotic; manage healing without giving setup turns; finish the Hall of Fame sequence.
- Cynthia's Garchomp is Lv. 66 and exceptionally fast and powerful for the first clear. An Ice move is four-times effective, but its user must survive or outspeed.
- Spiritomb has no type weakness under Generation IV's type chart; win through strong neutral damage, status, or setup rather than searching for Fairy coverage that does not yet exist.
Routes and encounters on this page are compiled from 3 pret map headers.
Trainers
| Trainer | Route order / placement | Full team | Reward | Access requirement | Optional / rematch note |
|---|---|---|---|---|---|
| Champion CynthiaChampion • source ID 267 | Pokémon League Cynthia Room • scripted |
| ₽13,200 | Scripted story trigger; complete the local objective described in the route plan. | Major or story battle; not a VS Seeker rematch row. |
Puzzles, Warps, And Switches
- Choose the lead for Spiritomb without exposing the intended Garchomp counter. After the battle, follow Cynthia and Rowan into the Hall of Fame machine to complete the main story.
Completion Checklist
- Complete the currently reachable part of this route plan: Plan around Spiritomb's lack of weaknesses in Generation IV; preserve Ice or Dragon coverage for Garchomp; carry Grass for Gastrodon, Fighting/Ground/Fire for Lucario, and Electric/Grass pressure for Milotic; manage healing without giving setup turns; finish the Hall of Fame sequence.
Dex quick links