
Kalos route manual
Pokemon X and Y Phase 3 Rumble Badge Walkthrough
 Rumble Badge
 Pokemon X and Y Phase 3 walkthrough: Cyllage to Shalour, Route 10, Reflection Cave, Korrina, Mega Ring, Lucario, and Rumble Badge prep.
 Phase 3 Rumble Badge Korrina Shalour Gym Leader Route 10, Reflection Cave, Shalour City, Korrina, and Lucario. 03 / 10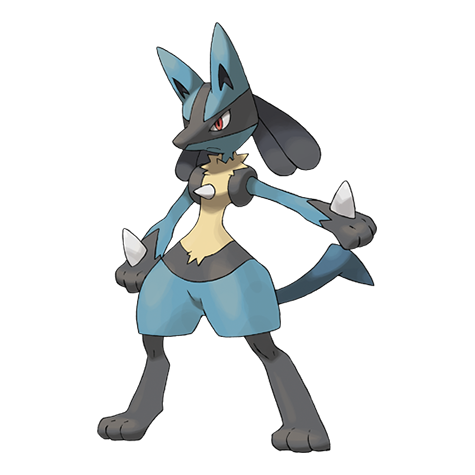
Pokemon X and Y optimal walkthrough
Cyllage City → Shalour City Gym (Korrina) — and your first Mega Evolution.
Route Map
Phase 3 is geographically tight — Cyllage to Shalour is a straight east-bound corridor through three new areas. The unique structure of this phase is the two-visit Tower of Mastery quest: you climb it once to trigger the rival battle, then earn the badge, then return to receive the Mega Ring and your gift Lucario.
Phase Route
| Order | Section | What it covers |
|---|---|---|
| 1 | Route 10 — Menhir Trail | A rocky east-bound trail leading from Cyllage out to Geosenge. Ancient standing stones (menhirs) line the path — one of them, a ” Sudowoodo ”, is actually a Pokemon in disguise blocking the road. |
| 2 | Geosenge Town + Korrina Cameo | A small stone-circle town built around an ancient megalith. Team Flare are visibly active here, examining the rocks. |
| 3 | Route 11 — Miroir Way | A relatively short grassy route between Geosenge and Reflection Cave. Tall grass dominates the south; a narrow trail along the north has Sky Battle access. |
| 4 | Reflection Cave | A mirror-themed cave with shimmering crystalline walls. Multiple levels, occasional reflective surface puzzles (you walk in front of a mirror and your reflection moves with you). |
| 5 | Shalour City | A coastal town with a giant Tower of Mastery rising from the cliffside. The Pokemon Center has its own ATM-style TM shop, and there are several worthwhile gift NPCs around town. |
| 6 | Tower of Mastery — First Visit + Rival Battle | A tall stone tower west of Shalour with a spiral interior. Korrina meets you at the entrance and escorts you up to the top where her grandfather Gurkinn waits with the Mega Ring. |
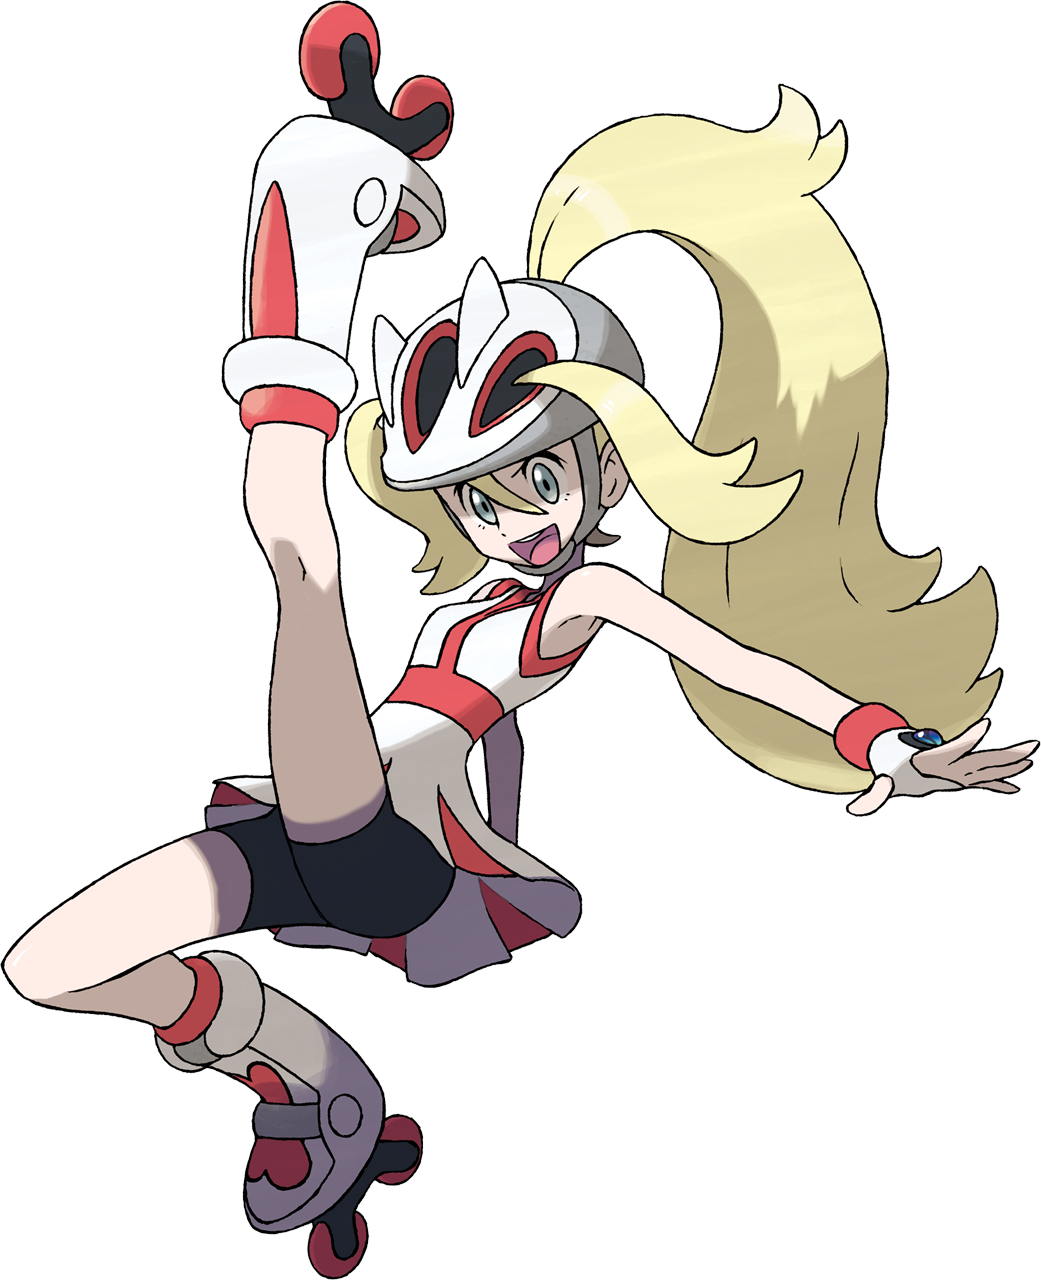
| 7 | Shalour Gym — Korrina, the Fighting Leader | Korrina — Shalour City Gym Fighting-type · Mega Evolution Successor · Specialty: physical pressure + priority Gym puzzle: A roller-skating rink shaped like a half-pipe. |
| 8 | Tower of Mastery — Second Visit + Mega Ring | After defeating Korrina, return to the top of the Tower. Korrina is now waiting at the summit with her Mega-Evolving Lucario. |
| 9 | Azure Bay + Sea Spirit’s Den (Preview) | South of Shalour, accessible via the beach. Mostly locked for Phase 3 because the islands and Sea Spirit’s Den require HM03 Surf — which you don’t receive until Phase 4 (Coumarine City area). |
| 10 | Phase 3 Resources And Checklist | Team Recommendations Phase 3 expects Lv 29–32 across your party going into Korrina. |
Route 10 — Menhir Trail
A rocky east-bound trail leading from Cyllage out to Geosenge. Ancient standing stones (menhirs) line the path — one of them, a "Sudowoodo", is actually a Pokémon in disguise blocking the road. Use the Sudowoodo trigger to encounter it: approach the leftmost menhir, it'll shake, and you'll get a Lv 22 Sudowoodo wild battle (catch or KO; either way the path opens).
Wild Pokémon — Route 10
| Pokémon | Versions | Method | Notes |
|---|---|---|---|
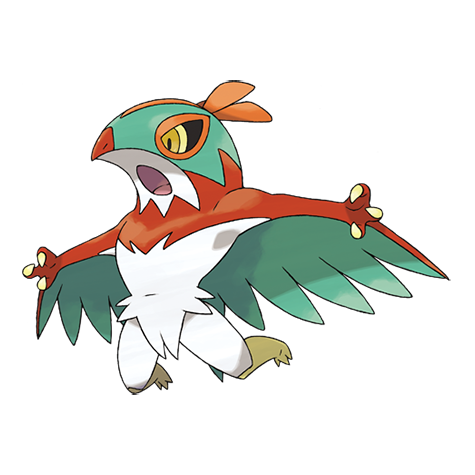 Hawlucha |
X & Y | Grass Rare | ★ ★ ★ Priority catch. Limber/Unburden. Aerial Ace + Flying Press = Phase 3 onward MVP. The only main-story location to catch one. |
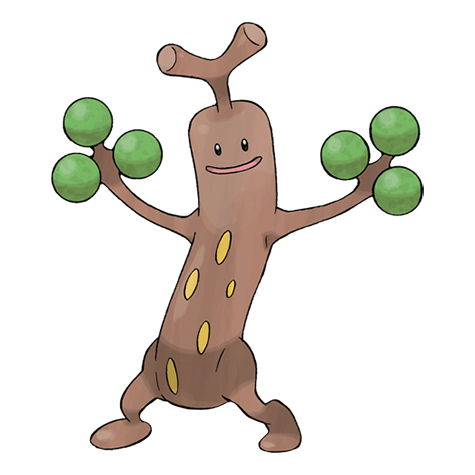 Sudowoodo |
X & Y | Story event (blocks path) | One-time spawn. Sturdy ability — survives 1 OHKO. Has Sucker Punch / Rock Slide; useful sub in a balanced team. |
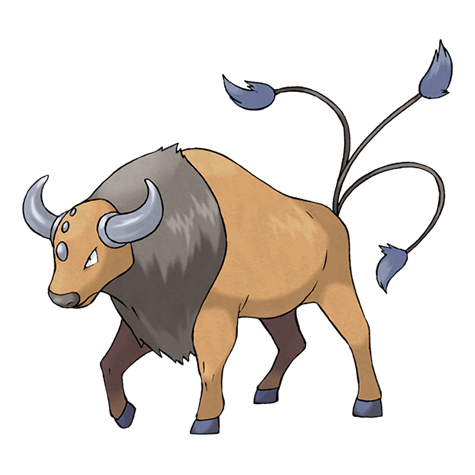 Tauros |
X & Y | Grass | Intimidate is great early. Fast physical Normal — but lots of mid-game stuff outclasses it. |
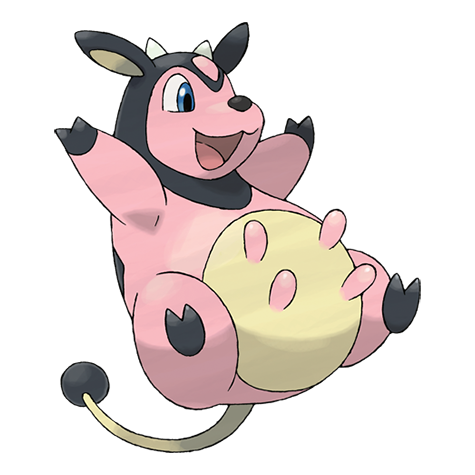 Miltank |
X & Y | Grass | Thick Fat or Scrappy. Bulkier than Tauros, slower hitter. Body Slam + Milk Drink is annoying in trainer hands. |
Trainers on Route 10
| Trainer | Roster | Notes |
|---|---|---|
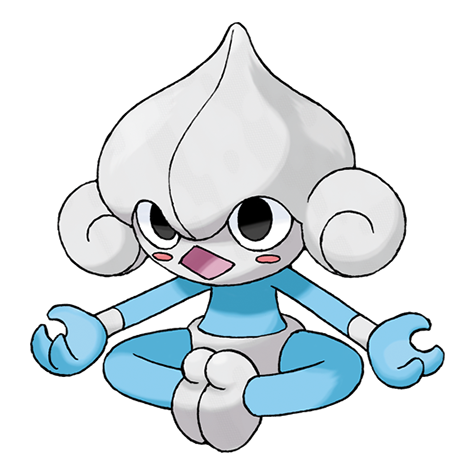
| Psychic Sayid | Meditite Lv 19, Kirlia Lv 21 | Kirlia's Magical Leaf hits hard. Dark/Bug/Ghost counters it. |
| Psychic Robert | Solosis Lv 22 | Solosis has Recover + Hidden Power — long fight. Sucker Punch / strong neutral. |
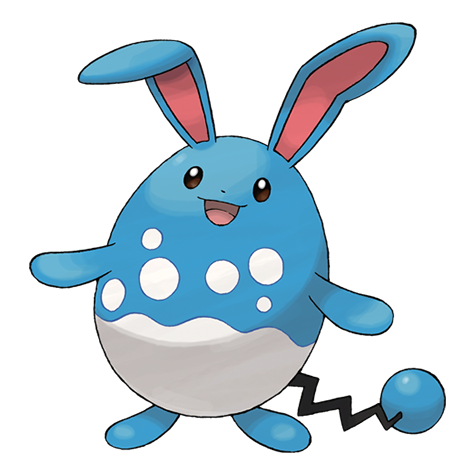
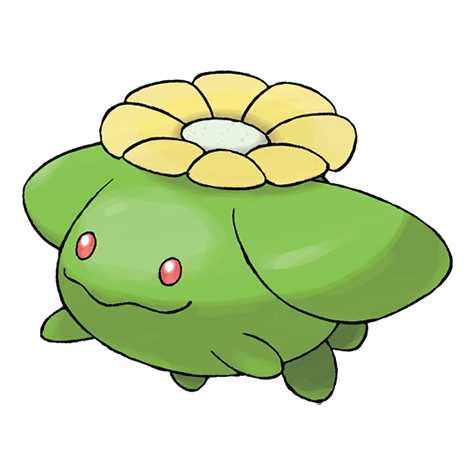
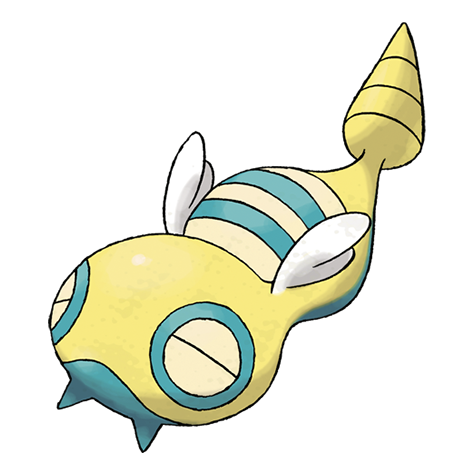
| Tourist Fumiko | Skiploom Lv 19, Dunsparce Lv 19, Azumarill Lv 19 | Triple trainer. Azumarill's Huge Power + Aqua Tail is the threat — switch to Grass. |
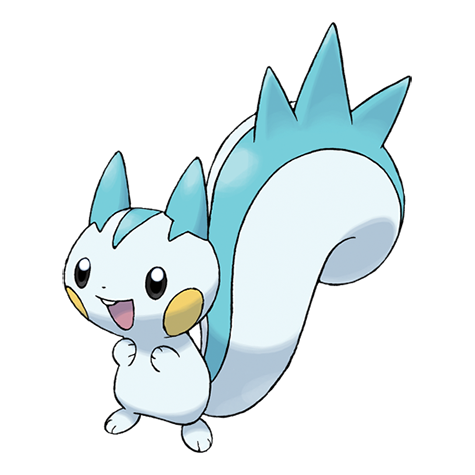
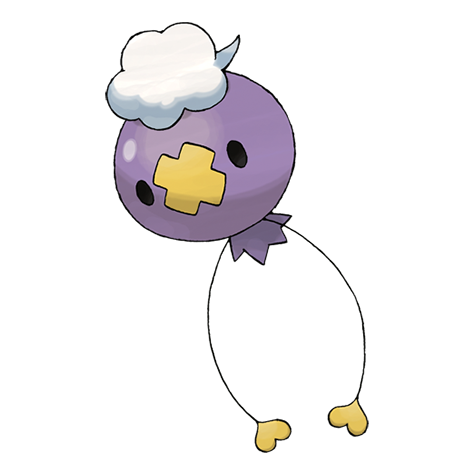
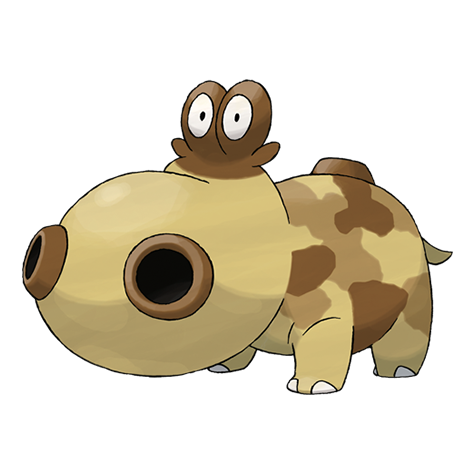
| Tourist Tomoko | Drifloon Lv 19, Pachirisu Lv 19, Hippopotas Lv 19 | Triple trainer. Pachirisu's Spark + Hippopotas's Sand Stream are both Ground-vulnerable. |
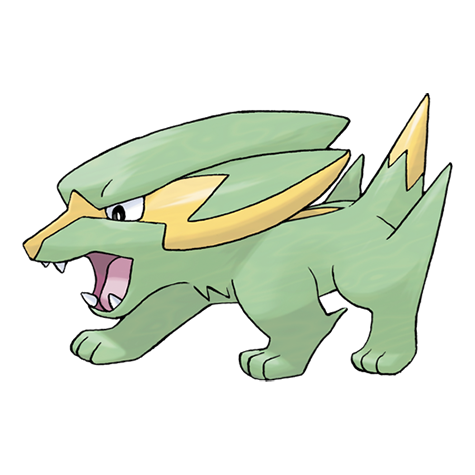
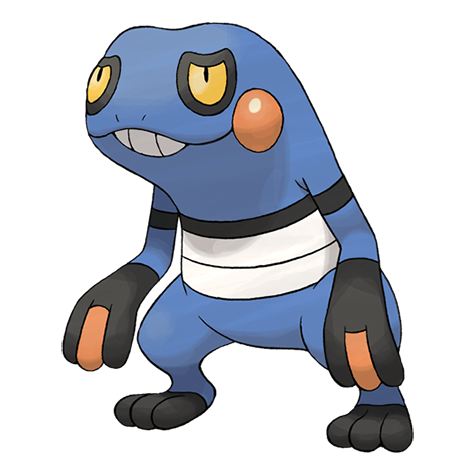
| Team Flare Grunt Flare | Electrike Lv 23, Croagunk Lv 21 | Mid-route ambush. Electrike has Quick Attack + Spark. |
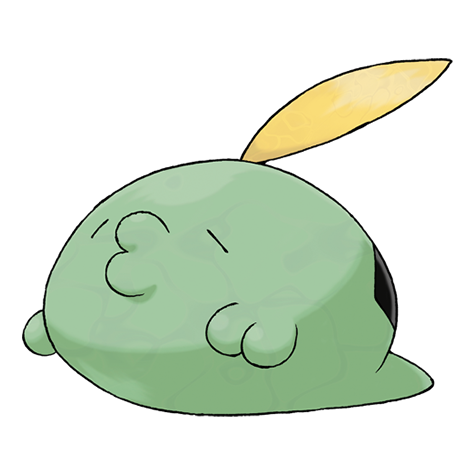
| Team Flare Grunt Flare | Gulpin Lv 24 | Single mon. Sludge + Yawn — finish fast. |
Items on Route 10
| Item | Location |
|---|---|
| Super Potion ×2 | Visible along path |
| X Attack | Visible, near the second menhir cluster |
| Ether | Visible |
| Mind Plate (hidden) | Dowsing Machine in the eastern grass |
| Big Mushroom (hidden) | Dowsing Machine in shaded area |
Side events on Route 10
Geosenge Town + Korrina Cameo
A small stone-circle town built around an ancient megalith. Team Flare are visibly active here, examining the rocks. Korrina arrives in person to test you with her two Lucario.
Geosenge stops
Trainers in Geosenge
| Trainer | Roster | Notes |
|---|---|---|
| Korrina (Geosenge cameo) Future Leader | Lucario Lv 25, Lucario Lv 25 | ★ ★ Double-Lucario fight, but it's a normal singles battle — she sends them out one at a time. Steadfast ability. Both have Power-Up Punch + Bone Rush + Metal Sound. Bring something that doesn't take 2× from Fighting — Fairy/Flying/Psychic ideal. |
Route 11 — Miroir Way
A relatively short grassy route between Geosenge and Reflection Cave. Tall grass dominates the south; a narrow trail along the north has Sky Battle access. Several Fighting-type trainers populate the area.
Wild Pokémon — Route 11
| Pokémon | Versions | Method | Notes |
|---|---|---|---|
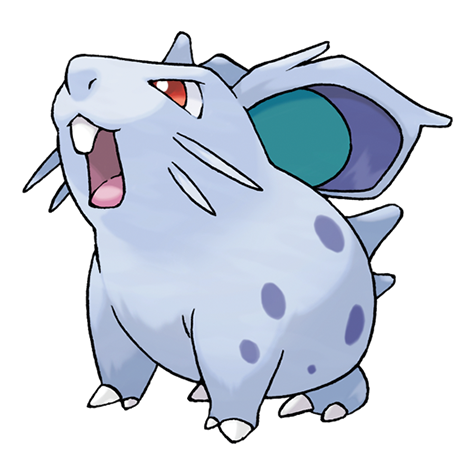 Nidoran ♀ |
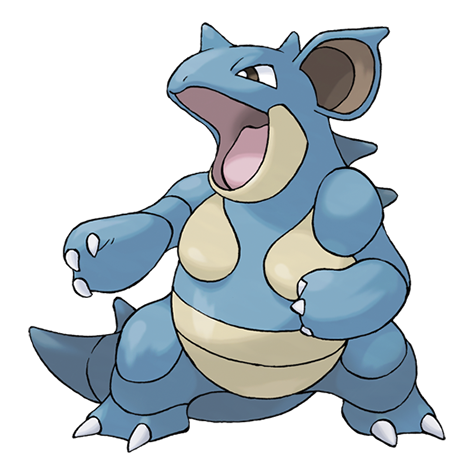
X & Y | Grass | Evolves into Nidorina at Lv 16, then Nidoqueen via Moon Stone. |
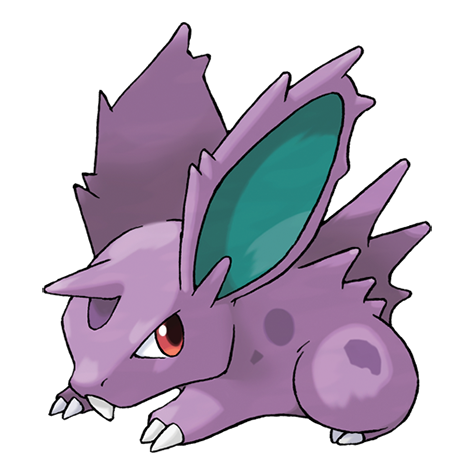 Nidoran ♂ |
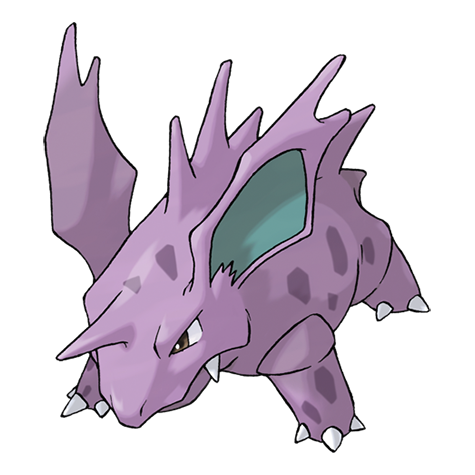
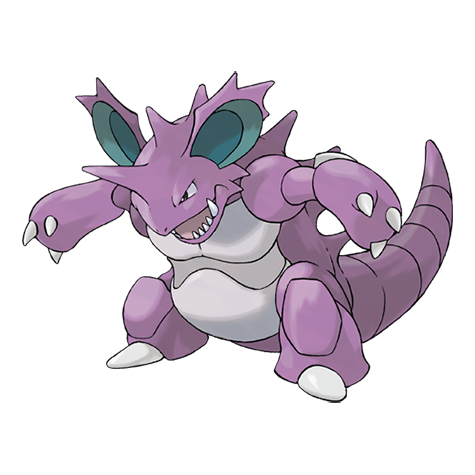
X & Y | Grass | Evolves into Nidorino at Lv 16, then Nidoking via Moon Stone. ★ Nidoking is a powerhouse mixed attacker. |
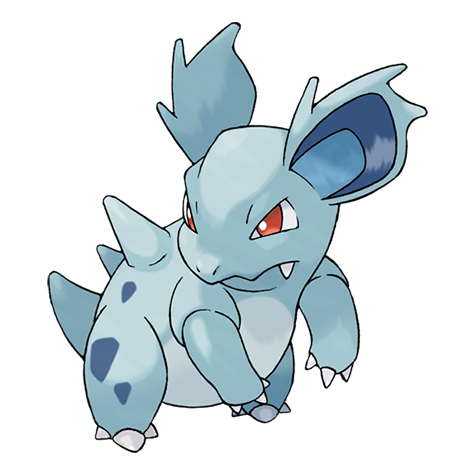 Nidorina |
X & Y | Grass | Pre-evolved already — saves leveling time. |
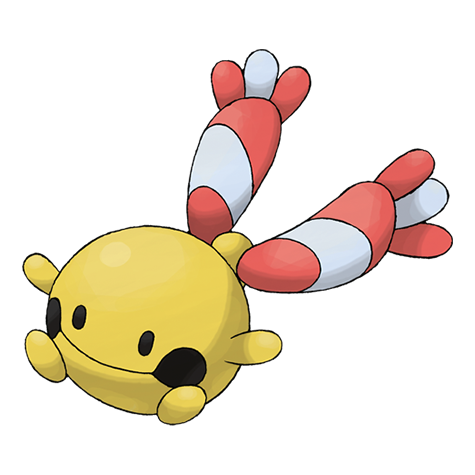 Chingling |
X & Y | Grass Rare | Evolves to Chimecho via friendship at night. Niche Psychic special; Pokémon-Amie speeds it up. |
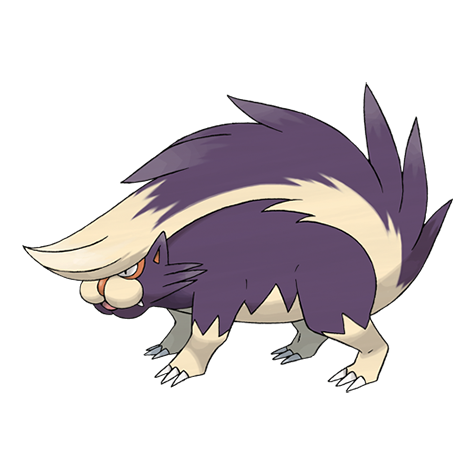 Stunky |
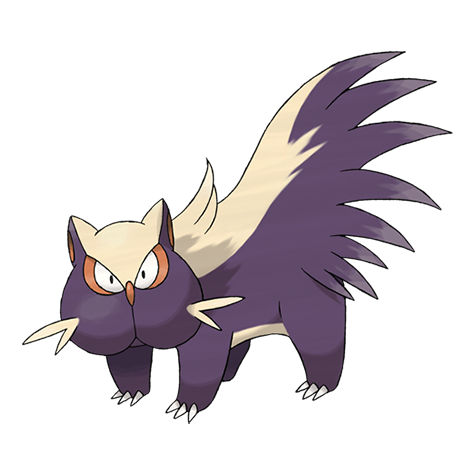
X & Y | Grass | Stench / Aftermath. Skuntank handles Psychic types — useful against Reflection Cave's Wobbuffet/Sableye runs. |
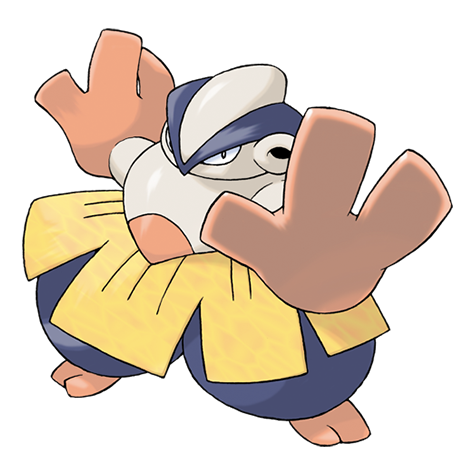 Hariyama |
X & Y | Grass Rare | Pre-evolved already (skips Makuhita stage). Thick Fat / Guts. Big Fighting attacker. |
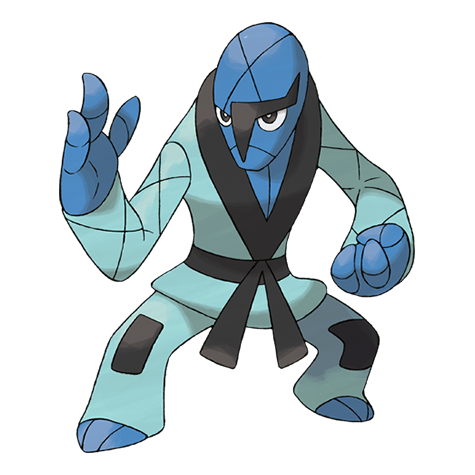 Sawk |
Y only | Grass Rare | ★ Y exclusive. Sturdy + Mold Breaker. Bulky physical Fighting. |
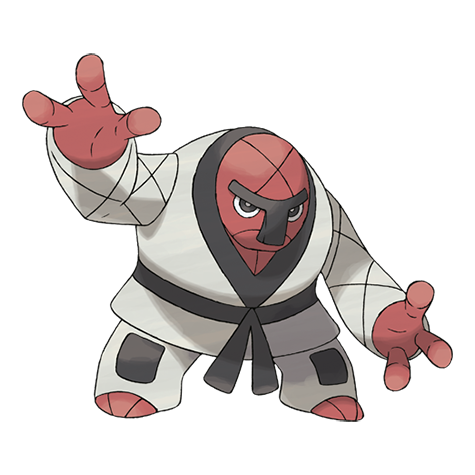 Throh |
X only | Grass Rare | ★ X exclusive. Guts / Inner Focus. Bulky Fighting — mirror of Sawk. |
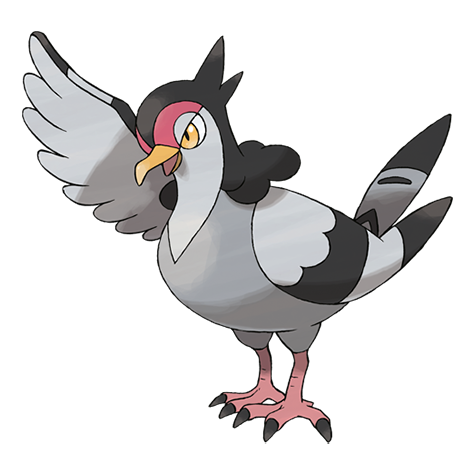 Staravia |
X & Y | Grass | Decent Flying alternative if you skipped Fletchling. Intimidate later via Staraptor. |
Trainers on Route 11
| Trainer | Roster | Notes |
|---|---|---|
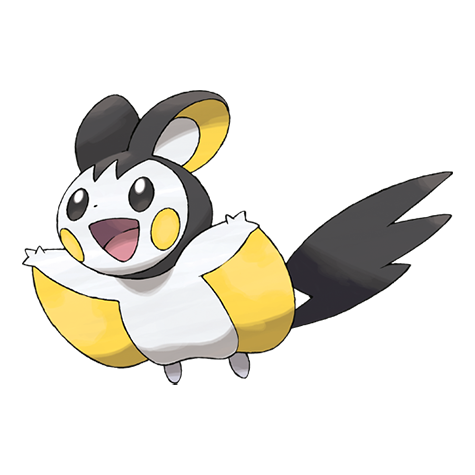
| Sky Trainer Yvette Sky | Emolga Lv 23, Staravia Lv 24, Wingull Lv 23 | ★ Sky Battle — requires a Flying-type in your party. Triple-Pokémon fight, decent XP. Emolga's Static is the threat. |
| Battle Girl Geraldine | Mienfoo Lv 22, Hawlucha Lv 22 (approximate) | Running around the grassy field — easy to miss her. Fighting-type focus, mirrors the upcoming gym. |
| Tag battle: Frank & Sly Double | Machoke Lv 28, Mr. Mime Lv 26 (or similar combo) | Called the "Brains & Brawn" duo. Both above your level — they're a tough double battle. Bring Flying/Psychic for the Machoke side and Dark/Steel for the Mr. Mime side. |
Items on Route 11
| Item | Location |
|---|---|
| TM (varies, often Energy Ball or Calm Mind in this stretch) | Visible along main path |
| Honey ×2 | Visible |
| Wide Lens (hidden) | Dowsing Machine in northern grass — held item, +10% accuracy |
Reflection Cave
A mirror-themed cave with shimmering crystalline walls. Multiple levels, occasional reflective surface puzzles (you walk in front of a mirror and your reflection moves with you). Sableye and Wobbuffet are exclusive to this cave in the main story — catch them now or wait until Friend Safari (Phase 8).
Wild Pokémon — Reflection Cave
| Pokémon | Versions | Method | Notes |
|---|---|---|---|
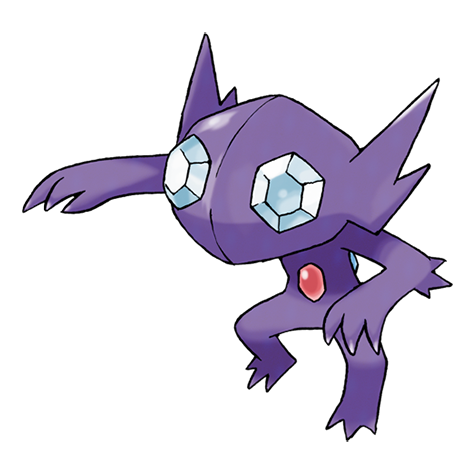 Sableye |
X & Y | Cave | ★ Priority catch — only main-story location. Keen Eye / Stall. No type weaknesses (Dark/Ghost has 0 weaknesses). Solid defensive utility, has a Mega Stone in OR/AS post-launch (Sablenite is OR/AS exclusive). |
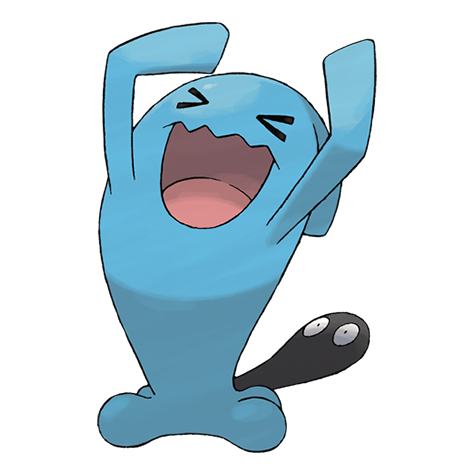 Wobbuffet |
X & Y | Cave | ★ Only main-story location. Shadow Tag traps opponents — niche but useful for hunting. Counter/Mirror Coat/Encore is a competitive staple. |
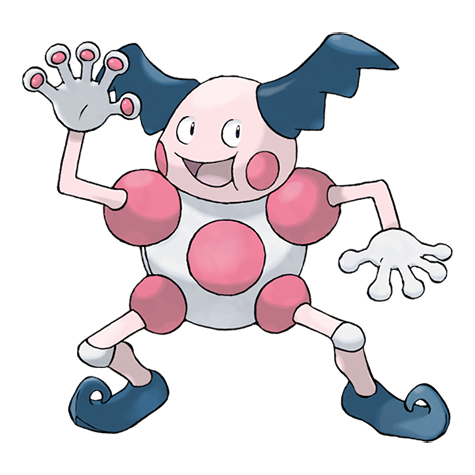 Mr. Mime |
X & Y | Cave | Soundproof / Filter / Technician. Defensive Psychic — Mime Jr. line. |
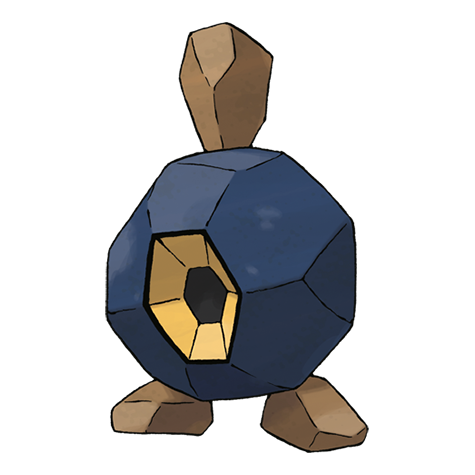 Roggenrola |
X & Y | Cave | Sturdy. Evolves into Gigalith via trade — solid Rock physical wall. |
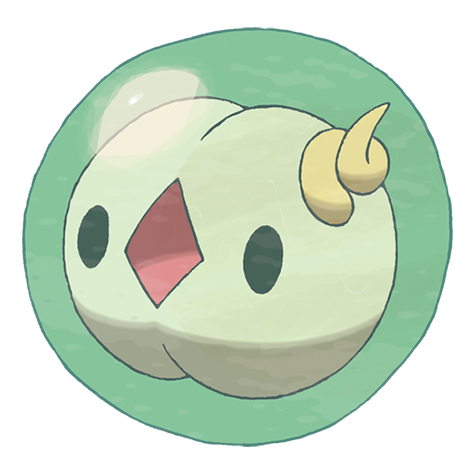 Solosis |
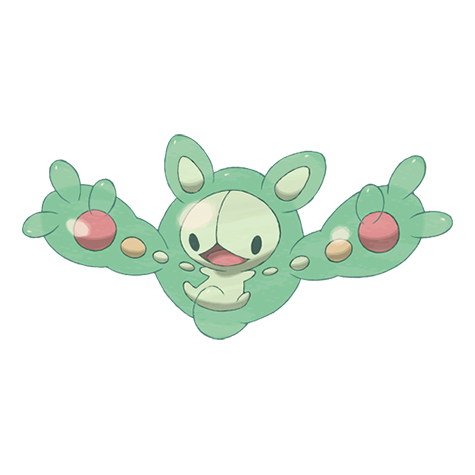
X & Y | Cave | Magic Guard. Reuniclus is a strong special tank — Calm Mind + Recover endgame. |
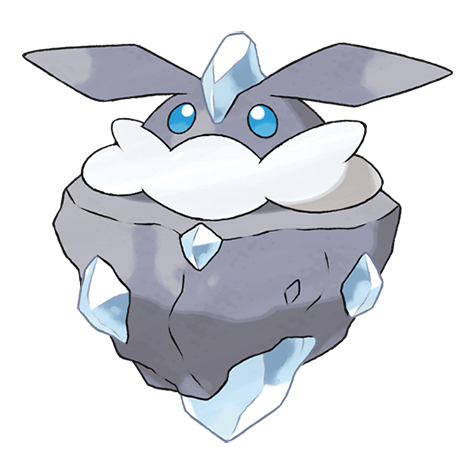 Carbink |
X & Y | Cave Rare | Clear Body / Sturdy. Rock/Fairy is a unique typing — 2× weak to Steel/Ground but no 4× weaknesses. Niche tank. |
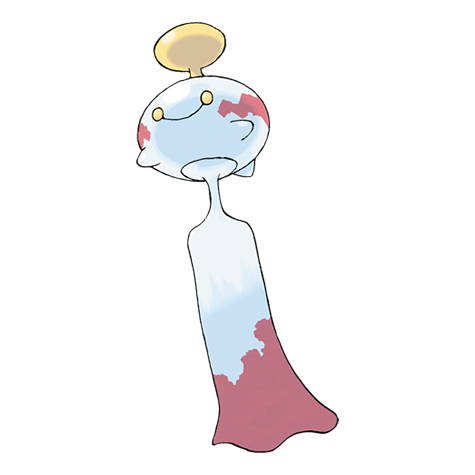 Chingling |
X & Y | Cave Rare | Same as Route 11 — second chance to catch. |
Trainers in Reflection Cave
| Trainer | Roster | Notes |
|---|---|---|
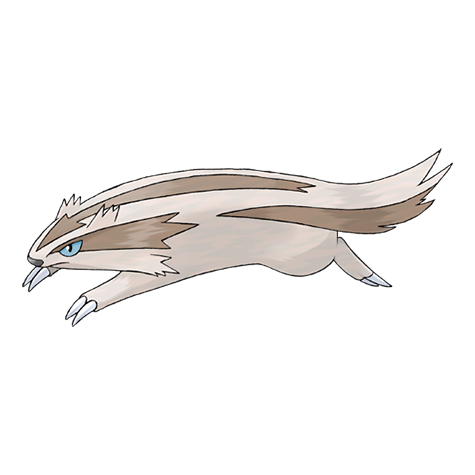
| Backpacker Lane | Linoone Lv 26 | Single mon. Linoone's Headbutt + Pickup. Quick KO with anything decent. |
| Battle Girl Hedvig | Throh Lv 25, Hawlucha Lv 26 | ★ Tough trainer — Hawlucha's Flying Press hits like a truck. Bring a Psychic/Fairy. |
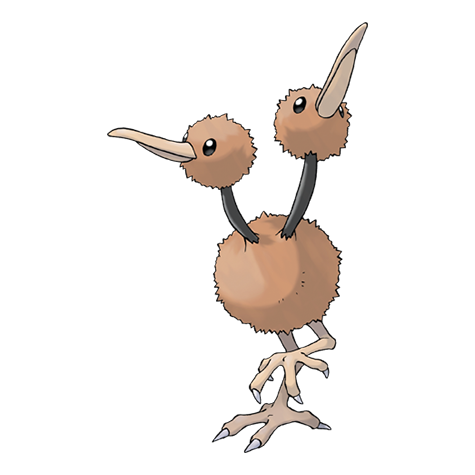
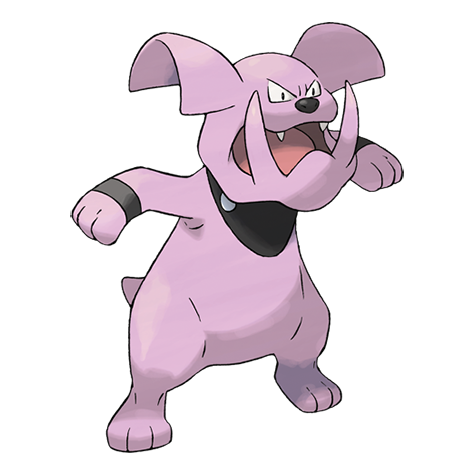
| Ace Trainer Monique | Doduo Lv 24, Helioptile Lv 25, Granbull Lv 24 | Triple trainer. Granbull's Intimidate + Bite is the worst — switch in something Steel/Poison. |
| Tourist Monami | Nidorina Lv 26 | Single mon. Toxic + Bite. Finish quickly to avoid poison stall. |
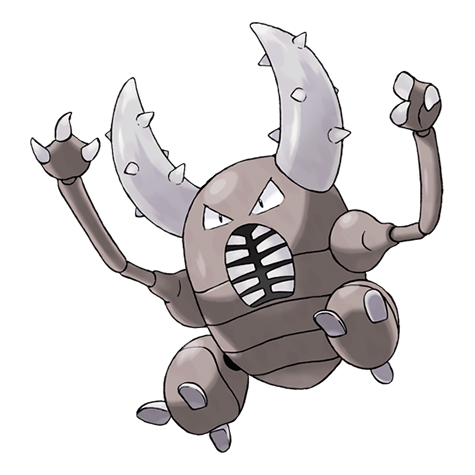
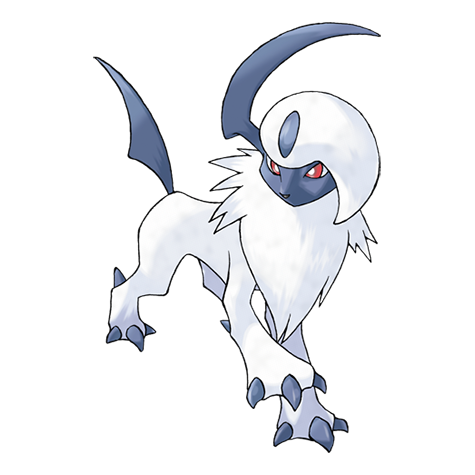
| Ace Trainer Emil | Pinsir Lv 25, Absol Lv 26 | ★ Pinsir has a Mega Stone (Pinsirite — post-game). Absol's Sucker Punch is fast — be careful with status moves. |
| Tierno (NPC, not battle) | — | Gives you TM70 Flash. Old HM move repurposed as TM — niche, but cute keepsake. |
Items in Reflection Cave
| Item | Location |
|---|---|
| TM70 Flash | From Tierno, south of Tourist Monami |
| TM74 Gyro Ball | NW passage |
| Moon Stone | Middle of the hill south of Battle Girl Hedvig — ★ evolves Nidorina/Nidorino into Nidoqueen/Nidoking |
| Thunder Stone | Against the second rock fence |
| Nest Ball | Middle of the room north of Backpacker Lane |
| Revive | End of the narrow eastern path past Backpacker Lane |
| Hyper Potion | Grassy ledge south of Reflection Cave entrance |
| Iron | NW corner — base stat booster |
| Earth Plate | Cave's lowest level along the path — held item, boosts Ground moves |
| Escape Rope | Southern part of cave's lower floor |
| Alakazite Mega | NW passage — but requires upgraded Mega Ring (post-Elite Four). Don't waste time looking for it now. |
| Reveal Glass | From Scientist west of Shalour City entrance — changes Tornadus/Thundurus/Landorus forms (post-game relevance only) |
Shalour City
A coastal town with a giant Tower of Mastery rising from the cliffside. The Pokémon Center has its own ATM-style TM shop, and there are several worthwhile gift NPCs around town.
Shalour stops
Items in Shalour
| Item | Where |
|---|---|
| Eviolite | Scientist house — Pokédex check |
| Soothe Bell | Old woman — friendship check |
| Leppa Berry (via trade) | Berry trader — trade Sitrus Berry |
| TM28 Dig (buy) | Pokémon Mart — 10,000 P |
| TM84 Poison Jab (buy) | Pokémon Mart — 10,000 P |
| TM20 Safeguard / TM07 Hail / TM37 Sandstorm (buy) | Pokémon Mart |
| Good Rod (if missed) | Fisherman on the pier |
Tower of Mastery — First Visit + Rival Battle
A tall stone tower west of Shalour with a spiral interior. Korrina meets you at the entrance and escorts you up to the top where her grandfather Gurkinn waits with the Mega Ring.
The Mega Ring contest
Gurkinn explains that only one Mega Ring is available, and Calem/Serena steps forward as the only other interested party. You and your rival battle to decide who gets the ring.
Rival battle — Calem / Serena (Tower of Mastery)
| Pokémon | Lv | Moves |
|---|---|---|
| Floette (Fairy) | 29 | Grassy Terrain, Fairy Wind, Magical Leaf, Razor Leaf |
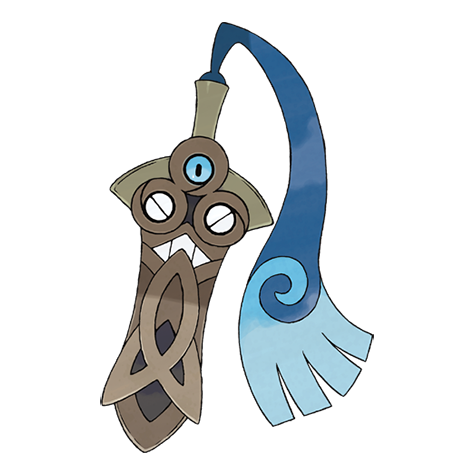
| Honedge (Steel/Ghost) | 29 | Cut, Swords Dance, Aerial Ace, Shadow Sneak |
Starter (the type-advantage one):
|
29 | See list → |
| Wartortle (Squirtle) OR Charmeleon (Charmander) OR Ivysaur (Bulbasaur) — depending on rival's Kanto starter choice (not always shown) | — | Some sources list a 4th mon; many sources list 3. The Floette + Honedge + Starter trio is verified. |
Items at the Tower (first visit)
| Item | Where |
|---|---|
| Black Belt | Visible on a lower floor — held item, boosts Fighting moves +20% |
| Expert Belt | Hidden on an upper floor — held item, +20% to super-effective moves |
Shalour Gym — Korrina, the Fighting Leader
Korrina — Shalour City Gym
Gym puzzle: A roller-skating rink shaped like a half-pipe. You skate down ramps, choose paths, and engage four Roller Skater trainers along the way. You must defeat all four to reach Korrina at the top.
Korrina's team
| Pokémon | Lv | Type | Notes |
|---|---|---|---|
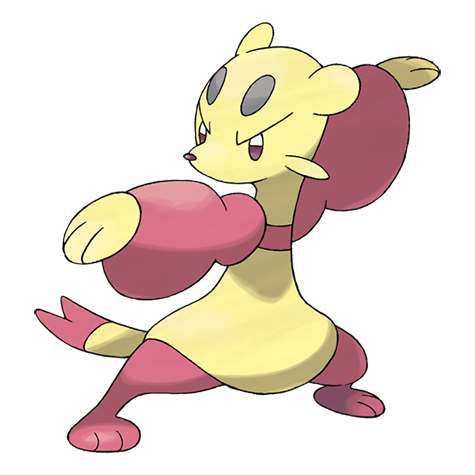 Mienfoo |
29 | Fighting | Inner Focus. Pound + Force Palm + Fake Out. Lead — finish fast before Fake Out flinches you. |
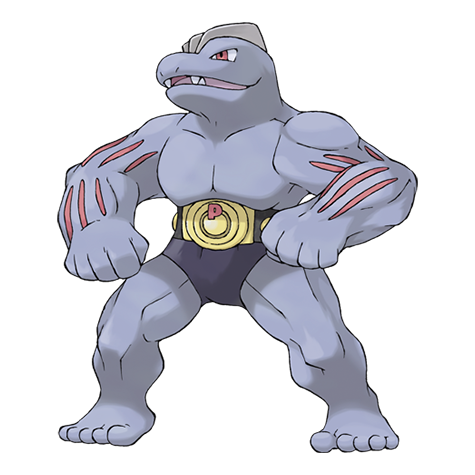 Machoke |
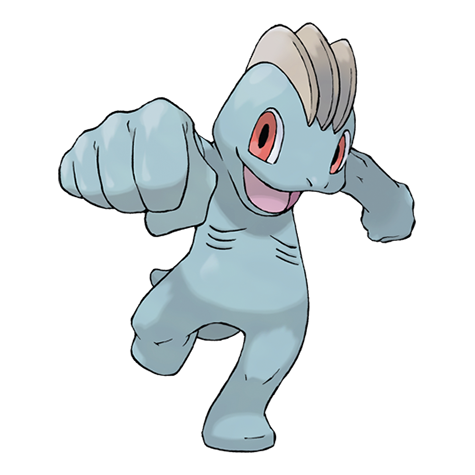
28 | Fighting | No Guard / Guts. Karate Chop + Vital Throw. Bulky midgame; bring Flying/Psychic. |
Hawlucha |
32 | Fighting/Flying | ★ Her ace. Limber. Flying Press + Karate Chop + Hone Claws. Outspeeds most of your team. Bring Psychic/Fairy/Electric. |
Gym trainers (mandatory order)
| Trainer | Roster | Notes |
|---|---|---|
| Roller Skater Rolanda | Sawk Lv 27, Hariyama Lv 29 | Hariyama's Arm Thrust hits 2–5 times. Psychic/Flying counters. |
| Roller Skater Shun | Pancham Lv 27, Throh Lv 27, Machoke Lv 27 | Triple Fighting roster. Take advantage of Psychic STAB or your starter's evolution. |
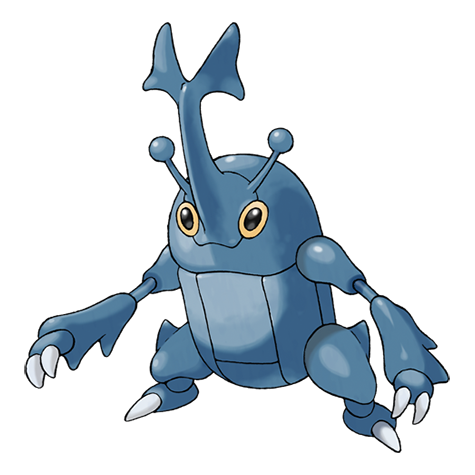
| Roller Skater Dash | Heracross Lv 30 | ★ Hardest single mon. Heracross's Megahorn is brutal — has a Mega Stone (post-game). Use Flying or Fire. |
| Roller Skater Kate | Meditite Lv 28, Mienfoo Lv 28 | Pure Fighting again. Espurr/Meowstic with Psyshock = clean clear. |
Threat assessment
| Pokémon | Threat | Why |
|---|---|---|
| Mienfoo | Low | Lead. Fake Out flinches; otherwise it's frail. |
| Machoke | Medium | Bulky physically; Karate Chop is high-crit. If it has No Guard, every move hits. |
| Hawlucha | High | ★ Outspeeds most of your team. Flying Press is Fighting+Flying combined — neutral or worse against most. Limber means no paralysis. Bring a faster Electric/Psychic/Fairy. |
Recommended counters (in order)
| Counter | Why | Recommended moves |
|---|---|---|
| Meowstic (Espurr evo) | ★ ★ ★ Psychic STAB 2× on all three. Outspeeds Hawlucha if Lv 30+. | Psyshock, Psybeam, Light Screen |
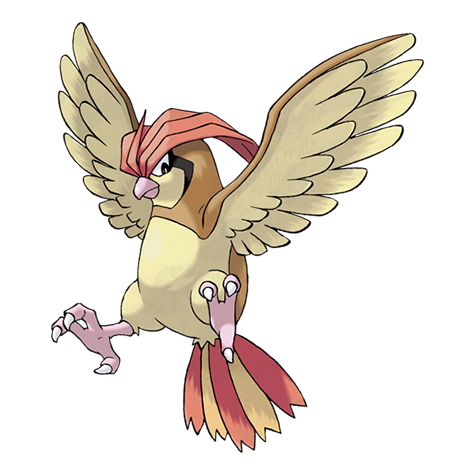
| Pidgeotto / Talonflame (Fletchinder evo) | ★ ★ Flying STAB 2× on Mienfoo + Machoke. Watch out for Hawlucha's Flying mirror — bench against the ace. | Aerial Ace, Flame Charge (Talonflame) |
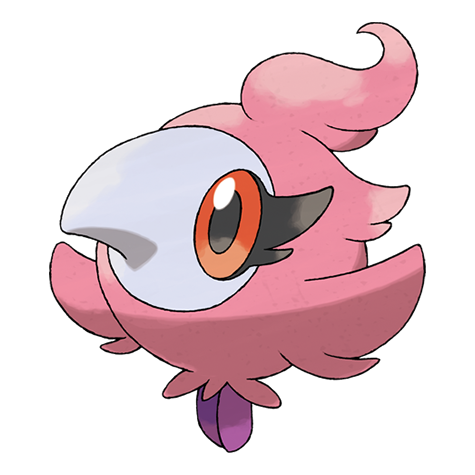
| Floette / Aromatisse / Slurpuff (Spritzee/Swirlix evo) | ★ Fairy STAB 2× on all three. Floette specifically counters Korrina's whole roster. | Fairy Wind, Magical Leaf |
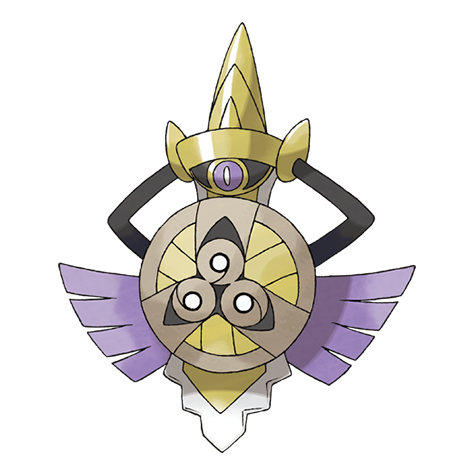
| Aegislash (Honedge evo) | Ghost immunity to Fighting + Steel STAB. Stance Change tanks everything. | Shadow Sneak, Iron Head, King's Shield |
| Greninja / Frogadier with Water Pulse | Outspeeds Hawlucha post-evo. Water is neutral on Fighting but Protean (if Greninja) makes Water Pulse a Water-type that doesn't fear Fighting weakness. | Water Pulse, Lick |
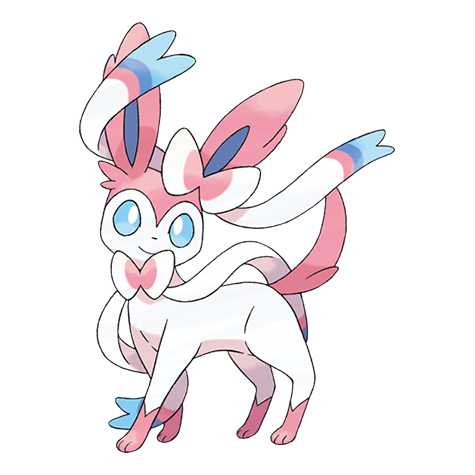
| Sylveon / Spritzee line | Fairy is 2× on Fighting and resists Fighting back. Slow but sturdy. | Fairy Wind, Disarming Voice |
Avoid leading with
- Snorlax — Normal weak to Fighting 2×, slow. Hawlucha OHKOs.
- Pancham / Pangoro / Hawlucha / Lucario (yours) — Fighting mirror, you lose tempo.
- Tyrunt / Tyrantrum / Amaura / Aurorus — Rock 4× weak to Fighting.
- Litleo / Pyroar — Pyroar specifically is weak to Fighting; Hawlucha's Flying Press kills it.
- Spewpa / Vivillon — Vivillon is OK (Bug + Flying neutral on Fighting), but its low HP means Hawlucha 1-shots.
Reward
- Rumble Badge — traded Pokémon up to Lv 70 will obey. Major upgrade.
- TM98 Power-Up Punch — 40-power Fighting move that ALSO boosts your Attack +1 every hit. ★ ★ ★ Excellent on any physical attacker (Hawlucha, Lucario, Pangoro, Talonflame). Stack 4–5 times for OHKO power.
- Prize money — ~3,840 P.
Tower of Mastery — Second Visit + Mega Ring
After defeating Korrina, return to the top of the Tower. Korrina is now waiting at the summit with her Mega-Evolving Lucario.
The Mega Lucario rematch
| Trainer | Pokémon | Notes |
|---|---|---|
| Korrina (Mega Lucario test) Mega | Lucario Lv 32 (Mega Evolves first turn) | ★ Boss fight. She Mega Evolves into Mega Lucario (Adaptability + Steel STAB Bullet Punch). Has Swords Dance → Bone Rush → Power-Up Punch. The walkthrough says "you can defeat her Lucario with only two Power-Up Punches" — Korrina also gives you a Lv 32 Lucario with Lucarionite, so you can Mega Evolve and mirror-match. |
- Lucario (Lv 32) — Steadfast or Justified ability. Already knows Swords Dance, Bone Rush, Power-Up Punch, Metal Sound. Coded to never be shiny.
- Lucarionite — your first non-Kanto Mega Stone.
- Mega Ring — the key item that lets you Mega Evolve any Pokémon holding a compatible Mega Stone.
Mega Lucario — your new tool
Ability: Adaptability — STAB is 2× instead of 1.5×. Bone Rush hits like 165-power Ground STAB; Power-Up Punch escalates fast.
Type: Fighting/Steel — same as regular Lucario but with massively boosted stats.
Stat changes: +30 Attack, +20 Sp. Atk, +25 Speed, +30 Defense, +20 Sp. Def.
Recommended moveset: Bone Rush / Power-Up Punch / Swords Dance / Stone Edge or Crunch (TM later). Bullet Punch via egg move or learnable.
Phase 3–8 verdict: ★ ★ ★ Carries you through the next several gyms easily. Mega Evolve early; sweep.
Azure Bay + Sea Spirit's Den (Preview)
South of Shalour, accessible via the beach. Mostly locked for Phase 3 because the islands and Sea Spirit's Den require HM03 Surf — which you don't receive until Phase 4 (Coumarine City area).
What's there (for future reference)
Team Recommendations
Phase 3 expects Lv 29–32 across your party going into Korrina. Mega Evolution unlocks at the end of the phase — by Phase 4 you'll have a Mega-capable slot.
| Slot | Pokémon | Reasoning | Target Lv |
|---|---|---|---|
| 1 | Your starter (Quilladin → Chesnaught at Lv 36; Braixen → Delphox at Lv 36; Frogadier → Greninja at Lv 36) | Frogadier with Water Pulse handles Mienfoo + Machoke comfortably. Greninja unlocks Phase 4. | Lv 32+ |
| 2 | Hawlucha (Route 10 catch) | ★ Future ace. Flying Press + Power-Up Punch (TM98 after gym) is endgame-tier. | Lv 28+ |
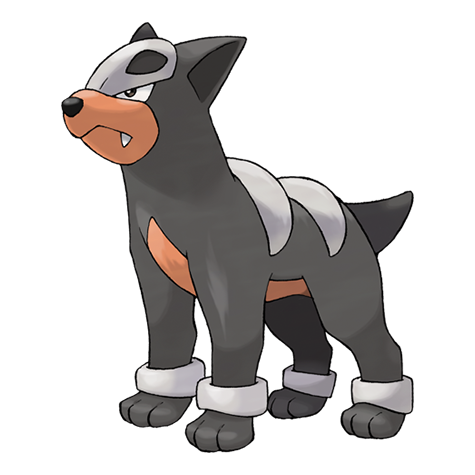
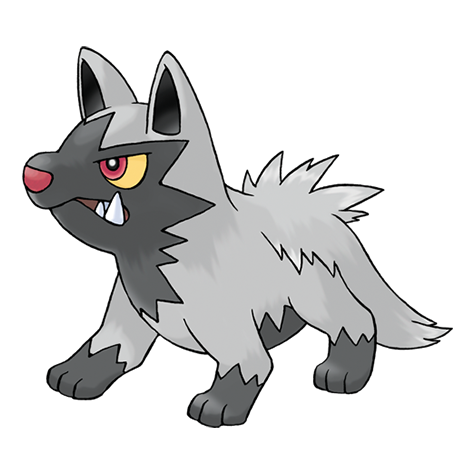
| 3 | Pancham → Pangoro (Lv 32 with Dark in party — Inkay/Houndour/Poochyena) | Pangoro with TM98 + Crunch is a top-3 Phase 3–5 mon. | Lv 32 |
| 4 | Lucario (Phase 3 gift) + Mega Ring | ★ Endgame ace. Use Mega Lucario sparingly — once per battle, but devastating. | Lv 32 (gift) |
| 5 | Aegislash (Honedge evo) or Meowstic (Espurr evo) | Aegislash if you want a defensive wall; Meowstic if you want a Korrina-counter and Trick Room option. | Lv 28+ |
| 6 (flex) | Floette / Sylveon (eventually) / Nidoking (use Moon Stone) / Sableye | Flex slot — Nidoking is a Phase 5+ powerhouse if you grabbed the Moon Stone. | Lv 28+ |
Trade evolutions to start
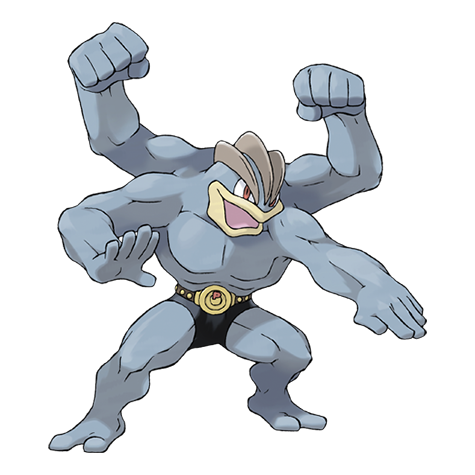
- Machoke → Machamp: If you caught a Machop in Glittering Cave (Phase 2). Needs a trade partner.
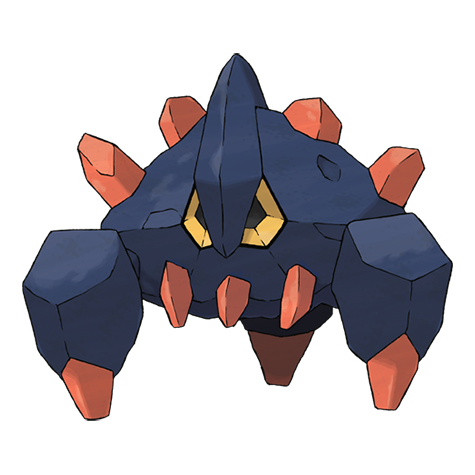
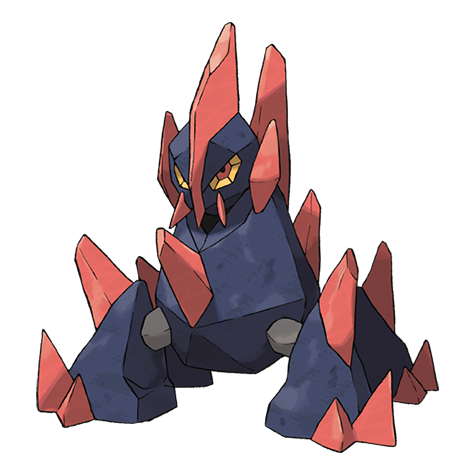
- Roggenrola → Boldore → Gigalith: Lv 25 evolves Boldore; trade-evolves to Gigalith.
Mega Evolution candidates (you now have access!)
- Mega Lucario (Lucarionite, gifted) — ★ ★ ★ immediate use.
- Mega Charizard X/Y (Charizardite — Phase 2 reward if you chose Charmander) — ★ ★ ★ now usable.
- Mega Venusaur (Venusaurite — Phase 2 reward if you chose Bulbasaur) — ★ ★ defensive monster.
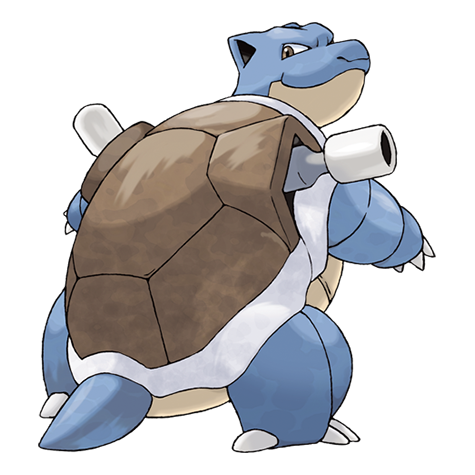
- Mega Blastoise (Blastoisinite — Phase 2 reward if you chose Squirtle) — ★ ★ bulky special Water.
Must-Grab Items (Phase 3 Master List)
| Item | Where | Missable? |
|---|---|---|
| TM66 Payback | Geosenge Pokémon Center — man in white | No |
| Everstone | Geosenge — Researcher cabin NW | No |
| Soft Sand | Geosenge — SW corner visible | No |
| Timer Ball (hidden) | Geosenge — NW corner of hotel backyard | No |
| TM70 Flash | Reflection Cave — from Tierno | No |
| TM74 Gyro Ball | Reflection Cave NW passage | No |
| Moon Stone | Reflection Cave — south of Battle Girl Hedvig | ★ Yes (Nidoking-critical) |
| Thunder Stone | Reflection Cave — against second rock fence | No |
| Nest Ball / Revive / Hyper Potion / Iron / Earth Plate / Escape Rope | Reflection Cave — various | No |
| Reveal Glass | From Scientist west of Shalour | No (post-game item) |
| Eviolite | Shalour — Scientist next to Pokémon Center, Pokédex check | ★ Yes |
| Soothe Bell | Shalour — old woman, friendship check | ★ Yes |
| Leppa Berry (trade) | Shalour — berry trader, trade Sitrus | No |
| TM28 Dig (buy) | Shalour Pokémon Mart | No (buyable forever) |
| TM84 Poison Jab (buy) | Shalour Pokémon Mart | No (buyable forever) |
| Good Rod | Shalour pier (if missed at Cyllage) | No |
| Black Belt / Expert Belt | Tower of Mastery — visible / hidden | No |
| Mega Ring (Key Item) ★ ★ ★ | Tower of Mastery — Korrina post-gym | No (story) |
| Lucario (Lv 32) Gift | Tower of Mastery — Korrina post-gym | No (story) |
| Lucarionite Mega Stone | Tower of Mastery — held by gift Lucario | No (story) |
| TM98 Power-Up Punch | Shalour Gym — Korrina reward | No (gym reward) |
| Rumble Badge | Shalour Gym — Korrina reward | No (gym reward) |
Version Note Summary
Phase 3 — Pokémon X vs Pokémon Y differences
Phase 3 Checklist
- Stock up at Cyllage Mart (Super Potions, Status heals, 10× Poké Balls)
- Trigger and defeat (or catch) the Sudowoodo on Route 10
- Catch a Hawlucha on Route 10 (★ priority — only location)
- Beat both Team Flare Grunts on Route 10
- Beat Korrina in Geosenge (2× Lucario Lv 25)
- Collect TM66 Payback from the Pokémon Center man in white
- Collect the Everstone from the Researcher cabin in Geosenge
- Engage the Sky Battle with Yvette on Route 11 (need Flying-type)
- Win the Brains & Brawn double battle (Frank & Sly)
- Catch a Sableye AND a Wobbuffet in Reflection Cave (★ only main-story location)
- Catch a Carbink in Reflection Cave if you want a Fairy/Rock niche pick
- Pick up the Moon Stone in Reflection Cave (★ Nidoking-critical)
- Get TM70 Flash from Tierno + TM74 Gyro Ball in Reflection Cave
- Get the Eviolite from the Shalour Scientist (Pokédex check)
- Get the Soothe Bell from the old woman in Shalour
- Buy TM28 Dig and TM84 Poison Jab from Shalour Mart
- Climb the Tower of Mastery and beat Calem/Serena (rival battle)
- Defeat the 4 Roller Skater gym trainers
- Defeat Korrina — earn Rumble Badge + TM98 Power-Up Punch
- Return to Tower of Mastery and beat Korrina's Mega Lucario
- ★ Receive the Mega Ring + Lucario + Lucarionite
- Mega Evolve Lucario for the first time
- If you took Charmander earlier: equip the Charizardite X/Y on Charmeleon/Charizard
Dex quick links
Pokemon in this phase
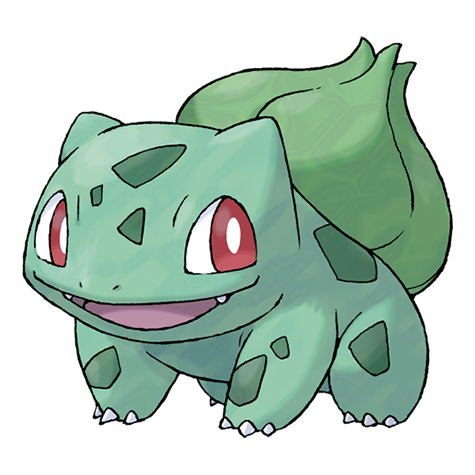 Bulbasaur
 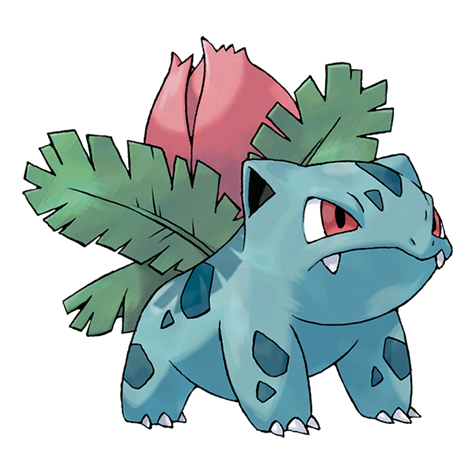 Ivysaur
 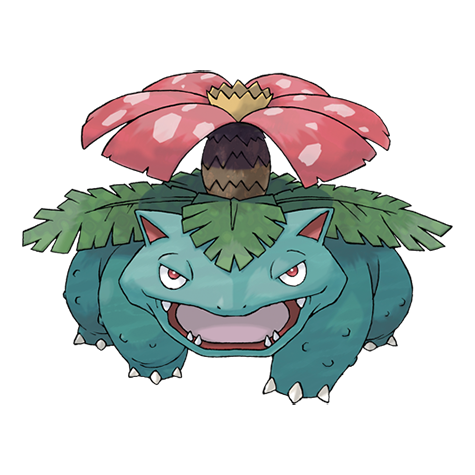 Venusaur
 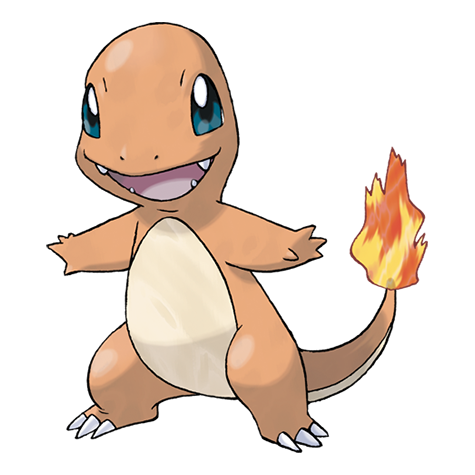 Charmander
  Charmeleon
  Charizard
  Squirtle
  Wartortle
  Blastoise
  Pidgeotto Nidoran F Nidorina
  Nidoqueen Nidoran M
  Nidorino
  Nidoking
  Machop Machoke
  Machamp
  Doduo
Doduo  Chansey Mr Mime
  Pinsir Tauros
  Magikarp
  Gyarados
  Lapras
  Eevee
Eevee  Snorlax
  Ampharos
  Azumarill Sudowoodo
  Skiploom Wobbuffet
  Dunsparce
  Granbull
  Heracross
  Houndour Miltank
  Poochyena
  Linoone
 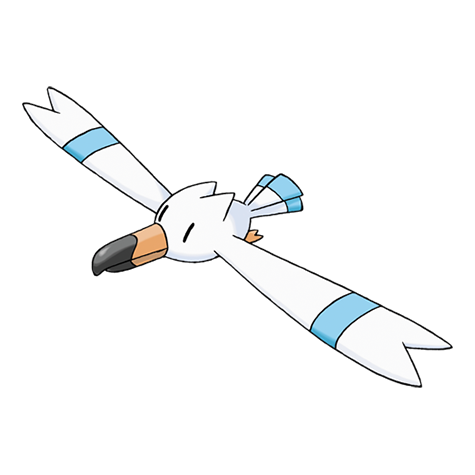 Wingull
 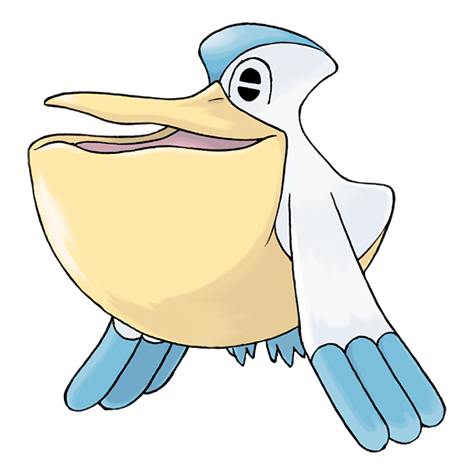 Pelipper
 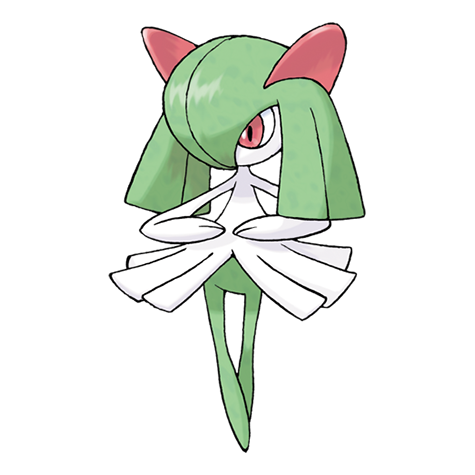 Kirlia
 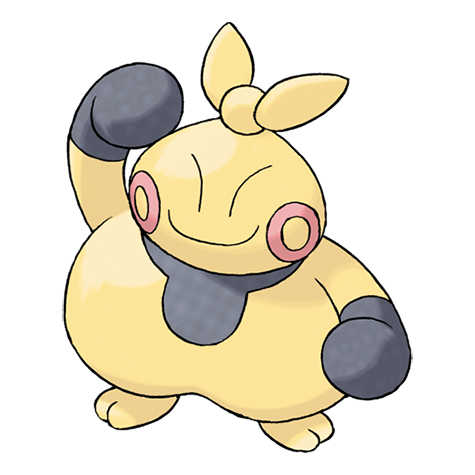 Makuhita Hariyama Sableye
  Meditite
  Electrike
  Gulpin
  Wailmer Chimecho
  Absol
Absol 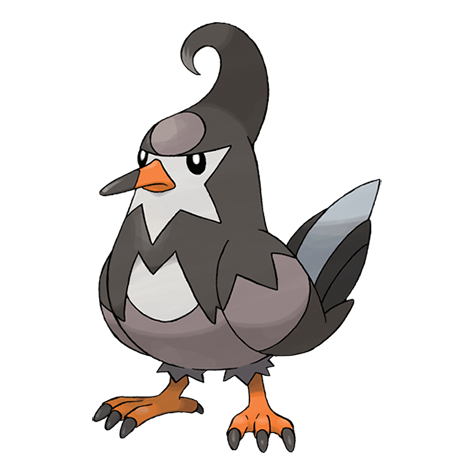 Staravia
  Staraptor
  Pachirisu
  Drifloon Chingling
  Stunky Skuntank
  Mime Jr Lucario
  Hippopotas
  Croagunk Tranquill Roggenrola
  Boldore
  Gigalith Throh Sawk Solosis
  Reuniclus
  Emolga Mienfoo
 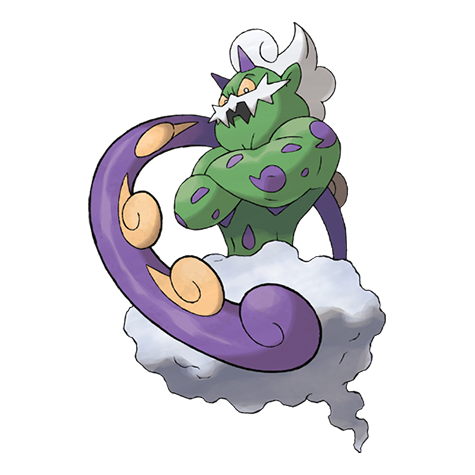 Tornadus
 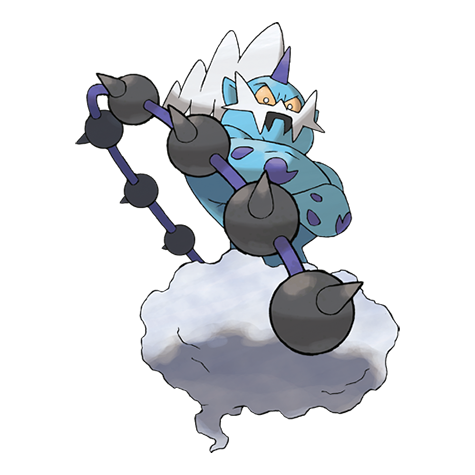 Thundurus
 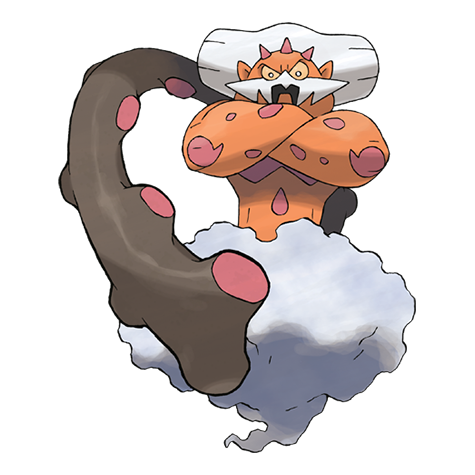 Landorus
 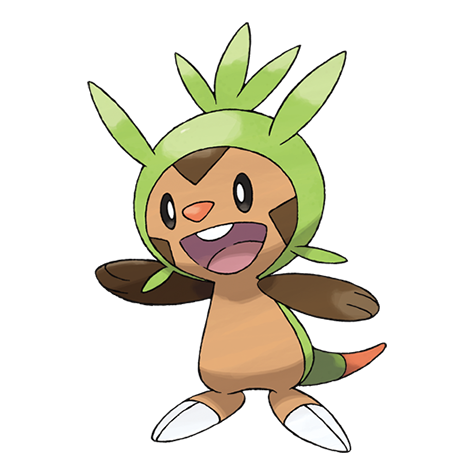 Chespin
 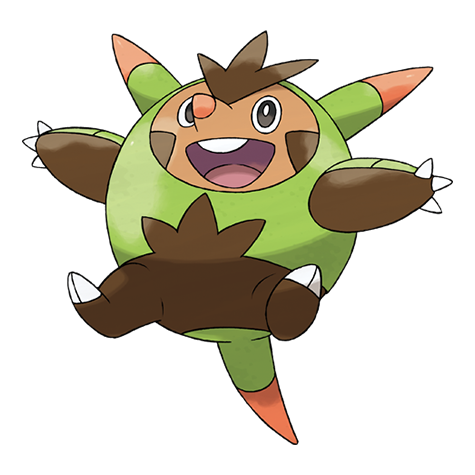 Quilladin
 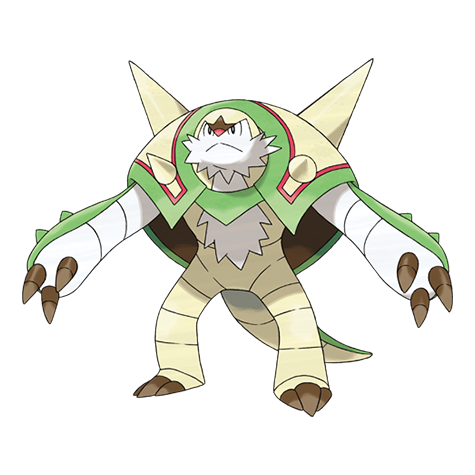 Chesnaught
 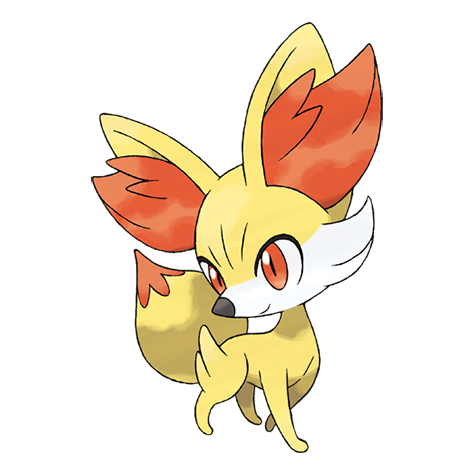 Fennekin
 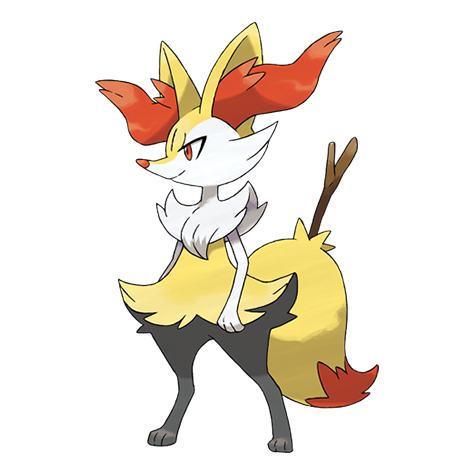 Braixen
 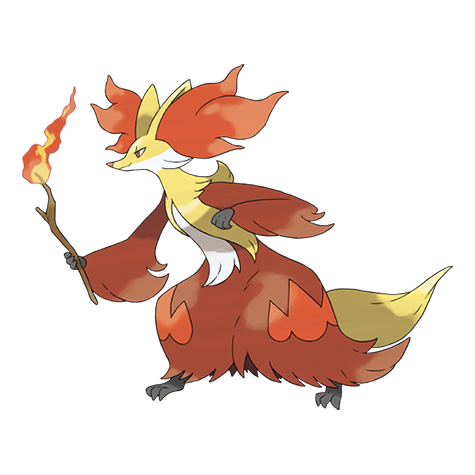 Delphox
 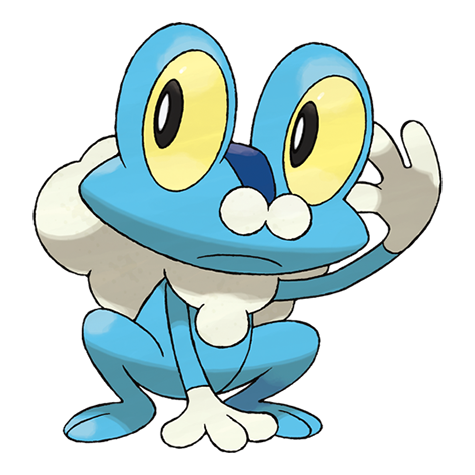 Froakie
 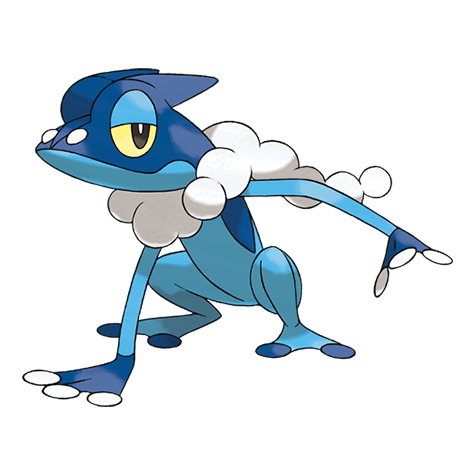 Frogadier
 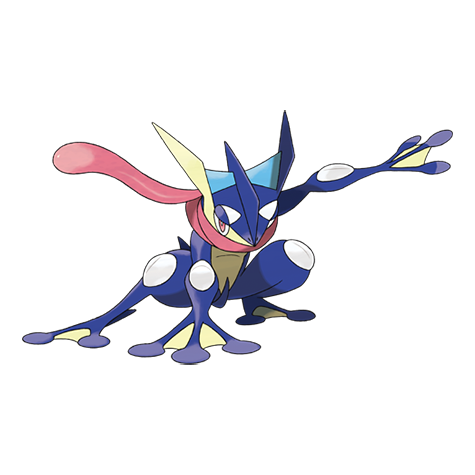 Greninja
 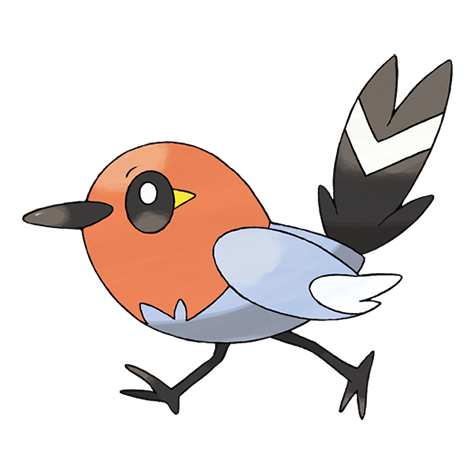 Fletchling
 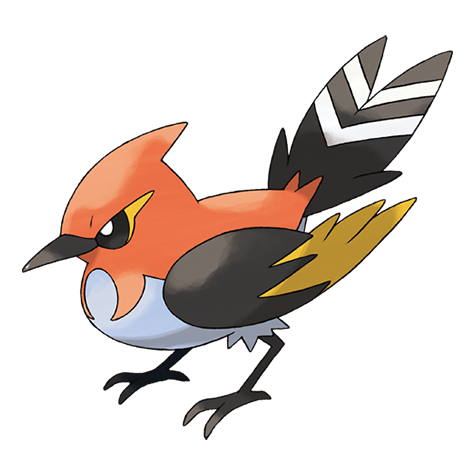 Fletchinder
 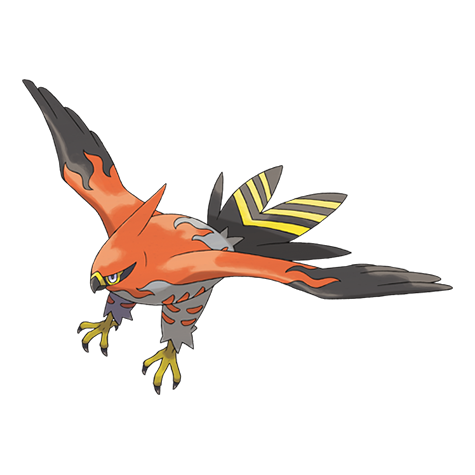 Talonflame
 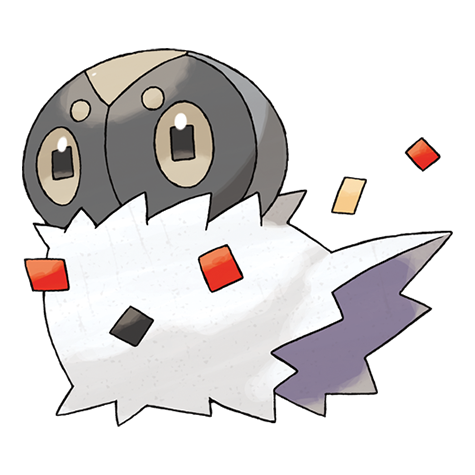 Spewpa
 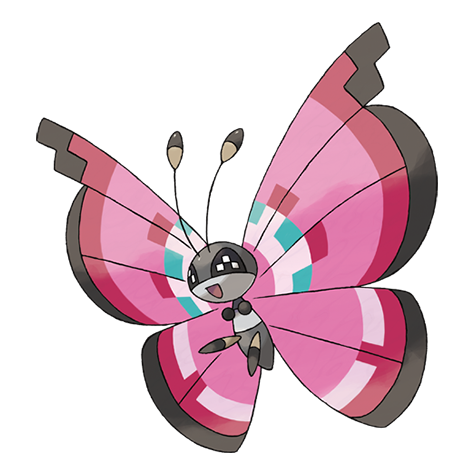 Vivillon
 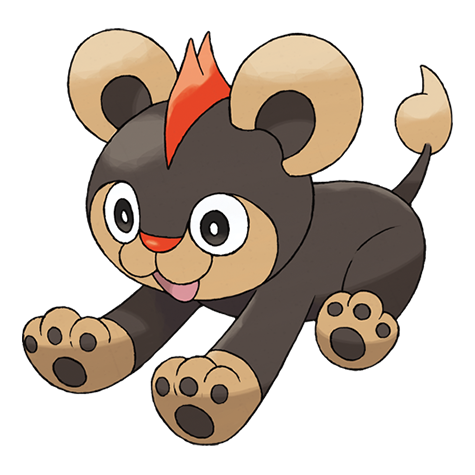 Litleo
 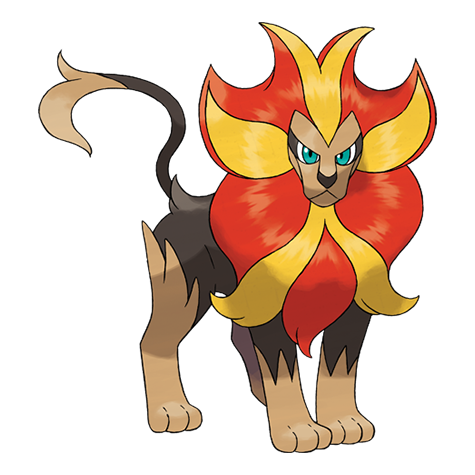 Pyroar
 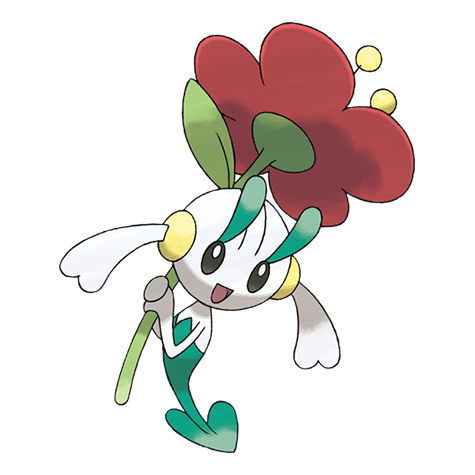 Floette
 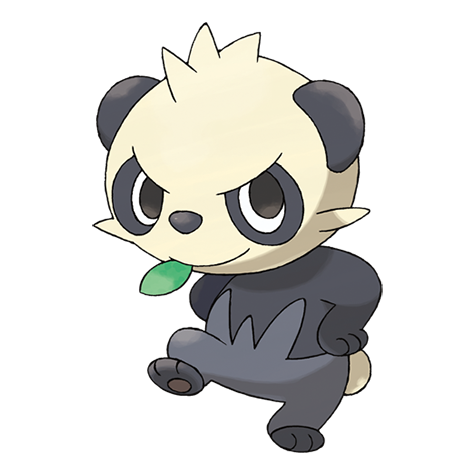 Pancham
 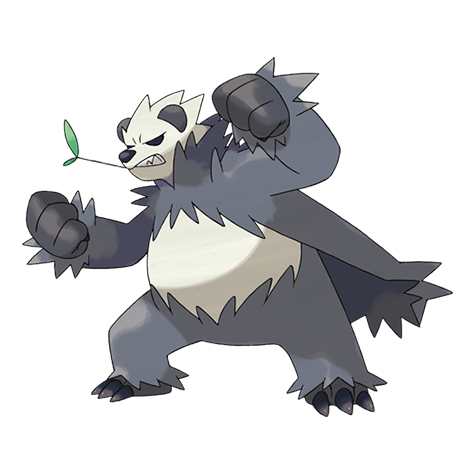 Pangoro
 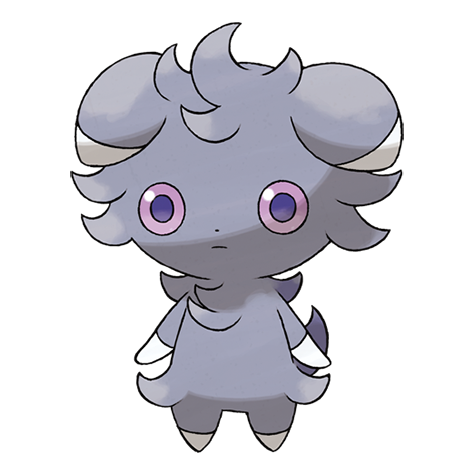 Espurr
 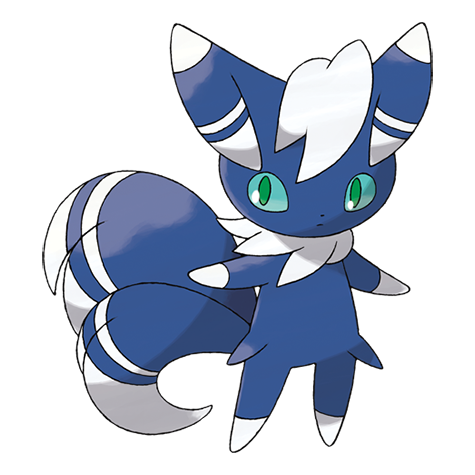 Meowstic
  Honedge
  Doublade
  Aegislash
  Spritzee
 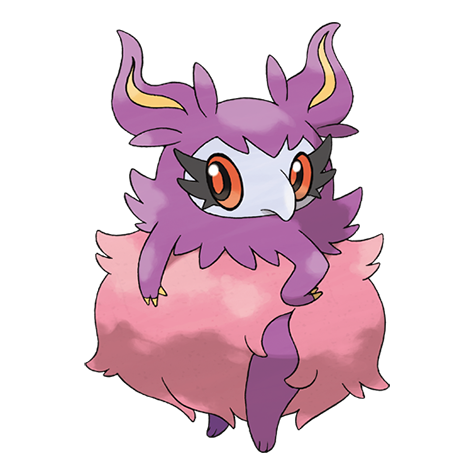 Aromatisse
  Swirlix
 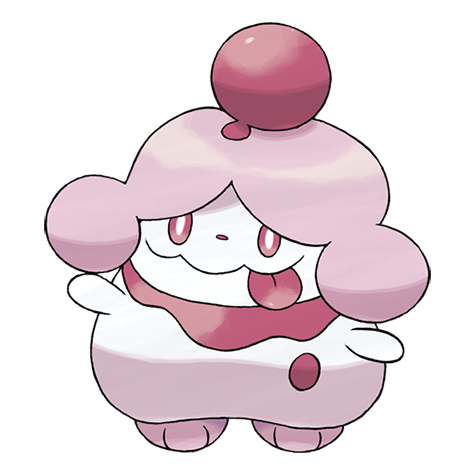 Slurpuff
 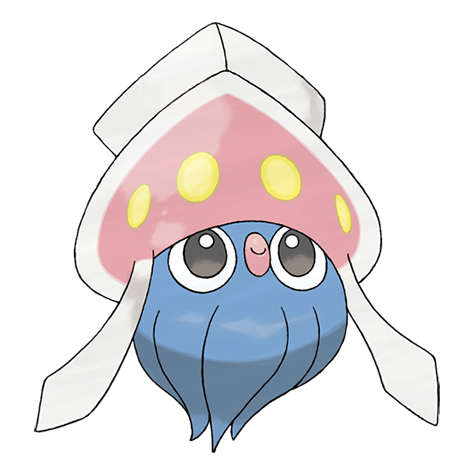 Inkay
Inkay 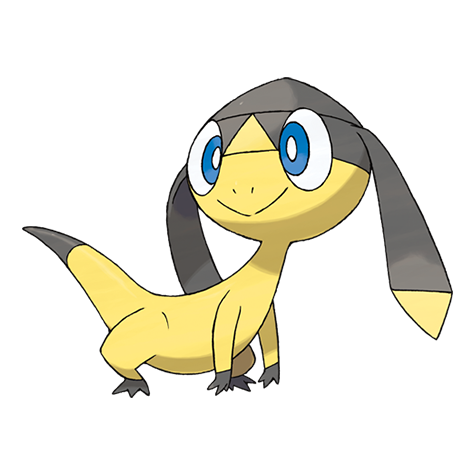 Helioptile
 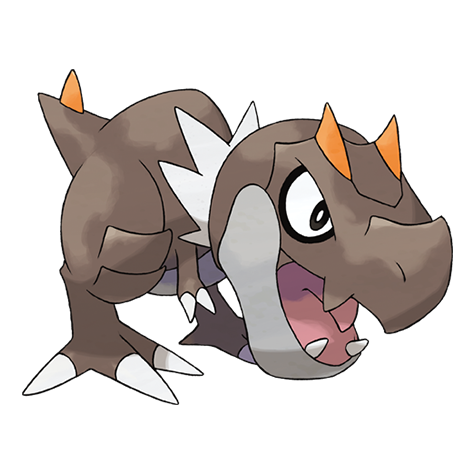 Tyrunt
 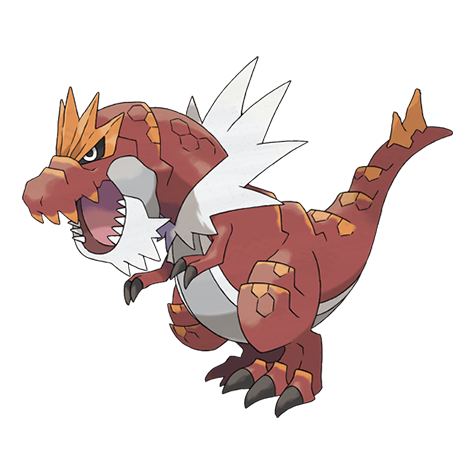 Tyrantrum
 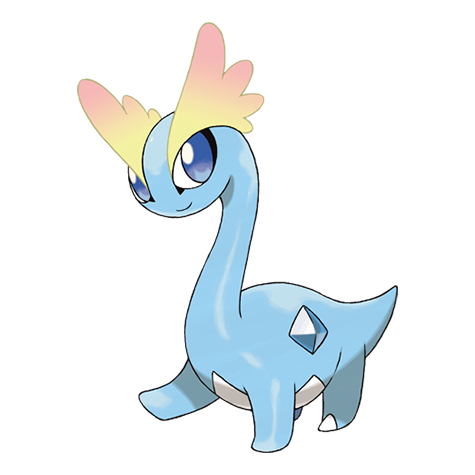 Amaura
 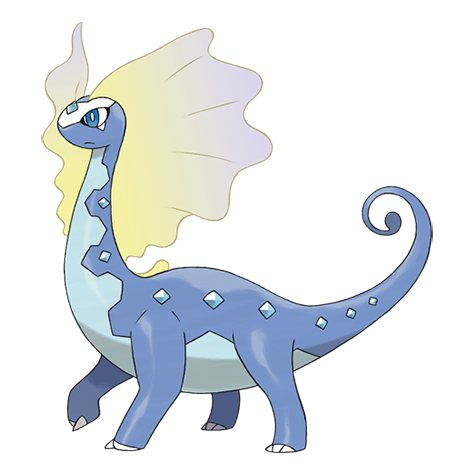 Aurorus
  Sylveon Hawlucha Carbink