
Phase 10 section


Pokemon Diamond and Pearl Stark Mountain, Buck, and Heatran Walkthrough
Navigate the volcanic maze, partner with Buck, reach the Magma Stone chamber, trigger his return, then revisit for Heatran. Exact Diamond/Pearl encounters, every sourced trainer, visible and hidden items, puzzle notes, boss teams, and completion checks.
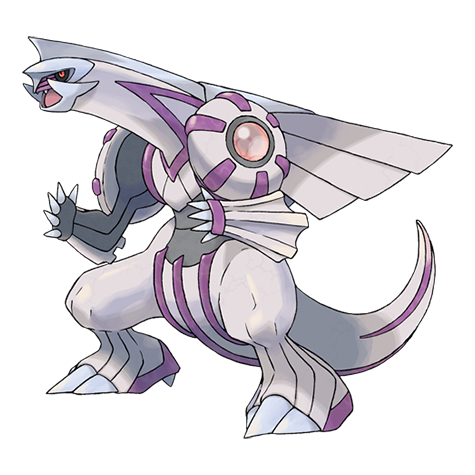
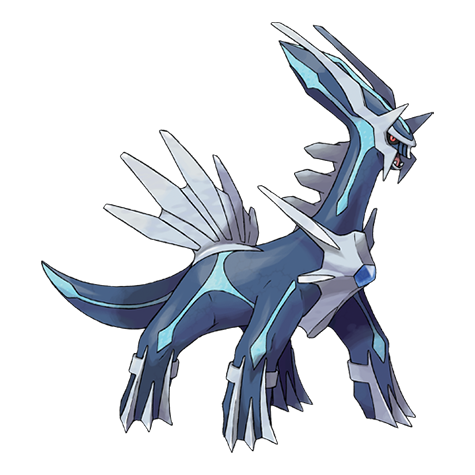
Navigate the volcanic maze, partner with Buck, reach the Magma Stone chamber, trigger his return, then revisit for Heatran. This standalone section joins the route plan to the original Diamond/Pearl map, encounter, trainer, item, and script data; Platinum tables are not substituted.
Source maps
Stark Mountain Interior 1, Stark Mountain Interior 2, and Stark Mountain Interior 3.
Version discipline
Rows merge only when Diamond and Pearl are identical, and each row carries D/P game markers. Version-exclusive species, mascot encounters, swarms, Radar slots, and GBA insertion slots keep their own labeled rows.
Route Plan
Clear the solo entrance rooms; meet Buck; use his healing through the paired interior; defeat every trainer duo; solve Strength and Rock Smash routes; reach the rear chamber; watch Buck take the Magma Stone; return to Survival Area; speak to Buck in the house; revisit the same chamber; save and catch Heatran.
- Buck's Claydol heals the party after each battle and forces double wild encounters during the escort. Complete difficult trainer pairs while that free healing is active.
- Heatran does not appear immediately when Buck takes the Magma Stone. Speak to Buck in Survival Area first, then return to the final chamber.
Exact pret map constants (3)
MAP_STARK_MOUNTAIN_INTERIOR_1 MAP_STARK_MOUNTAIN_INTERIOR_2 MAP_STARK_MOUNTAIN_INTERIOR_3
Wild Pokémon
Each area below has its own table, split by encounter method. Standard grass and cave rates merge every base slot for a species and are shown per time window: morning 04:00-09:59, day 10:00-19:59, night 20:00-03:59. Swarm, Poké Radar, and GBA dual-slot replacements keep their own labeled rows. Underlying slot odds: grass 20/20/10/10/10/10/5/5/4/4/1/1; Surf and Old Rod 60/30/5/4/1; Good and Super Rod 40/40/15/4/1.
Stark Mountain Interior 1
| Pokémon | Games | Levels | Rate | Requirement / notes | ||
|---|---|---|---|---|---|---|
| Morning | Day | Night | ||||
| Grass / cave floor | ||||||
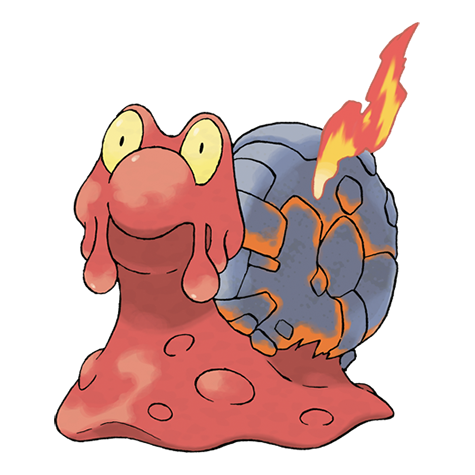 Magcargo Magcargo | DP | 55-56 | 30% | — | ||
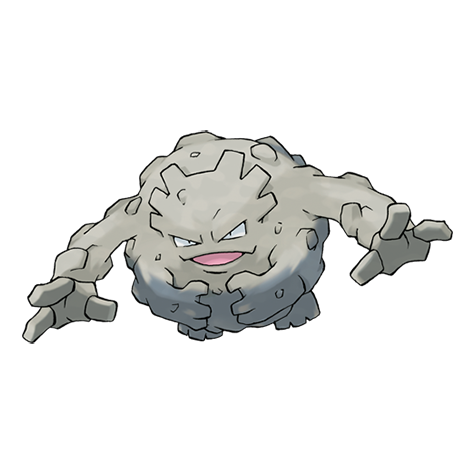 Graveler Graveler | DP | 55 | 20% | — | ||
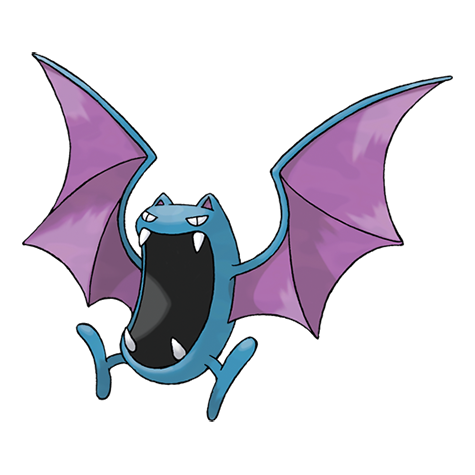 Golbat Golbat | DP | 54 | 10% | — | ||
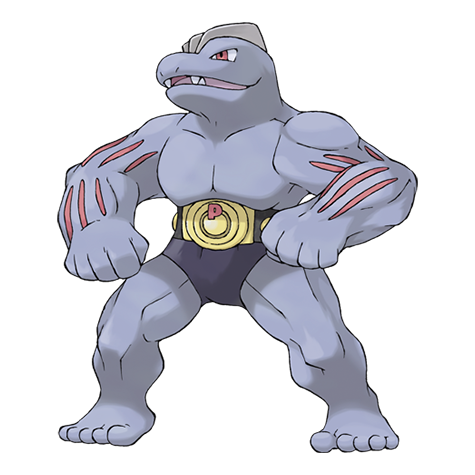 Machoke Machoke | DP | 56 | 10% | — | ||
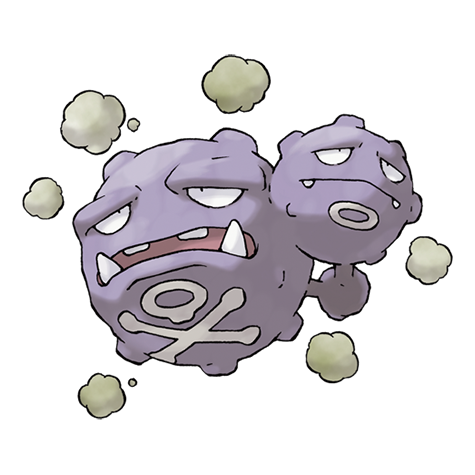 Weezing Weezing | DP | 56 | 10% | — | ||
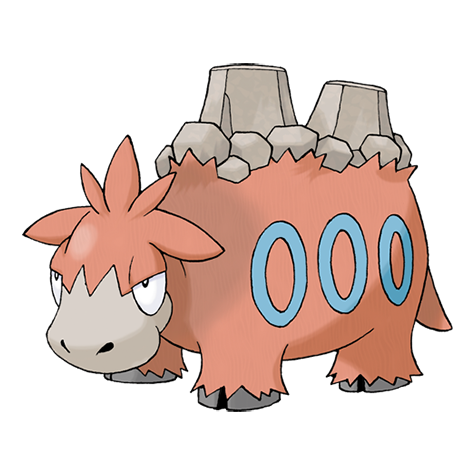 Camerupt Camerupt | DP | 56 | 5% | — | ||
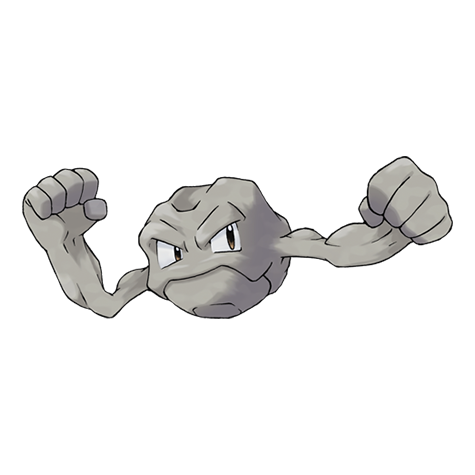 Geodude Geodude | DP | 25 or 27 | 5% | Rate counts base slots temporarily replaced by GBA dual-slot insertions. | ||
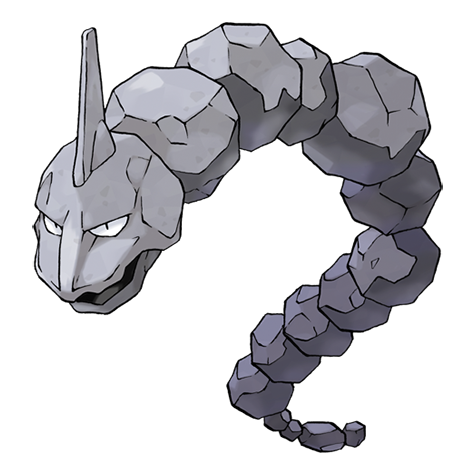 Onix Onix | DP | 54 | 5% | — | ||
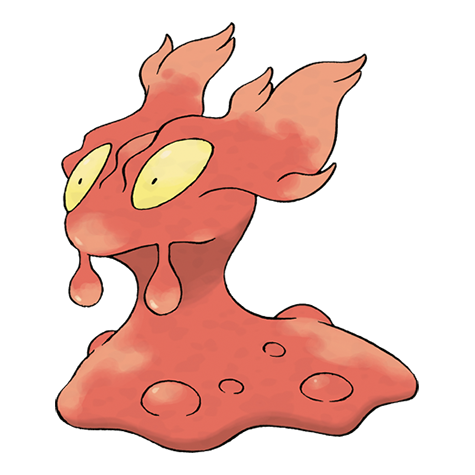 Slugma Slugma | DP | 25 or 27 | 5% | Rate counts base slots temporarily replaced by GBA dual-slot insertions. | ||
| Dual-slot GBA insertion (post-National Dex) | ||||||
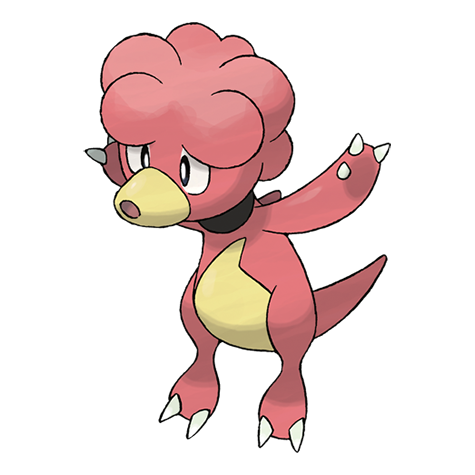 Magby Magby | DP | 25 | 8% | National Dex plus Pokémon LeafGreen inserted in the Nintendo DS GBA slot; replaces grass slots 8-9. | ||
Stark Mountain Interior 2
| Pokémon | Games | Levels | Rate | Requirement / notes | ||
|---|---|---|---|---|---|---|
| Morning | Day | Night | ||||
| Grass / cave floor | ||||||
| Magcargo | DP | 57-58 | 30% | — | ||
| Graveler | DP | 57 | 20% | — | ||
| Golbat | DP | 56 | 10% | — | ||
| Machoke | DP | 58 | 10% | — | ||
| Weezing | DP | 58 | 10% | — | ||
| Camerupt | DP | 58 | 5% | — | ||
| Geodude | DP | 27 or 29 | 5% | Rate counts base slots temporarily replaced by GBA dual-slot insertions. | ||
| Onix | DP | 56 | 5% | — | ||
| Slugma | DP | 27 or 29 | 5% | Rate counts base slots temporarily replaced by GBA dual-slot insertions. | ||
| Dual-slot GBA insertion (post-National Dex) | ||||||
| Magby | DP | 27 | 8% | National Dex plus Pokémon LeafGreen inserted in the Nintendo DS GBA slot; replaces grass slots 8-9. | ||
Stark Mountain, Buck, and Heatran
| Pokémon | Games | Levels | Rate | Requirement / notes | ||
|---|---|---|---|---|---|---|
| Morning | Day | Night | ||||
| Overworld static encounter | ||||||
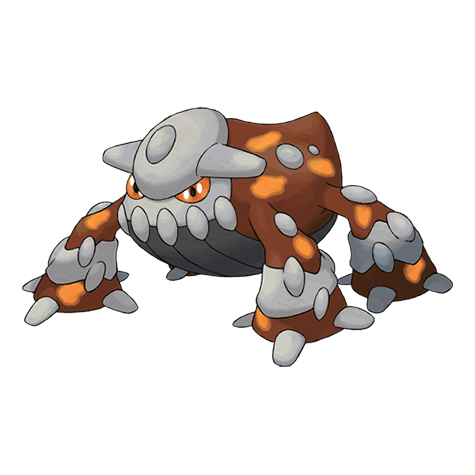 Heatran Heatran | DP | 70 | One | Finish Buck's Stark Mountain escort, speak to him in Survival Area, then return to the Magma Stone chamber Save before interaction; Fire/Steel typing and high level demand status and durable Water, Ground, or Fighting pressure. | ||
Trainers
Field order follows the map's object-event order. Full teams include explicit held items and moves when trdata defines them; cash rewards use the in-engine final-party-slot level and trainer-class multiplier formula.
| Trainer | Route order / placement | Full team | Reward | Access requirement | Optional / rematch note |
|---|---|---|---|---|---|
 Ace Trainer Male KeenanAce Trainer Male • source ID 569 Ace Trainer Male KeenanAce Trainer Male • source ID 569 | Stark Mountain Interior 2 • field order 1 at (31, 73) | ₽3,420 | Hall of Fame and National Dex required to leave the Fight Area hub for the rest of the Battle Zone; individual cliffs and cave branches use Surf, Rock Smash, Strength, Rock Climb, or the Bicycle as described in the route plan. | Field order 1, tile (31, 73); sightline/path determines whether it can be avoided. No higher-level same-trainer rematch variant is defined in trdata. | |
 Ace Trainer Female KassandraAce Trainer Female • source ID 579 Ace Trainer Female KassandraAce Trainer Female • source ID 579 | Stark Mountain Interior 2 • field order 2 at (33, 76) | ₽3,480 | Hall of Fame and National Dex required to leave the Fight Area hub for the rest of the Battle Zone; individual cliffs and cave branches use Surf, Rock Smash, Strength, Rock Climb, or the Bicycle as described in the route plan. | Field order 2, tile (33, 76); sightline/path determines whether it can be avoided. No higher-level same-trainer rematch variant is defined in trdata. | |
| Ace Trainer Male SkylarAce Trainer Male • source ID 571 | Stark Mountain Interior 2 • field order 3 at (52, 11) | ₽3,420 | Hall of Fame and National Dex required to leave the Fight Area hub for the rest of the Battle Zone; individual cliffs and cave branches use Surf, Rock Smash, Strength, Rock Climb, or the Bicycle as described in the route plan. | Field order 3, tile (52, 11); sightline/path determines whether it can be avoided. No higher-level same-trainer rematch variant is defined in trdata. | |
| Ace Trainer Female NatashaAce Trainer Female • source ID 581 | Stark Mountain Interior 2 • field order 4 at (54, 11) | ₽3,360 | Hall of Fame and National Dex required to leave the Fight Area hub for the rest of the Battle Zone; individual cliffs and cave branches use Surf, Rock Smash, Strength, Rock Climb, or the Bicycle as described in the route plan. | Field order 4, tile (54, 11); sightline/path determines whether it can be avoided. No higher-level same-trainer rematch variant is defined in trdata. | |
 Psychic Female ChelseyPsychic Female • source ID 586 Psychic Female ChelseyPsychic Female • source ID 586 | Stark Mountain Interior 2 • field order 5 at (86, 75) | ₽1,856 | Hall of Fame and National Dex required to leave the Fight Area hub for the rest of the Battle Zone; individual cliffs and cave branches use Surf, Rock Smash, Strength, Rock Climb, or the Bicycle as described in the route plan. | Field order 5, tile (86, 75); sightline/path determines whether it can be avoided. No higher-level same-trainer rematch variant is defined in trdata. | |
 Psychic Male SterlingPsychic Male • source ID 584 Psychic Male SterlingPsychic Male • source ID 584 | Stark Mountain Interior 2 • field order 6 at (83, 75) | ₽1,856 | Hall of Fame and National Dex required to leave the Fight Area hub for the rest of the Battle Zone; individual cliffs and cave branches use Surf, Rock Smash, Strength, Rock Climb, or the Bicycle as described in the route plan. | Field order 6, tile (83, 75); sightline/path determines whether it can be avoided. No higher-level same-trainer rematch variant is defined in trdata. | |
 Bird Keeper KrystalBird Keeper • source ID 556 Bird Keeper KrystalBird Keeper • source ID 556 | Stark Mountain Interior 2 • field order 7 at (48, 53) | ₽1,760 | Hall of Fame and National Dex required to leave the Fight Area hub for the rest of the Battle Zone; individual cliffs and cave branches use Surf, Rock Smash, Strength, Rock Climb, or the Bicycle as described in the route plan. | Field order 7, tile (48, 53); sightline/path determines whether it can be avoided. No higher-level same-trainer rematch variant is defined in trdata. | |
 Black Belt RayBlack Belt • source ID 589 Black Belt RayBlack Belt • source ID 589 | Stark Mountain Interior 2 • field order 8 at (48, 57) | ₽1,392 | Hall of Fame and National Dex required to leave the Fight Area hub for the rest of the Battle Zone; individual cliffs and cave branches use Surf, Rock Smash, Strength, Rock Climb, or the Bicycle as described in the route plan. | Field order 8, tile (48, 57); sightline/path determines whether it can be avoided. No higher-level same-trainer rematch variant is defined in trdata. | |
| Ace Trainer Male StefanAce Trainer Male • source ID 570 | Stark Mountain Interior 2 • field order 9 at (13, 36) | ₽3,420 | Hall of Fame and National Dex required to leave the Fight Area hub for the rest of the Battle Zone; individual cliffs and cave branches use Surf, Rock Smash, Strength, Rock Climb, or the Bicycle as described in the route plan. | Field order 9, tile (13, 36); sightline/path determines whether it can be avoided. No higher-level same-trainer rematch variant is defined in trdata. | |
| Ace Trainer Female JasminAce Trainer Female • source ID 580 | Stark Mountain Interior 2 • field order 10 at (9, 36) |
| ₽3,540 | Hall of Fame and National Dex required to leave the Fight Area hub for the rest of the Battle Zone; individual cliffs and cave branches use Surf, Rock Smash, Strength, Rock Climb, or the Bicycle as described in the route plan. | Field order 10, tile (9, 36); sightline/path determines whether it can be avoided. No higher-level same-trainer rematch variant is defined in trdata. |
 Dragon Tamer DrakeDragon Tamer • source ID 561 Dragon Tamer DrakeDragon Tamer • source ID 561 | Stark Mountain Interior 2 • field order 11 at (15, 22) | ₽1,824 | Hall of Fame and National Dex required to leave the Fight Area hub for the rest of the Battle Zone; individual cliffs and cave branches use Surf, Rock Smash, Strength, Rock Climb, or the Bicycle as described in the route plan. | Field order 11, tile (15, 22); sightline/path determines whether it can be avoided. No higher-level same-trainer rematch variant is defined in trdata. | |
| Black Belt JarrettBlack Belt • source ID 590 | Stark Mountain Interior 2 • field order 12 at (17, 22) | ₽1,416 | Hall of Fame and National Dex required to leave the Fight Area hub for the rest of the Battle Zone; individual cliffs and cave branches use Surf, Rock Smash, Strength, Rock Climb, or the Bicycle as described in the route plan. | Field order 12, tile (17, 22); sightline/path determines whether it can be avoided. No higher-level same-trainer rematch variant is defined in trdata. | |
| Ace Trainer Male AbelAce Trainer Male • source ID 572 | Stark Mountain Interior 2 • field order 13 at (77, 64) |
| ₽3,540 | Hall of Fame and National Dex required to leave the Fight Area hub for the rest of the Battle Zone; individual cliffs and cave branches use Surf, Rock Smash, Strength, Rock Climb, or the Bicycle as described in the route plan. | Field order 13, tile (77, 64); sightline/path determines whether it can be avoided. No higher-level same-trainer rematch variant is defined in trdata. |
| Ace Trainer Female MoniqueAce Trainer Female • source ID 582 | Stark Mountain Interior 2 • field order 14 at (77, 66) |
| ₽3,420 | Hall of Fame and National Dex required to leave the Fight Area hub for the rest of the Battle Zone; individual cliffs and cave branches use Surf, Rock Smash, Strength, Rock Climb, or the Bicycle as described in the route plan. | Field order 14, tile (77, 66); sightline/path determines whether it can be avoided. No higher-level same-trainer rematch variant is defined in trdata. |
 Veteran HarlanVeteran • source ID 606 Veteran HarlanVeteran • source ID 606 | Stark Mountain Interior 2 • field order 15 at (62, 10) | ₽4,480 | Hall of Fame and National Dex required to leave the Fight Area hub for the rest of the Battle Zone; individual cliffs and cave branches use Surf, Rock Smash, Strength, Rock Climb, or the Bicycle as described in the route plan. | Field order 15, tile (62, 10); sightline/path determines whether it can be avoided. No higher-level same-trainer rematch variant is defined in trdata. | |
| Dragon Tamer KennyDragon Tamer • source ID 562 | Stark Mountain Interior 2 • field order 16 at (67, 12) | ₽1,888 | Hall of Fame and National Dex required to leave the Fight Area hub for the rest of the Battle Zone; individual cliffs and cave branches use Surf, Rock Smash, Strength, Rock Climb, or the Bicycle as described in the route plan. | Field order 16, tile (67, 12); sightline/path determines whether it can be avoided. No higher-level same-trainer rematch variant is defined in trdata. |
Items
| Item | Version | Type | Area / exact direction | Coordinate / script | Requirement | Source |
|---|---|---|---|---|---|---|
| Burn Heal | Diamond / Pearl | Visible item ball | Stark Mountain Interior 1: Pick up the item ball in the northwestern part of Stark Mountain Interior 1, 11 tiles west and 4 tiles south of the Stark Mountain Interior 2 doorway or transition. | (6, 6) | Hall of Fame and National Dex required to leave the Fight Area hub for the rest of the Battle Zone; individual cliffs and cave branches use Surf, Rock Smash, Strength, Rock Climb, or the Bicycle as described in the route plan. | event bank 255, script 7230 |
| Escape Rope | Diamond / Pearl | Visible item ball | Stark Mountain Interior 1: Pick up the item ball in the southwestern part of Stark Mountain Interior 1, 12 tiles west and 6 tiles north of the Stark Mountain Exterior doorway or transition. | (8, 23) | Hall of Fame and National Dex required to leave the Fight Area hub for the rest of the Battle Zone; individual cliffs and cave branches use Surf, Rock Smash, Strength, Rock Climb, or the Bicycle as described in the route plan. | event bank 255, script 7231 |
| PP Up | Diamond / Pearl | Visible item ball | Stark Mountain Interior 1: Pick up the item ball in the southeastern part of Stark Mountain Interior 1, 13 tiles east and 4 tiles north of the Stark Mountain Exterior doorway or transition. | (33, 25) | Hall of Fame and National Dex required to leave the Fight Area hub for the rest of the Battle Zone; individual cliffs and cave branches use Surf, Rock Smash, Strength, Rock Climb, or the Bicycle as described in the route plan. | event bank 255, script 7232 |
| Full Restore | Diamond / Pearl | Visible item ball | Stark Mountain Interior 1: Pick up the item ball in the northeastern part of Stark Mountain Interior 1, 8 tiles east and 5 tiles south of the Stark Mountain Interior 2 doorway or transition. | (25, 7) | Hall of Fame and National Dex required to leave the Fight Area hub for the rest of the Battle Zone; individual cliffs and cave branches use Surf, Rock Smash, Strength, Rock Climb, or the Bicycle as described in the route plan. | event bank 255, script 7233 |
| TM50 | Diamond / Pearl | Visible item ball | Stark Mountain Interior 2: Pick up the item ball in the western part of Stark Mountain Interior 2, 31 tiles west and 42 tiles north of the Stark Mountain Interior 1 doorway or transition. | (11, 44) | Hall of Fame and National Dex required to leave the Fight Area hub for the rest of the Battle Zone; individual cliffs and cave branches use Surf, Rock Smash, Strength, Rock Climb, or the Bicycle as described in the route plan. | event bank 256, script 7234 |
| Calcium | Diamond / Pearl | Visible item ball | Stark Mountain Interior 2: Pick up the item ball in the central part of Stark Mountain Interior 2, 7 tiles east and 37 tiles north of the Stark Mountain Interior 1 doorway or transition. | (49, 49) | Hall of Fame and National Dex required to leave the Fight Area hub for the rest of the Battle Zone; individual cliffs and cave branches use Surf, Rock Smash, Strength, Rock Climb, or the Bicycle as described in the route plan. | event bank 256, script 7241 |
| Max Revive | Diamond / Pearl | Visible item ball | Stark Mountain Interior 2: Pick up the item ball in the northern part of Stark Mountain Interior 2, 7 tiles east and 1 tile south of the Stark Mountain Interior 3 doorway or transition. | (54, 3) | Hall of Fame and National Dex required to leave the Fight Area hub for the rest of the Battle Zone; individual cliffs and cave branches use Surf, Rock Smash, Strength, Rock Climb, or the Bicycle as described in the route plan. | event bank 256, script 7240 |
| Rare Candy | Diamond / Pearl | Visible item ball | Stark Mountain Interior 2: Pick up the item ball in the southwestern part of Stark Mountain Interior 2, 30 tiles west and 10 tiles north of the Stark Mountain Interior 1 doorway or transition. | (12, 76) | Hall of Fame and National Dex required to leave the Fight Area hub for the rest of the Battle Zone; individual cliffs and cave branches use Surf, Rock Smash, Strength, Rock Climb, or the Bicycle as described in the route plan. | event bank 256, script 7238 |
| Iron Ball | Diamond / Pearl | Visible item ball | Stark Mountain Interior 2: Pick up the item ball in the southern part of Stark Mountain Interior 2, 14 tiles east and 9 tiles north of the Stark Mountain Interior 1 doorway or transition. | (56, 77) | Hall of Fame and National Dex required to leave the Fight Area hub for the rest of the Battle Zone; individual cliffs and cave branches use Surf, Rock Smash, Strength, Rock Climb, or the Bicycle as described in the route plan. | event bank 256, script 7235 |
| Max Elixir | Diamond / Pearl | Visible item ball | Stark Mountain Interior 2: Pick up the item ball in the eastern part of Stark Mountain Interior 2, 27 tiles east and 31 tiles north of the Stark Mountain Interior 1 doorway or transition. | (69, 55) | Hall of Fame and National Dex required to leave the Fight Area hub for the rest of the Battle Zone; individual cliffs and cave branches use Surf, Rock Smash, Strength, Rock Climb, or the Bicycle as described in the route plan. | event bank 256, script 7236 |
| Nugget | Diamond / Pearl | Visible item ball | Stark Mountain Interior 2: Pick up the item ball in the northeastern part of Stark Mountain Interior 2, 45 tiles east and 1 tile south of the Stark Mountain Interior 3 doorway or transition. | (92, 3) | Hall of Fame and National Dex required to leave the Fight Area hub for the rest of the Battle Zone; individual cliffs and cave branches use Surf, Rock Smash, Strength, Rock Climb, or the Bicycle as described in the route plan. | event bank 256, script 7237 |
| Ultra Ball | Diamond / Pearl | Visible item ball | Stark Mountain Interior 2: Pick up the item ball in the central part of Stark Mountain Interior 2, 4 tiles west and 42 tiles north of the Stark Mountain Interior 1 doorway or transition. | (38, 44) | Hall of Fame and National Dex required to leave the Fight Area hub for the rest of the Battle Zone; individual cliffs and cave branches use Surf, Rock Smash, Strength, Rock Climb, or the Bicycle as described in the route plan. | event bank 256, script 7239 |
Hidden Items
| Hidden item | Area / plain-English placement | QA coordinate | Requirement | Source |
|---|---|---|---|---|
| Max Elixir | Stark Mountain Interior 1: Use the Dowsing Machine in the northeastern part of Stark Mountain Interior 1, 8 tiles east and 2 tiles south of the Stark Mountain Interior 2 doorway or transition and inspect that exact ground tile. | (25, 4) | Dowsing Machine Pokétch app. Hall of Fame and National Dex required to leave the Fight Area hub for the rest of the Battle Zone; individual cliffs and cave branches use Surf, Rock Smash, Strength, Rock Climb, or the Bicycle as described in the route plan. | event bank 255, script 8138 |
| Zinc | Stark Mountain Interior 2: Use the Dowsing Machine in the eastern part of Stark Mountain Interior 2, 43 tiles east and 37 tiles north of the Stark Mountain Interior 1 doorway or transition and inspect that exact ground tile. | (85, 49) | Dowsing Machine Pokétch app. Hall of Fame and National Dex required to leave the Fight Area hub for the rest of the Battle Zone; individual cliffs and cave branches use Surf, Rock Smash, Strength, Rock Climb, or the Bicycle as described in the route plan. | event bank 256, script 8140 |
| Iron | Stark Mountain Interior 2: Use the Dowsing Machine in the northern part of Stark Mountain Interior 2, 13 tiles east and 9 tiles south of the Stark Mountain Interior 3 doorway or transition and inspect that exact ground tile. | (60, 11) | Dowsing Machine Pokétch app. Hall of Fame and National Dex required to leave the Fight Area hub for the rest of the Battle Zone; individual cliffs and cave branches use Surf, Rock Smash, Strength, Rock Climb, or the Bicycle as described in the route plan. | event bank 256, script 8141 |
| Flame Plate | Stark Mountain Interior 2: Use the Dowsing Machine in the western part of Stark Mountain Interior 2, 37 tiles west and 38 tiles north of the Stark Mountain Interior 1 doorway or transition and inspect that exact ground tile. | (5, 48) | Dowsing Machine Pokétch app. Hall of Fame and National Dex required to leave the Fight Area hub for the rest of the Battle Zone; individual cliffs and cave branches use Surf, Rock Smash, Strength, Rock Climb, or the Bicycle as described in the route plan. | event bank 256, script 8139 |
| Hyper Potion | Stark Mountain Interior 2: Use the Dowsing Machine in the southwestern part of Stark Mountain Interior 2, 16 tiles west and 20 tiles north of the Stark Mountain Interior 1 doorway or transition and inspect that exact ground tile. | (26, 66) | Dowsing Machine Pokétch app. Hall of Fame and National Dex required to leave the Fight Area hub for the rest of the Battle Zone; individual cliffs and cave branches use Surf, Rock Smash, Strength, Rock Climb, or the Bicycle as described in the route plan. | event bank 256, script 8175 |
| Revive | Stark Mountain Interior 2: Use the Dowsing Machine in the central part of Stark Mountain Interior 2, 6 tiles east and 37 tiles south of the Stark Mountain Interior 3 doorway or transition and inspect that exact ground tile. | (53, 39) | Dowsing Machine Pokétch app. Hall of Fame and National Dex required to leave the Fight Area hub for the rest of the Battle Zone; individual cliffs and cave branches use Surf, Rock Smash, Strength, Rock Climb, or the Bicycle as described in the route plan. | event bank 256, script 8176 |
| Full Heal | Stark Mountain Interior 2: Use the Dowsing Machine in the southeastern part of Stark Mountain Interior 2, 23 tiles east and 21 tiles north of the Stark Mountain Interior 1 doorway or transition and inspect that exact ground tile. | (65, 65) | Dowsing Machine Pokétch app. Hall of Fame and National Dex required to leave the Fight Area hub for the rest of the Battle Zone; individual cliffs and cave branches use Surf, Rock Smash, Strength, Rock Climb, or the Bicycle as described in the route plan. | event bank 256, script 8177 |
Puzzles, Warps, And Switches
- Interior 2 is a large multi-level hub. Clear one clockwise branch at a time, reset misplaced Strength boulders by leaving the room, and use Rock Smash shortcuts only after their item pockets are complete.
- After Buck leaves, the return trip is solo; Repels and an Escape Rope reduce attrition around the Heatran save point.
Boss Strategy And Partners
 Pokémon Trainer BuckPokémon Trainer Buck • source ID 611
Partner team
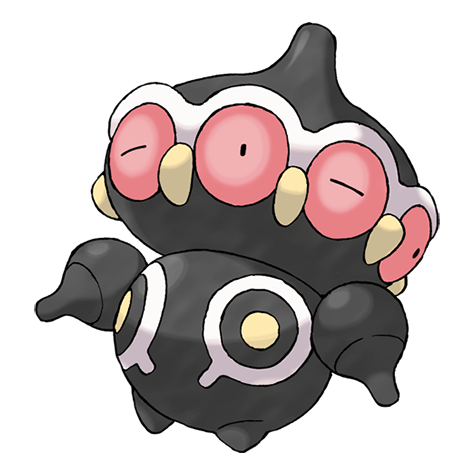 ClaydolPsychic / Ancient Power / Light Screen / Reflect
Partner role
This stat trainer travels beside the player, turns eligible fights into doubles, and heals the party after each battle during the escort.
How to use the partner
Focus one opposing Pokémon to reduce incoming actions. In wild doubles, leave only the intended catch on the field before throwing a Ball.
Completion Checklist
- Complete the currently reachable part of this route plan: Clear the solo entrance rooms; meet Buck; use his healing through the paired interior; defeat every trainer duo; solve Strength and Rock Smash routes; reach the rear chamber; watch Buck take the Magma Stone; return to Survival Area; speak to Buck in the house; revisit the same chamber; save and catch Heatran.
- Review all 21 encounter rows across the per-area tables, including game markers, method band, time-of-day rates, levels, and each conditional requirement; mark conditional rows for their stated revisit.
- Defeat or deliberately skip every currently reachable trainer row; leave HM-, story-, or National-Dex-gated rows checked only after their access requirement is met.
- Collect currently reachable visible/scripted items and berry trees, use the Dowsing Machine for reachable hidden rows, and retain every explicitly gated row for the named cleanup visit.
- Resolve every currently available puzzle note, boss branch, and partner scene before opening the next section.
Sources And Validation
pret/pokediamondat commit038cccaed5de8f013875bc5d734f912d1de08e0f:map_header.c, D/P encounter archives,trdata.json, zone events, script archives, item tables, and trainer graphics.- Encounter slots were decoded from exact 424-byte D/P members and cross-checked against Gen IV slot behavior; the 0x6C pair is day, morning uses base slots, and 0x74 is night.
- Coordinates remain visible as QA anchors, while each hidden row also provides a plain-English map-region instruction.
- Generation-wide systems that are not tied to a normal map archive—Honey Trees, Great Marsh daily rolls, Trophy Garden, fossils, Pal Park, and event items—are explicitly curated in their dedicated system pages.
Dex quick links
Pokemon in this phase
 Fearow Golbat
  Primeape Machoke
  Machamp Geodude Graveler
  Dodrio Onix
  Marowak Weezing
  Kangaskhan
  Seadra
  Scyther
  Tauros
  Aerodactyl
  Dragonair
  Xatu
Xatu  Dunsparce
  Ursaring Slugma Magcargo
  Donphan
  Stantler
  Tyrogue Magby
  Larvitar
  Breloom
  Loudred Camerupt
  Torkoal
  Grumpig
  Vibrava
 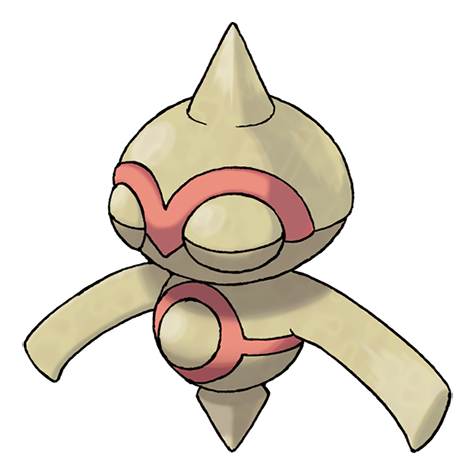 Baltoy Claydol
 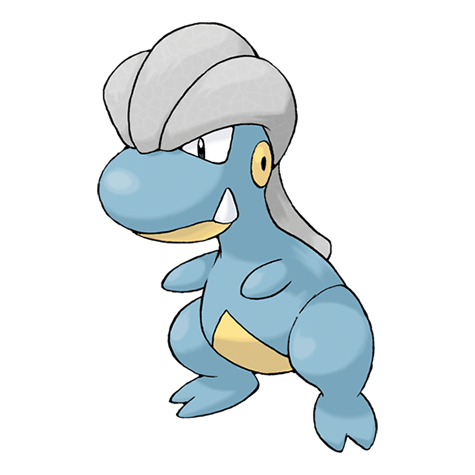 Bagon
Bagon 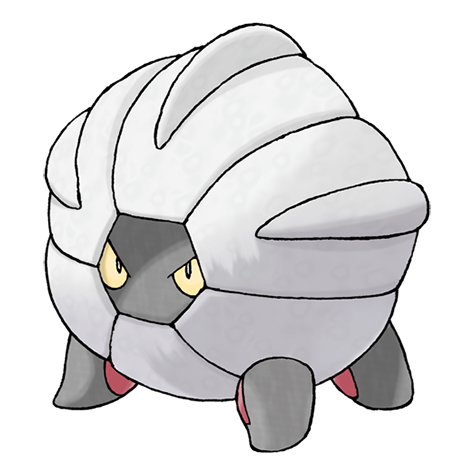 Shelgon
 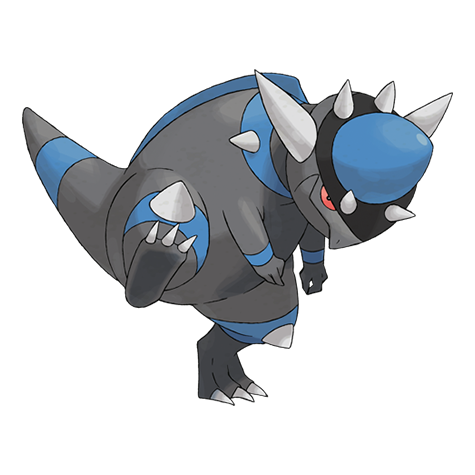 Rampardos
 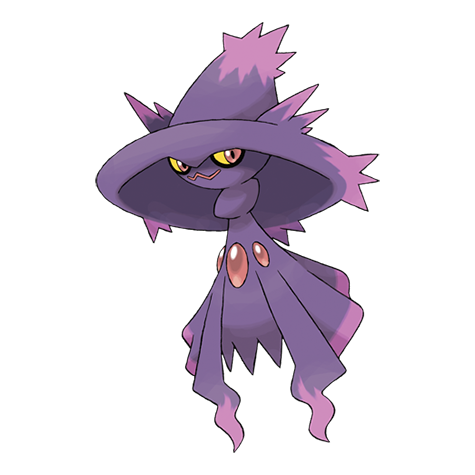 Mismagius
 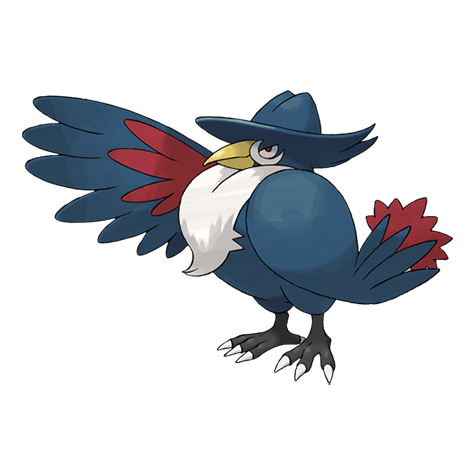 Honchkrow
 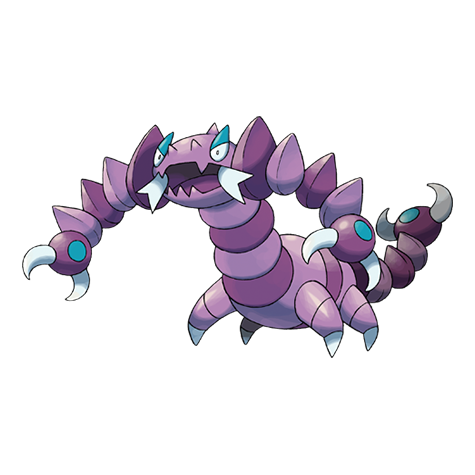 Drapion
  Carnivine Heatran