
Phase 10 section


Pokemon Diamond and Pearl Routes 228-230 and Resort Area Walkthrough
Cross the sandstorm, clear the resort coast and island routes, unlock the Ribbon Syndicate, and finish the Battle Zone circuit. Exact Diamond/Pearl encounters, every sourced trainer, visible and hidden items, puzzle notes, boss teams, and completion checks.
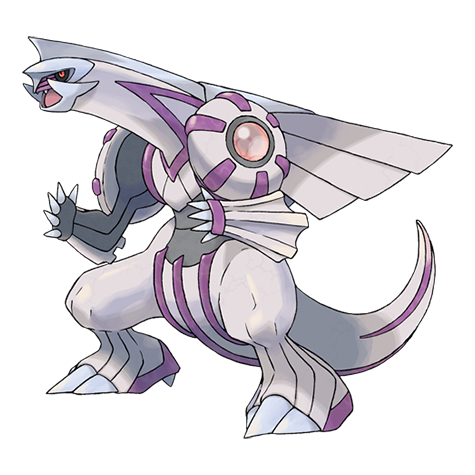
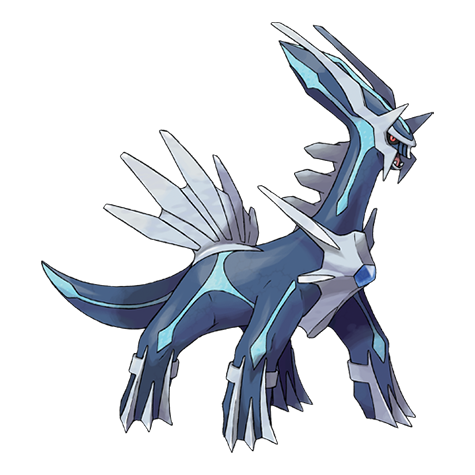
Cross the sandstorm, clear the resort coast and island routes, unlock the Ribbon Syndicate, and finish the Battle Zone circuit. This standalone section joins the route plan to the original Diamond/Pearl map, encounter, trainer, item, and script data; Platinum tables are not substituted.
Source maps
Route 228, Route 229, Route 230 Unused, Resort Area, Resort Area Unused Poké Mart, Resort Area Pokémon Center, Resort Area Pokémon Center 2F, Resort Area Ribbon Syndicate 1F, Resort Area Ribbon Syndicate 2F, Resort Area Ribbon Syndicate Elevator, Resort Area Southwest House, Resort Area Southeast House, Route 229 Unused, Route 230, Resort Area Pokémon Center B1F, and Route 228 Route 226 Gatehouse, and 2 more submaps.
Version discipline
Rows merge only when Diamond and Pearl are identical, and each row carries D/P game markers. Version-exclusive species, mascot encounters, swarms, Radar slots, and GBA insertion slots keep their own labeled rows.
Route Plan
Travel east from Route 226 or south from Route 227; clear Route 228's upper and lower lanes; visit both houses and the Route 226 gatehouse; use Bicycle mud ramps; enter Route 229; sweep both grass lanes; tour Resort Area; check Ribbon Syndicate eligibility; Surf through Route 230's islands; return to Fight Area.
- Route 228's permanent sandstorm damages most types and reduces visibility; heal before long trainer chains and use Dowsing systematically around the dunes.
- Ribbon Syndicate access requires at least 10 distinct Ribbon kinds counted across the current party. A Diamond/Pearl counting bug stops at the first Egg, so Ribbons on later party slots are ignored until the Egg is moved.
- Route 228's move tutor teaches Frenzy Plant, Blast Burn, or Hydro Cannon to the matching fully evolved Kanto, Johto, Hoenn, or Sinnoh starter at maximum friendship. The service is free and repeatable for other eligible Pokemon.
Exact pret map constants (18)
MAP_ROUTE_228 MAP_ROUTE_229 MAP_ROUTE_230_UNUSED MAP_RESORT_AREA MAP_RESORT_AREA_UNUSED_POKEMART MAP_RESORT_AREA_POKECENTER MAP_RESORT_AREA_POKECENTER_2F MAP_RESORT_AREA_RIBBON_SYNDICATE_1F MAP_RESORT_AREA_RIBBON_SYNDICATE_2F MAP_RESORT_AREA_RIBBON_SYNDICATE_ELEVATOR MAP_RESORT_AREA_SOUTHWEST_HOUSE MAP_RESORT_AREA_SOUTHEAST_HOUSE MAP_ROUTE_229_UNUSED MAP_ROUTE_230 MAP_RESORT_AREA_POKECENTER_B1F MAP_ROUTE_228_ROUTE_226_GATEHOUSE MAP_ROUTE_228_NORTH_HOUSE MAP_ROUTE_228_SOUTH_HOUSE
Wild Pokémon
Each area below has its own table, split by encounter method. Standard grass and cave rates merge every base slot for a species and are shown per time window: morning 04:00-09:59, day 10:00-19:59, night 20:00-03:59. Swarm, Poké Radar, and GBA dual-slot replacements keep their own labeled rows. Underlying slot odds: grass 20/20/10/10/10/10/5/5/4/4/1/1; Surf and Old Rod 60/30/5/4/1; Good and Super Rod 40/40/15/4/1.
Resort Area
| Pokémon | Games | Levels | Rate | Requirement / notes | ||
|---|---|---|---|---|---|---|
| Morning | Day | Night | ||||
| Surfing | ||||||
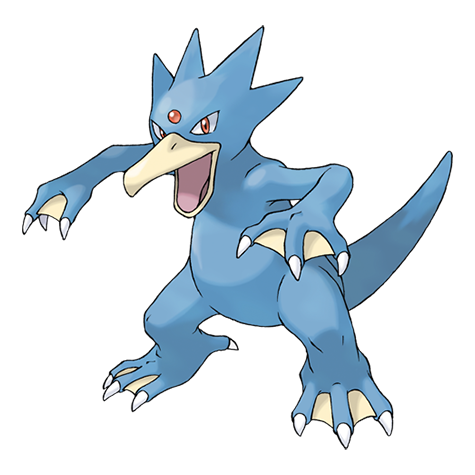 Golduck Golduck | DP | 40-55 | 100% | — | ||
| Fishing — Old Rod | ||||||
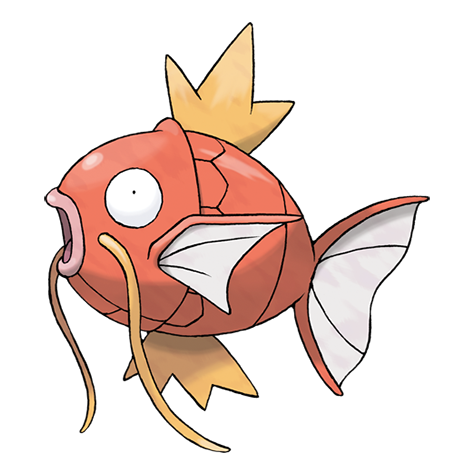 Magikarp Magikarp | DP | 3-10 | 100% | — | ||
| Fishing — Good Rod | ||||||
| Magikarp | DP | 10-25 | 55% | — | ||
 Goldeen Goldeen | DP | 10-25 | 45% | — | ||
| Fishing — Super Rod | ||||||
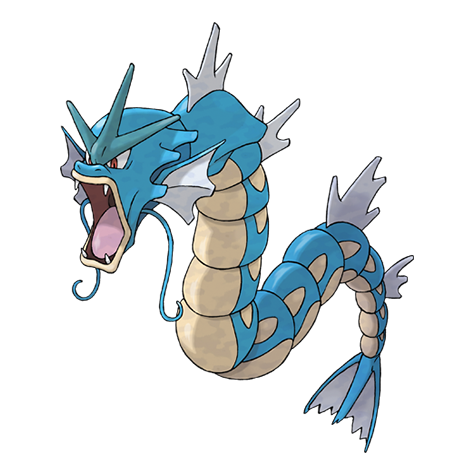 Gyarados Gyarados | DP | 30-55 | 55% | — | ||
 Seaking Seaking | DP | 20-50 | 45% | — | ||
Route 228
| Pokémon | Games | Levels | Rate | Requirement / notes | ||
|---|---|---|---|---|---|---|
| Morning | Day | Night | ||||
| Grass / cave floor | ||||||
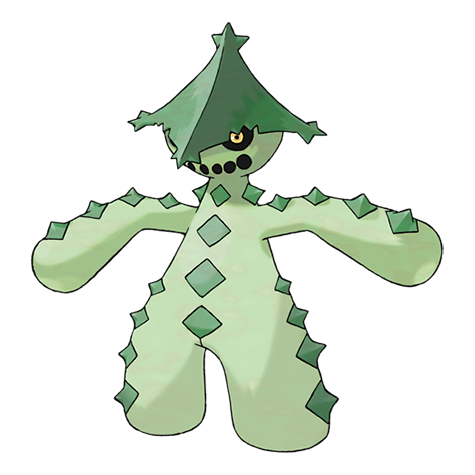 Cacturne Cacturne | DP | 52-53 | 20% | 20% | 40% | Rate counts base slots temporarily replaced by the daily swarm. |
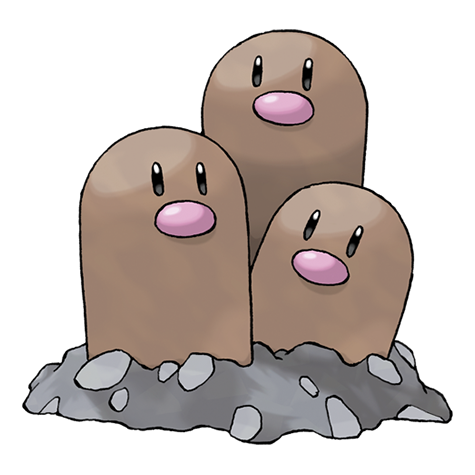 Dugtrio Dugtrio | DP | 52-54 | 30% | Rate counts base slots temporarily replaced by the daily swarm. | ||
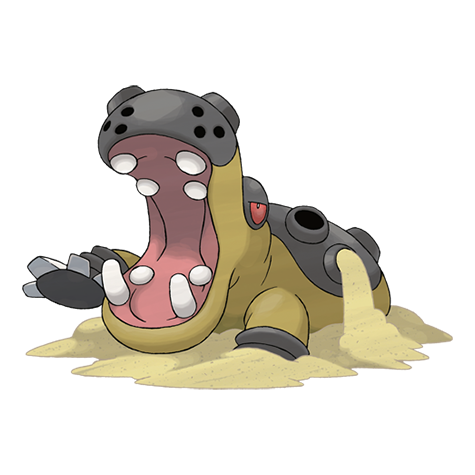 Hippowdon Hippowdon | DP | 52 or 54 | 20% | 20% | 10% | Rate counts base slots temporarily replaced by hard-shaking Poké Radar patches. |
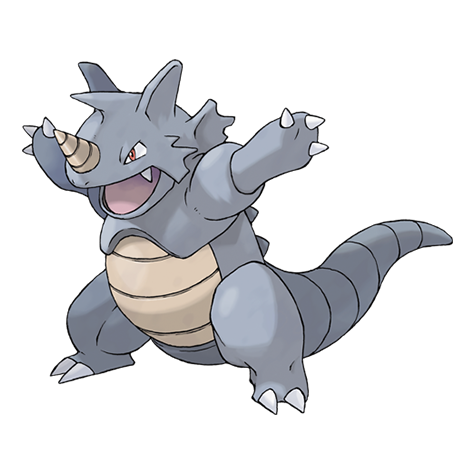 Rhydon Rhydon | DP | 52-53 | 20% | 20% | 10% | Rate counts base slots temporarily replaced by hard-shaking Poké Radar patches. |
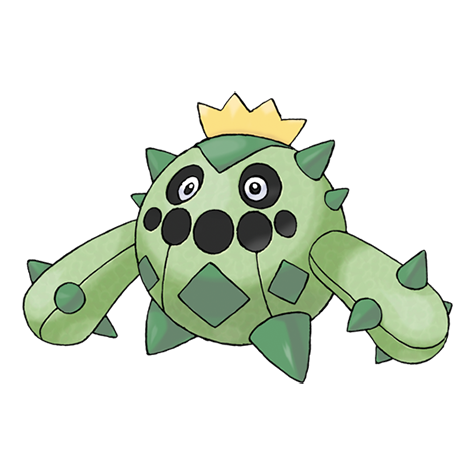 Cacnea Cacnea | DP | 23 or 25 | 5% | Rate counts base slots temporarily replaced by hard-shaking Poké Radar patches and GBA dual-slot insertions. | ||
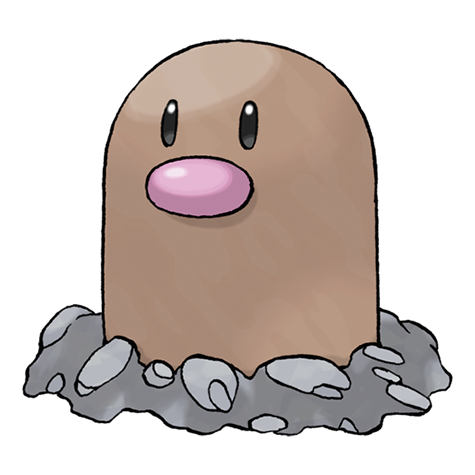 Diglett Diglett | DP | 23 or 25 | 5% | Rate counts base slots temporarily replaced by hard-shaking Poké Radar patches and GBA dual-slot insertions. | ||
| Swarm (post-National Dex daily announcement) | ||||||
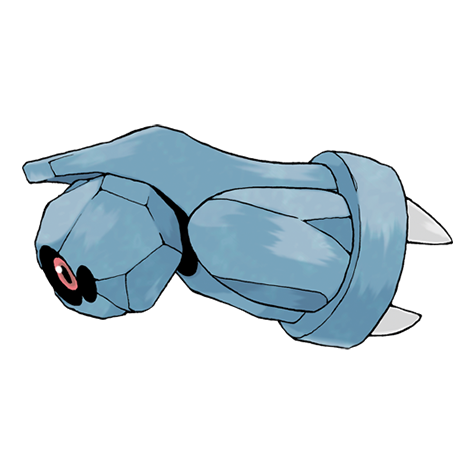 Beldum Beldum | DP | 53 | 40% | Post-National Dex daily swarm; replaces grass slots 0-1. | ||
| Poké Radar (post-National Dex) | ||||||
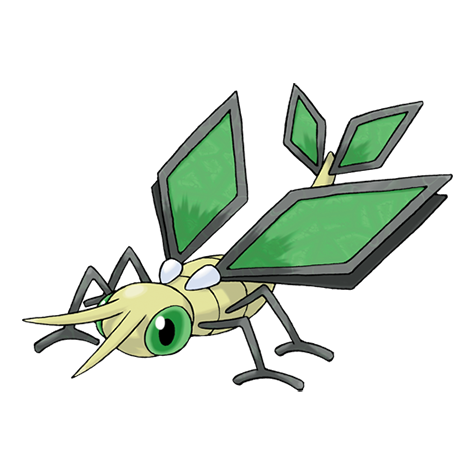 Vibrava Vibrava | DP | 53-54 | 20% | National Dex and Poké Radar required; replacement slot applies only in a hard/vigorous-shaking Radar patch. | ||
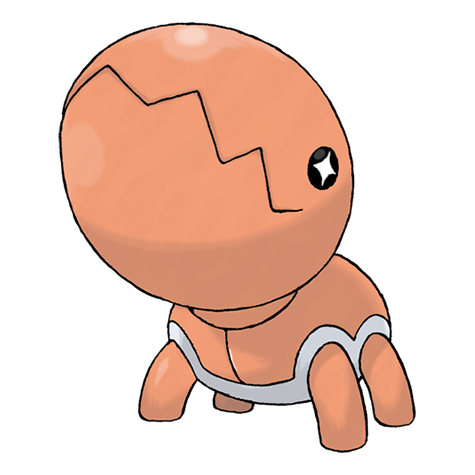 Trapinch Trapinch | DP | 25 | 2% | National Dex and Poké Radar required; replacement slot applies only in a hard/vigorous-shaking Radar patch. | ||
| Dual-slot GBA insertion (post-National Dex) | ||||||
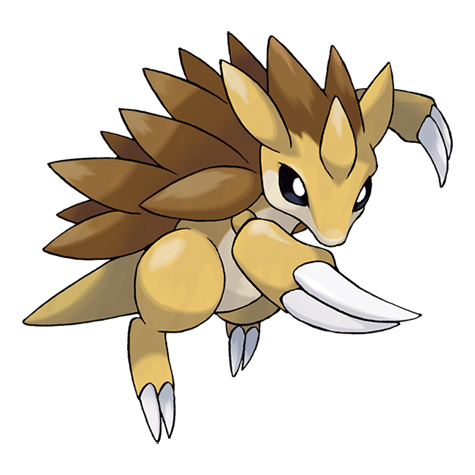 Sandslash Sandslash | DP | 23 | 8% | National Dex plus Pokémon LeafGreen inserted in the Nintendo DS GBA slot; replaces grass slots 8-9. | ||
| Surfing | ||||||
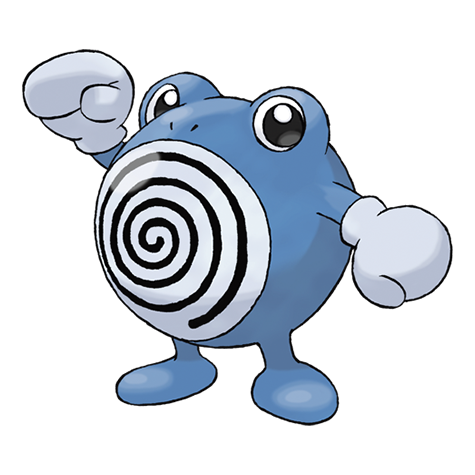 Poliwhirl Poliwhirl | DP | 40-55 | 70% | — | ||
 Poliwag Poliwag | DP | 20-30 | 30% | — | ||
| Fishing — Old Rod | ||||||
| Magikarp | DP | 3-10 | 100% | — | ||
| Fishing — Good Rod | ||||||
| Magikarp | DP | 10-25 | 55% | — | ||
 Barboach Barboach | DP | 10-25 | 45% | — | ||
| Fishing — Super Rod | ||||||
| Gyarados | DP | 30-55 | 55% | — | ||
 Whiscash Whiscash | DP | 20-50 | 45% | — | ||
Route 229
| Pokémon | Games | Levels | Rate | Requirement / notes | ||
|---|---|---|---|---|---|---|
| Morning | Day | Night | ||||
| Grass / cave floor | ||||||
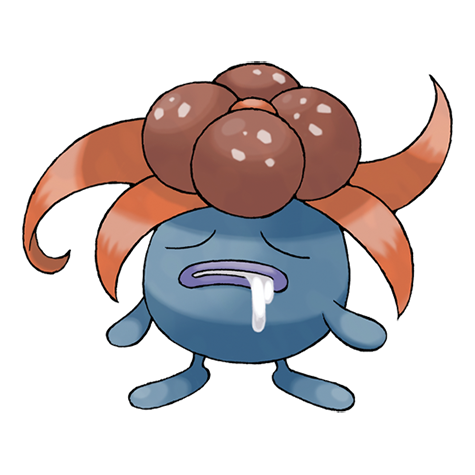 Gloom Gloom | DP | 51-52 | 20% | 30% | 20% | Rate counts base slots temporarily replaced by the daily swarm. |
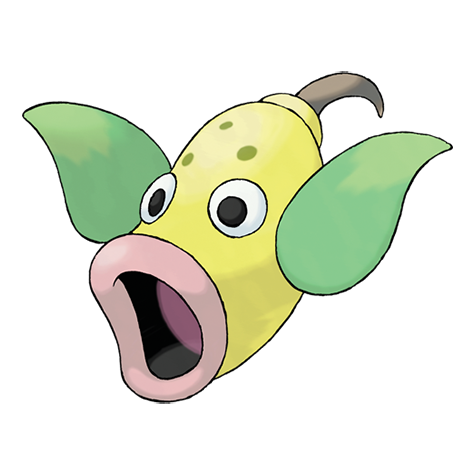 Weepinbell Weepinbell | DP | 51-52 | 20% | 30% | 20% | Rate counts base slots temporarily replaced by the daily swarm. |
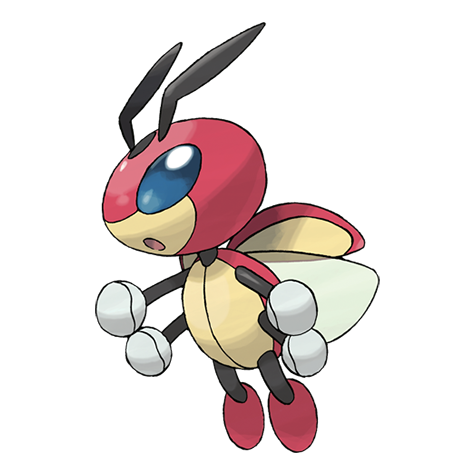 Ledian Ledian | DP | 52 | 20% | — | — | — |
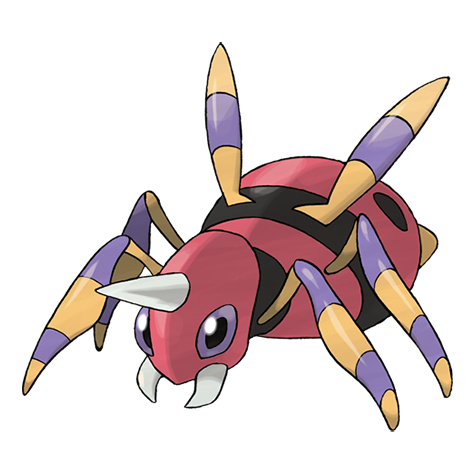 Ariados Ariados | DP | 52 | — | — | 20% | — |
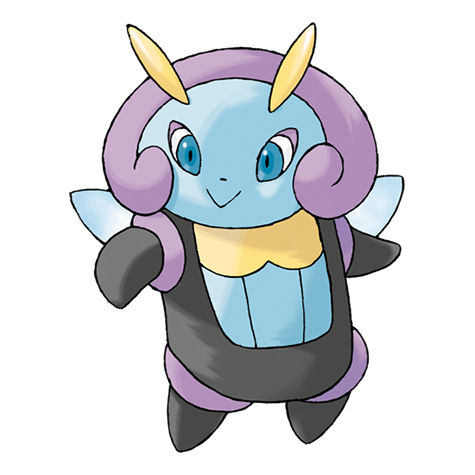 Illumise Illumise | DP | 50 | 10% | Rate counts base slots temporarily replaced by hard-shaking Poké Radar patches. | ||
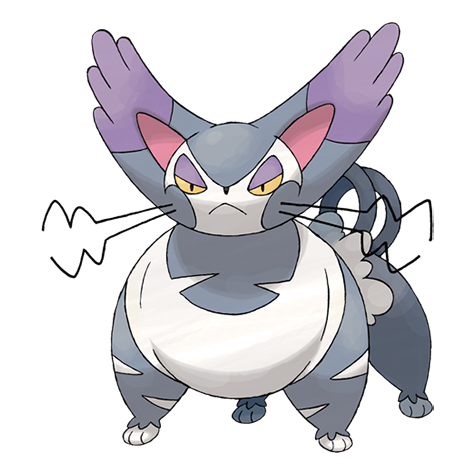 Purugly Purugly | DP | 50 | 10% | Rate counts base slots temporarily replaced by hard-shaking Poké Radar patches. | ||
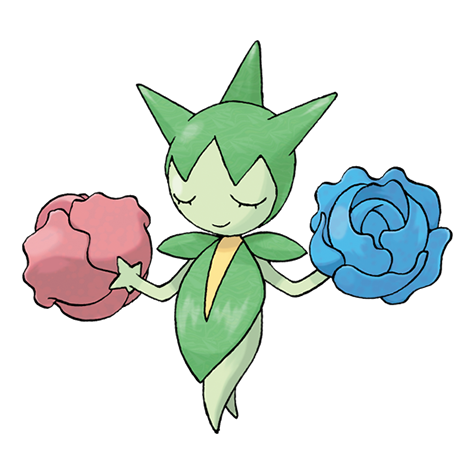 Roselia Roselia | DP | 50 | 10% | Rate counts base slots temporarily replaced by hard-shaking Poké Radar patches. | ||
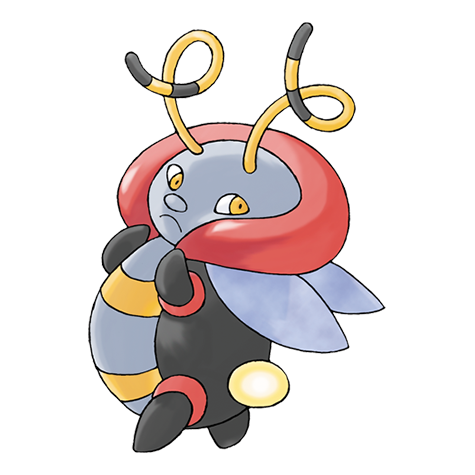 Volbeat Volbeat | DP | 50 | 10% | Rate counts base slots temporarily replaced by hard-shaking Poké Radar patches. | ||
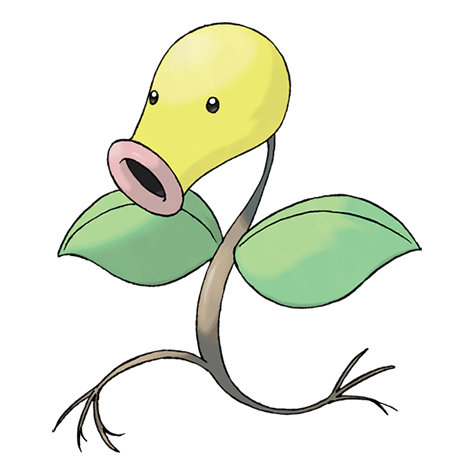 Bellsprout Bellsprout | DP | 20 or 22 | 5% | Rate counts base slots temporarily replaced by hard-shaking Poké Radar patches and GBA dual-slot insertions. | ||
| Illumise | DP | 50 | 5% | — | ||
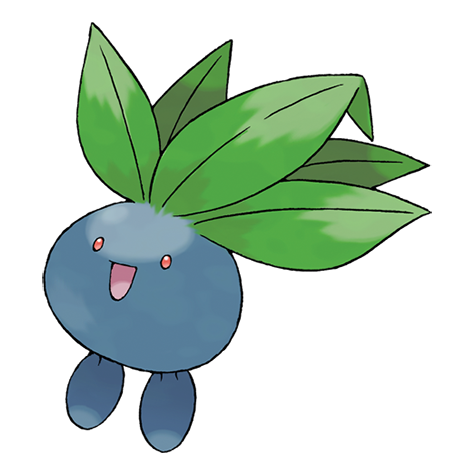 Oddish Oddish | DP | 20 or 22 | 5% | Rate counts base slots temporarily replaced by hard-shaking Poké Radar patches and GBA dual-slot insertions. | ||
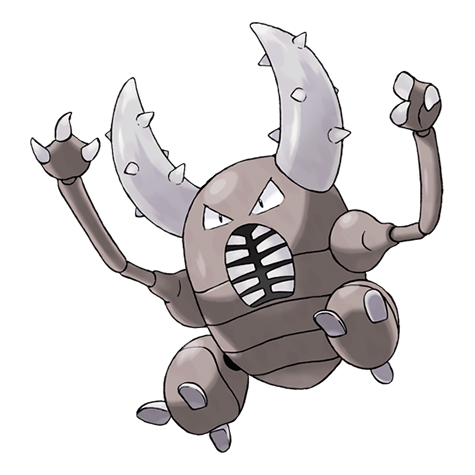 Pinsir Pinsir | DP | 52 | 5% | — | ||
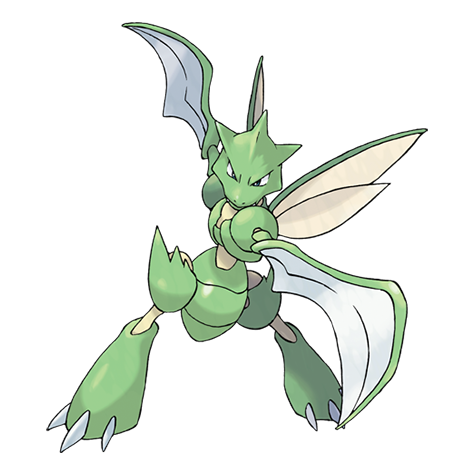 Scyther Scyther | DP | 52 | 5% | — | ||
| Volbeat | DP | 50 | 5% | — | ||
| Swarm (post-National Dex daily announcement) | ||||||
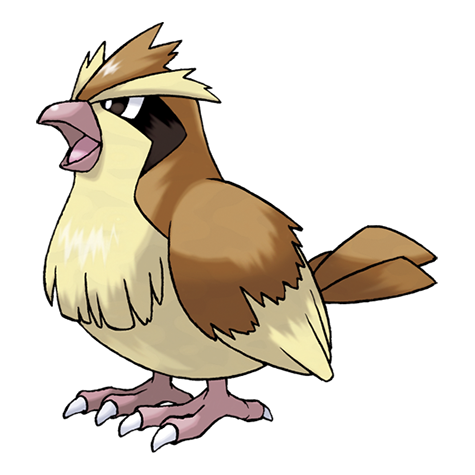 Pidgey Pidgey | DP | 51 | 40% | Post-National Dex daily swarm; replaces grass slots 0-1. | ||
| Poké Radar (post-National Dex) | ||||||
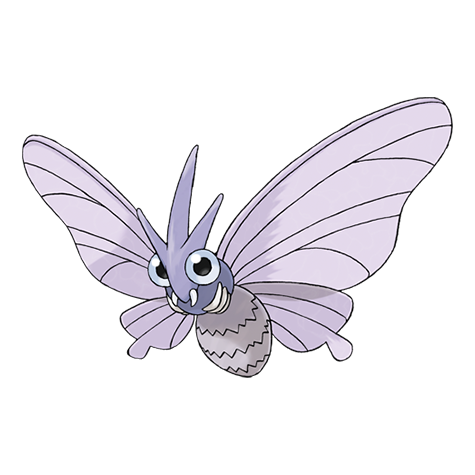 Venomoth Venomoth | DP | 50 | 20% | National Dex and Poké Radar required; replacement slot applies only in a hard/vigorous-shaking Radar patch. | ||
 Venonat Venonat | DP | 22 | 2% | National Dex and Poké Radar required; replacement slot applies only in a hard/vigorous-shaking Radar patch. | ||
| Dual-slot GBA insertion (post-National Dex) | ||||||
 Lombre Lombre | DP | 20 | 8% | National Dex plus Pokémon Sapphire inserted in the Nintendo DS GBA slot; replaces grass slots 8-9. | ||
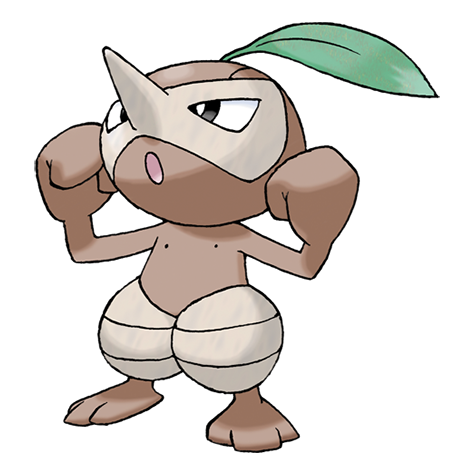 Nuzleaf Nuzleaf | DP | 20 | 8% | National Dex plus Pokémon Ruby inserted in the Nintendo DS GBA slot; replaces grass slots 8-9. | ||
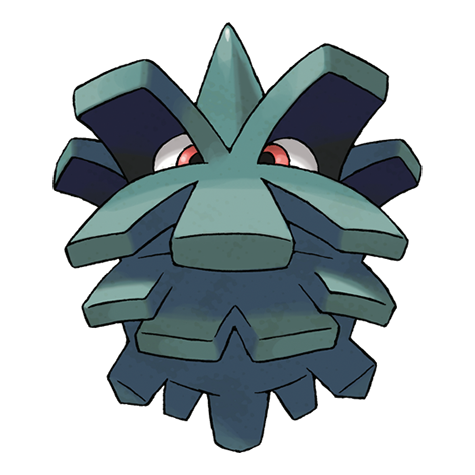 Pineco Pineco | DP | 20 | 8% | National Dex plus Pokémon Emerald inserted in the Nintendo DS GBA slot; replaces grass slots 8-9. | ||
| Surfing | ||||||
 Wingull Wingull | DP | 40-55 | 70% | — | ||
 Pelipper Pelipper | DP | 45-55 | 30% | — | ||
| Fishing — Old Rod | ||||||
| Magikarp | DP | 3-10 | 100% | — | ||
| Fishing — Good Rod | ||||||
| Magikarp | DP | 10-25 | 100% | — | ||
| Fishing — Super Rod | ||||||
| Gyarados | DP | 20-55 | 100% | — | ||
Route 230
| Pokémon | Games | Levels | Rate | Requirement / notes | ||
|---|---|---|---|---|---|---|
| Morning | Day | Night | ||||
| Grass / cave floor | ||||||
| Gloom | DP | 50 | 20% | Rate counts base slots temporarily replaced by the daily swarm. | ||
| Weepinbell | DP | 50 | 20% | Rate counts base slots temporarily replaced by the daily swarm. | ||
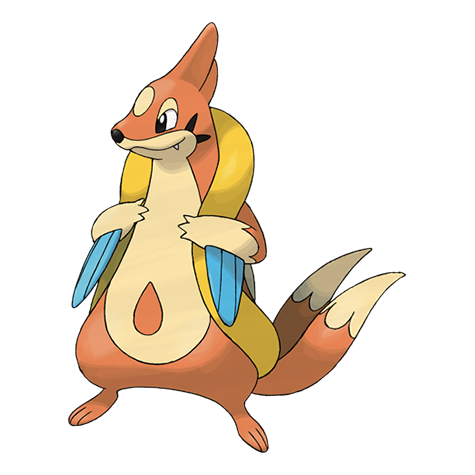 Floatzel Floatzel | DP | 50-52 | 13% | — | ||
| Bellsprout | DP | 18 or 23 | 11% | Rate counts base slots temporarily replaced by hard-shaking Poké Radar patches. | ||
| Oddish | DP | 18 or 23 | 11% | Rate counts base slots temporarily replaced by hard-shaking Poké Radar patches. | ||
 Beautifly Beautifly | DP | 51 | 10% | — | ||
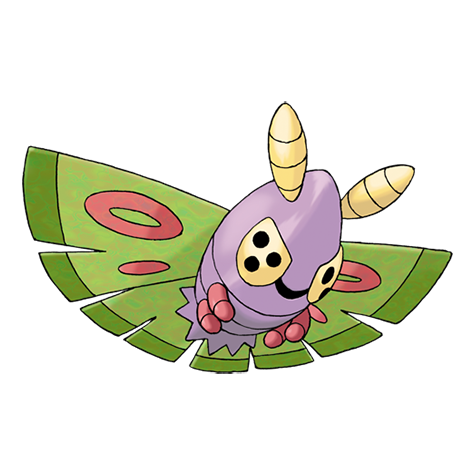 Dustox Dustox | DP | 51 | 10% | — | ||
| Golduck | DP | 52 | 10% | — | ||
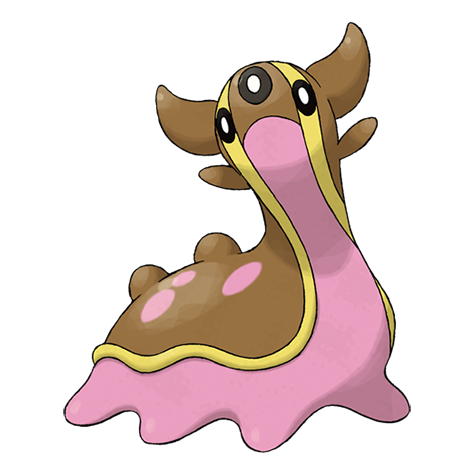 Gastrodon Gastrodon | DP | 51 | 5% | — | ||
| Swarm (post-National Dex daily announcement) | ||||||
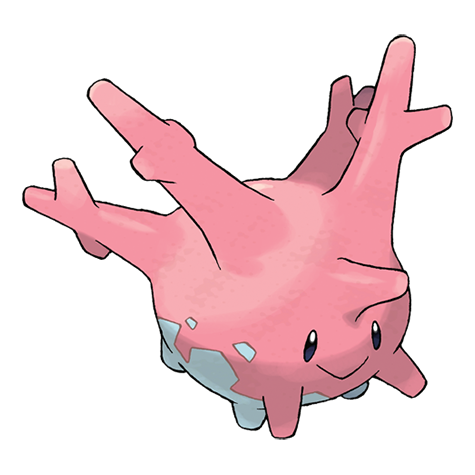 Corsola Corsola | DP | 50 | 40% | Post-National Dex daily swarm; replaces grass slots 0-1. | ||
| Poké Radar (post-National Dex) | ||||||
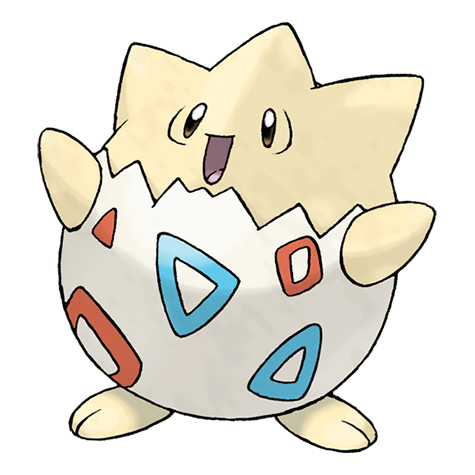 Togepi Togepi | DP | 18 or 23 | 22% | National Dex and Poké Radar required; replacement slot applies only in a hard/vigorous-shaking Radar patch. | ||
| Surfing | ||||||
| Pelipper | DP | 40-55 | 60% | — | ||
 Seel Seel | DP | 35-45 | 30% | — | ||
 Spheal Spheal | DP | 35-45 | 30% | — | ||
 Dewgong Dewgong | DP | 40-55 | 5% | — | ||
 Sealeo Sealeo | DP | 40-55 | 5% | — | ||
 Tentacruel Tentacruel | DP | 40-55 | 5% | — | ||
| Fishing — Old Rod | ||||||
| Magikarp | DP | 3-10 | 100% | — | ||
| Fishing — Good Rod | ||||||
| Magikarp | DP | 10-25 | 55% | — | ||
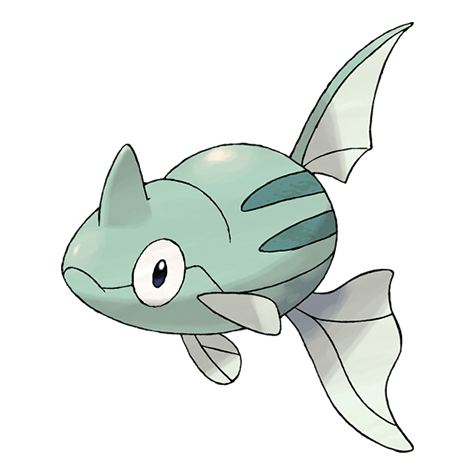 Remoraid Remoraid | DP | 10-25 | 45% | — | ||
| Fishing — Super Rod | ||||||
| Gyarados | DP | 30-40 | 40% | — | ||
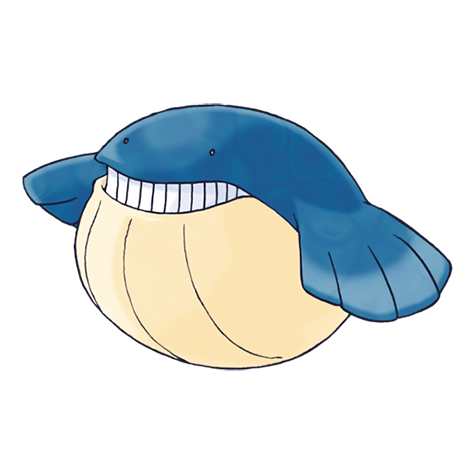 Wailmer Wailmer | DP | 30-40 | 40% | — | ||
 Octillery Octillery | DP | 40-55 | 15% | — | ||
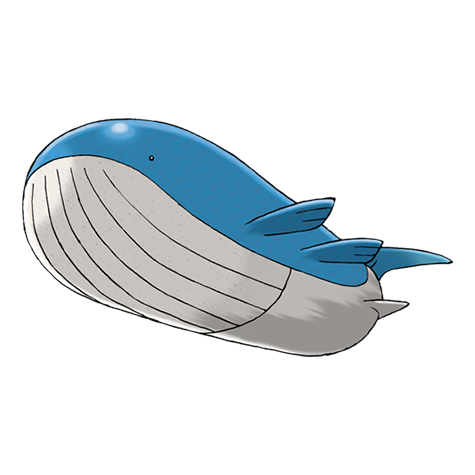 Wailord Wailord | DP | 35-55 | 5% | — | ||
Trainers
Field order follows the map's object-event order. Full teams include explicit held items and moves when trdata defines them; cash rewards use the in-engine final-party-slot level and trainer-class multiplier formula.
| Trainer | Route order / placement | Full team | Reward | Access requirement | Optional / rematch note |
|---|---|---|---|---|---|
 Ace Trainer Male JoseAce Trainer Male • source ID 565 Ace Trainer Male JoseAce Trainer Male • source ID 565 | Route 228 • field order 1 at (779, 325) | ₽3,300 | Hall of Fame and National Dex required to leave the Fight Area hub for the rest of the Battle Zone; individual cliffs and cave branches use Surf, Rock Smash, Strength, Rock Climb, or the Bicycle as described in the route plan. | Field order 1, tile (779, 325); sightline/path determines whether it can be avoided. No higher-level same-trainer rematch variant is defined in trdata. | |
 Ace Trainer Female ArianaAce Trainer Female • source ID 574 Ace Trainer Female ArianaAce Trainer Female • source ID 574 | Route 228 • field order 2 at (773, 346) | ₽3,240 | Hall of Fame and National Dex required to leave the Fight Area hub for the rest of the Battle Zone; individual cliffs and cave branches use Surf, Rock Smash, Strength, Rock Climb, or the Bicycle as described in the route plan. | Field order 2, tile (773, 346); sightline/path determines whether it can be avoided. Higher-level source variants used by the rematch system: ID 672: Lv. 59/Lv. 59/Lv. 59. | |
 Pokémon Ranger Male KylerPokémon Ranger Male • source ID 591 Pokémon Ranger Male KylerPokémon Ranger Male • source ID 591 | Route 228 • field order 3 at (789, 375) | ₽3,480 | Hall of Fame and National Dex required to leave the Fight Area hub for the rest of the Battle Zone; individual cliffs and cave branches use Surf, Rock Smash, Strength, Rock Climb, or the Bicycle as described in the route plan. | Field order 3, tile (789, 375); sightline/path determines whether it can be avoided. Higher-level source variants used by the rematch system: ID 735: Lv. 60/Lv. 60. | |
 Pokémon Ranger Female KristaPokémon Ranger Female • source ID 596 Pokémon Ranger Female KristaPokémon Ranger Female • source ID 596 | Route 228 • field order 4 at (786, 375) | ₽3,360 | Hall of Fame and National Dex required to leave the Fight Area hub for the rest of the Battle Zone; individual cliffs and cave branches use Surf, Rock Smash, Strength, Rock Climb, or the Bicycle as described in the route plan. | Field order 4, tile (786, 375); sightline/path determines whether it can be avoided. No higher-level same-trainer rematch variant is defined in trdata. | |
 Dragon Tamer KeeganDragon Tamer • source ID 559 Dragon Tamer KeeganDragon Tamer • source ID 559 | Route 228 • field order 5 at (796, 327) | ₽1,856 | Hall of Fame and National Dex required to leave the Fight Area hub for the rest of the Battle Zone; individual cliffs and cave branches use Surf, Rock Smash, Strength, Rock Climb, or the Bicycle as described in the route plan. | Field order 5, tile (796, 327); sightline/path determines whether it can be avoided. No higher-level same-trainer rematch variant is defined in trdata. | |
 Psychic Male CorbinPsychic Male • source ID 583 Psychic Male CorbinPsychic Male • source ID 583 | Route 228 • field order 6 at (785, 398) | ₽1,760 | Hall of Fame and National Dex required to leave the Fight Area hub for the rest of the Battle Zone; individual cliffs and cave branches use Surf, Rock Smash, Strength, Rock Climb, or the Bicycle as described in the route plan. | Field order 6, tile (785, 398); sightline/path determines whether it can be avoided. Higher-level source variants used by the rematch system: ID 676: Lv. 58/Lv. 60. | |
| Ace Trainer Female MeaganAce Trainer Female • source ID 577 | Route 228 • field order 7 at (795, 394) | ₽3,300 | Hall of Fame and National Dex required to leave the Fight Area hub for the rest of the Battle Zone; individual cliffs and cave branches use Surf, Rock Smash, Strength, Rock Climb, or the Bicycle as described in the route plan. | Field order 7, tile (795, 394); sightline/path determines whether it can be avoided. No higher-level same-trainer rematch variant is defined in trdata. | |
 Black Belt DavonBlack Belt • source ID 587 Black Belt DavonBlack Belt • source ID 587 | Route 228 • field order 8 at (776, 338) | ₽1,320 | Hall of Fame and National Dex required to leave the Fight Area hub for the rest of the Battle Zone; individual cliffs and cave branches use Surf, Rock Smash, Strength, Rock Climb, or the Bicycle as described in the route plan. | Field order 8, tile (776, 338); sightline/path determines whether it can be avoided. Higher-level source variants used by the rematch system: ID 700: Lv. 58/Lv. 59/Lv. 60. | |
| Pokémon Ranger Male DeshawnPokémon Ranger Male • source ID 592 | Route 229 • field order 1 at (829, 433) | ₽3,300 | Hall of Fame and National Dex required to leave the Fight Area hub for the rest of the Battle Zone; individual cliffs and cave branches use Surf, Rock Smash, Strength, Rock Climb, or the Bicycle as described in the route plan. | Field order 1, tile (829, 433); sightline/path determines whether it can be avoided. No higher-level same-trainer rematch variant is defined in trdata. | |
| Ace Trainer Male FelixAce Trainer Male • source ID 566 | Route 229 • field order 2 at (796, 432) | ₽3,300 | Hall of Fame and National Dex required to leave the Fight Area hub for the rest of the Battle Zone; individual cliffs and cave branches use Surf, Rock Smash, Strength, Rock Climb, or the Bicycle as described in the route plan. | Field order 2, tile (796, 432); sightline/path determines whether it can be avoided. No higher-level same-trainer rematch variant is defined in trdata. | |
| Ace Trainer Female DanaAce Trainer Female • source ID 575 | Route 229 • field order 3 at (801, 432) | ₽3,300 | Hall of Fame and National Dex required to leave the Fight Area hub for the rest of the Battle Zone; individual cliffs and cave branches use Surf, Rock Smash, Strength, Rock Climb, or the Bicycle as described in the route plan. | Field order 3, tile (801, 432); sightline/path determines whether it can be avoided. No higher-level same-trainer rematch variant is defined in trdata. | |
| Ace Trainer Female SandraAce Trainer Female • source ID 578 | Route 229 • field order 4 at (820, 418) |
| ₽3,420 | Hall of Fame and National Dex required to leave the Fight Area hub for the rest of the Battle Zone; individual cliffs and cave branches use Surf, Rock Smash, Strength, Rock Climb, or the Bicycle as described in the route plan. | Field order 4, tile (820, 418); sightline/path determines whether it can be avoided. No higher-level same-trainer rematch variant is defined in trdata. |
 Swimmer Male GlennSwimmer Male • source ID 597 Swimmer Male GlennSwimmer Male • source ID 597 | Route 230 • field order 1 at (731, 440) | ₽816 | Hall of Fame and National Dex required to leave the Fight Area hub for the rest of the Battle Zone; individual cliffs and cave branches use Surf, Rock Smash, Strength, Rock Climb, or the Bicycle as described in the route plan. | Field order 1, tile (731, 440); sightline/path determines whether it can be avoided. Higher-level source variants used by the rematch system: ID 761: Lv. 58/Lv. 58. | |
 Swimmer Female JoannaSwimmer Female • source ID 601 Swimmer Female JoannaSwimmer Female • source ID 601 | Route 230 • field order 2 at (734, 433) | ₽864 | Hall of Fame and National Dex required to leave the Fight Area hub for the rest of the Battle Zone; individual cliffs and cave branches use Surf, Rock Smash, Strength, Rock Climb, or the Bicycle as described in the route plan. | Field order 2, tile (734, 433); sightline/path determines whether it can be avoided. Higher-level source variants used by the rematch system: ID 764: Lv. 56/Lv. 60. | |
| Swimmer Male KurtSwimmer Male • source ID 598 | Route 230 • field order 3 at (750, 430) | ₽848 | Hall of Fame and National Dex required to leave the Fight Area hub for the rest of the Battle Zone; individual cliffs and cave branches use Surf, Rock Smash, Strength, Rock Climb, or the Bicycle as described in the route plan. | Field order 3, tile (750, 430); sightline/path determines whether it can be avoided. No higher-level same-trainer rematch variant is defined in trdata. | |
| Swimmer Female SophiaSwimmer Female • source ID 602 | Route 230 • field order 4 at (699, 438) | ₽832 | Hall of Fame and National Dex required to leave the Fight Area hub for the rest of the Battle Zone; individual cliffs and cave branches use Surf, Rock Smash, Strength, Rock Climb, or the Bicycle as described in the route plan. | Field order 4, tile (699, 438); sightline/path determines whether it can be avoided. No higher-level same-trainer rematch variant is defined in trdata. | |
| Swimmer Male SamSwimmer Male • source ID 599 | Route 230 • field order 5 at (699, 433) | ₽816 | Hall of Fame and National Dex required to leave the Fight Area hub for the rest of the Battle Zone; individual cliffs and cave branches use Surf, Rock Smash, Strength, Rock Climb, or the Bicycle as described in the route plan. | Field order 5, tile (699, 433); sightline/path determines whether it can be avoided. No higher-level same-trainer rematch variant is defined in trdata. | |
| Swimmer Female MallorySwimmer Female • source ID 603 | Route 230 • field order 6 at (738, 425) | ₽864 | Hall of Fame and National Dex required to leave the Fight Area hub for the rest of the Battle Zone; individual cliffs and cave branches use Surf, Rock Smash, Strength, Rock Climb, or the Bicycle as described in the route plan. | Field order 6, tile (738, 425); sightline/path determines whether it can be avoided. No higher-level same-trainer rematch variant is defined in trdata. |
Items
| Item | Version | Type | Area / exact direction | Coordinate / script | Requirement | Source |
|---|---|---|---|---|---|---|
| Protector | Diamond / Pearl | Visible item ball | Route 228: Pick up the item ball in the northern part of Route 228, 12 tiles east and 2 tiles south of the Route 228 Route 226 Gatehouse doorway or transition. | (786, 333) | Hall of Fame and National Dex required to leave the Fight Area hub for the rest of the Battle Zone; individual cliffs and cave branches use Surf, Rock Smash, Strength, Rock Climb, or the Bicycle as described in the route plan. | event bank 387, script 7242 |
| Iron | Diamond / Pearl | Visible item ball | Route 228: Pick up the item ball in the northeastern part of Route 228, 7 tiles east and 10 tiles north of the Route 228 North House doorway or transition. | (796, 346) | Hall of Fame and National Dex required to leave the Fight Area hub for the rest of the Battle Zone; individual cliffs and cave branches use Surf, Rock Smash, Strength, Rock Climb, or the Bicycle as described in the route plan. | event bank 387, script 7243 |
| Shiny Stone | Diamond / Pearl | Visible item ball | Route 228: Pick up the item ball in the southeastern part of Route 228, 19 tiles east and 1 tile north of the Route 228 South House doorway or transition. | (794, 385) | Hall of Fame and National Dex required to leave the Fight Area hub for the rest of the Battle Zone; individual cliffs and cave branches use Surf, Rock Smash, Strength, Rock Climb, or the Bicycle as described in the route plan. | event bank 387, script 7244 |
| Shed Shell | Diamond / Pearl | Visible item ball | Route 228: Pick up the item ball in the northwestern part of Route 228, 6 tiles east and 14 tiles south of the Route 228 Route 226 Gatehouse doorway or transition. | (780, 345) | Hall of Fame and National Dex required to leave the Fight Area hub for the rest of the Battle Zone; individual cliffs and cave branches use Surf, Rock Smash, Strength, Rock Climb, or the Bicycle as described in the route plan. | event bank 387, script 7245 |
| TM37 | Diamond / Pearl | Visible item ball | Route 228: Pick up the item ball in the southwestern part of Route 228, 4 tiles east and 6 tiles north of the Route 228 South House doorway or transition. | (779, 380) | Hall of Fame and National Dex required to leave the Fight Area hub for the rest of the Battle Zone; individual cliffs and cave branches use Surf, Rock Smash, Strength, Rock Climb, or the Bicycle as described in the route plan. | event bank 387, script 7246 |
| Reaper Cloth | Diamond / Pearl | Visible item ball | Route 229: Pick up the item ball in the northern part of Route 229, 2 tiles east and 5 tiles north of the nearest visible NPC. | (816, 426) | Hall of Fame and National Dex required to leave the Fight Area hub for the rest of the Battle Zone; individual cliffs and cave branches use Surf, Rock Smash, Strength, Rock Climb, or the Bicycle as described in the route plan. | event bank 388, script 7247 |
| Full Restore | Diamond / Pearl | Visible item ball | Route 229: Pick up the item ball in the northeastern part of Route 229, 8 tiles east and 2 tiles south of the Ace Trainer Female Sandra's field position. | (828, 420) | Hall of Fame and National Dex required to leave the Fight Area hub for the rest of the Battle Zone; individual cliffs and cave branches use Surf, Rock Smash, Strength, Rock Climb, or the Bicycle as described in the route plan. | event bank 388, script 7249 |
| Protein | Diamond / Pearl | Visible item ball | Route 229: Pick up the item ball in the eastern part of Route 229, 2 tiles east and 1 tile south of the nearest visible NPC. | (828, 438) | Hall of Fame and National Dex required to leave the Fight Area hub for the rest of the Battle Zone; individual cliffs and cave branches use Surf, Rock Smash, Strength, Rock Climb, or the Bicycle as described in the route plan. | event bank 388, script 7248 |
| Nugget | Diamond / Pearl | Visible item ball | Resort Area: Pick up the item ball in the southeastern part of Resort Area, 13 tiles east and 3 tiles north of the Resort Area Southeast House doorway or transition. | (829, 466) | Hall of Fame and National Dex required to leave the Fight Area hub for the rest of the Battle Zone; individual cliffs and cave branches use Surf, Rock Smash, Strength, Rock Climb, or the Bicycle as described in the route plan. | event bank 435, script 7250 |
| Rare Candy | Diamond / Pearl | Visible item ball | Route 230: Pick up the item ball in the eastern part of Route 230, 2 tiles east of the nearest sign or interactable landmark. | (727, 427) | Hall of Fame and National Dex required to leave the Fight Area hub for the rest of the Battle Zone; individual cliffs and cave branches use Surf, Rock Smash, Strength, Rock Climb, or the Bicycle as described in the route plan. | event bank 448, script 7251 |
| Hondew Berry | Diamond / Pearl | Berry tree | Route 228: Harvest berry patch 102 in the southwestern part of Route 228, 4 tiles east and 3 tiles south of the Route 228 South House doorway or transition. The plot can be replanted after the initial harvest. | (779, 389) | Hall of Fame and National Dex required to leave the Fight Area hub for the rest of the Battle Zone; individual cliffs and cave branches use Surf, Rock Smash, Strength, Rock Climb, or the Bicycle as described in the route plan. | berry table ov52_021D76F8, patch 102 |
| Hondew Berry | Diamond / Pearl | Berry tree | Route 228: Harvest berry patch 103 in the southern part of Route 228, 7 tiles east and 3 tiles south of the Route 228 South House doorway or transition. The plot can be replanted after the initial harvest. | (782, 389) | Hall of Fame and National Dex required to leave the Fight Area hub for the rest of the Battle Zone; individual cliffs and cave branches use Surf, Rock Smash, Strength, Rock Climb, or the Bicycle as described in the route plan. | berry table ov52_021D76F8, patch 103 |
| Tamato Berry | Diamond / Pearl | Berry tree | Route 228: Harvest berry patch 104 in the southwestern part of Route 228, 5 tiles east and 3 tiles south of the Route 228 South House doorway or transition. The plot can be replanted after the initial harvest. | (780, 389) | Hall of Fame and National Dex required to leave the Fight Area hub for the rest of the Battle Zone; individual cliffs and cave branches use Surf, Rock Smash, Strength, Rock Climb, or the Bicycle as described in the route plan. | berry table ov52_021D76F8, patch 104 |
| Tamato Berry | Diamond / Pearl | Berry tree | Route 228: Harvest berry patch 105 in the southern part of Route 228, 6 tiles east and 3 tiles south of the Route 228 South House doorway or transition. The plot can be replanted after the initial harvest. | (781, 389) | Hall of Fame and National Dex required to leave the Fight Area hub for the rest of the Battle Zone; individual cliffs and cave branches use Surf, Rock Smash, Strength, Rock Climb, or the Bicycle as described in the route plan. | berry table ov52_021D76F8, patch 105 |
| Grepa Berry | Diamond / Pearl | Berry tree | Route 229: Harvest berry patch 106 in the central part of Route 229, beside the nearest visible NPC. The plot can be replanted after the initial harvest. | (810, 434) | Hall of Fame and National Dex required to leave the Fight Area hub for the rest of the Battle Zone; individual cliffs and cave branches use Surf, Rock Smash, Strength, Rock Climb, or the Bicycle as described in the route plan. | berry table ov52_021D76F8, patch 106 |
| Grepa Berry | Diamond / Pearl | Berry tree | Route 229: Harvest berry patch 107 in the central part of Route 229, beside the nearest visible NPC. The plot can be replanted after the initial harvest. | (811, 434) | Hall of Fame and National Dex required to leave the Fight Area hub for the rest of the Battle Zone; individual cliffs and cave branches use Surf, Rock Smash, Strength, Rock Climb, or the Bicycle as described in the route plan. | berry table ov52_021D76F8, patch 107 |
| Qualot Berry | Diamond / Pearl | Berry tree | Route 229: Harvest berry patch 108 in the central part of Route 229, beside the nearest visible NPC. The plot can be replanted after the initial harvest. | (812, 434) | Hall of Fame and National Dex required to leave the Fight Area hub for the rest of the Battle Zone; individual cliffs and cave branches use Surf, Rock Smash, Strength, Rock Climb, or the Bicycle as described in the route plan. | berry table ov52_021D76F8, patch 108 |
| Qualot Berry | Diamond / Pearl | Berry tree | Route 229: Harvest berry patch 109 in the central part of Route 229, beside the nearest visible NPC. The plot can be replanted after the initial harvest. | (813, 434) | Hall of Fame and National Dex required to leave the Fight Area hub for the rest of the Battle Zone; individual cliffs and cave branches use Surf, Rock Smash, Strength, Rock Climb, or the Bicycle as described in the route plan. | berry table ov52_021D76F8, patch 109 |
| Lum Berry | Diamond / Pearl | Berry tree | Resort Area: Harvest berry patch 110 in the southern part of Resort Area, 4 tiles west of the Resort Area Southeast House doorway or transition. The plot can be replanted after the initial harvest. | (812, 469) | Hall of Fame and National Dex required to leave the Fight Area hub for the rest of the Battle Zone; individual cliffs and cave branches use Surf, Rock Smash, Strength, Rock Climb, or the Bicycle as described in the route plan. | berry table ov52_021D76F8, patch 110 |
| Leppa Berry | Diamond / Pearl | Berry tree | Resort Area: Harvest berry patch 111 in the southwestern part of Resort Area, 4 tiles south of the Resort Area Southwest House doorway or transition. The plot can be replanted after the initial harvest. | (802, 469) | Hall of Fame and National Dex required to leave the Fight Area hub for the rest of the Battle Zone; individual cliffs and cave branches use Surf, Rock Smash, Strength, Rock Climb, or the Bicycle as described in the route plan. | berry table ov52_021D76F8, patch 111 |
| 2× Qualot Berry | Diamond / Pearl | Berry tree | Resort Area: Harvest berry patch 112 in the southwestern part of Resort Area, 1 tile east and 4 tiles south of the Resort Area Southwest House doorway or transition. The plot can be replanted after the initial harvest. | (803, 469) | Hall of Fame and National Dex required to leave the Fight Area hub for the rest of the Battle Zone; individual cliffs and cave branches use Surf, Rock Smash, Strength, Rock Climb, or the Bicycle as described in the route plan. | berry table ov52_021D76F8, patch 112 |
| 2× Grepa Berry | Diamond / Pearl | Berry tree | Resort Area: Harvest berry patch 113 in the southwestern part of Resort Area, 5 tiles west of the Resort Area Southeast House doorway or transition. The plot can be replanted after the initial harvest. | (811, 469) | Hall of Fame and National Dex required to leave the Fight Area hub for the rest of the Battle Zone; individual cliffs and cave branches use Surf, Rock Smash, Strength, Rock Climb, or the Bicycle as described in the route plan. | berry table ov52_021D76F8, patch 113 |
| 2× Kelpsy Berry | Diamond / Pearl | Berry tree | Route 230: Harvest berry patch 114 in the northwestern part of Route 230, beside the nearest visible NPC. The plot can be replanted after the initial harvest. | (684, 420) | Hall of Fame and National Dex required to leave the Fight Area hub for the rest of the Battle Zone; individual cliffs and cave branches use Surf, Rock Smash, Strength, Rock Climb, or the Bicycle as described in the route plan. | berry table ov52_021D76F8, patch 114 |
| 2× Kelpsy Berry | Diamond / Pearl | Berry tree | Route 230: Harvest berry patch 115 in the northwestern part of Route 230, beside the nearest visible NPC. The plot can be replanted after the initial harvest. | (685, 420) | Hall of Fame and National Dex required to leave the Fight Area hub for the rest of the Battle Zone; individual cliffs and cave branches use Surf, Rock Smash, Strength, Rock Climb, or the Bicycle as described in the route plan. | berry table ov52_021D76F8, patch 115 |
| Grepa Berry | Diamond / Pearl | Berry tree | Route 230: Harvest berry patch 116 in the northwestern part of Route 230, beside the nearest visible NPC. The plot can be replanted after the initial harvest. | (686, 420) | Hall of Fame and National Dex required to leave the Fight Area hub for the rest of the Battle Zone; individual cliffs and cave branches use Surf, Rock Smash, Strength, Rock Climb, or the Bicycle as described in the route plan. | berry table ov52_021D76F8, patch 116 |
| Grepa Berry | Diamond / Pearl | Berry tree | Route 230: Harvest berry patch 117 in the northwestern part of Route 230, beside the nearest visible NPC. The plot can be replanted after the initial harvest. | (687, 420) | Hall of Fame and National Dex required to leave the Fight Area hub for the rest of the Battle Zone; individual cliffs and cave branches use Surf, Rock Smash, Strength, Rock Climb, or the Bicycle as described in the route plan. | berry table ov52_021D76F8, patch 117 |
| Nugget | Diamond / Pearl | NPC / scripted gift | Route 229: Speak to the item-giving NPC in the central part of Route 229, beside the nearest visible NPC. | NPC (814, 431); script 1 | Hall of Fame and National Dex required to leave the Fight Area hub for the rest of the Battle Zone; individual cliffs and cave branches use Surf, Rock Smash, Strength, Rock Climb, or the Bicycle as described in the route plan. | script bank 460 |
| Frenzy Plant / Blast Burn / Hydro Cannon move tutor | Diamond / Pearl | Free repeatable move-tutor service | Routes 228-230 and Resort Area: The Route 228 tutor teaches the matching ultimate move to a fully evolved Kanto, Johto, Hoenn, or Sinnoh starter at maximum friendship. | NPC / system | Bring an eligible fully evolved starter at maximum friendship; the service costs nothing and can be repeated for other eligible Pokemon. | editorial script/system note |
| Gorgeous / Royal / Gorgeous Royal Ribbons | Diamond / Pearl | Ribbon Syndicate purchase sequence | Routes 228-230 and Resort Area: Buy Gorgeous for ₽10,000, then Royal for ₽100,000, then Gorgeous Royal for ₽999,999; they are applied sequentially to the lead Pokemon. | NPC / system | Enter the Ribbon Syndicate with at least 10 qualifying Ribbon kinds across the party, then buy each Ribbon in order. | editorial script/system note |
| Ribbon Syndicate spa treatment | Diamond / Pearl | Once-daily friendship service | Routes 228-230 and Resort Area: The upstairs spa can treat up to five party members once per day; Eggs are accepted by the service. | NPC / system | Unlock Ribbon Syndicate access; once per day. | editorial script/system note |
Hidden Items
| Hidden item | Area / plain-English placement | QA coordinate | Requirement | Source |
|---|---|---|---|---|
| Calcium | Route 228: Use the Dowsing Machine in the southeastern part of Route 228, 18 tiles east and 17 tiles south of the Route 228 South House doorway or transition and inspect that exact ground tile. | (793, 403) | Dowsing Machine Pokétch app. Hall of Fame and National Dex required to leave the Fight Area hub for the rest of the Battle Zone; individual cliffs and cave branches use Surf, Rock Smash, Strength, Rock Climb, or the Bicycle as described in the route plan. | event bank 387, script 8142 |
| Stardust | Route 228: Use the Dowsing Machine in the western part of Route 228, 4 tiles east and 10 tiles north of the Route 228 South House doorway or transition and inspect that exact ground tile. | (779, 376) | Dowsing Machine Pokétch app. Hall of Fame and National Dex required to leave the Fight Area hub for the rest of the Battle Zone; individual cliffs and cave branches use Surf, Rock Smash, Strength, Rock Climb, or the Bicycle as described in the route plan. | event bank 387, script 8144 |
| Ultra Ball | Route 228: Use the Dowsing Machine in the central part of Route 228, 8 tiles west and 9 tiles south of the Route 228 North House doorway or transition and inspect that exact ground tile. | (781, 365) | Dowsing Machine Pokétch app. Hall of Fame and National Dex required to leave the Fight Area hub for the rest of the Battle Zone; individual cliffs and cave branches use Surf, Rock Smash, Strength, Rock Climb, or the Bicycle as described in the route plan. | event bank 387, script 8143 |
| Rare Candy | Route 228: Use the Dowsing Machine in the northwestern part of Route 228, 6 tiles east and 3 tiles south of the Route 228 Route 226 Gatehouse doorway or transition and inspect that exact ground tile. | (780, 334) | Dowsing Machine Pokétch app. Hall of Fame and National Dex required to leave the Fight Area hub for the rest of the Battle Zone; individual cliffs and cave branches use Surf, Rock Smash, Strength, Rock Climb, or the Bicycle as described in the route plan. | event bank 387, script 8205 |
| PP Up | Route 228: Use the Dowsing Machine in the northwestern part of Route 228, 5 tiles east and 6 tiles north of the Route 228 Route 226 Gatehouse doorway or transition and inspect that exact ground tile. | (779, 324) | Dowsing Machine Pokétch app. Hall of Fame and National Dex required to leave the Fight Area hub for the rest of the Battle Zone; individual cliffs and cave branches use Surf, Rock Smash, Strength, Rock Climb, or the Bicycle as described in the route plan. | event bank 387, script 8206 |
| Full Restore | Route 228: Use the Dowsing Machine in the southwestern part of Route 228, 18 tiles south of the Route 228 South House doorway or transition and inspect that exact ground tile. | (775, 404) | Dowsing Machine Pokétch app. Hall of Fame and National Dex required to leave the Fight Area hub for the rest of the Battle Zone; individual cliffs and cave branches use Surf, Rock Smash, Strength, Rock Climb, or the Bicycle as described in the route plan. | event bank 387, script 8207 |
| Big Mushroom | Route 229: Use the Dowsing Machine in Route 229's southeast grass near the Resort Area boundary. | (822, 445) | Dowsing Machine Pokétch app. Hall of Fame and National Dex to reach the Battle Zone. | event bank 388, script 8145 |
| Nugget | Resort Area: Use the Dowsing Machine in the southeastern part of Resort Area, 8 tiles east and 2 tiles south of the Resort Area Southeast House doorway or transition and inspect that exact ground tile. | (824, 471) | Dowsing Machine Pokétch app. Hall of Fame and National Dex required to leave the Fight Area hub for the rest of the Battle Zone; individual cliffs and cave branches use Surf, Rock Smash, Strength, Rock Climb, or the Bicycle as described in the route plan. | event bank 435, script 8146 |
| Carbos | Route 230: Use the Dowsing Machine on the north edge of Route 230's central island, just above the grass. | (718, 419) | Dowsing Machine Pokétch app. Hall of Fame, National Dex, and Surf. | event bank 448, script 8147 |
| HP Up | Route 230: Use the Dowsing Machine in the central grass of Route 230's main island, near the visible Rare Candy. | (725, 427) | Dowsing Machine Pokétch app. Hall of Fame, National Dex, and Surf. | event bank 448, script 8148 |
Puzzles, Warps, And Switches
- Use fast Bicycle gear for Route 228's muddy slopes and slow gear for narrow turns at the top. On Route 230, circle each island completely before moving to the next water lane.
Boss Strategy And Partners
No Gym Leader, rival branch, Galactic boss, Elite Four member, Champion, story partner, or major postgame battle is assigned here.
Completion Checklist
- Complete the currently reachable part of this route plan: Travel east from Route 226 or south from Route 227; clear Route 228's upper and lower lanes; visit both houses and the Route 226 gatehouse; use Bicycle mud ramps; enter Route 229; sweep both grass lanes; tour Resort Area; check Ribbon Syndicate eligibility; Surf through Route 230's islands; return to Fight Area.
- Review all 72 encounter rows across the per-area tables, including game markers, method band, time-of-day rates, levels, and each conditional requirement; mark conditional rows for their stated revisit.
- Defeat or deliberately skip every currently reachable trainer row; leave HM-, story-, or National-Dex-gated rows checked only after their access requirement is met.
- Collect currently reachable visible/scripted items and berry trees, use the Dowsing Machine for reachable hidden rows, and retain every explicitly gated row for the named cleanup visit.
- Resolve every currently available puzzle note, boss branch, and partner scene before opening the next section.
Sources And Validation
pret/pokediamondat commit038cccaed5de8f013875bc5d734f912d1de08e0f:map_header.c, D/P encounter archives,trdata.json, zone events, script archives, item tables, and trainer graphics.- Encounter slots were decoded from exact 424-byte D/P members and cross-checked against Gen IV slot behavior; the 0x6C pair is day, morning uses base slots, and 0x74 is night.
- Coordinates remain visible as QA anchors, while each hidden row also provides a plain-English map-region instruction.
- Generation-wide systems that are not tied to a normal map archive—Honey Trees, Great Marsh daily rolls, Trophy Garden, fossils, Pal Park, and event items—are explicitly curated in their dedicated system pages.
Dex quick links
Pokemon in this phase
Pidgey Sandslash Oddish Gloom Venonat Venomoth Diglett Dugtrio Golduck  Mankey Poliwag Poliwhirl Bellsprout Weepinbell Tentacruel
  Rapidash Seel Dewgong
  Exeggcute Rhydon
  Chansey Goldeen Seaking
  Starmie Scyther Pinsir Magikarp Gyarados
  Lapras Ledian Ariados
  Chinchou
  Lanturn Togepi
  Yanma Pineco
  Granbull
 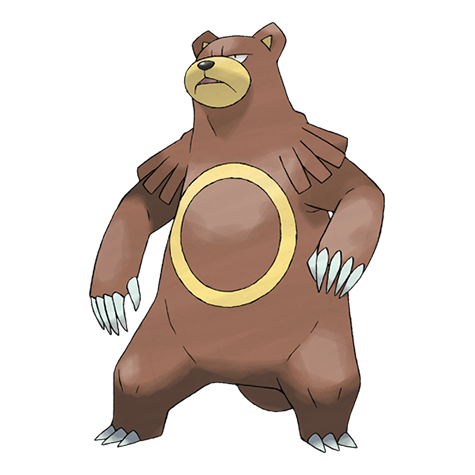 Ursaring Corsola Remoraid Octillery
 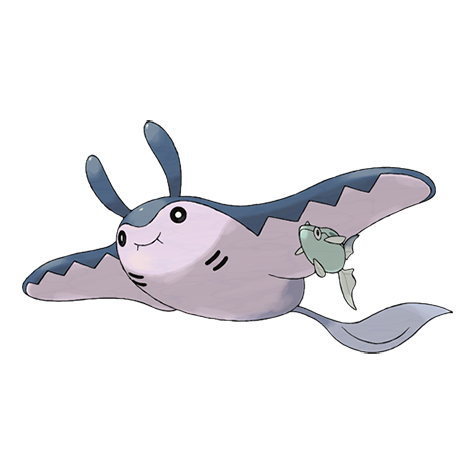 Mantine
 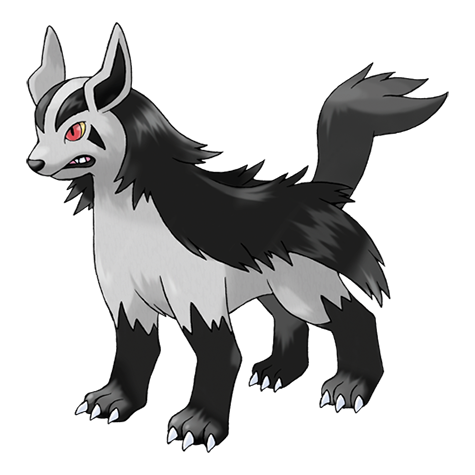 Mightyena Beautifly Dustox Lombre Nuzleaf Wingull Pelipper
 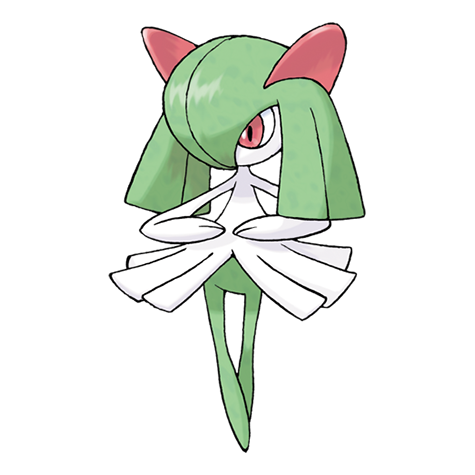 Kirlia
 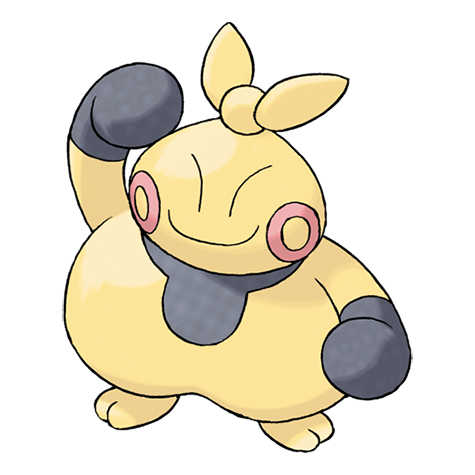 Makuhita
 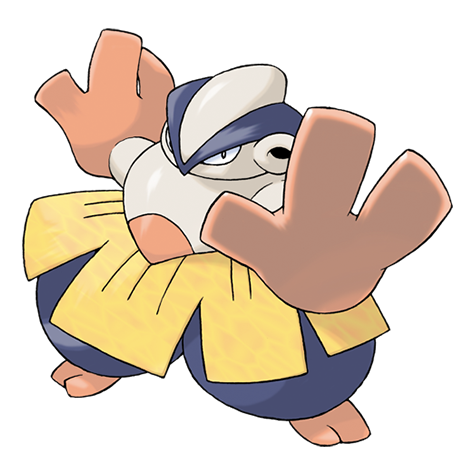 Hariyama
  Delcatty Volbeat Illumise Roselia Wailmer Wailord
  Spinda Trapinch Vibrava Cacnea Cacturne Barboach Whiscash
 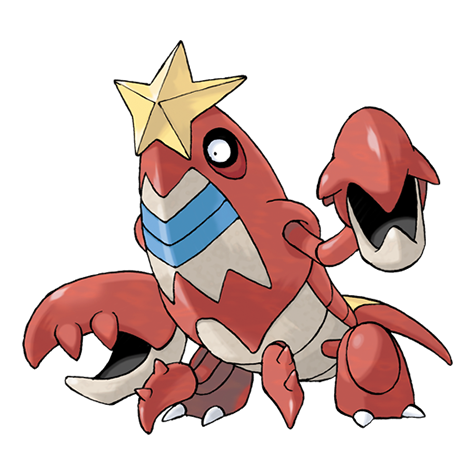 Crawdaunt
 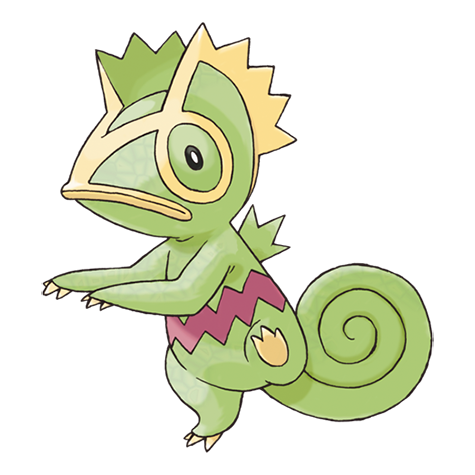 Kecleon
  Shuppet
  Duskull
  Dusclops Spheal Sealeo
  Luvdisc
  Salamence Beldum Floatzel Gastrodon
  Ambipom Purugly Hippowdon
  Mantyke