
Phase 2 section


Pokemon Diamond and Pearl Floaroma Town and Floaroma Meadow Walkthrough
 Forest Badge
 Collect berry supplies, rescue the flower-shop worker, obtain the Works Key, and unlock Honey Tree encounters. Exact Diamond/Pearl encounters, every sourced trainer, visible and hidden items, puzzle notes, boss teams, and completion checks.
Phase 2 Forest Badge Route 204, Floaroma, Valley Windworks, Eterna Forest, Eterna City, and Gardenia. 02 / 11 
Collect berry supplies, rescue the flower-shop worker, obtain the Works Key, and unlock Honey Tree encounters. This standalone section joins the route plan to the original Diamond/Pearl map, encounter, trainer, item, and script data; Platinum tables are not substituted.
Source maps
Floaroma Meadow Unused, Floaroma Meadow, Floaroma Meadow House, Floaroma, Floaroma Poké Mart, Floaroma Pokémon Center, Floaroma Pokémon Center 2F, Floaroma Flower Shop, Floaroma Southeast House, Floaroma Middle House, and Floaroma Pokémon Center B1F.
Version discipline
Rows merge only when Diamond and Pearl are identical, and each row carries D/P game markers. Version-exclusive species, mascot encounters, swarms, Radar slots, and GBA insertion slots keep their own labeled rows.
Route Plan
Visit the flower shop; check the Valley Windworks entrance; follow the fleeing Grunt to the Meadow; defeat both Grunts; receive the Works Key and Honey; slather a tree if pursuing tree-only species.
- Honey Trees take about six real-time hours to shake and stop holding an encounter after roughly a day; changing the DS clock can delay time-based events.
- Only four save-derived tree candidates can produce Munchlax. The game takes the four bytes of the full 32-bit Trainer ID (public ID plus Secret ID), reduces each modulo 21, then applies its earlier-index collision-adjustment pass. Do not derive the trees from the visible public ID alone.
- The source tree index order is: Route 205 South, Route 205 North, Route 206, Route 207, Route 208, Route 209, Route 210 South, Route 210 North, Route 211 East, Route 212 North, Route 212 South, Route 213, Route 214, Route 215, Route 218, Route 221, Route 222, Valley Windworks, Eterna Forest, Fuego Ironworks, and Floaroma Meadow.
- Regular trees roll 10% no encounter, 70% common table, and 20% rare table; an eligible tree rolls 9% no encounter, 20% common, 70% rare, and 1% Munchlax. Levels are uniformly selected from 5 through 15.
- When the same tree is slathered again consecutively, the game has a 90% rule that keeps the previous encounter group; this is not a 90% guarantee of the same exact species.
Exact pret map constants (11)
MAP_FLOAROMA_MEADOW_UNUSED MAP_FLOAROMA_MEADOW MAP_FLOAROMA_MEADOW_HOUSE MAP_FLOAROMA MAP_FLOAROMA_POKEMART MAP_FLOAROMA_POKECENTER MAP_FLOAROMA_POKECENTER_2F MAP_FLOAROMA_FLOWER_SHOP MAP_FLOAROMA_SOUTHEAST_HOUSE MAP_FLOAROMA_MIDDLE_HOUSE MAP_FLOAROMA_POKECENTER_B1F
Wild Pokémon
Each area below has its own table, split by encounter method. Standard grass and cave rates merge every base slot for a species and are shown per time window: morning 04:00-09:59, day 10:00-19:59, night 20:00-03:59. Swarm, Poké Radar, and GBA dual-slot replacements keep their own labeled rows. Underlying slot odds: grass 20/20/10/10/10/10/5/5/4/4/1/1; Surf and Old Rod 60/30/5/4/1; Good and Super Rod 40/40/15/4/1.
| Pokémon | Games | Levels | Rate | Requirement / notes | ||
|---|---|---|---|---|---|---|
| Morning | Day | Night | ||||
| Honey Tree — regular tree | ||||||
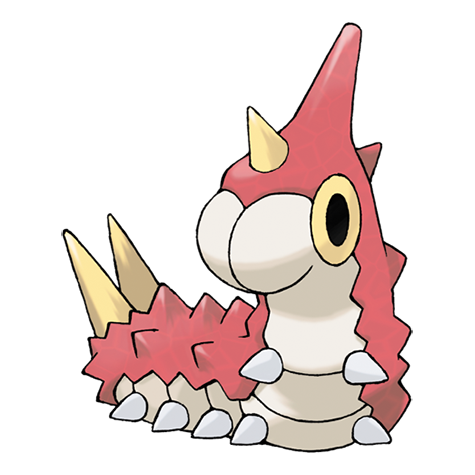 Wurmple Wurmple | DP | 5-15 | 29% | Slather Honey and return after about 6 hours Aggregate of its common- and rare-table slots; there is also a 10% no-encounter result. | ||
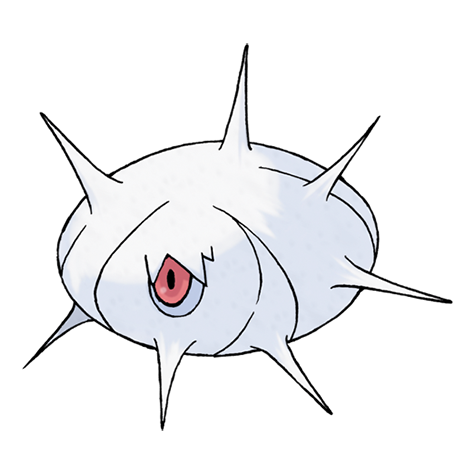 Silcoon Silcoon | DP | 5-15 | 14% | Slather Honey and return after about 6 hours Pearl substitutes Cascoon in this version slot. | ||
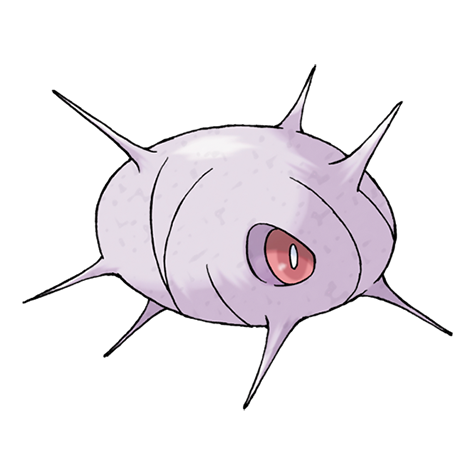 Cascoon Cascoon | DP | 5-15 | 14% | Slather Honey and return after about 6 hours Diamond substitutes Silcoon in this version slot. | ||
 Combee Combee | DP | 5-15 | 22% | Slather Honey and return after about 6 hours Aggregate of common and rare table slots. | ||
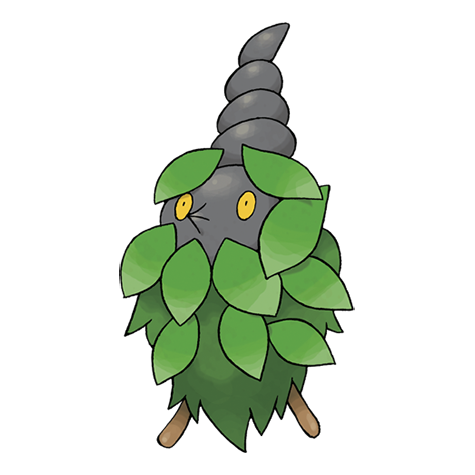 Burmy Burmy | DP | 5-15 | 11% | Slather Honey and return after about 6 hours Aggregate of common and rare table slots. | ||
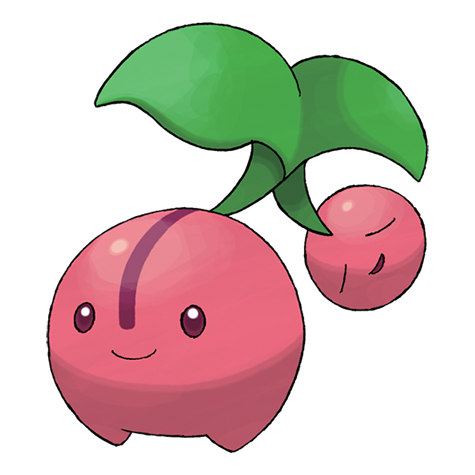 Cherubi Cherubi | DP | 5-15 | 7.5% | Slather Honey and return after about 6 hours Aggregate of common and rare table slots. | ||
 Aipom Aipom | DP | 5-15 | 5.5% | Slather Honey and return after about 6 hours Aggregate of common and rare table slots. | ||
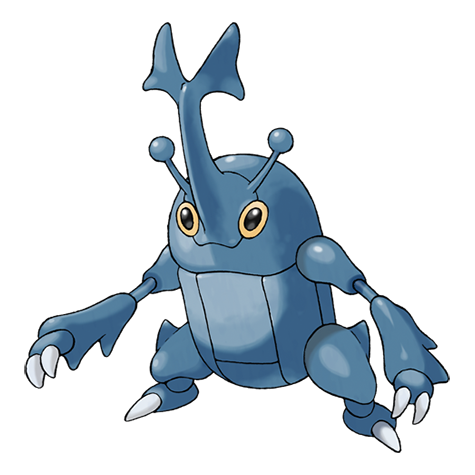 Heracross Heracross | DP | 5-15 | 1% | Slather Honey and return after about 6 hours Rare table only. | ||
| Honey Tree — eligible Munchlax tree | ||||||
| Wurmple | DP | 5-15 | 11.5% | Use one of the save's four Trainer-ID-derived eligible trees Eligible-tree aggregate; there is a separate 9% no-encounter result. | ||
| Silcoon | DP | 5-15 | 4% | Use one of the save's four eligible trees Pearl substitutes Cascoon in this version slot. | ||
| Cascoon | DP | 5-15 | 4% | Use one of the save's four eligible trees Diamond substitutes Silcoon in this version slot. | ||
| Combee | DP | 5-15 | 32% | Use one of the save's four eligible trees Aggregate of common and rare table slots. | ||
| Burmy | DP | 5-15 | 16% | Use one of the save's four eligible trees Aggregate of common and rare table slots. | ||
| Cherubi | DP | 5-15 | 15% | Use one of the save's four eligible trees Aggregate of common and rare table slots. | ||
| Aipom | DP | 5-15 | 8% | Use one of the save's four eligible trees Aggregate of common and rare table slots. | ||
| Heracross | DP | 5-15 | 3.5% | Use one of the save's four eligible trees Rare table only. | ||
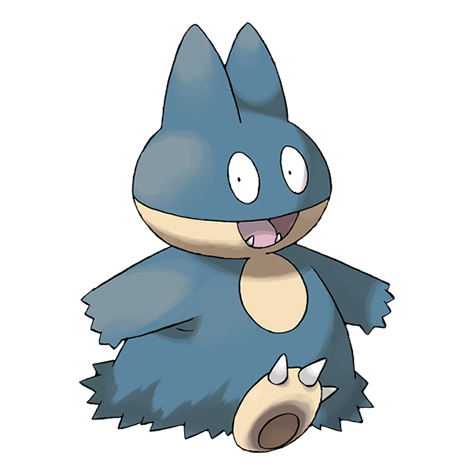 Munchlax Munchlax | DP | 5-15 | 1% | Only four trees derived from the save's Trainer ID are eligible The four locations are save-specific; do not use a fixed online tree list without first deriving the save's eligible indices. | ||
Trainers
Field order follows the map's object-event order. Full teams include explicit held items and moves when trdata defines them; cash rewards use the in-engine final-party-slot level and trainer-class multiplier formula.
| Trainer | Route order / placement | Full team | Reward | Access requirement | Optional / rematch note |
|---|---|---|---|---|---|
 Galactic GruntGalactic • source ID 296 Galactic GruntGalactic • source ID 296 | Floaroma Meadow • scripted | ₽360 | Scripted story trigger; complete the local objective described in the route plan. | Script-triggered battle; not treated as an ordinary field rematch. | |
| Galactic GruntGalactic • source ID 297 | Floaroma Meadow • scripted |
| ₽440 | Scripted story trigger; complete the local objective described in the route plan. | Script-triggered battle; not treated as an ordinary field rematch. |

Items
| Item | Version | Type | Area / exact direction | Coordinate / script | Requirement | Source |
|---|---|---|---|---|---|---|
| Miracle Seed | Diamond / Pearl | Visible item ball | Floaroma Meadow: Pick up the item ball in the northwestern part of Floaroma Meadow, 1 tile east and 39 tiles north of the Floaroma doorway or transition. | (14, 15) | Reach this subarea; check the route and puzzle notes for HM, Bicycle, time, or story gates. | event bank 248, script 7157 |
| Leaf Stone | Diamond / Pearl | Visible item ball | Floaroma Meadow: Pick up the item ball in the eastern part of Floaroma Meadow, 4 tiles west and 19 tiles south of the Floaroma doorway or transition. | (46, 28) | Reach this subarea; check the route and puzzle notes for HM, Bicycle, time, or story gates. | event bank 248, script 7158 |
| Oran Berry | Diamond / Pearl | Berry tree | Floaroma: Harvest berry patch 0 in the southern part of Floaroma, 2 tiles west of the Floaroma Flower Shop doorway or transition. The plot can be replanted after the initial harvest. | (178, 651) | Reach the outdoor patch on the named route or town; harvest its initial berries before planting a replacement. | berry table ov52_021D76F8, patch 0 |
| Cheri Berry | Diamond / Pearl | Berry tree | Floaroma: Harvest berry patch 1 in the southeastern part of Floaroma, 2 tiles east of the Floaroma Flower Shop doorway or transition. The plot can be replanted after the initial harvest. | (182, 651) | Reach the outdoor patch on the named route or town; harvest its initial berries before planting a replacement. | berry table ov52_021D76F8, patch 1 |
| Sprayduck | Diamond / Pearl | NPC / scripted gift | Floaroma Flower Shop: Speak to the item-giving NPC in the western part of Floaroma Flower Shop, 4 tiles west and 4 tiles north of the Floaroma doorway or transition. | NPC (4, 7); script 2 | Reach Floaroma Flower Shop and complete the item-giving NPC's one-time dialogue. | script bank 999 |
| TM88 | Diamond / Pearl | NPC / scripted gift | Floaroma Middle House: Speak to the item-giving NPC in the northwestern part of Floaroma Middle House, 2 tiles west and 5 tiles north of the Floaroma doorway or transition. | NPC (2, 3); script 2 | Reach Floaroma Middle House and complete the item-giving NPC's one-time dialogue. | script bank 1001 |
| Works Key | Diamond / Pearl | Story gift | Floaroma Town and Floaroma Meadow: Received after defeating the two Floaroma Meadow Grunts. | NPC / system | See the route plan. | editorial script/system note |
| 10× Honey | Diamond / Pearl | Gift / repeat purchase | Floaroma Town and Floaroma Meadow: First supplied by the rescued worker; more can be purchased in the Meadow. | NPC / system | See the route plan. | editorial script/system note |
| Daily Floaroma Berry (Cheri / Chesto / Pecha / Rawst / Aspear) | Diamond / Pearl | Daily random gift | Floaroma Town and Floaroma Meadow: The Floaroma flower-shop NPC randomly gives one of the five listed status-curing Berries. | NPC / system | Once per day; return on later dates for more rolls. | editorial script/system note |
Hidden Items
| Hidden item | Area / plain-English placement | QA coordinate | Requirement | Source |
|---|---|---|---|---|
| Honey | Floaroma Meadow: Use the Dowsing Machine in the eastern part of Floaroma Meadow, 1 tile east and 22 tiles south of the Floaroma doorway or transition and inspect that exact ground tile. | (52, 31) | Dowsing Machine Pokétch app. Reach this subarea; check the route and puzzle notes for HM, Bicycle, time, or story gates. | event bank 248, script 8058 |
| Honey | Floaroma Meadow: Use the Dowsing Machine in the western part of Floaroma Meadow, 7 tiles east and 27 tiles north of the Floaroma doorway or transition and inspect that exact ground tile. | (20, 27) | Dowsing Machine Pokétch app. Reach this subarea; check the route and puzzle notes for HM, Bicycle, time, or story gates. | event bank 248, script 8059 |
| Full Heal | Floaroma Meadow: Use the Dowsing Machine in the northwestern part of Floaroma Meadow, 4 tiles east and 36 tiles north of the Floaroma doorway or transition and inspect that exact ground tile. | (17, 18) | Dowsing Machine Pokétch app. Reach this subarea; check the route and puzzle notes for HM, Bicycle, time, or story gates. | event bank 248, script 8220 |
| Revive | Floaroma Meadow: Use the Dowsing Machine in the northeastern part of Floaroma Meadow, 6 tiles west and 11 tiles south of the Floaroma doorway or transition and inspect that exact ground tile. | (44, 20) | Dowsing Machine Pokétch app. Reach this subarea; check the route and puzzle notes for HM, Bicycle, time, or story gates. | event bank 248, script 8227 |
| Max Potion | Floaroma Meadow: Use the Dowsing Machine in the northeastern part of Floaroma Meadow, 22 tiles north of the Floaroma Meadow House doorway or transition and inspect that exact ground tile. | (39, 23) | Dowsing Machine Pokétch app. Reach this subarea; check the route and puzzle notes for HM, Bicycle, time, or story gates. | event bank 248, script 8226 |
| Hyper Potion | Floaroma Meadow: Use the Dowsing Machine in the western part of Floaroma Meadow, 1 tile west and 19 tiles north of the Floaroma doorway or transition and inspect that exact ground tile. | (11, 35) | Dowsing Machine Pokétch app. Reach this subarea; check the route and puzzle notes for HM, Bicycle, time, or story gates. | event bank 248, script 8219 |
| Antidote | Floaroma Meadow: Use the Dowsing Machine in the central part of Floaroma Meadow, 11 tiles west and 20 tiles north of the Floaroma Meadow House doorway or transition and inspect that exact ground tile. | (28, 25) | Dowsing Machine Pokétch app. Reach this subarea; check the route and puzzle notes for HM, Bicycle, time, or story gates. | event bank 248, script 8222 |
| Super Potion | Floaroma Meadow: Use the Dowsing Machine in the central part of Floaroma Meadow, 7 tiles west and 8 tiles north of the Floaroma Meadow House doorway or transition and inspect that exact ground tile. | (32, 37) | Dowsing Machine Pokétch app. Reach this subarea; check the route and puzzle notes for HM, Bicycle, time, or story gates. | event bank 248, script 8223 |
| Parlyz Heal | Floaroma Meadow: Use the Dowsing Machine in the central part of Floaroma Meadow, 4 tiles west and 13 tiles north of the Floaroma Meadow House doorway or transition and inspect that exact ground tile. | (35, 32) | Dowsing Machine Pokétch app. Reach this subarea; check the route and puzzle notes for HM, Bicycle, time, or story gates. | event bank 248, script 8224 |
| Potion | Floaroma Meadow: Use the Dowsing Machine in the northern part of Floaroma Meadow, 14 tiles west and 8 tiles south of the Floaroma doorway or transition and inspect that exact ground tile. | (36, 17) | Dowsing Machine Pokétch app. Reach this subarea; check the route and puzzle notes for HM, Bicycle, time, or story gates. | event bank 248, script 8225 |
| Revive | Floaroma Meadow: Use the Dowsing Machine in the western part of Floaroma Meadow, 15 tiles west and 15 tiles north of the Floaroma Meadow House doorway or transition and inspect that exact ground tile. | (24, 30) | Dowsing Machine Pokétch app. Reach this subarea; check the route and puzzle notes for HM, Bicycle, time, or story gates. | event bank 248, script 8221 |
Puzzles, Warps, And Switches
- The Meadow is entered from Floaroma's northwest only after the Windworks Grunt retreats. Defeat both Grunts in sequence to receive the key automatically.
Boss Strategy And Partners
No Gym Leader, rival branch, Galactic boss, Elite Four member, Champion, story partner, or major postgame battle is assigned here.
Completion Checklist
- Complete the currently reachable part of this route plan: Visit the flower shop; check the Valley Windworks entrance; follow the fleeing Grunt to the Meadow; defeat both Grunts; receive the Works Key and Honey; slather a tree if pursuing tree-only species.
- Review all 17 encounter rows across the per-area tables, including game markers, method band, time-of-day rates, levels, and each conditional requirement; mark conditional rows for their stated revisit.
- Defeat or deliberately skip every currently reachable trainer row; leave HM-, story-, or National-Dex-gated rows checked only after their access requirement is met.
- Collect currently reachable visible/scripted items and berry trees, use the Dowsing Machine for reachable hidden rows, and retain every explicitly gated row for the named cleanup visit.
- Resolve every currently available puzzle note, boss branch, and partner scene before opening the next section.
Sources And Validation
pret/pokediamondat commit038cccaed5de8f013875bc5d734f912d1de08e0f:map_header.c, D/P encounter archives,trdata.json, zone events, script archives, item tables, and trainer graphics.- Encounter slots were decoded from exact 424-byte D/P members and cross-checked against Gen IV slot behavior; the 0x6C pair is day, morning uses base slots, and 0x74 is night.
- Coordinates remain visible as QA anchors, while each hidden row also provides a plain-English map-region instruction.
- Generation-wide systems that are not tied to a normal map archive—Honey Trees, Great Marsh daily rolls, Trophy Garden, fossils, Pal Park, and event items—are explicitly curated in their dedicated system pages.
Dex quick links