Phase 6 of 11


Pokemon Diamond and Pearl Phase 6: Mine Badge Walkthrough
 Mine Badge
 Surf west to Canalave, defeat Barry, partner with Riley on Iron Island, and challenge Byron's Steel team. 5 detailed sections with Diamond/Pearl encounters, trainers, items, puzzles, boss teams, and checklists.
Phase 6 Mine Badge Canalave City, Iron Island, the Canalave Gym puzzle, and Byron. 06 / 11 
Phase Snapshot
Phase 6: Mine Badge
Surf west to Canalave, defeat Barry, partner with Riley on Iron Island, and challenge Byron's Steel team.
Data rows
Phase Sections
Major Battles And Partners
 Pokémon Trainer BarryPokémon Trainer Barry • source ID 476
Full team
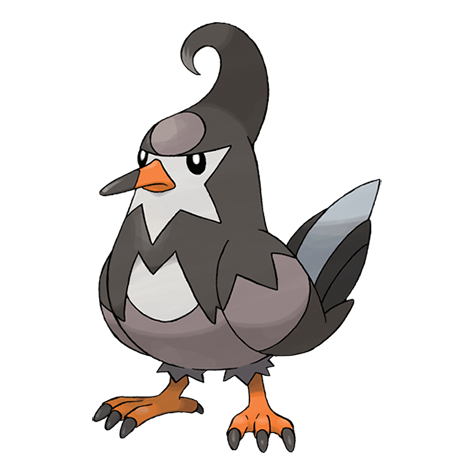 StaraviaAerial Ace / Take Down / Quick Attack / Double Team
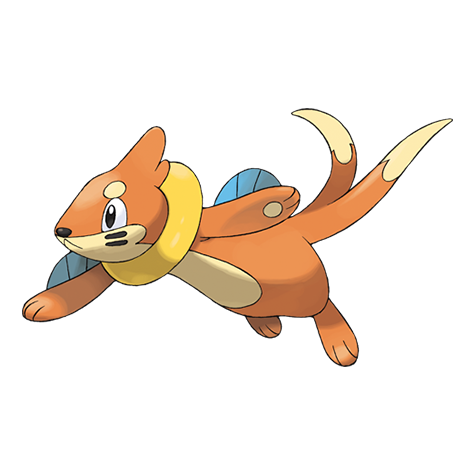 BuizelAqua Jet / Pursuit / Quick Attack / Swift
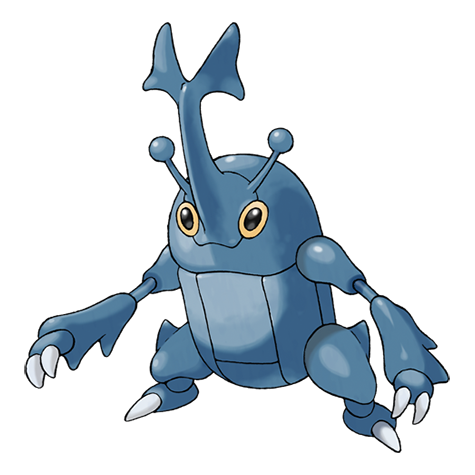 HeracrossBrick Break / Aerial Ace / Night Slash / Horn Attack
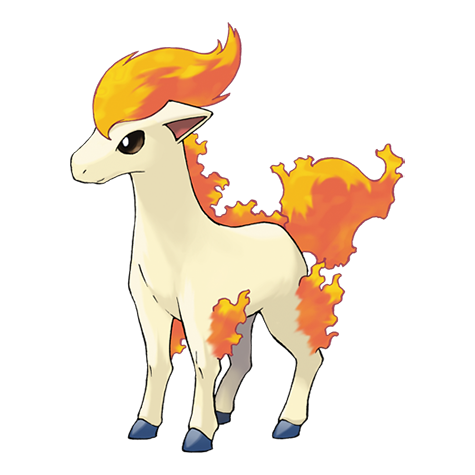 PonytaFire Spin / Take Down / Stomp / Tail Whip
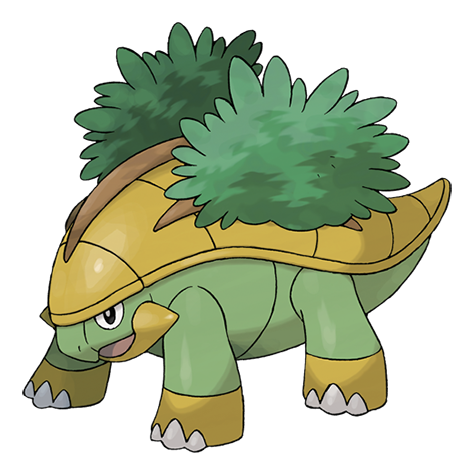 GrotleRazor Leaf / Bite / Mega Drain / Leech Seed
Practical counters
Pokémon Trainer BarryPokémon Trainer Barry • source ID 477Full team
- StaraviaAerial Ace / Take Down / Quick Attack / Double Team
- BuizelAqua Jet / Pursuit / Quick Attack / Swift
- HeracrossBrick Break / Aerial Ace / Night Slash / Horn Attack
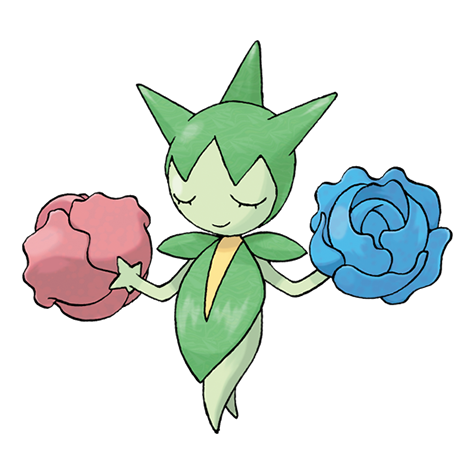 RoseliaGiga Drain / Toxic Spikes / Leech Seed / Grass Whistle
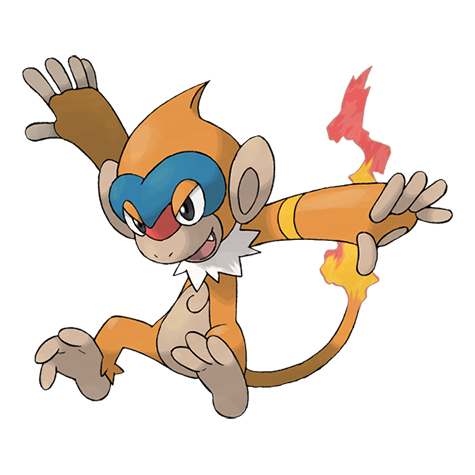 MonfernoBrick Break / Flame Wheel / Mach Punch / Aerial Ace
Practical counters
Pokémon Trainer BarryPokémon Trainer Barry • source ID 478Full team
- StaraviaAerial Ace / Take Down / Quick Attack / Double Team
- RoseliaGiga Drain / Toxic Spikes / Leech Seed / Grass Whistle
- HeracrossBrick Break / Aerial Ace / Night Slash / Horn Attack
- PonytaFire Spin / Take Down / Stomp / Tail Whip
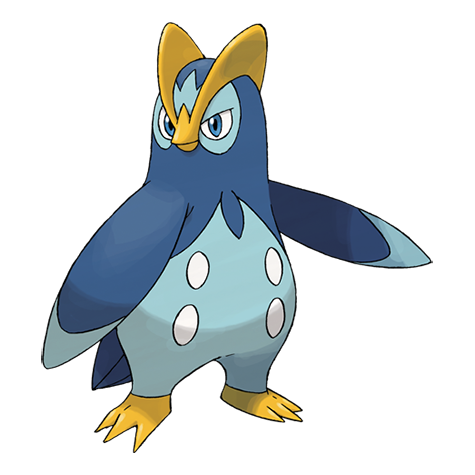 PrinplupBubble Beam / Aerial Ace / Metal Claw / Fury Attack
Practical counters
 Leader ByronLeader Byron • source ID 250
Full team
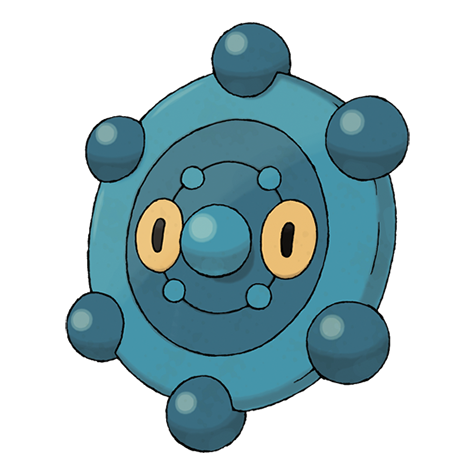 BronzorFlash Cannon / Extrasensory / Confuse Ray / Hypnosis
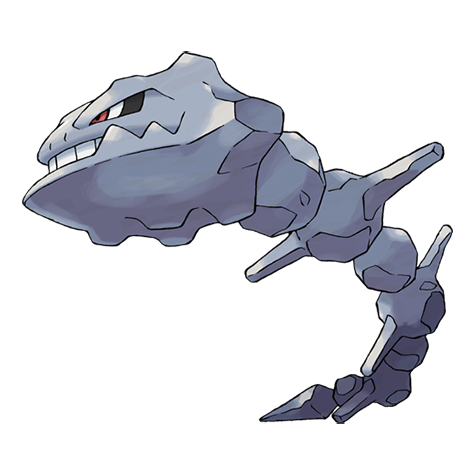 SteelixGyro Ball / Ice Fang / Dragon Breath / Sandstorm
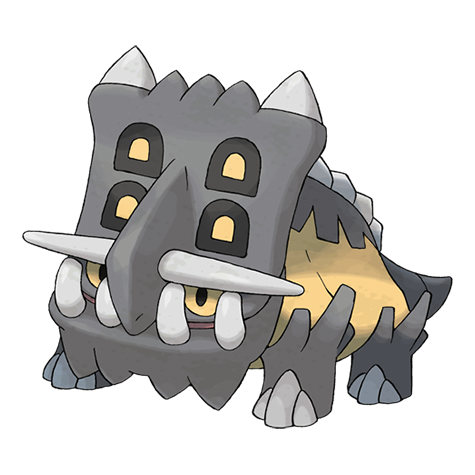 Bastiodonholds Chesto Berry • Flash Cannon / Ancient Power / Iron Defense / Rest
Danger notes
Bastiodon's defenses invite a long fight, while Steelix and Bronzor punish careless physical plans.
Practical counters
Fighting and Ground attacks exploit Bastiodon fourfold; Water also handles Steelix. Check Bronzor's ability before committing to Ground or Fire.
 Pokémon Trainer RileyPokémon Trainer Riley • source ID 609
Partner team
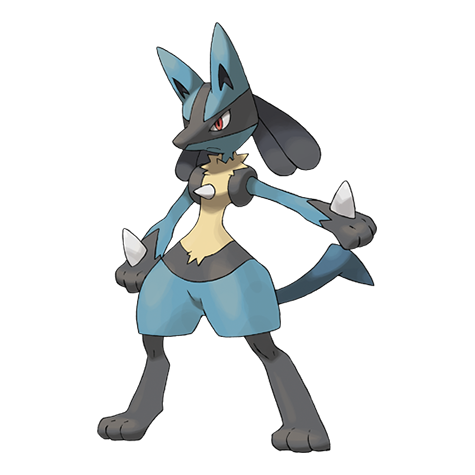 LucarioMetal Claw / Force Palm / Quick Attack / Bone Rush
Partner role
This stat trainer travels beside the player, turns eligible fights into doubles, and heals the party after each battle during the escort.
How to use the partner
Focus one opposing Pokémon to reduce incoming actions. In wild doubles, leave only the intended catch on the field before throwing a Ball.
Data Coverage
This phase owns 25 Diamond/Pearl source maps and publishes 75 encounter rows, 29 trainer rows, 20 visible/scripted items, and 7 hidden-item rows. Counts include explicit starter/rival branches and curated systems but never substitute Platinum encounters or story maps.
Route 218
Use Surf across Jubilife's western channel, clear fisherman and sailor battles, and pass the Canalave checkpoint.
Source maps
Route 218, Route 218 Jubilife Gatehouse, and Route 218 Canalave Gatehouse.
Route Plan
Collect the Old Rod from the gate if missed; Surf west; clear the water and land trainers; scan both shores for hidden items; pass the assistant's Pokedex check at the Canalave gate; heal on arrival.
- Ditto is a Poke Radar encounter here after the National Dex, not part of the ordinary first-visit grass table.
- The west gate includes a Rowan-assistant upgrade scene based on seen Pokemon, so keep the regional Pokedex reasonably current.
Routes and encounters on this page are compiled from 3 pret map headers.
Wild Pokémon
| Pokémon | Games | Levels | Rate | Requirement / notes | ||
|---|---|---|---|---|---|---|
| Morning | Day | Night | ||||
| Grass / cave floor | ||||||
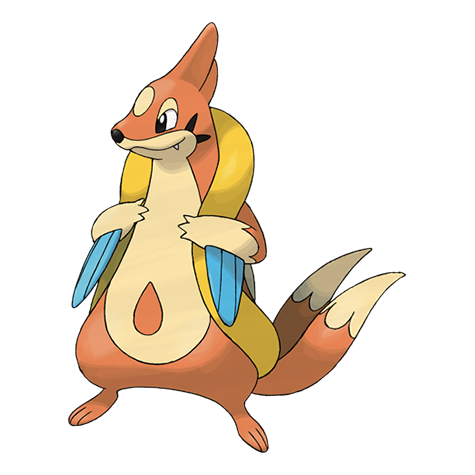 Floatzel Floatzel | DP | 28-30 | 35% | Rate counts base slots temporarily replaced by the daily swarm. | ||
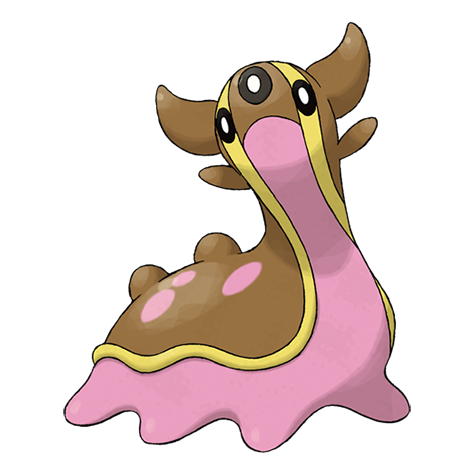 Gastrodon Gastrodon | DP | 28-30 | 20% | Rate counts base slots temporarily replaced by hard-shaking Poké Radar patches. | ||
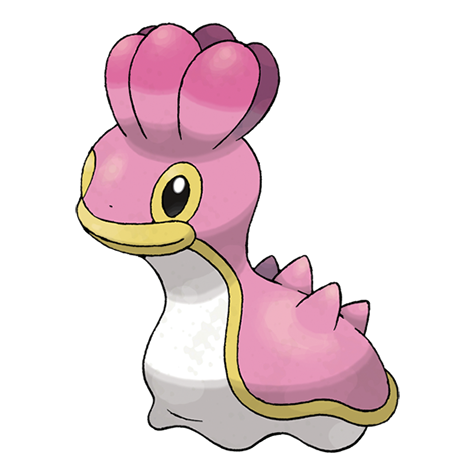 Shellos Shellos | DP | 28 | 20% | Rate counts base slots temporarily replaced by the daily swarm. | ||
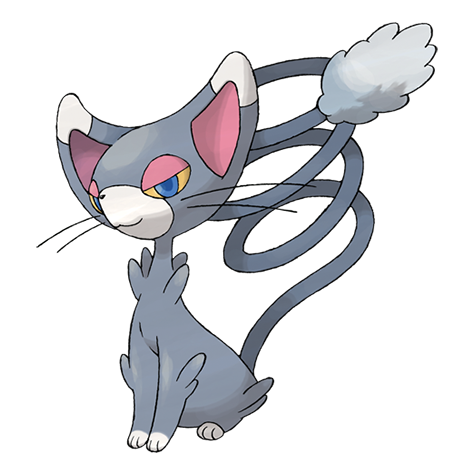 Glameow Glameow | DP | 29-30 | 15% | Rate counts base slots temporarily replaced by hard-shaking Poké Radar patches. | ||
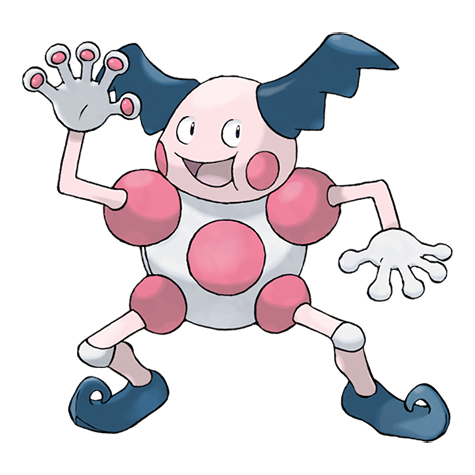 Mr Mime Mr Mime | DP | 29-30 | 15% | Rate counts base slots temporarily replaced by hard-shaking Poké Radar patches. | ||
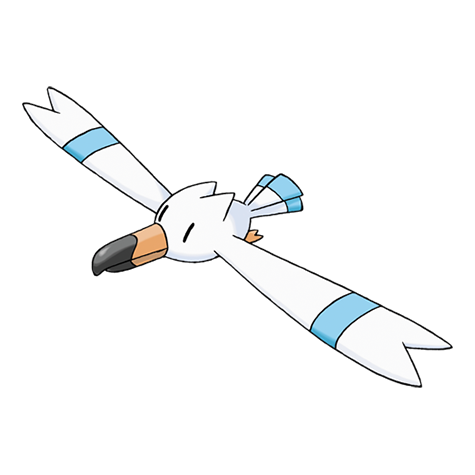 Wingull Wingull | DP | 29 | 10% | Rate counts base slots temporarily replaced by hard-shaking Poké Radar patches. | ||
| Swarm (post-National Dex daily announcement) | ||||||
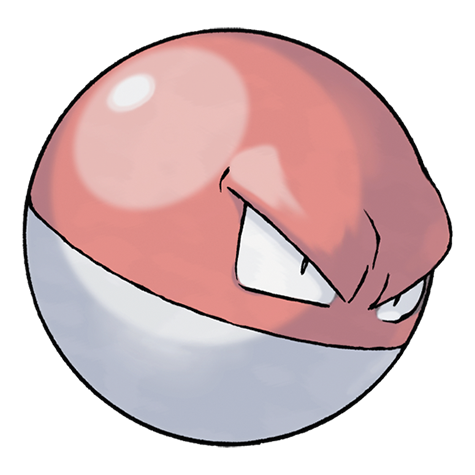 Voltorb Voltorb | DP | 28 | 40% | Post-National Dex daily swarm; replaces grass slots 0-1. | ||
| Poké Radar (post-National Dex) | ||||||
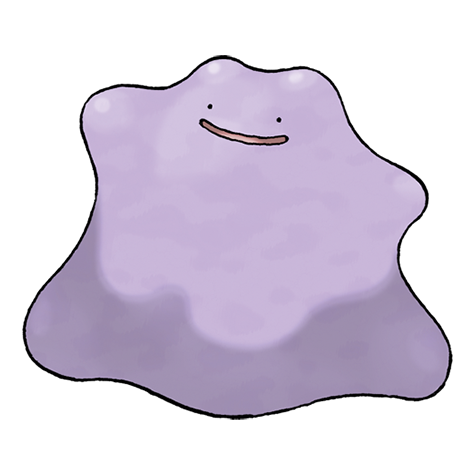 Ditto Ditto | DP | 29-30 | 22% | National Dex and Poké Radar required; replacement slot applies only in a hard/vigorous-shaking Radar patch. | ||
| Surfing | ||||||
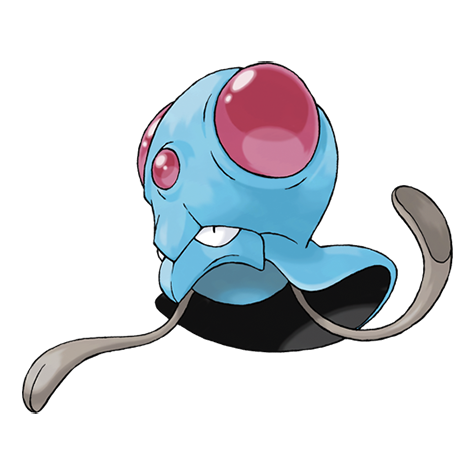 Tentacool Tentacool | DP | 20-30 | 60% | — | ||
| Wingull | DP | 20-30 | 30% | — | ||
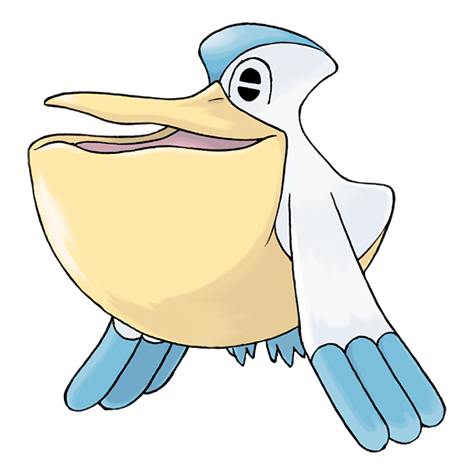 Pelipper Pelipper | DP | 20-40 | 5% | — | ||
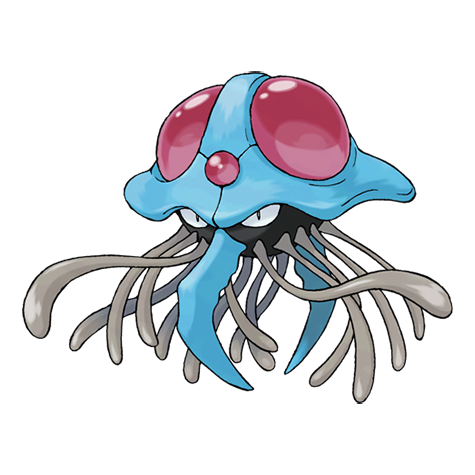 Tentacruel Tentacruel | DP | 20-40 | 5% | — | ||
| Fishing — Old Rod | ||||||
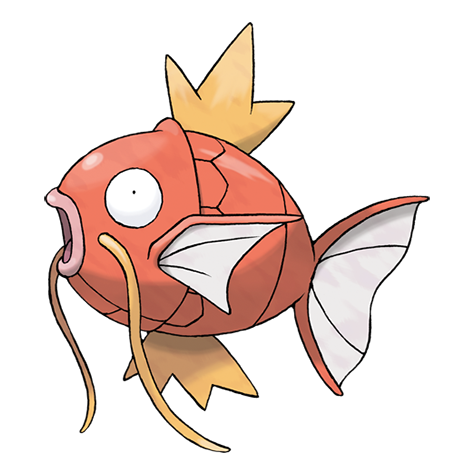 Magikarp Magikarp | DP | 3-10 | 100% | — | ||
| Fishing — Good Rod | ||||||
| Magikarp | DP | 10-25 | 55% | — | ||
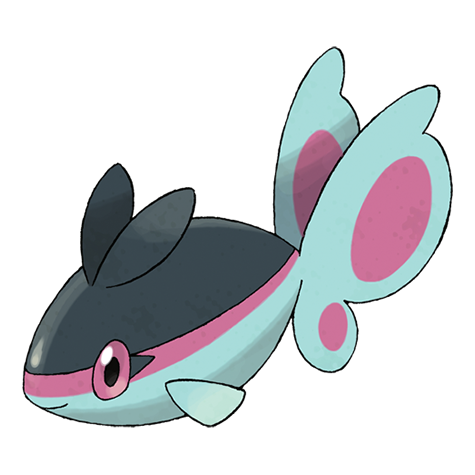 Finneon Finneon | DP | 10-25 | 45% | — | ||
| Fishing — Super Rod | ||||||
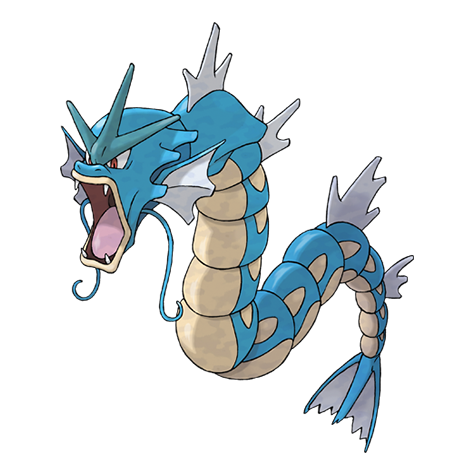 Gyarados Gyarados | DP | 30-55 | 55% | — | ||
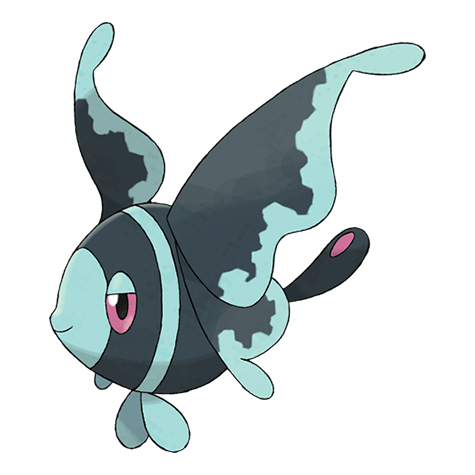 Lumineon Lumineon | DP | 20-50 | 45% | — | ||
Trainers
| Trainer | Route order / placement | Full team | Reward | Access requirement | Optional / rematch note |
|---|---|---|---|---|---|
 Guitarist TonyGuitarist • source ID 300 Guitarist TonyGuitarist • source ID 300 | Route 218 • field order 1 at (80, 753) | ₽744 | Reach the trainer's named field subarea; line of sight determines whether the battle is avoidable. | Field order 1, tile (80, 753); sightline/path determines whether it can be avoided. Higher-level source variants used by the rematch system: ID 694: Lv. 55. | |
 Sailor SkylerSailor • source ID 338 Sailor SkylerSailor • source ID 338 | Route 218 • field order 2 at (76, 746) | ₽992 | Reach the trainer's named field subarea; line of sight determines whether the battle is avoidable. | Field order 2, tile (76, 746); sightline/path determines whether it can be avoided. No higher-level same-trainer rematch variant is defined in trdata. | |
 Fisherman MiguelFisherman • source ID 153 Fisherman MiguelFisherman • source ID 153 | Route 218 • field order 3 at (93, 757) | ₽928 | Reach the trainer's named field subarea; line of sight determines whether the battle is avoidable. | Field order 3, tile (93, 757); sightline/path determines whether it can be avoided. Higher-level source variants used by the rematch system: ID 685: Lv. 53/Lv. 53. | |
| Fisherman LucFisherman • source ID 154 | Route 218 • field order 4 at (93, 751) | ₽832 | Reach the trainer's named field subarea; line of sight determines whether the battle is avoidable. | Field order 4, tile (93, 751); sightline/path determines whether it can be avoided. No higher-level same-trainer rematch variant is defined in trdata. |
Items
| Item | Version | Type | Area / exact direction | Coordinate / script | Requirement | Source |
|---|---|---|---|---|---|---|
| Rare Candy | Diamond / Pearl | Visible item ball | Route 218: Pick up the item ball in the northeastern part of Route 218, 4 tiles west and 14 tiles north of the Route 218 Jubilife Gatehouse doorway or transition. | (117, 744) | Reach this subarea; check the route and puzzle notes for HM, Bicycle, time, or story gates. | event bank 373, script 7143 |
| Honey | Diamond / Pearl | Visible item ball | Route 218: Pick up the item ball in the southern part of Route 218, 23 tiles east and 4 tiles south of the Route 218 Canalave Gatehouse doorway or transition. | (93, 759) | Reach this subarea; check the route and puzzle notes for HM, Bicycle, time, or story gates. | event bank 373, script 7144 |
| Rawst Berry | Diamond / Pearl | Berry tree | Route 218: Harvest berry patch 74 in the western part of Route 218, 17 tiles east and 2 tiles north of the Route 218 Canalave Gatehouse doorway or transition. The plot can be replanted after the initial harvest. | (87, 752) | Reach the outdoor patch on the named route or town; harvest its initial berries before planting a replacement. | berry table ov52_021D76F8, patch 74 |
| Persim Berry | Diamond / Pearl | Berry tree | Route 218: Harvest berry patch 75 in the central part of Route 218, 18 tiles east and 2 tiles north of the Route 218 Canalave Gatehouse doorway or transition. The plot can be replanted after the initial harvest. | (88, 752) | Reach the outdoor patch on the named route or town; harvest its initial berries before planting a replacement. | berry table ov52_021D76F8, patch 75 |
| Figy Berry | Diamond / Pearl | Berry tree | Route 218: Harvest berry patch 76 in the central part of Route 218, 19 tiles east and 2 tiles north of the Route 218 Canalave Gatehouse doorway or transition. The plot can be replanted after the initial harvest. | (89, 752) | Reach the outdoor patch on the named route or town; harvest its initial berries before planting a replacement. | berry table ov52_021D76F8, patch 76 |
| 2× Pinap Berry | Diamond / Pearl | Berry tree | Route 218: Harvest berry patch 77 in the central part of Route 218, 20 tiles east and 2 tiles north of the Route 218 Canalave Gatehouse doorway or transition. The plot can be replanted after the initial harvest. | (90, 752) | Reach the outdoor patch on the named route or town; harvest its initial berries before planting a replacement. | berry table ov52_021D76F8, patch 77 |
Puzzles, Warps, And Switches
- Surf around both sides of the central land strip before entering the western gate; each shore has its own item and trainer sightlines.
Completion Checklist
- Complete the currently reachable part of this route plan: Collect the Old Rod from the gate if missed; Surf west; clear the water and land trainers; scan both shores for hidden items; pass the assistant's Pokedex check at the Canalave gate; heal on arrival.
- Review all 17 encounter rows across the per-area tables, including game markers, method band, time-of-day rates, levels, and each conditional requirement; mark conditional rows for their stated revisit.
Canalave City and Barry
Explore the port, unlock Move Deleter and ferry services, then defeat Barry on the central bridge.
Source maps
Canalave, Canalave Poké Mart, Canalave Pokémon Center, Canalave Pokémon Center 2F, Canalave Southeast House, Canalave Move Deleter House, Canalave Harbor Inn, Canalave Sailor Eldritch House, Canalave Pokémon Center B1F, and Canalave West House.
Route Plan
Heal and shop; visit the Move Deleter; inspect the library and Harbor Inn; save before crossing the bridge; defeat Barry; speak to the Iron Island sailor; prepare an empty party slot if taking Riley's Egg.
- Harbor Inn remains locked during ordinary play and belongs to the Member Card Darkrai event, not the main Canalave route.
- Barry now carries five Pokemon and has a Heracross; team coverage matters more than simply countering his starter.
Routes and encounters on this page are compiled from 10 pret map headers.
Wild Pokémon
| Pokémon | Games | Levels | Rate | Requirement / notes | ||
|---|---|---|---|---|---|---|
| Morning | Day | Night | ||||
| Surfing | ||||||
| Tentacool | DP | 20-30 | 60% | — | ||
| Wingull | DP | 20-30 | 30% | — | ||
| Pelipper | DP | 20-40 | 5% | — | ||
| Tentacruel | DP | 20-40 | 5% | — | ||
| Fishing — Old Rod | ||||||
| Magikarp | DP | 3-10 | 100% | — | ||
| Fishing — Good Rod | ||||||
| Magikarp | DP | 10-25 | 55% | — | ||
| Finneon | DP | 10-25 | 45% | — | ||
| Fishing — Super Rod | ||||||
| Lumineon | DP | 20-50 | 45% | — | ||
| Gyarados | DP | 30-40 | 40% | — | ||
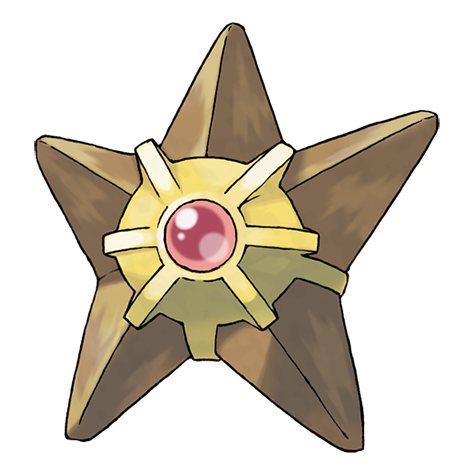 Staryu Staryu | DP | 20-40 | 15% | — | ||
Trainers
| Trainer | Route order / placement | Full team | Reward | Access requirement | Optional / rematch note |
|---|---|---|---|---|---|
| Pokémon Trainer BarryPokémon Trainer Barry • source ID 476 | Canalave • scripted | ₽3,500 | Scripted story trigger; complete the local objective described in the route plan. | Major or story battle; not a VS Seeker rematch row. | |
| Pokémon Trainer BarryPokémon Trainer Barry • source ID 477 | Canalave • scripted | ₽3,500 | Scripted story trigger; complete the local objective described in the route plan. | Major or story battle; not a VS Seeker rematch row. | |
| Pokémon Trainer BarryPokémon Trainer Barry • source ID 478 | Canalave • scripted | ₽3,500 | Scripted story trigger; complete the local objective described in the route plan. | Major or story battle; not a VS Seeker rematch row. |
Items
| Item | Version | Type | Area / exact direction | Coordinate / script | Requirement | Source |
|---|---|---|---|---|---|---|
| TM89 | Diamond / Pearl | Visible item ball | Canalave: Pick up the item ball in the southwestern part of Canalave, 5 tiles west and 14 tiles south of the Canalave Sailor Eldritch House doorway or transition. | (34, 762) | Reach this subarea; check the route and puzzle notes for HM, Bicycle, time, or story gates. | event bank 32, script 7145 |
| TM48 | Diamond / Pearl | NPC / scripted gift | Canalave Southeast House: Speak to the item-giving NPC in the southeastern part of Canalave Southeast House, 4 tiles east and 1 tile north of the Canalave doorway or transition. | NPC (8, 7); script 1 | Reach Canalave Southeast House and complete the item-giving NPC's one-time dialogue. | script bank 43 |
Hidden Items
| Hidden item | Area / plain-English placement | QA coordinate | Requirement | Source |
|---|---|---|---|---|
| Pearl | Canalave: Use the Dowsing Machine in the southwestern part of Canalave, 2 tiles east and 8 tiles south of the Canalave Sailor Eldritch House doorway or transition and inspect that exact ground tile. | (41, 756) | Dowsing Machine Pokétch app. Reach this subarea; check the route and puzzle notes for HM, Bicycle, time, or story gates. | event bank 32, script 8218 |
Puzzles, Warps, And Switches
- The bridge battle triggers when crossing between east and west Canalave. Save and heal before stepping onto the bridge because the rival approaches automatically.
Completion Checklist
- Complete the currently reachable part of this route plan: Heal and shop; visit the Move Deleter; inspect the library and Harbor Inn; save before crossing the bridge; defeat Barry; speak to the Iron Island sailor; prepare an empty party slot if taking Riley's Egg.
- Review all 10 encounter rows across the per-area tables, including game markers, method band, time-of-day rates, levels, and each conditional requirement; mark conditional rows for their stated revisit.
Iron Island with Riley
Sail to Iron Island, clear both branch floors, partner with Riley, defeat Galactic Grunts, and receive the Riolu Egg.
Source maps
Iron Island Exterior, Iron Island 1F, Iron Island B1F Room 1, Iron Island B1F Room 2, Iron Island B2F Room 1, Iron Island B2F Room 2, Iron Island B3F, and Iron Island House.
Route Plan
Sail from Canalave; collect HM04 if not already owned only via Lost Tower, not here; take both B1F branches; meet Riley on B2F; use his healing to clear every trainer and item; defeat the Grunt pair; accept the Egg with an open party slot; use the lift for the exit items.
- Riley heals the party after every battle and turns wild fights into doubles. As with Cheryl, reduce the encounter to one wild Pokemon before throwing a Ball.
- The Riolu Egg is refused if the party is full; return with an open slot rather than assuming it goes directly to the PC.
Routes and encounters on this page are compiled from 8 pret map headers.
Iron Island 1F
| Pokémon | Games | Levels | Rate | Requirement / notes | ||
|---|---|---|---|---|---|---|
| Morning | Day | Night | ||||
| Grass / cave floor | ||||||
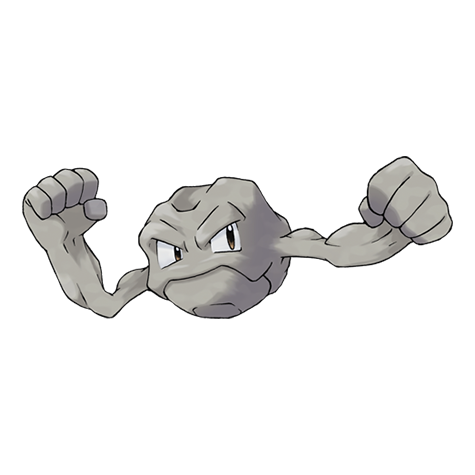 Geodude Geodude | DP | 29-31 | 35% | — | ||
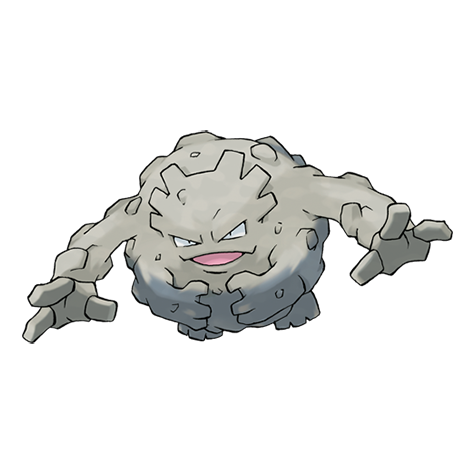 Graveler Graveler | DP | 31-33 | 35% | — | ||
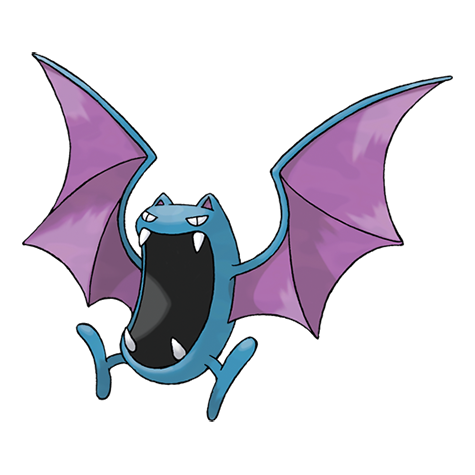 Golbat Golbat | DP | 31 | 10% | — | ||
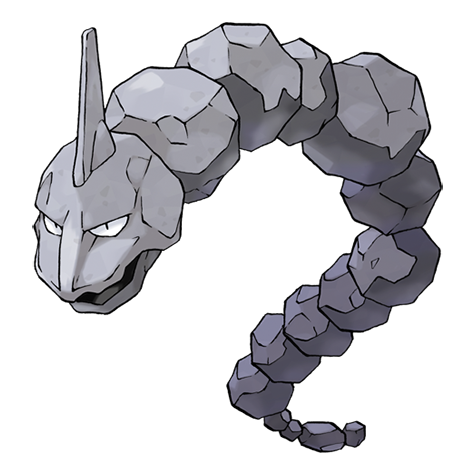 Onix Onix | DP | 32-33 | 10% | — | ||
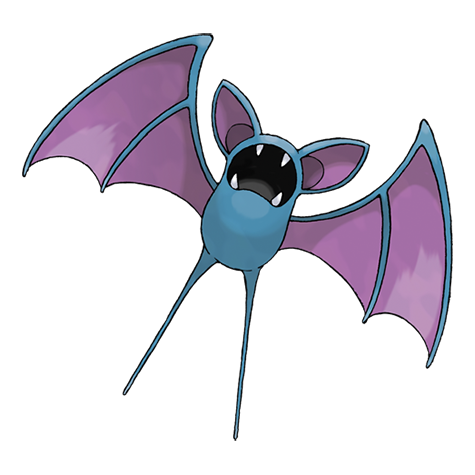 Zubat Zubat | DP | 30 | 10% | — | ||
Iron Island B1F Room 1
| Pokémon | Games | Levels | Rate | Requirement / notes | ||
|---|---|---|---|---|---|---|
| Morning | Day | Night | ||||
| Grass / cave floor | ||||||
| Graveler | DP | 29-33 | 69% | Rate counts base slots temporarily replaced by GBA dual-slot insertions. | ||
| Golbat | DP | 30-31 | 20% | — | ||
| Onix | DP | 32-33 | 10% | — | ||
| Geodude | DP | 31 | 1% | — | ||
| Dual-slot GBA insertion (post-National Dex) | ||||||
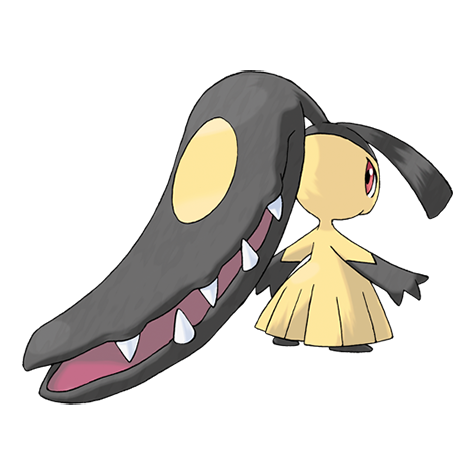 Mawile Mawile | DP | 31 or 33 | 8% | National Dex plus Pokémon Ruby inserted in the Nintendo DS GBA slot; replaces grass slots 8-9. | ||
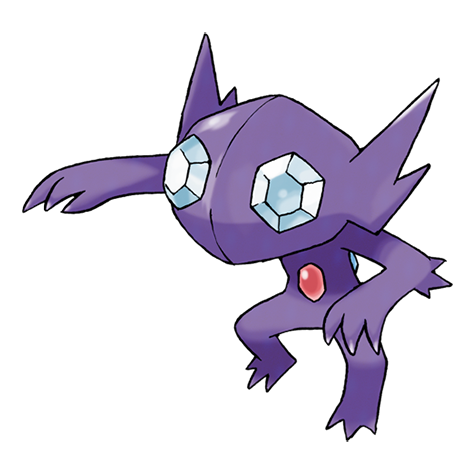 Sableye Sableye | DP | 31 or 33 | 8% | National Dex plus Pokémon Sapphire inserted in the Nintendo DS GBA slot; replaces grass slots 8-9. | ||
Iron Island B1F Room 2
| Pokémon | Games | Levels | Rate | Requirement / notes | ||
|---|---|---|---|---|---|---|
| Morning | Day | Night | ||||
| Grass / cave floor | ||||||
| Graveler | DP | 29-33 | 69% | Rate counts base slots temporarily replaced by GBA dual-slot insertions. | ||
| Golbat | DP | 30-31 | 20% | — | ||
| Onix | DP | 32-33 | 10% | — | ||
| Geodude | DP | 31 | 1% | — | ||
| Dual-slot GBA insertion (post-National Dex) | ||||||
| Mawile | DP | 31 or 33 | 8% | National Dex plus Pokémon Ruby inserted in the Nintendo DS GBA slot; replaces grass slots 8-9. | ||
| Sableye | DP | 31 or 33 | 8% | National Dex plus Pokémon Sapphire inserted in the Nintendo DS GBA slot; replaces grass slots 8-9. | ||
Iron Island B2F Room 1
| Pokémon | Games | Levels | Rate | Requirement / notes | ||
|---|---|---|---|---|---|---|
| Morning | Day | Night | ||||
| Grass / cave floor | ||||||
| Graveler | DP | 29-33 | 49% | Rate counts base slots temporarily replaced by GBA dual-slot insertions. | ||
| Onix | DP | 31-33 | 30% | — | ||
| Golbat | DP | 30-31 | 20% | — | ||
| Geodude | DP | 31 | 1% | — | ||
| Dual-slot GBA insertion (post-National Dex) | ||||||
| Mawile | DP | 31 or 33 | 8% | National Dex plus Pokémon Ruby inserted in the Nintendo DS GBA slot; replaces grass slots 8-9. | ||
| Sableye | DP | 31 or 33 | 8% | National Dex plus Pokémon Sapphire inserted in the Nintendo DS GBA slot; replaces grass slots 8-9. | ||
Iron Island B2F Room 2
| Pokémon | Games | Levels | Rate | Requirement / notes | ||
|---|---|---|---|---|---|---|
| Morning | Day | Night | ||||
| Grass / cave floor | ||||||
| Graveler | DP | 30-32 or 34 | 39% | Rate counts base slots temporarily replaced by GBA dual-slot insertions. | ||
| Onix | DP | 32-33 | 30% | — | ||
| Golbat | DP | 31-32 | 20% | — | ||
| Steelix | DP | 33-34 | 10% | — | ||
| Geodude | DP | 32 | 1% | — | ||
| Dual-slot GBA insertion (post-National Dex) | ||||||
| Mawile | DP | 32 or 34 | 8% | National Dex plus Pokémon Ruby inserted in the Nintendo DS GBA slot; replaces grass slots 8-9. | ||
| Sableye | DP | 32 or 34 | 8% | National Dex plus Pokémon Sapphire inserted in the Nintendo DS GBA slot; replaces grass slots 8-9. | ||
Iron Island B3F
| Pokémon | Games | Levels | Rate | Requirement / notes | ||
|---|---|---|---|---|---|---|
| Morning | Day | Night | ||||
| Grass / cave floor | ||||||
| Graveler | DP | 30-32 or 34 | 39% | Rate counts base slots temporarily replaced by GBA dual-slot insertions. | ||
| Onix | DP | 32-33 | 30% | — | ||
| Golbat | DP | 31-32 | 20% | — | ||
| Steelix | DP | 33-34 | 10% | — | ||
| Geodude | DP | 32 | 1% | — | ||
| Dual-slot GBA insertion (post-National Dex) | ||||||
| Mawile | DP | 32 or 34 | 8% | National Dex plus Pokémon Ruby inserted in the Nintendo DS GBA slot; replaces grass slots 8-9. | ||
| Sableye | DP | 32 or 34 | 8% | National Dex plus Pokémon Sapphire inserted in the Nintendo DS GBA slot; replaces grass slots 8-9. | ||
Iron Island Exterior
| Pokémon | Games | Levels | Rate | Requirement / notes | ||
|---|---|---|---|---|---|---|
| Morning | Day | Night | ||||
| Surfing | ||||||
| Tentacool | DP | 20-30 | 60% | — | ||
| Wingull | DP | 20-30 | 30% | — | ||
| Pelipper | DP | 20-40 | 5% | — | ||
| Tentacruel | DP | 20-40 | 5% | — | ||
| Fishing — Old Rod | ||||||
| Magikarp | DP | 3-10 | 100% | — | ||
| Fishing — Good Rod | ||||||
| Magikarp | DP | 10-25 | 55% | — | ||
| Finneon | DP | 10-25 | 45% | — | ||
| Fishing — Super Rod | ||||||
| Lumineon | DP | 20-50 | 45% | — | ||
| Gyarados | DP | 30-40 | 40% | — | ||
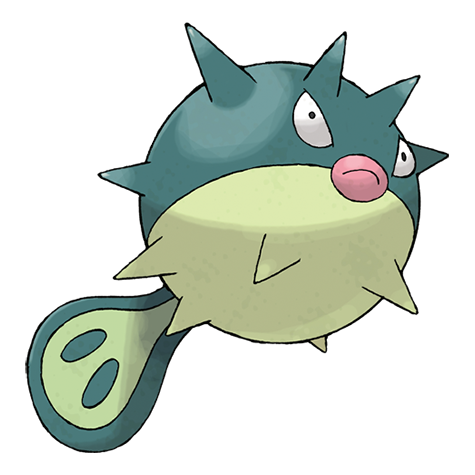 Qwilfish Qwilfish | DP | 20-40 | 15% | — | ||
Iron Island with Riley
| Pokémon | Games | Levels | Rate | Requirement / notes | ||
|---|---|---|---|---|---|---|
| Morning | Day | Night | ||||
| Egg gift | ||||||
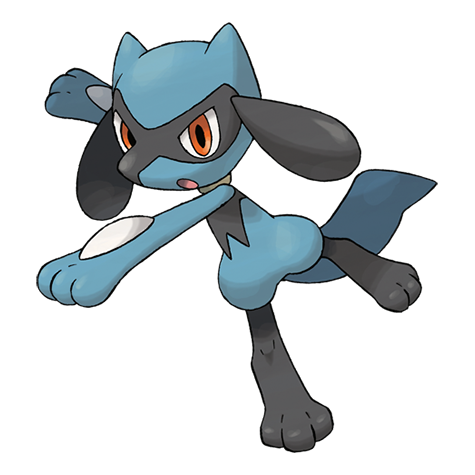 Riolu Riolu | DP | 1 when hatched | One Egg | Defeat the Galactic Grunts with Riley and keep one party slot open Hatch the Egg, then evolve Riolu with high friendship during daytime. | ||
Trainers
| Trainer | Route order / placement | Full team | Reward | Access requirement | Optional / rematch note |
|---|---|---|---|---|---|
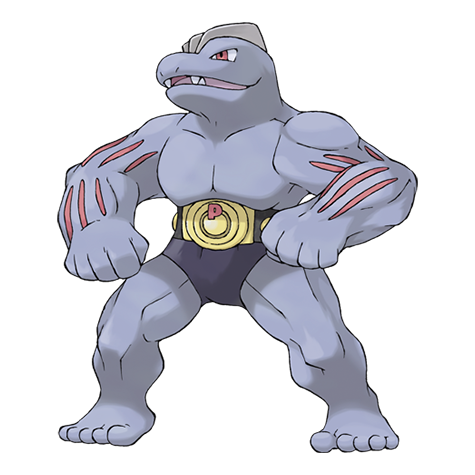
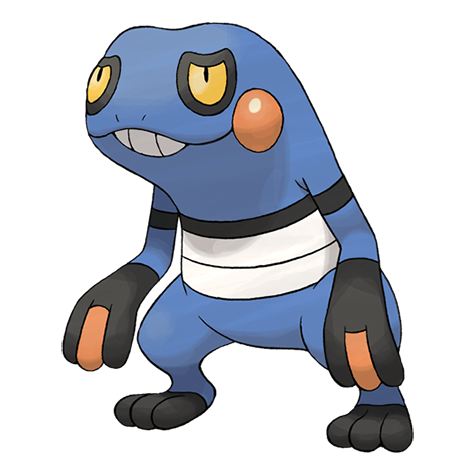
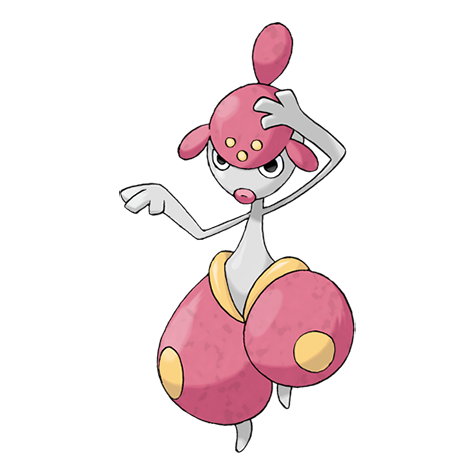
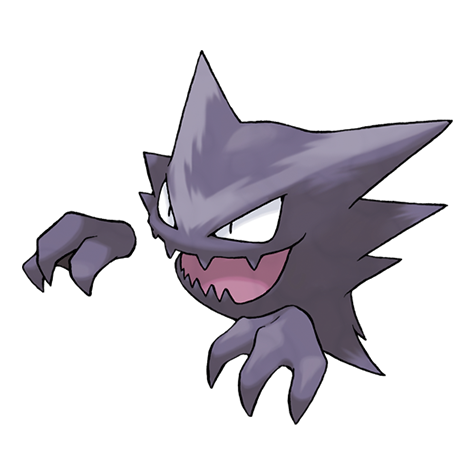
 Camper LawrenceCamper • source ID 378 Camper LawrenceCamper • source ID 378 | Iron Island B1F Room 1 • field order 1 at (11, 13) | ₽496 | Use Canalave's ferry after the rival battle. Main-story rooms are immediately reachable; isolated boulder pockets require the Mine Badge and Strength on a return visit. | Field order 1, tile (11, 13); sightline/path determines whether it can be avoided. No higher-level same-trainer rematch variant is defined in trdata. | |
 Picnicker SummerPicnicker • source ID 457 Picnicker SummerPicnicker • source ID 457 | Iron Island B1F Room 2 • field order 1 at (17, 16) | ₽496 | Use Canalave's ferry after the rival battle. Main-story rooms are immediately reachable; isolated boulder pockets require the Mine Badge and Strength on a return visit. | Field order 1, tile (17, 16); sightline/path determines whether it can be avoided. No higher-level same-trainer rematch variant is defined in trdata. | |
 Worker WillyWorker • source ID 503 Worker WillyWorker • source ID 503 | Iron Island B2F Room 1 • field order 1 at (4, 5) | ₽1,240 | Use Canalave's ferry after the rival battle. Main-story rooms are immediately reachable; isolated boulder pockets require the Mine Badge and Strength on a return visit. | Field order 1, tile (4, 5); sightline/path determines whether it can be avoided. No higher-level same-trainer rematch variant is defined in trdata. | |
| Worker BradenWorker • source ID 504 | Iron Island B2F Room 1 • field order 2 at (1, 19) | ₽1,320 | Use Canalave's ferry after the rival battle. Main-story rooms are immediately reachable; isolated boulder pockets require the Mine Badge and Strength on a return visit. | Field order 2, tile (1, 19); sightline/path determines whether it can be avoided. No higher-level same-trainer rematch variant is defined in trdata. | |
 Hiker DamonHiker • source ID 452 Hiker DamonHiker • source ID 452 | Iron Island B2F Room 2 • field order 1 at (26, 2) | ₽992 | Use Canalave's ferry after the rival battle. Main-story rooms are immediately reachable; isolated boulder pockets require the Mine Badge and Strength on a return visit. | Field order 1, tile (26, 2); sightline/path determines whether it can be avoided. No higher-level same-trainer rematch variant is defined in trdata. | |
| Hiker MauriceHiker • source ID 453 | Iron Island B2F Room 2 • field order 2 at (21, 4) | ₽1,024 | Use Canalave's ferry after the rival battle. Main-story rooms are immediately reachable; isolated boulder pockets require the Mine Badge and Strength on a return visit. | Field order 2, tile (21, 4); sightline/path determines whether it can be avoided. No higher-level same-trainer rematch variant is defined in trdata. | |
 Black Belt KendalBlack Belt • source ID 445 Black Belt KendalBlack Belt • source ID 445 | Iron Island B2F Room 2 • field order 3 at (36, 18) | ₽840 | Use Canalave's ferry after the rival battle. Main-story rooms are immediately reachable; isolated boulder pockets require the Mine Badge and Strength on a return visit. | Field order 3, tile (36, 18); sightline/path determines whether it can be avoided. No higher-level same-trainer rematch variant is defined in trdata. | |
 Battle Girl TylerBattle Girl • source ID 372 Battle Girl TylerBattle Girl • source ID 372 | Iron Island B2F Room 2 • field order 4 at (36, 21) | ₽544 | Use Canalave's ferry after the rival battle. Main-story rooms are immediately reachable; isolated boulder pockets require the Mine Badge and Strength on a return visit. | Field order 4, tile (36, 21); sightline/path determines whether it can be avoided. No higher-level same-trainer rematch variant is defined in trdata. | |
| Worker BrendonWorker • source ID 505 | Iron Island B2F Room 2 • field order 5 at (15, 25) | ₽1,320 | Use Canalave's ferry after the rival battle. Main-story rooms are immediately reachable; isolated boulder pockets require the Mine Badge and Strength on a return visit. | Field order 5, tile (15, 25); sightline/path determines whether it can be avoided. No higher-level same-trainer rematch variant is defined in trdata. | |
| Worker QuentinWorker • source ID 506 | Iron Island B2F Room 2 • field order 6 at (14, 28) | ₽1,240 | Use Canalave's ferry after the rival battle. Main-story rooms are immediately reachable; isolated boulder pockets require the Mine Badge and Strength on a return visit. | Field order 6, tile (14, 28); sightline/path determines whether it can be avoided. No higher-level same-trainer rematch variant is defined in trdata. | |
 Ace Trainer Male JonahAce Trainer Male • source ID 388 Ace Trainer Male JonahAce Trainer Male • source ID 388 | Iron Island B2F Room 2 • field order 7 at (23, 31) | ₽2,040 | Use Canalave's ferry after the rival battle. Main-story rooms are immediately reachable; isolated boulder pockets require the Mine Badge and Strength on a return visit. | Field order 7, tile (23, 31); sightline/path determines whether it can be avoided. No higher-level same-trainer rematch variant is defined in trdata. | |
 Ace Trainer Female BrendaAce Trainer Female • source ID 392 Ace Trainer Female BrendaAce Trainer Female • source ID 392 | Iron Island B2F Room 2 • field order 8 at (27, 31) | ₽1,980 | Use Canalave's ferry after the rival battle. Main-story rooms are immediately reachable; isolated boulder pockets require the Mine Badge and Strength on a return visit. | Field order 8, tile (27, 31); sightline/path determines whether it can be avoided. No higher-level same-trainer rematch variant is defined in trdata. | |
 Galactic GruntGalactic • source ID 835 Galactic GruntGalactic • source ID 835 | Iron Island B2F Room 2 • scripted | ₽1,360 | Use Canalave's ferry after the rival battle. Main-story rooms are immediately reachable; isolated boulder pockets require the Mine Badge and Strength on a return visit. | Script-triggered battle; not treated as an ordinary field rematch. | |
| Galactic GruntGalactic • source ID 836 | Iron Island B2F Room 2 • scripted | ₽1,280 | Use Canalave's ferry after the rival battle. Main-story rooms are immediately reachable; isolated boulder pockets require the Mine Badge and Strength on a return visit. | Script-triggered battle; not treated as an ordinary field rematch. |
Items
| Item | Version | Type | Area / exact direction | Coordinate / script | Requirement | Source |
|---|---|---|---|---|---|---|
| Iron Ball | Diamond / Pearl | Visible item ball | Iron Island B1F Room 1: Pick up the item ball in the northwestern part of Iron Island B1F Room 1, 10 tiles west and 3 tiles south of the Iron Island 1F doorway or transition. | (5, 6) | Use Canalave's ferry after the rival battle. Main-story rooms are immediately reachable; isolated boulder pockets require the Mine Badge and Strength on a return visit. | event bank 278, script 7146 |
| Super Repel | Diamond / Pearl | Visible item ball | Iron Island B1F Room 2: Pick up the item ball in the eastern part of Iron Island B1F Room 2, 5 tiles east and 11 tiles north of the Iron Island B2F Room 1 doorway or transition. | (21, 15) | Use Canalave's ferry after the rival battle. Main-story rooms are immediately reachable; isolated boulder pockets require the Mine Badge and Strength on a return visit. | event bank 279, script 7148 |
| Escape Rope | Diamond / Pearl | Visible item ball | Iron Island B1F Room 2: Pick up the item ball in the western part of Iron Island B1F Room 2, 4 tiles west and 9 tiles north of the Iron Island B2F Room 2 doorway or transition. | (2, 17) | Use Canalave's ferry after the rival battle. Main-story rooms are immediately reachable; isolated boulder pockets require the Mine Badge and Strength on a return visit. | event bank 279, script 7147 |
| Max Ether | Diamond / Pearl | Visible item ball | Iron Island B2F Room 1: Pick up the item ball in the northeastern part of Iron Island B2F Room 1, 14 tiles east and 1 tile north of the Iron Island B1F Room 2 doorway or transition. | (16, 2) | Use Canalave's ferry after the rival battle. Main-story rooms are immediately reachable; isolated boulder pockets require the Mine Badge and Strength on a return visit. | event bank 280, script 7149 |
| TM23 | Diamond / Pearl | Visible item ball | Iron Island B2F Room 1: Pick up the item ball in the southern part of Iron Island B2F Room 1, 5 tiles east and 14 tiles south of the Iron Island B1F Room 2 doorway or transition. | (7, 17) | Use Canalave's ferry after the rival battle. Main-story rooms are immediately reachable; isolated boulder pockets require the Mine Badge and Strength on a return visit. | event bank 280, script 7150 |
| Magnet | Diamond / Pearl | Visible item ball | Iron Island B2F Room 2: Pick up the item ball in the northeastern part of Iron Island B2F Room 2, 12 tiles south of the Iron Island B1F Room 2 doorway or transition. | (38, 15) | Use Canalave's ferry after the rival battle. Main-story rooms are immediately reachable; isolated boulder pockets require the Mine Badge and Strength on a return visit. | event bank 281, script 7153 |
| Ultra Ball | Diamond / Pearl | Visible item ball | Iron Island B2F Room 2: Pick up the item ball in the northwestern part of Iron Island B2F Room 2, 29 tiles west of the Iron Island B1F Room 2 doorway or transition. | (9, 3) | Use Canalave's ferry after the rival battle. Main-story rooms are immediately reachable; isolated boulder pockets require the Mine Badge and Strength on a return visit. | event bank 281, script 7151 |
| Max Potion | Diamond / Pearl | Visible item ball | Iron Island B2F Room 2: Pick up the item ball in the northwestern part of Iron Island B2F Room 2, 9 tiles west and 32 tiles north of the Iron Island B3F doorway or transition. | (5, 16) | Use Canalave's ferry after the rival battle. Main-story rooms are immediately reachable; isolated boulder pockets require the Mine Badge and Strength on a return visit. | event bank 281, script 7152 |
| HP Up | Diamond / Pearl | Visible item ball | Iron Island B2F Room 2: Pick up the item ball in the southern part of Iron Island B2F Room 2, 7 tiles east and 10 tiles north of the Iron Island B3F doorway or transition. | (21, 38) | Use Canalave's ferry after the rival battle. Main-story rooms are immediately reachable; isolated boulder pockets require the Mine Badge and Strength on a return visit. | event bank 281, script 7154 |
| Shiny Stone | Diamond / Pearl | Visible item ball | Iron Island B3F: Pick up the item ball in the northeastern part of Iron Island B3F, 8 tiles north of the Iron Island B2F Room 2 doorway or transition. | (14, 7) | Use Canalave's ferry after the rival battle. Main-story rooms are immediately reachable; isolated boulder pockets require the Mine Badge and Strength on a return visit. | event bank 282, script 7155 |
| Metal Coat | Diamond / Pearl | NPC / scripted gift | Iron Island House: Speak to Byron inside the small Iron Island house on a postgame return. | NPC (5, 5); script 2 | National Dex required; this gift is unavailable during the phase-6 Riley visit. | script bank 323 |
Hidden Items
| Hidden item | Area / plain-English placement | QA coordinate | Requirement | Source |
|---|---|---|---|---|
| Max Ether | Iron Island Exterior: Use the Dowsing Machine in the southeastern part of Iron Island Exterior, 3 tiles east and 5 tiles south of the Iron Island House doorway or transition and inspect that exact ground tile. | (114, 504) | Dowsing Machine Pokétch app. Use Canalave's ferry after the rival battle. Main-story rooms are immediately reachable; isolated boulder pockets require the Mine Badge and Strength on a return visit. | event bank 276, script 8051 |
| Tinymushroom | Iron Island B1F Room 2: Use the Dowsing Machine in the eastern part of Iron Island B1F Room 2, 3 tiles east and 10 tiles north of the Iron Island B2F Room 1 doorway or transition and inspect that exact ground tile. | (19, 16) | Dowsing Machine Pokétch app. Use Canalave's ferry after the rival battle. Main-story rooms are immediately reachable; isolated boulder pockets require the Mine Badge and Strength on a return visit. | event bank 279, script 8052 |
| Iron | Iron Island B2F Room 1: Use the Dowsing Machine in the southeastern part of Iron Island B2F Room 1, 10 tiles east and 14 tiles south of the Iron Island B1F Room 2 doorway or transition and inspect that exact ground tile. | (12, 17) | Dowsing Machine Pokétch app. Use Canalave's ferry after the rival battle. Main-story rooms are immediately reachable; isolated boulder pockets require the Mine Badge and Strength on a return visit. | event bank 280, script 8053 |
| Iron Plate | Iron Island B2F Room 2: Use the Dowsing Machine in the southeastern part of Iron Island B2F Room 2, 18 tiles east and 8 tiles north of the Iron Island B3F doorway or transition and inspect that exact ground tile. | (32, 40) | Dowsing Machine Pokétch app. Use Canalave's ferry after the rival battle. Main-story rooms are immediately reachable; isolated boulder pockets require the Mine Badge and Strength on a return visit. | event bank 281, script 8056 |
| Full Restore | Iron Island B2F Room 2: Use the Dowsing Machine in the northern part of Iron Island B2F Room 2, 19 tiles west and 11 tiles south of the Iron Island B1F Room 2 doorway or transition and inspect that exact ground tile. | (19, 14) | Dowsing Machine Pokétch app. Use Canalave's ferry after the rival battle. Main-story rooms are immediately reachable; isolated boulder pockets require the Mine Badge and Strength on a return visit. | event bank 281, script 8054 |
| Revive | Iron Island B2F Room 2: Use the Dowsing Machine in the central part of Iron Island B2F Room 2, 8 tiles east and 17 tiles north of the Iron Island B3F doorway or transition and inspect that exact ground tile. | (22, 31) | Dowsing Machine Pokétch app. Use Canalave's ferry after the rival battle. Main-story rooms are immediately reachable; isolated boulder pockets require the Mine Badge and Strength on a return visit. | event bank 281, script 8055 |
Puzzles, Warps, And Switches
- B1F and B2F use paired left/right stair branches. Clear one branch to its dead end, return to the hub, then clear the other before taking the lift deeper.
- After the Galactic double battle, continue past the partner endpoint to claim the rear-room items and exit shortcut.
Completion Checklist
- Complete the currently reachable part of this route plan: Sail from Canalave; collect HM04 if not already owned only via Lost Tower, not here; take both B1F branches; meet Riley on B2F; use his healing to clear every trainer and item; defeat the Grunt pair; accept the Egg with an open party slot; use the lift for the exit items.
- Review all 48 encounter rows across the per-area tables, including game markers, method band, time-of-day rates, levels, and each conditional requirement; mark conditional rows for their stated revisit.
Canalave Gym and Byron
Ride platform lifts through the steel maze, defeat every worker and Ace Trainer, and beat Byron's Bastiodon.
Source maps
Canalave Gym.
Route Plan
Bring Fire, Fighting, or Ground coverage; ride each platform branch for trainers and items; track lift colors and floor changes; return to the final red platform; save before Byron; exploit Bronzor and Steelix safely before focusing Bastiodon.
- Bronzor's ability can remove one of its usual weaknesses, so check battle feedback instead of assuming Ground or Fire will always be ideal.
- Bastiodon has enormous defenses but severe Fighting and Ground weaknesses; avoid letting it stall with healing.
Routes and encounters on this page are compiled from 1 pret map header.
Trainers
| Trainer | Route order / placement | Full team | Reward | Access requirement | Optional / rematch note |
|---|---|---|---|---|---|
| Black Belt DavidBlack Belt • source ID 232 | Canalave Gym • field order 1 at (24, 3) | ₽768 | Reach the trainer's named field subarea; line of sight determines whether the battle is avoidable. | Field order 1, tile (24, 3); sightline/path determines whether it can be avoided. No higher-level same-trainer rematch variant is defined in trdata. | |
| Worker JacksonWorker • source ID 256 | Canalave Gym • field order 2 at (14, 3) | ₽1,120 | Reach the trainer's named field subarea; line of sight determines whether the battle is avoidable. | Field order 2, tile (14, 3); sightline/path determines whether it can be avoided. No higher-level same-trainer rematch variant is defined in trdata. | |
| Worker GaryWorker • source ID 257 | Canalave Gym • field order 3 at (22, 16) |
| ₽1,240 | Reach the trainer's named field subarea; line of sight determines whether the battle is avoidable. | Field order 3, tile (22, 16); sightline/path determines whether it can be avoided. No higher-level same-trainer rematch variant is defined in trdata. |
| Black Belt RickyBlack Belt • source ID 314 | Canalave Gym • field order 4 at (9, 17) |
| ₽792 | Reach the trainer's named field subarea; line of sight determines whether the battle is avoidable. | Field order 4, tile (9, 17); sightline/path determines whether it can be avoided. No higher-level same-trainer rematch variant is defined in trdata. |
| Ace Trainer Male CesarAce Trainer Male • source ID 279 | Canalave Gym • field order 5 at (27, 25) | ₽1,920 | Reach the trainer's named field subarea; line of sight determines whether the battle is avoidable. | Field order 5, tile (27, 25); sightline/path determines whether it can be avoided. No higher-level same-trainer rematch variant is defined in trdata. | |
| Worker GerardoWorker • source ID 367 | Canalave Gym • field order 6 at (8, 3) | ₽1,160 | Reach the trainer's named field subarea; line of sight determines whether the battle is avoidable. | Field order 6, tile (8, 3); sightline/path determines whether it can be avoided. No higher-level same-trainer rematch variant is defined in trdata. | |
| Ace Trainer Female BreannaAce Trainer Female • source ID 283 | Canalave Gym • field order 7 at (27, 5) |
| ₽1,980 | Reach the trainer's named field subarea; line of sight determines whether the battle is avoidable. | Field order 7, tile (27, 5); sightline/path determines whether it can be avoided. No higher-level same-trainer rematch variant is defined in trdata. |
| Leader ByronLeader Byron • source ID 250 | Canalave Gym • scripted | ₽4,680 | Scripted story trigger; complete the local objective described in the route plan. | Major or story battle; not a VS Seeker rematch row. |
Items
| Item | Version | Type | Area / exact direction | Coordinate / script | Requirement | Source |
|---|---|---|---|---|---|---|
| TM91 | Diamond / Pearl | NPC / scripted gift | Canalave Gym: Receive this TM from the Gym Leader immediately after the badge victory. | NPC (16, 3); script 2 | Defeat the Gym Leader; this is part of the one-time badge reward. | script bank 36 |
Puzzles, Warps, And Switches
- Moving platforms connect fixed colored pads across several heights. Take every side pad before the red leader route and note which pad returns to the entrance level.
Completion Checklist
- Complete the currently reachable part of this route plan: Bring Fire, Fighting, or Ground coverage; ride each platform branch for trainers and items; track lift colors and floor changes; return to the final red platform; save before Byron; exploit Bronzor and Steelix safely before focusing Bastiodon.
Canalave Library and the Lake Mission
Meet Rowan's group on the library's top floor, witness the Valor explosion, and receive the three-lake investigation assignments.
Source maps
Canalave Library 1F, Canalave Library 2F, and Canalave Library 3F.
Route Plan
Heal after Byron; enter Canalave Library; climb to 3F; speak to Rowan, Barry, and the assistant; watch the tremor scene; leave immediately; Fly to Pastoria or Valor Lakefront; enter the newly opened Lake Valor path.
- The story assigns Barry to Lake Acuity, the assistant to Lake Verity, and the player to Lake Valor before the routes converge again.
- Strength field use now opens the Mt. Coronet route toward Route 216 as well as numerous earlier boulder pockets.
Routes and encounters on this page are compiled from 3 pret map headers.
Puzzles, Warps, And Switches
- The library event is on 3F and does not trigger from the lobby. Speak directly to Rowan's group after the Gym victory.
Completion Checklist
- Complete the currently reachable part of this route plan: Heal after Byron; enter Canalave Library; climb to 3F; speak to Rowan, Barry, and the assistant; watch the tremor scene; leave immediately; Fly to Pastoria or Valor Lakefront; enter the newly opened Lake Valor path.
Dex quick links