
Phase 6 section


Pokemon Diamond and Pearl Iron Island with Riley Walkthrough
 Mine Badge
 Sail to Iron Island, clear both branch floors, partner with Riley, defeat Galactic Grunts, and receive the Riolu Egg. Exact Diamond/Pearl encounters, every sourced trainer, visible and hidden items, puzzle notes, boss teams, and completion checks.
Phase 6 Mine Badge Canalave City, Iron Island, the Canalave Gym puzzle, and Byron. 06 / 11 
Sail to Iron Island, clear both branch floors, partner with Riley, defeat Galactic Grunts, and receive the Riolu Egg. This standalone section joins the route plan to the original Diamond/Pearl map, encounter, trainer, item, and script data; Platinum tables are not substituted.
Source maps
Iron Island Exterior, Iron Island 1F, Iron Island B1F Room 1, Iron Island B1F Room 2, Iron Island B2F Room 1, Iron Island B2F Room 2, Iron Island B3F, and Iron Island House.
Version discipline
Rows merge only when Diamond and Pearl are identical, and each row carries D/P game markers. Version-exclusive species, mascot encounters, swarms, Radar slots, and GBA insertion slots keep their own labeled rows.
Route Plan
Sail from Canalave; collect HM04 if not already owned only via Lost Tower, not here; take both B1F branches; meet Riley on B2F; use his healing to clear every trainer and item; defeat the Grunt pair; accept the Egg with an open party slot; use the lift for the exit items.
- Riley heals the party after every battle and turns wild fights into doubles. As with Cheryl, reduce the encounter to one wild Pokemon before throwing a Ball.
- The Riolu Egg is refused if the party is full; return with an open slot rather than assuming it goes directly to the PC.
Exact pret map constants (8)
MAP_IRON_ISLAND_EXTERIOR MAP_IRON_ISLAND_1F MAP_IRON_ISLAND_B1F_ROOM_1 MAP_IRON_ISLAND_B1F_ROOM_2 MAP_IRON_ISLAND_B2F_ROOM_1 MAP_IRON_ISLAND_B2F_ROOM_2 MAP_IRON_ISLAND_B3F MAP_IRON_ISLAND_HOUSE
Wild Pokémon
Each area below has its own table, split by encounter method. Standard grass and cave rates merge every base slot for a species and are shown per time window: morning 04:00-09:59, day 10:00-19:59, night 20:00-03:59. Swarm, Poké Radar, and GBA dual-slot replacements keep their own labeled rows. Underlying slot odds: grass 20/20/10/10/10/10/5/5/4/4/1/1; Surf and Old Rod 60/30/5/4/1; Good and Super Rod 40/40/15/4/1.
Iron Island 1F
| Pokémon | Games | Levels | Rate | Requirement / notes | ||
|---|---|---|---|---|---|---|
| Morning | Day | Night | ||||
| Grass / cave floor | ||||||
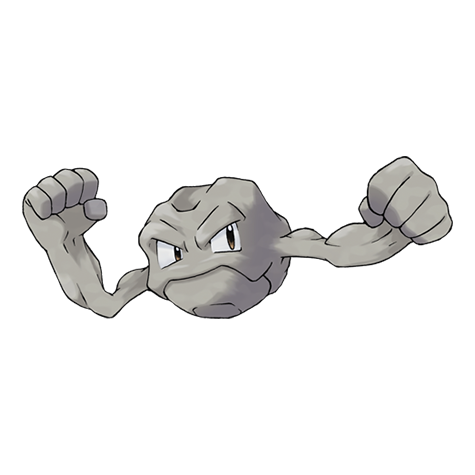 Geodude Geodude | DP | 29-31 | 35% | — | ||
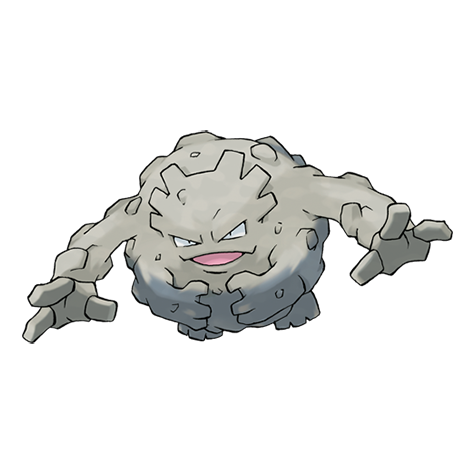 Graveler Graveler | DP | 31-33 | 35% | — | ||
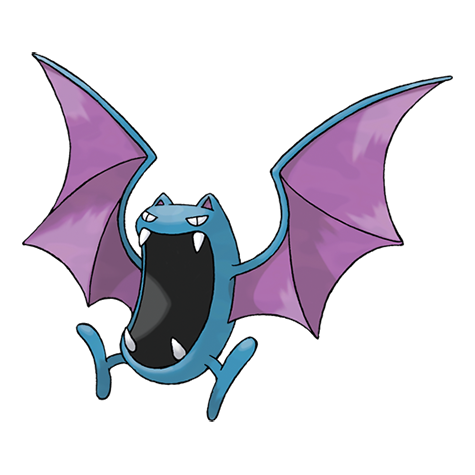 Golbat Golbat | DP | 31 | 10% | — | ||
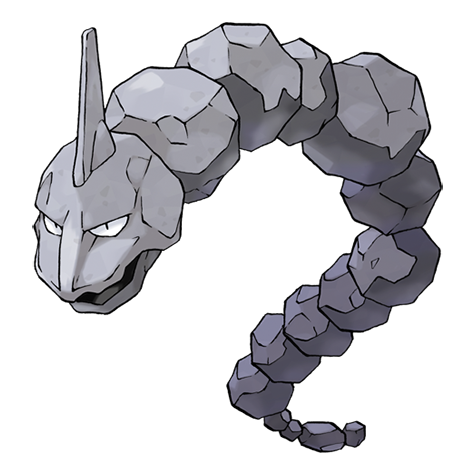 Onix Onix | DP | 32-33 | 10% | — | ||
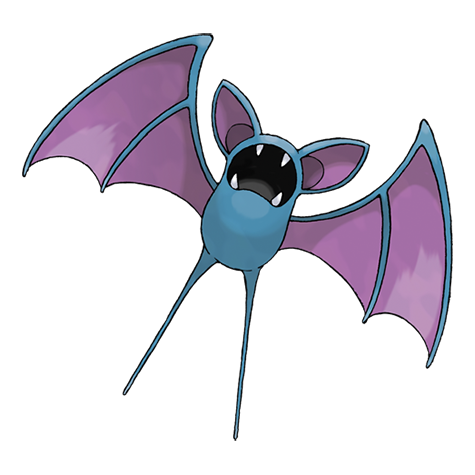 Zubat Zubat | DP | 30 | 10% | — | ||
Iron Island B1F Room 1
| Pokémon | Games | Levels | Rate | Requirement / notes | ||
|---|---|---|---|---|---|---|
| Morning | Day | Night | ||||
| Grass / cave floor | ||||||
| Graveler | DP | 29-33 | 69% | Rate counts base slots temporarily replaced by GBA dual-slot insertions. | ||
| Golbat | DP | 30-31 | 20% | — | ||
| Onix | DP | 32-33 | 10% | — | ||
| Geodude | DP | 31 | 1% | — | ||
| Dual-slot GBA insertion (post-National Dex) | ||||||
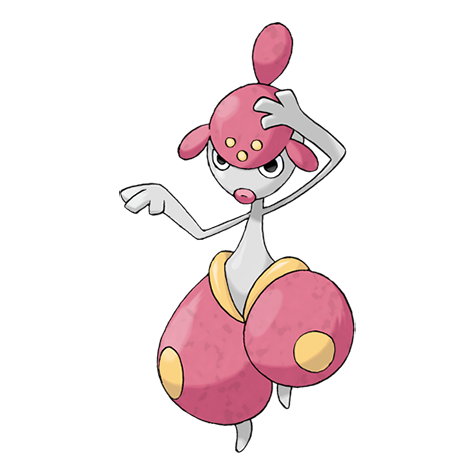
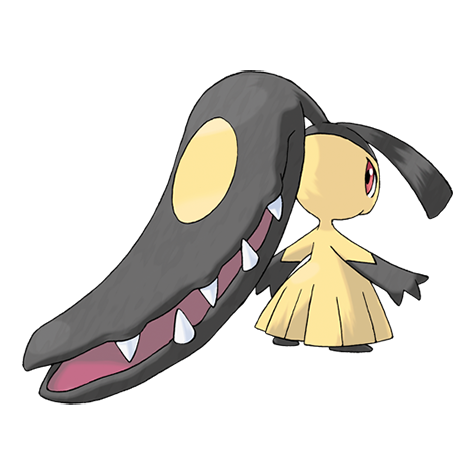 Mawile Mawile | DP | 31 or 33 | 8% | National Dex plus Pokémon Ruby inserted in the Nintendo DS GBA slot; replaces grass slots 8-9. | ||
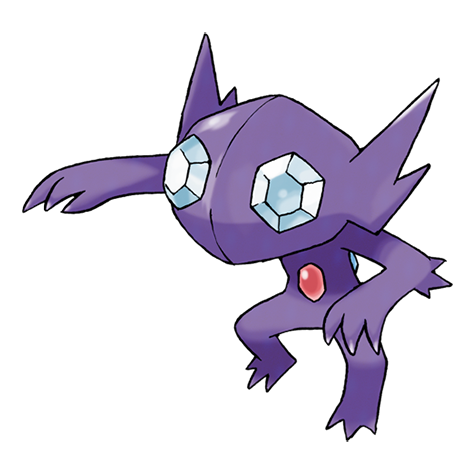 Sableye Sableye | DP | 31 or 33 | 8% | National Dex plus Pokémon Sapphire inserted in the Nintendo DS GBA slot; replaces grass slots 8-9. | ||
Iron Island B1F Room 2
| Pokémon | Games | Levels | Rate | Requirement / notes | ||
|---|---|---|---|---|---|---|
| Morning | Day | Night | ||||
| Grass / cave floor | ||||||
| Graveler | DP | 29-33 | 69% | Rate counts base slots temporarily replaced by GBA dual-slot insertions. | ||
| Golbat | DP | 30-31 | 20% | — | ||
| Onix | DP | 32-33 | 10% | — | ||
| Geodude | DP | 31 | 1% | — | ||
| Dual-slot GBA insertion (post-National Dex) | ||||||
| Mawile | DP | 31 or 33 | 8% | National Dex plus Pokémon Ruby inserted in the Nintendo DS GBA slot; replaces grass slots 8-9. | ||
| Sableye | DP | 31 or 33 | 8% | National Dex plus Pokémon Sapphire inserted in the Nintendo DS GBA slot; replaces grass slots 8-9. | ||
Iron Island B2F Room 1
| Pokémon | Games | Levels | Rate | Requirement / notes | ||
|---|---|---|---|---|---|---|
| Morning | Day | Night | ||||
| Grass / cave floor | ||||||
| Graveler | DP | 29-33 | 49% | Rate counts base slots temporarily replaced by GBA dual-slot insertions. | ||
| Onix | DP | 31-33 | 30% | — | ||
| Golbat | DP | 30-31 | 20% | — | ||
| Geodude | DP | 31 | 1% | — | ||
| Dual-slot GBA insertion (post-National Dex) | ||||||
| Mawile | DP | 31 or 33 | 8% | National Dex plus Pokémon Ruby inserted in the Nintendo DS GBA slot; replaces grass slots 8-9. | ||
| Sableye | DP | 31 or 33 | 8% | National Dex plus Pokémon Sapphire inserted in the Nintendo DS GBA slot; replaces grass slots 8-9. | ||
Iron Island B2F Room 2
| Pokémon | Games | Levels | Rate | Requirement / notes | ||
|---|---|---|---|---|---|---|
| Morning | Day | Night | ||||
| Grass / cave floor | ||||||
| Graveler | DP | 30-32 or 34 | 39% | Rate counts base slots temporarily replaced by GBA dual-slot insertions. | ||
| Onix | DP | 32-33 | 30% | — | ||
| Golbat | DP | 31-32 | 20% | — | ||
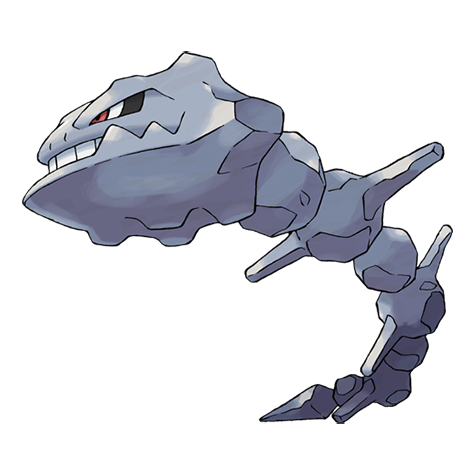 Steelix Steelix | DP | 33-34 | 10% | — | ||
| Geodude | DP | 32 | 1% | — | ||
| Dual-slot GBA insertion (post-National Dex) | ||||||
| Mawile | DP | 32 or 34 | 8% | National Dex plus Pokémon Ruby inserted in the Nintendo DS GBA slot; replaces grass slots 8-9. | ||
| Sableye | DP | 32 or 34 | 8% | National Dex plus Pokémon Sapphire inserted in the Nintendo DS GBA slot; replaces grass slots 8-9. | ||
Iron Island B3F
| Pokémon | Games | Levels | Rate | Requirement / notes | ||
|---|---|---|---|---|---|---|
| Morning | Day | Night | ||||
| Grass / cave floor | ||||||
| Graveler | DP | 30-32 or 34 | 39% | Rate counts base slots temporarily replaced by GBA dual-slot insertions. | ||
| Onix | DP | 32-33 | 30% | — | ||
| Golbat | DP | 31-32 | 20% | — | ||
| Steelix | DP | 33-34 | 10% | — | ||
| Geodude | DP | 32 | 1% | — | ||
| Dual-slot GBA insertion (post-National Dex) | ||||||
| Mawile | DP | 32 or 34 | 8% | National Dex plus Pokémon Ruby inserted in the Nintendo DS GBA slot; replaces grass slots 8-9. | ||
| Sableye | DP | 32 or 34 | 8% | National Dex plus Pokémon Sapphire inserted in the Nintendo DS GBA slot; replaces grass slots 8-9. | ||
Iron Island Exterior
| Pokémon | Games | Levels | Rate | Requirement / notes | ||
|---|---|---|---|---|---|---|
| Morning | Day | Night | ||||
| Surfing | ||||||
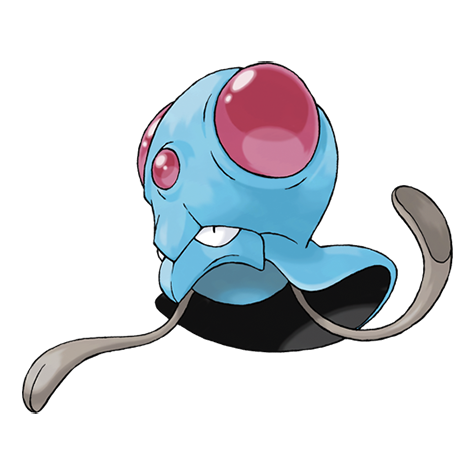 Tentacool Tentacool | DP | 20-30 | 60% | — | ||
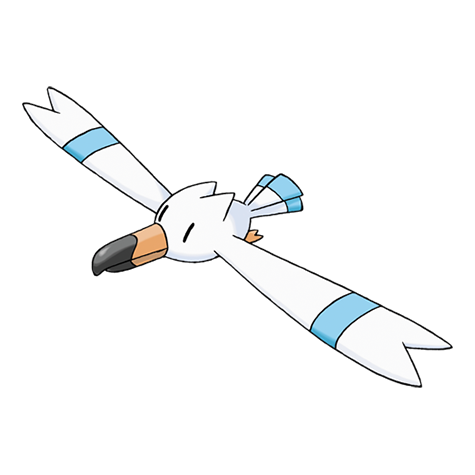 Wingull Wingull | DP | 20-30 | 30% | — | ||
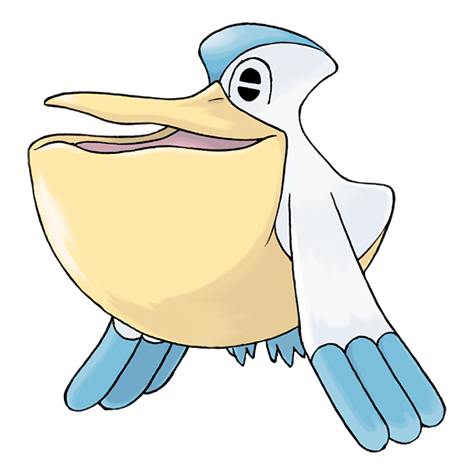 Pelipper Pelipper | DP | 20-40 | 5% | — | ||
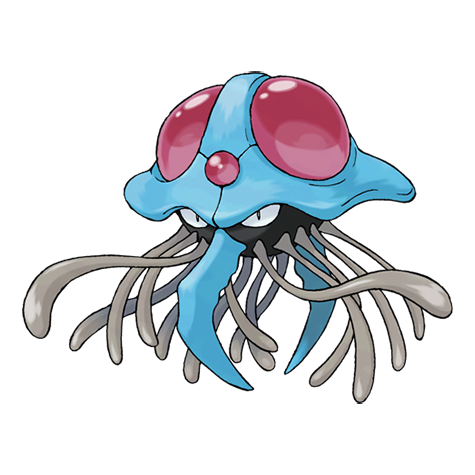 Tentacruel Tentacruel | DP | 20-40 | 5% | — | ||
| Fishing — Old Rod | ||||||
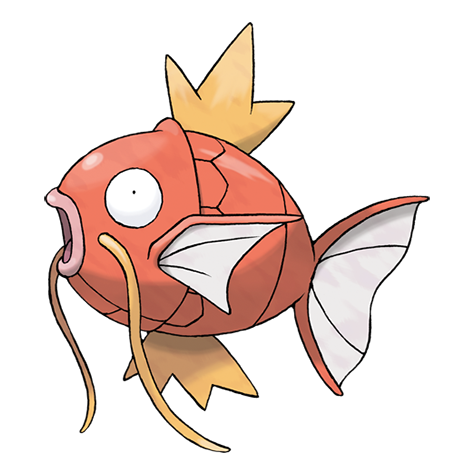 Magikarp Magikarp | DP | 3-10 | 100% | — | ||
| Fishing — Good Rod | ||||||
| Magikarp | DP | 10-25 | 55% | — | ||
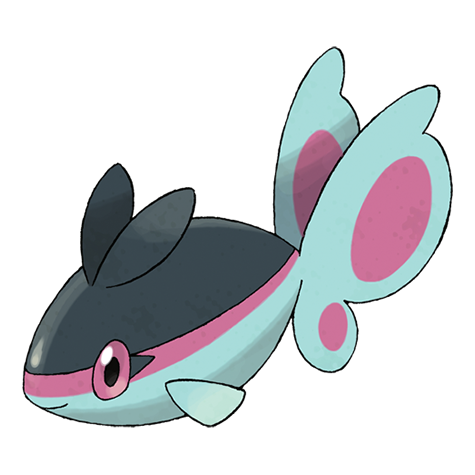 Finneon Finneon | DP | 10-25 | 45% | — | ||
| Fishing — Super Rod | ||||||
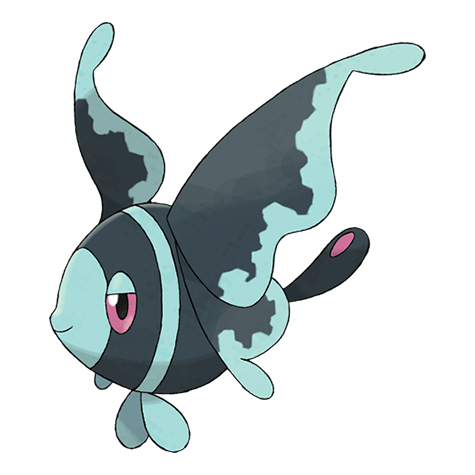 Lumineon Lumineon | DP | 20-50 | 45% | — | ||
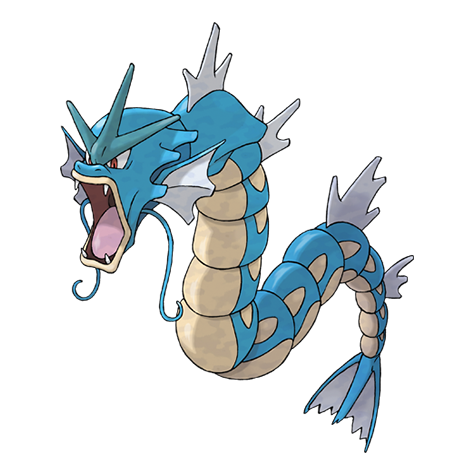 Gyarados Gyarados | DP | 30-40 | 40% | — | ||
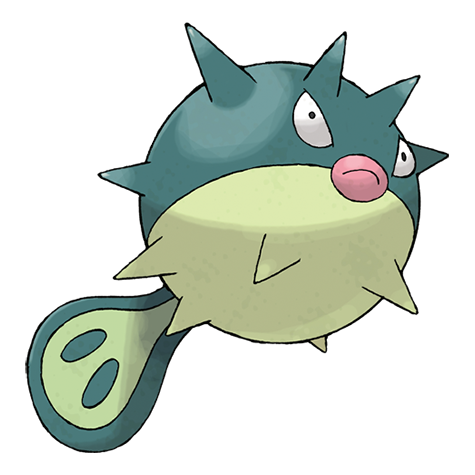 Qwilfish Qwilfish | DP | 20-40 | 15% | — | ||
Iron Island with Riley
| Pokémon | Games | Levels | Rate | Requirement / notes | ||
|---|---|---|---|---|---|---|
| Morning | Day | Night | ||||
| Egg gift | ||||||
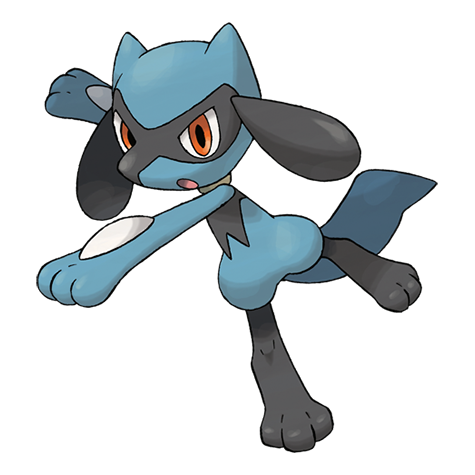 Riolu Riolu | DP | 1 when hatched | One Egg | Defeat the Galactic Grunts with Riley and keep one party slot open Hatch the Egg, then evolve Riolu with high friendship during daytime. | ||
Trainers
Field order follows the map's object-event order. Full teams include explicit held items and moves when trdata defines them; cash rewards use the in-engine final-party-slot level and trainer-class multiplier formula.
| Trainer | Route order / placement | Full team | Reward | Access requirement | Optional / rematch note |
|---|---|---|---|---|---|
 Camper LawrenceCamper • source ID 378 Camper LawrenceCamper • source ID 378 | Iron Island B1F Room 1 • field order 1 at (11, 13) | ₽496 | Use Canalave's ferry after the rival battle. Main-story rooms are immediately reachable; isolated boulder pockets require the Mine Badge and Strength on a return visit. | Field order 1, tile (11, 13); sightline/path determines whether it can be avoided. No higher-level same-trainer rematch variant is defined in trdata. | |
 Picnicker SummerPicnicker • source ID 457 Picnicker SummerPicnicker • source ID 457 | Iron Island B1F Room 2 • field order 1 at (17, 16) | ₽496 | Use Canalave's ferry after the rival battle. Main-story rooms are immediately reachable; isolated boulder pockets require the Mine Badge and Strength on a return visit. | Field order 1, tile (17, 16); sightline/path determines whether it can be avoided. No higher-level same-trainer rematch variant is defined in trdata. | |
 Worker WillyWorker • source ID 503 Worker WillyWorker • source ID 503 | Iron Island B2F Room 1 • field order 1 at (4, 5) | ₽1,240 | Use Canalave's ferry after the rival battle. Main-story rooms are immediately reachable; isolated boulder pockets require the Mine Badge and Strength on a return visit. | Field order 1, tile (4, 5); sightline/path determines whether it can be avoided. No higher-level same-trainer rematch variant is defined in trdata. | |
| Worker BradenWorker • source ID 504 | Iron Island B2F Room 1 • field order 2 at (1, 19) | ₽1,320 | Use Canalave's ferry after the rival battle. Main-story rooms are immediately reachable; isolated boulder pockets require the Mine Badge and Strength on a return visit. | Field order 2, tile (1, 19); sightline/path determines whether it can be avoided. No higher-level same-trainer rematch variant is defined in trdata. | |
 Hiker DamonHiker • source ID 452 Hiker DamonHiker • source ID 452 | Iron Island B2F Room 2 • field order 1 at (26, 2) | ₽992 | Use Canalave's ferry after the rival battle. Main-story rooms are immediately reachable; isolated boulder pockets require the Mine Badge and Strength on a return visit. | Field order 1, tile (26, 2); sightline/path determines whether it can be avoided. No higher-level same-trainer rematch variant is defined in trdata. | |
| Hiker MauriceHiker • source ID 453 | Iron Island B2F Room 2 • field order 2 at (21, 4) | ₽1,024 | Use Canalave's ferry after the rival battle. Main-story rooms are immediately reachable; isolated boulder pockets require the Mine Badge and Strength on a return visit. | Field order 2, tile (21, 4); sightline/path determines whether it can be avoided. No higher-level same-trainer rematch variant is defined in trdata. | |
 Black Belt KendalBlack Belt • source ID 445 Black Belt KendalBlack Belt • source ID 445 | Iron Island B2F Room 2 • field order 3 at (36, 18) | ₽840 | Use Canalave's ferry after the rival battle. Main-story rooms are immediately reachable; isolated boulder pockets require the Mine Badge and Strength on a return visit. | Field order 3, tile (36, 18); sightline/path determines whether it can be avoided. No higher-level same-trainer rematch variant is defined in trdata. | |
 Battle Girl TylerBattle Girl • source ID 372 Battle Girl TylerBattle Girl • source ID 372 | Iron Island B2F Room 2 • field order 4 at (36, 21) | ₽544 | Use Canalave's ferry after the rival battle. Main-story rooms are immediately reachable; isolated boulder pockets require the Mine Badge and Strength on a return visit. | Field order 4, tile (36, 21); sightline/path determines whether it can be avoided. No higher-level same-trainer rematch variant is defined in trdata. | |
| Worker BrendonWorker • source ID 505 | Iron Island B2F Room 2 • field order 5 at (15, 25) | ₽1,320 | Use Canalave's ferry after the rival battle. Main-story rooms are immediately reachable; isolated boulder pockets require the Mine Badge and Strength on a return visit. | Field order 5, tile (15, 25); sightline/path determines whether it can be avoided. No higher-level same-trainer rematch variant is defined in trdata. | |
| Worker QuentinWorker • source ID 506 | Iron Island B2F Room 2 • field order 6 at (14, 28) | ₽1,240 | Use Canalave's ferry after the rival battle. Main-story rooms are immediately reachable; isolated boulder pockets require the Mine Badge and Strength on a return visit. | Field order 6, tile (14, 28); sightline/path determines whether it can be avoided. No higher-level same-trainer rematch variant is defined in trdata. | |
 Ace Trainer Male JonahAce Trainer Male • source ID 388 Ace Trainer Male JonahAce Trainer Male • source ID 388 | Iron Island B2F Room 2 • field order 7 at (23, 31) | ₽2,040 | Use Canalave's ferry after the rival battle. Main-story rooms are immediately reachable; isolated boulder pockets require the Mine Badge and Strength on a return visit. | Field order 7, tile (23, 31); sightline/path determines whether it can be avoided. No higher-level same-trainer rematch variant is defined in trdata. | |
 Ace Trainer Female BrendaAce Trainer Female • source ID 392 Ace Trainer Female BrendaAce Trainer Female • source ID 392 | Iron Island B2F Room 2 • field order 8 at (27, 31) | ₽1,980 | Use Canalave's ferry after the rival battle. Main-story rooms are immediately reachable; isolated boulder pockets require the Mine Badge and Strength on a return visit. | Field order 8, tile (27, 31); sightline/path determines whether it can be avoided. No higher-level same-trainer rematch variant is defined in trdata. | |
 Galactic GruntGalactic • source ID 835 Galactic GruntGalactic • source ID 835 | Iron Island B2F Room 2 • scripted | ₽1,360 | Use Canalave's ferry after the rival battle. Main-story rooms are immediately reachable; isolated boulder pockets require the Mine Badge and Strength on a return visit. | Script-triggered battle; not treated as an ordinary field rematch. | |
| Galactic GruntGalactic • source ID 836 | Iron Island B2F Room 2 • scripted | ₽1,280 | Use Canalave's ferry after the rival battle. Main-story rooms are immediately reachable; isolated boulder pockets require the Mine Badge and Strength on a return visit. | Script-triggered battle; not treated as an ordinary field rematch. |
Items
| Item | Version | Type | Area / exact direction | Coordinate / script | Requirement | Source |
|---|---|---|---|---|---|---|
| Iron Ball | Diamond / Pearl | Visible item ball | Iron Island B1F Room 1: Pick up the item ball in the northwestern part of Iron Island B1F Room 1, 10 tiles west and 3 tiles south of the Iron Island 1F doorway or transition. | (5, 6) | Use Canalave's ferry after the rival battle. Main-story rooms are immediately reachable; isolated boulder pockets require the Mine Badge and Strength on a return visit. | event bank 278, script 7146 |
| Super Repel | Diamond / Pearl | Visible item ball | Iron Island B1F Room 2: Pick up the item ball in the eastern part of Iron Island B1F Room 2, 5 tiles east and 11 tiles north of the Iron Island B2F Room 1 doorway or transition. | (21, 15) | Use Canalave's ferry after the rival battle. Main-story rooms are immediately reachable; isolated boulder pockets require the Mine Badge and Strength on a return visit. | event bank 279, script 7148 |
| Escape Rope | Diamond / Pearl | Visible item ball | Iron Island B1F Room 2: Pick up the item ball in the western part of Iron Island B1F Room 2, 4 tiles west and 9 tiles north of the Iron Island B2F Room 2 doorway or transition. | (2, 17) | Use Canalave's ferry after the rival battle. Main-story rooms are immediately reachable; isolated boulder pockets require the Mine Badge and Strength on a return visit. | event bank 279, script 7147 |
| Max Ether | Diamond / Pearl | Visible item ball | Iron Island B2F Room 1: Pick up the item ball in the northeastern part of Iron Island B2F Room 1, 14 tiles east and 1 tile north of the Iron Island B1F Room 2 doorway or transition. | (16, 2) | Use Canalave's ferry after the rival battle. Main-story rooms are immediately reachable; isolated boulder pockets require the Mine Badge and Strength on a return visit. | event bank 280, script 7149 |
| TM23 | Diamond / Pearl | Visible item ball | Iron Island B2F Room 1: Pick up the item ball in the southern part of Iron Island B2F Room 1, 5 tiles east and 14 tiles south of the Iron Island B1F Room 2 doorway or transition. | (7, 17) | Use Canalave's ferry after the rival battle. Main-story rooms are immediately reachable; isolated boulder pockets require the Mine Badge and Strength on a return visit. | event bank 280, script 7150 |
| Magnet | Diamond / Pearl | Visible item ball | Iron Island B2F Room 2: Pick up the item ball in the northeastern part of Iron Island B2F Room 2, 12 tiles south of the Iron Island B1F Room 2 doorway or transition. | (38, 15) | Use Canalave's ferry after the rival battle. Main-story rooms are immediately reachable; isolated boulder pockets require the Mine Badge and Strength on a return visit. | event bank 281, script 7153 |
| Ultra Ball | Diamond / Pearl | Visible item ball | Iron Island B2F Room 2: Pick up the item ball in the northwestern part of Iron Island B2F Room 2, 29 tiles west of the Iron Island B1F Room 2 doorway or transition. | (9, 3) | Use Canalave's ferry after the rival battle. Main-story rooms are immediately reachable; isolated boulder pockets require the Mine Badge and Strength on a return visit. | event bank 281, script 7151 |
| Max Potion | Diamond / Pearl | Visible item ball | Iron Island B2F Room 2: Pick up the item ball in the northwestern part of Iron Island B2F Room 2, 9 tiles west and 32 tiles north of the Iron Island B3F doorway or transition. | (5, 16) | Use Canalave's ferry after the rival battle. Main-story rooms are immediately reachable; isolated boulder pockets require the Mine Badge and Strength on a return visit. | event bank 281, script 7152 |
| HP Up | Diamond / Pearl | Visible item ball | Iron Island B2F Room 2: Pick up the item ball in the southern part of Iron Island B2F Room 2, 7 tiles east and 10 tiles north of the Iron Island B3F doorway or transition. | (21, 38) | Use Canalave's ferry after the rival battle. Main-story rooms are immediately reachable; isolated boulder pockets require the Mine Badge and Strength on a return visit. | event bank 281, script 7154 |
| Shiny Stone | Diamond / Pearl | Visible item ball | Iron Island B3F: Pick up the item ball in the northeastern part of Iron Island B3F, 8 tiles north of the Iron Island B2F Room 2 doorway or transition. | (14, 7) | Use Canalave's ferry after the rival battle. Main-story rooms are immediately reachable; isolated boulder pockets require the Mine Badge and Strength on a return visit. | event bank 282, script 7155 |
| Metal Coat | Diamond / Pearl | NPC / scripted gift | Iron Island House: Speak to Byron inside the small Iron Island house on a postgame return. | NPC (5, 5); script 2 | National Dex required; this gift is unavailable during the phase-6 Riley visit. | script bank 323 |
Hidden Items
| Hidden item | Area / plain-English placement | QA coordinate | Requirement | Source |
|---|---|---|---|---|
| Max Ether | Iron Island Exterior: Use the Dowsing Machine in the southeastern part of Iron Island Exterior, 3 tiles east and 5 tiles south of the Iron Island House doorway or transition and inspect that exact ground tile. | (114, 504) | Dowsing Machine Pokétch app. Use Canalave's ferry after the rival battle. Main-story rooms are immediately reachable; isolated boulder pockets require the Mine Badge and Strength on a return visit. | event bank 276, script 8051 |
| Tinymushroom | Iron Island B1F Room 2: Use the Dowsing Machine in the eastern part of Iron Island B1F Room 2, 3 tiles east and 10 tiles north of the Iron Island B2F Room 1 doorway or transition and inspect that exact ground tile. | (19, 16) | Dowsing Machine Pokétch app. Use Canalave's ferry after the rival battle. Main-story rooms are immediately reachable; isolated boulder pockets require the Mine Badge and Strength on a return visit. | event bank 279, script 8052 |
| Iron | Iron Island B2F Room 1: Use the Dowsing Machine in the southeastern part of Iron Island B2F Room 1, 10 tiles east and 14 tiles south of the Iron Island B1F Room 2 doorway or transition and inspect that exact ground tile. | (12, 17) | Dowsing Machine Pokétch app. Use Canalave's ferry after the rival battle. Main-story rooms are immediately reachable; isolated boulder pockets require the Mine Badge and Strength on a return visit. | event bank 280, script 8053 |
| Iron Plate | Iron Island B2F Room 2: Use the Dowsing Machine in the southeastern part of Iron Island B2F Room 2, 18 tiles east and 8 tiles north of the Iron Island B3F doorway or transition and inspect that exact ground tile. | (32, 40) | Dowsing Machine Pokétch app. Use Canalave's ferry after the rival battle. Main-story rooms are immediately reachable; isolated boulder pockets require the Mine Badge and Strength on a return visit. | event bank 281, script 8056 |
| Full Restore | Iron Island B2F Room 2: Use the Dowsing Machine in the northern part of Iron Island B2F Room 2, 19 tiles west and 11 tiles south of the Iron Island B1F Room 2 doorway or transition and inspect that exact ground tile. | (19, 14) | Dowsing Machine Pokétch app. Use Canalave's ferry after the rival battle. Main-story rooms are immediately reachable; isolated boulder pockets require the Mine Badge and Strength on a return visit. | event bank 281, script 8054 |
| Revive | Iron Island B2F Room 2: Use the Dowsing Machine in the central part of Iron Island B2F Room 2, 8 tiles east and 17 tiles north of the Iron Island B3F doorway or transition and inspect that exact ground tile. | (22, 31) | Dowsing Machine Pokétch app. Use Canalave's ferry after the rival battle. Main-story rooms are immediately reachable; isolated boulder pockets require the Mine Badge and Strength on a return visit. | event bank 281, script 8055 |
Puzzles, Warps, And Switches
- B1F and B2F use paired left/right stair branches. Clear one branch to its dead end, return to the hub, then clear the other before taking the lift deeper.
- After the Galactic double battle, continue past the partner endpoint to claim the rear-room items and exit shortcut.
Boss Strategy And Partners
 Pokémon Trainer RileyPokémon Trainer Riley • source ID 609
Partner team
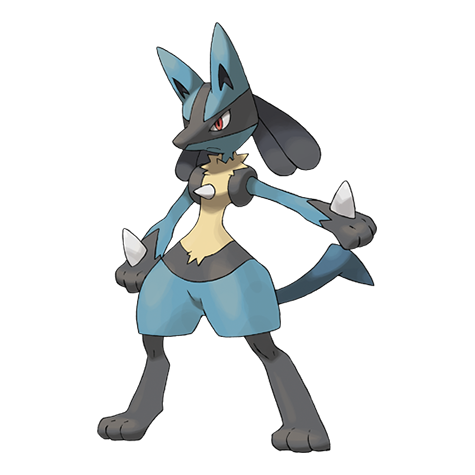 LucarioMetal Claw / Force Palm / Quick Attack / Bone Rush
Partner role
This stat trainer travels beside the player, turns eligible fights into doubles, and heals the party after each battle during the escort.
How to use the partner
Focus one opposing Pokémon to reduce incoming actions. In wild doubles, leave only the intended catch on the field before throwing a Ball.
Completion Checklist
- Complete the currently reachable part of this route plan: Sail from Canalave; collect HM04 if not already owned only via Lost Tower, not here; take both B1F branches; meet Riley on B2F; use his healing to clear every trainer and item; defeat the Grunt pair; accept the Egg with an open party slot; use the lift for the exit items.
- Review all 48 encounter rows across the per-area tables, including game markers, method band, time-of-day rates, levels, and each conditional requirement; mark conditional rows for their stated revisit.
- Defeat or deliberately skip every currently reachable trainer row; leave HM-, story-, or National-Dex-gated rows checked only after their access requirement is met.
- Collect currently reachable visible/scripted items and berry trees, use the Dowsing Machine for reachable hidden rows, and retain every explicitly gated row for the named cleanup visit.
- Resolve every currently available puzzle note, boss branch, and partner scene before opening the next section.
Sources And Validation
pret/pokediamondat commit038cccaed5de8f013875bc5d734f912d1de08e0f:map_header.c, D/P encounter archives,trdata.json, zone events, script archives, item tables, and trainer graphics.- Encounter slots were decoded from exact 424-byte D/P members and cross-checked against Gen IV slot behavior; the 0x6C pair is day, morning uses base slots, and 0x74 is night.
- Coordinates remain visible as QA anchors, while each hidden row also provides a plain-English map-region instruction.
- Generation-wide systems that are not tied to a normal map archive—Honey Trees, Great Marsh daily rolls, Trophy Garden, fossils, Pal Park, and event items—are explicitly curated in their dedicated system pages.
Dex quick links