
Hoenn walkthrough hub


Pokemon Ruby Sapphire Walkthrough
Complete Pokemon Ruby and Sapphire walkthrough for Hoenn with badge order, routes, encounters, version splits, Gym counters, Champion prep, and post-game.
Game box art
Pokemon Ruby and Pokemon Sapphire
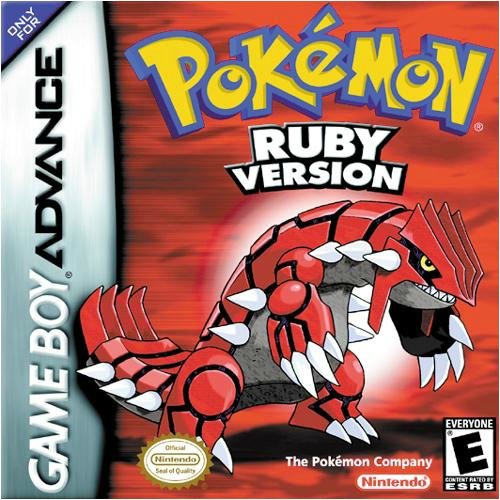
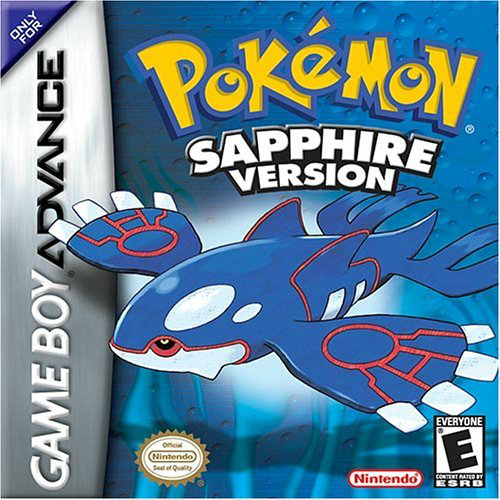
Complete Pokemon Ruby and Sapphire walkthrough for Hoenn: 10 badge phase pages with 74 anchored sections for route planning, encounter priorities, key item checks, Ruby/Sapphire version differences, Gym counters, Champion prep, and post-game cleanup.
This hub is the starting point. Jump into the phase you are currently playing, check the target level, clear the route map, then use the anchored sections for the detailed route, item, boss, version split, and checklist notes.
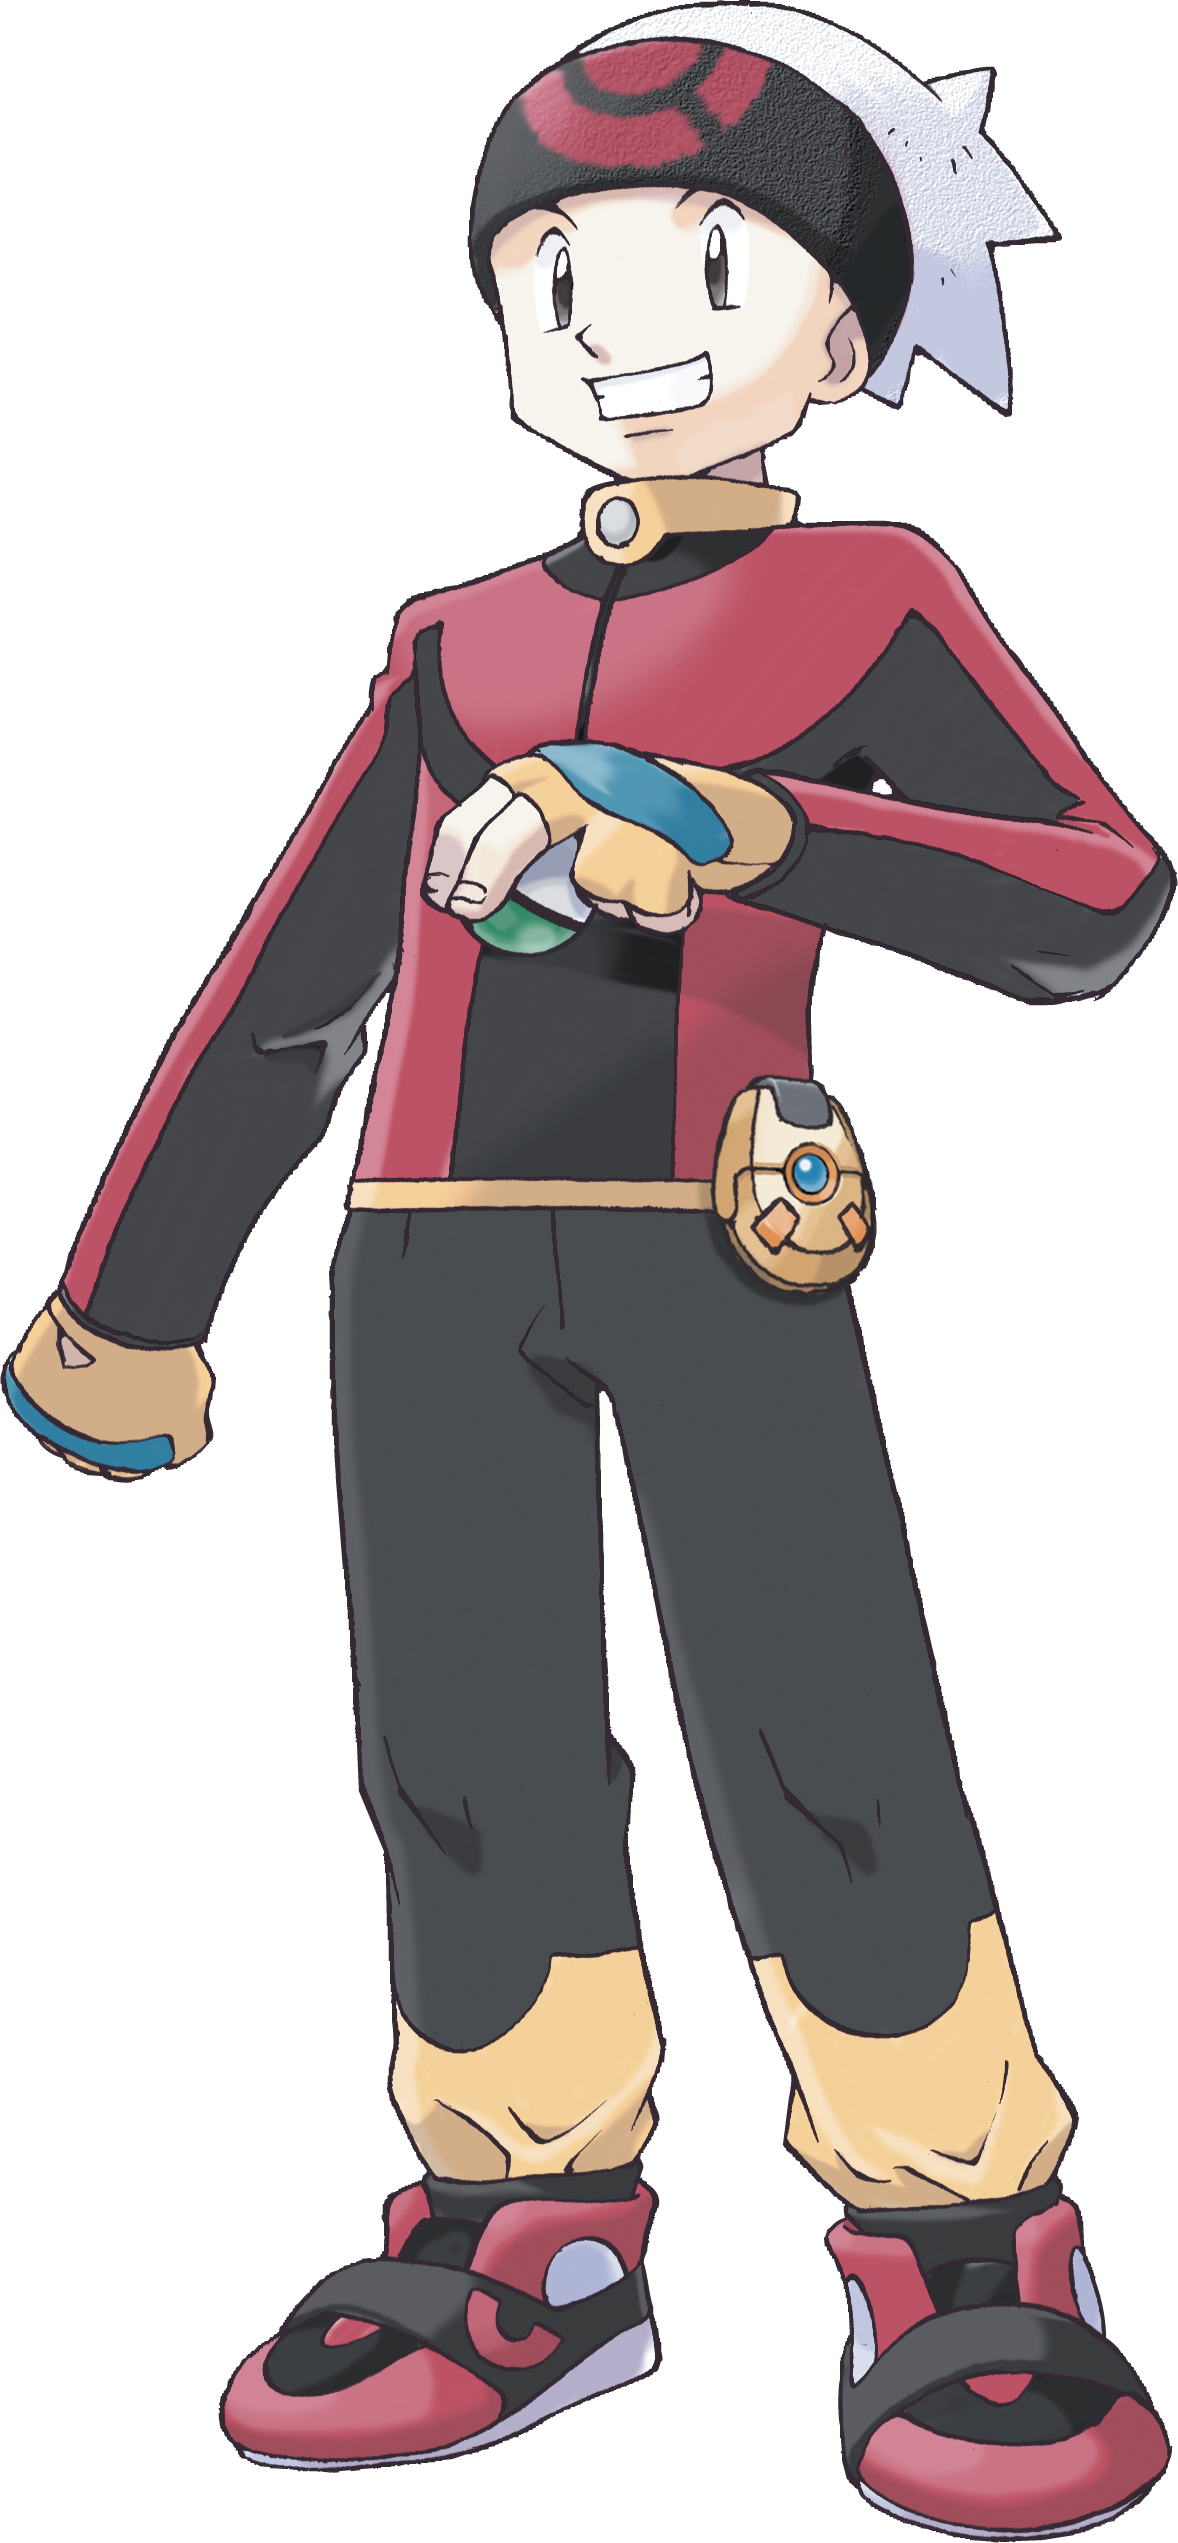
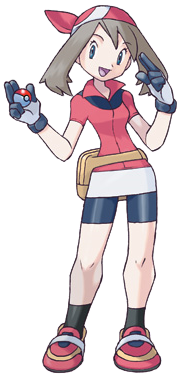
Pokemon Ruby and Sapphire walkthrough
Use this hub as your Hoenn route planner: follow the campaign by badge, keep HMs and key items visible, and check Ruby/Sapphire story splits without bouncing between loose notes.
Quick Start
- Pick Mudkip if you want the smoothest first playthrough. Treecko is clean into Roxanne and Wallace but needs support in the middle. Torchic has a harder first badge but pays off with Fighting coverage.
- Keep one HM helper in rotation early. Zigzagoon and later Linoone are excellent because Cut, Rock Smash, Strength, and Surf errands add up fast.
- Treat Wattson, Norman, Winona, Tate and Liza, Wallace, Victory Road Wally, Drake, and Champion Steven as the main danger points.
- Ruby and Sapphire share the same badge route, but the villain team, box legendary, and several exclusives change.
- If you are using Nuzlocke rules, use the ace levels in the phase planner as your level caps.
Walkthrough Table Of Contents
Stone Badge
Treecko is the cleanest first-badge starter.
02 Littleroot TownSet the clock in your bedroom, take the Potion from the PC if you want the extra safety, then head downstairs and leave town.
03 Oldale Town And Route 103Oldale Town is your first healing stop. Talk to the Poke Mart employee near the entrance for a free Potion, then continue north to Route 103.
04 Route 102Route 102 is the first real team-building route.
05 Petalburg CityNorman introduces himself as your father and explains that you are not ready to battle him yet.
06 Route 104 And Petalburg WoodsRoute 104 has trainer battles and a few pickups before and after the forest.
07 Rustboro CityRustboro has a Trainer's School, a Pokemon Center, a Mart, and the Cutter's House.
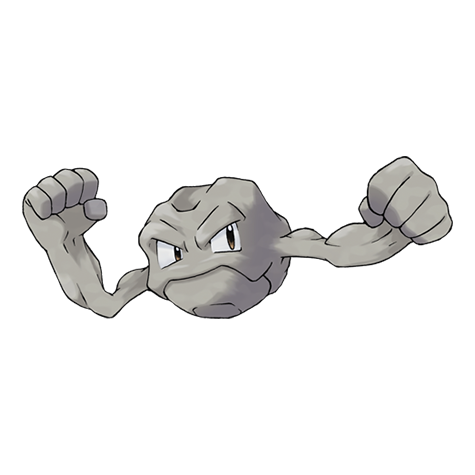
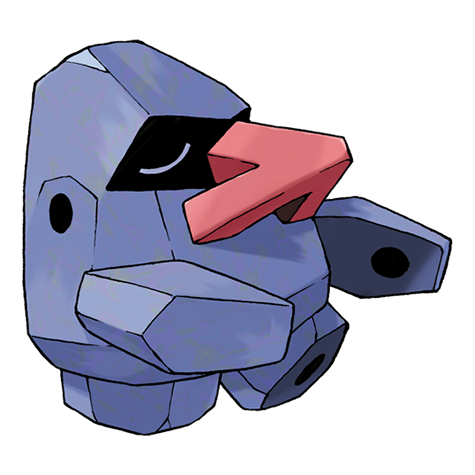
08 Gym Strategy - Roxanne, The Rock LeaderRoxanne uses Geodude Lv. 14 and Nosepass Lv. 15. Her reward is the Stone Badge and TM39 Rock Tomb.
09 Phase 1 Resources And ChecklistTeam Recommendations Role Best picks before Roxanne Why it matters --- --- --- Main Roxanne answer Treecko, Mudkip, Combusken, Shroomish, Lotad Rock types fold to Grass, Water, or.
Knuckle Badge
Use this as the quick encounter board for the phase.
02 Phase 2 Trainer DataStory trainer Team Magma/Aqua Grunt Rusturf Tunnel thief. This is a low-risk story fight, but heal if Roxanne left your party chipped.
03 Rustboro After RoxanneAs soon as you leave the Gym area, the Devon researcher from Petalburg Woods runs by.
04 Devon CorporationReturn the Devon Goods to the researcher, then go to the Devon Corporation.
05 Mr. Briney's BoatMr. Briney now sails you to Dewford Town.
06 Dewford TownDewford has a Gym, a cave to the north, and a town trend system that mostly matters for flavor.
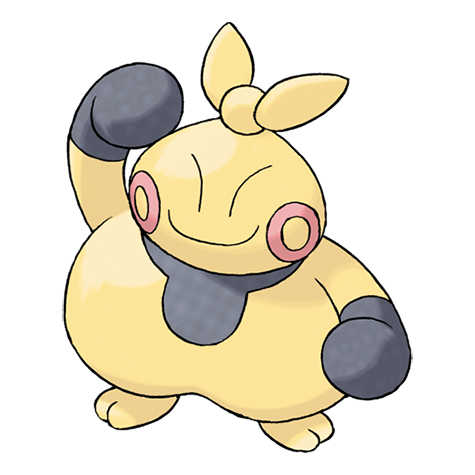
07 Granite CaveGranite Cave is excellent for team building. Makuhita is the standout because Fighting coverage is useful into Norman, Sidney, Glacia, and Steven.
08 Gym Strategy - Brawly, The Fighting LeaderBrawly uses Machop Lv. 17 and Makuhita Lv. 18. His reward is the Knuckle Badge and TM08 Bulk Up.
09 Phase 2 Resources And ChecklistTeam Recommendations Role Best picks for Brawly Why it matters --- --- --- Flying offense Taillow, Wingull, Beautifly Hits Fighting types super effectively Psychic offense Ralts, A.
Dynamo Badge
Sail from Dewford to Slateport when Steven's letter is delivered.
02 Oceanic MuseumThe museum is blocked by your version's villain team until you trigger the shipyard step.
03 Route 110Route 110 is one of the best midgame encounter routes because Electrike appears here.
04 Mauville CityMauville is a utility hub.
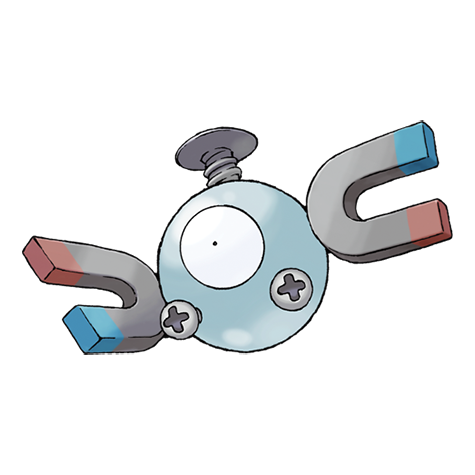
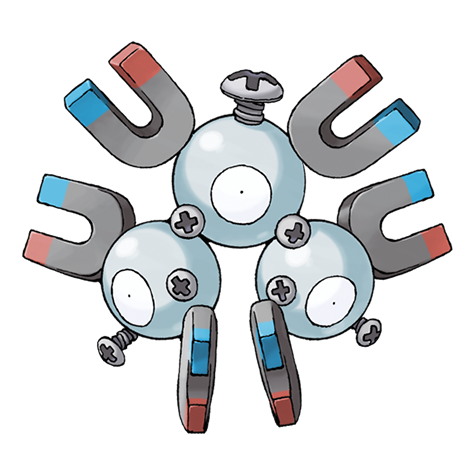
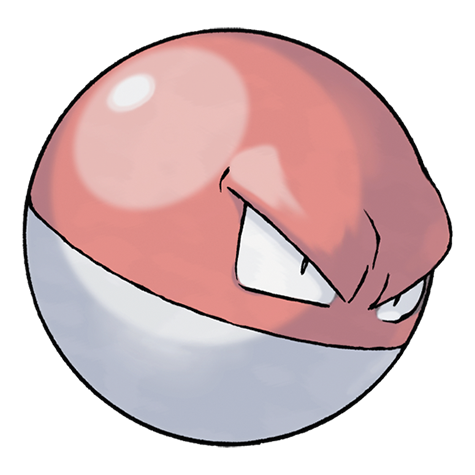
05 Gym Strategy - Wattson, The Electric LeaderWattson uses Magnemite Lv. 22, Voltorb Lv. 20, and Magneton Lv. 23. His reward is the Dynamo Badge and TM34 Shock Wave.
06 Phase 3 Resources And ChecklistTeam Recommendations Role Best picks for Wattson Why it matters --- --- --- Hard counter Marshtomp Ground typing ignores Electric attacks Ground backup Geodude Resists Normal hits.
Heat Badge
Leave Mauville north.
02 Route 112 And Fiery PathThe cable car is blocked the first time you arrive, so enter Fiery Path instead.
03 Route 113 And Fallarbor TownRoute 113 is covered in volcanic ash. Get the Soot Sack from the Glass Workshop if you want to collect ash for flutes.
04 Route 114 And Meteor FallsRoute 114 has useful encounters and the Fossil Maniac's house.
05 Mt. ChimneyThe cable car is now open. Ride to Mt. Chimney, push through the grunts, and fight the leader at the machine.
06 Jagged Pass And Lavaridge TownDescend Jagged Pass from Mt. Chimney. This route has trainers, Fire/Ground encounters, and a one-way feel until you can loop more freely.
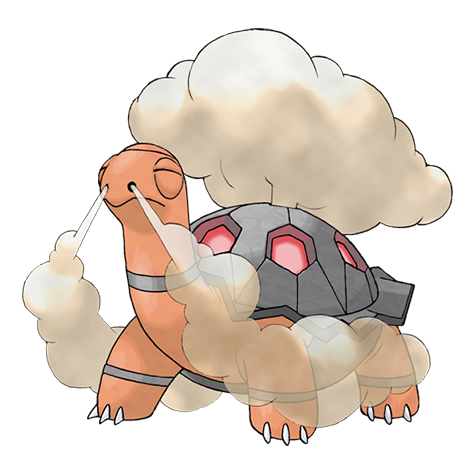
07 Gym Strategy - Flannery, The Fire LeaderFlannery uses Slugma Lv. 26, Slugma Lv. 26, and Torkoal Lv. 28. Her reward is the Heat Badge and TM50 Overheat.
08 Desert CleanupAfter you beat Flannery, your rival gives you the Go-Goggles outside the Gym. This opens the Route 111 desert.
09 Phase 4 Resources And ChecklistTeam Recommendations Role Best picks for Flannery Why it matters --- --- --- Water offense Marshtomp, Wingull/Pelipper, Tentacool Hits Slugma and Torkoal super effectively Ground o.
Balance Badge
If you did not clear the desert after Flannery, do it now.
02 Petalburg Gym RoomsPetalburg Gym uses a room system instead of a normal hallway.
03 Understanding TruantNorman's Slaking has Truant, which means it only acts every other turn. That ability is the entire fight.
04 Gym Strategy - Norman, The Normal LeaderNorman uses Slaking Lv. 28, Vigoroth Lv. 30, and Slaking Lv. 31. His reward is the Balance Badge and TM42 Facade.
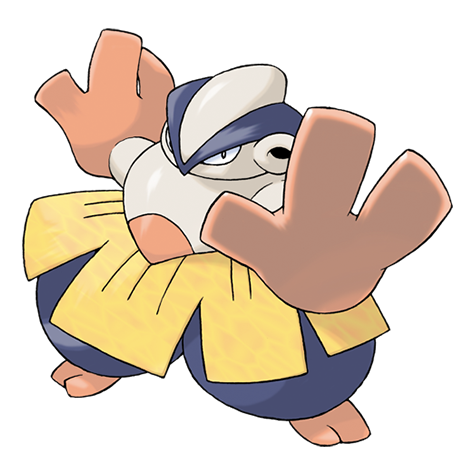
05 Phase 5 Resources And ChecklistTeam Recommendations Role Best picks for Norman Why it matters --- --- --- Fighting offense Combusken, Breloom, Makuhita/Hariyama Hits Normal types super effectively Truant control.
Feather Badge
From Mauville, Surf east across the narrow water channel. Steven meets you after the crossing and points the story toward Fortree.
02 Route 119Route 119 is long and intentionally inconvenient.
03 Weather InstituteThe Weather Institute is occupied by Team Magma in Ruby or Team Aqua in Sapphire.
04 Rival Bridge FightAfter the Weather Institute, your rival challenges you on the bridge.
05 Fortree City And Devon ScopeFortree's Gym is blocked by an invisible Kecleon. Continue east onto Route 120 until you meet Steven.
06 Gym Strategy - Winona, The Flying LeaderWinona uses Swellow Lv. 31, Pelipper Lv. 30, Skarmory Lv. 32, and Altaria Lv. 33.
07 Phase 6 Resources And ChecklistTeam Recommendations Role Best picks for Winona Why it matters --- --- --- Electric offense Manectric, Magneton if traded/available Beats Swellow and Pelipper quickly Rock coverage.
Mind Badge
Continue south from Fortree through Route 120. This route gives more Kecleon interactions, rainy battles, and a long path toward Route 121.
02 Lilycove CityLilycove is a major hub: department store, Contest Hall, Move Deleter, museum, harbor, and the villain hideout nearby.
03 Mt. PyreSurf south from Route 121 to Route 122 and enter Mt. Pyre. The inside is a grave tower with trainers and Ghost-type encounters.
04 Slateport HarborFly to Slateport and go to the harbor. Captain Stern is being interviewed about the submarine.
05 Magma Or Aqua HideoutThe hideout near Lilycove uses warp tiles and grunts.
06 Route 124 And Mossdeep CityOnce the hideout is cleared, surf east across Route 124 to Mossdeep City.
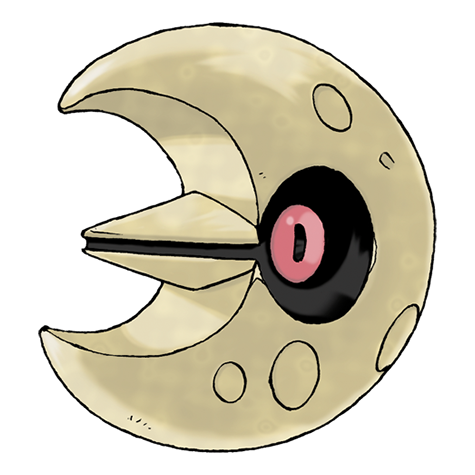
07 Gym Strategy - Tate And Liza, The Psychic LeadersTate and Liza use Lunatone Lv. 42 and Solrock Lv. 42 in a double battle. Their reward is the Mind Badge and TM04 Calm Mind.
08 Phase 7 Resources And ChecklistTeam Recommendations Role Best picks for Tate and Liza Why it matters --- --- --- Surf attacker Swampert, Tentacruel, Pelipper, other Water types Hits both opponents in double batt.
Rain Badge
Teach Dive after receiving HM08 from Steven.
02 Seafloor CavernThe Seafloor Cavern requires Strength and Rock Smash. The boulder puzzles are the main friction point, so bring the correct HM users before entering.
03 Final Maxie Or Archie BattleAt the deepest point, Ruby players battle Maxie and Sapphire players battle Archie.
04 Sootopolis CityGo to Sootopolis City after the weather crisis begins.
05 Cave Of OriginPick up HM07 Waterfall inside the Cave of Origin.
06 Gym Strategy - Wallace, The Water LeaderWallace uses Luvdisc Lv. 40, Whiscash Lv. 42, Sealeo Lv. 40, Seaking Lv. 42, and Milotic Lv.
07 Phase 8 Resources And ChecklistTeam Recommendations Role Best picks for Wallace Why it matters --- --- --- Grass offense Sceptile, Breloom, Vileplume, Ludicolo Hits most of Wallace and destroys Whiscash Electric.
Champion
Use Waterfall to climb into Ever Grande City. Heal at the Pokemon Center before entering Victory Road.
02 Victory RoadVictory Road is the final dungeon and one of the biggest resource drains in Ruby/Sapphire.
03 Final Team ShapeA comfortable League team usually wants: - One strong Water type with Surf and possibly Ice Beam.
04 Elite Four And Champion TeamsRuby and Sapphire use the same Pokemon League lineup.
05 Phase 9 Resources And ChecklistMust-Grab Items (Phase 9 Master List) Item Location Why You Want It --- --- --- League healing supplies Pokemon League Mart No shopping once the challenge starts Victory Road picku.
Post-Game
After the credits, you return home. Watch the TV report. This unlocks the roaming Eon Pokemon: Latios in Ruby and Latias in Sapphire.
02 Steven's BeldumGo to Steven's house in Mossdeep City after becoming Champion. He leaves behind a Beldum for you.
03 S.S. Tidal And Battle TowerThe S.S. Tidal begins sailing after the Hall of Fame. It connects Slateport and Lilycove and eventually gives access to the Battle Tower.
04 Latios Or LatiasRuby gets Latios. Sapphire gets Latias. The roamer appears randomly across Hoenn's routes after the TV report.
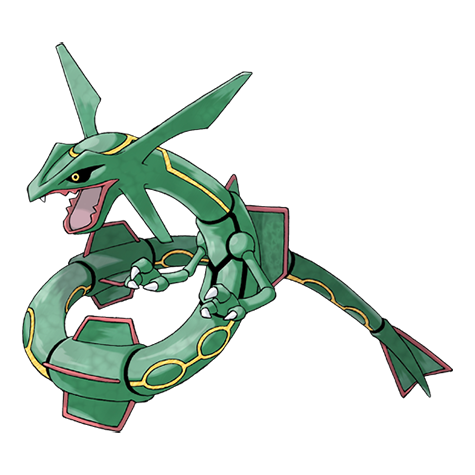
05 Rayquaza And Sky PillarRayquaza is available at Sky Pillar after the main story.
06 The Regi PuzzleThe Regi quest is the most puzzle-heavy side objective in Hoenn. You need Relicanth, Wailord, Dig, Dive, Surf, and patience with Braille clues.
07 Optional Dungeon CleanupArea Why Return --- --- Abandoned Ship Ice Beam-related rewards, Scanner quest, Water Stone route depending choices Shoal Cave Shoal Salt/Shell Bell materials and Ice-type encounte.
08 Pokedex And Version CompletionRuby/Sapphire cannot complete everything alone.
09 Phase 10 Resources And ChecklistMust-Grab Items And Rewards (Phase 10 Master List) Item/Reward Location Why You Want It --- --- --- Beldum Steven's house in Mossdeep Post-game pseudo-legendary line S.S.
Phase Planner
| Phase | Target Level | Main Reward | Use It For |
|---|---|---|---|
| Phase 1: Stone Badge | 12-15 | Stone Badge + TM39 Rock Tomb | Starter choice, early encounters, Petalburg Woods, Roxanne |
| Phase 2: Knuckle Badge | 16-19 | Knuckle Badge + TM08 Bulk Up | Dewford, Old Rod, Granite Cave, Steven’s letter, Brawly |
| Phase 3: Dynamo Badge | 20-24 | Dynamo Badge + TM34 Shock Wave | Slateport, Route 110 rival, Mauville unlocks, Wattson |
| Phase 4: Heat Badge | 25-29 | Heat Badge + TM50 Overheat | Meteor Falls, Mt. Chimney, Lavaridge, Flannery, desert access |
| Phase 5: Balance Badge | 29-32 | Balance Badge + HM03 Surf | Norman, Slaking plan, Surf unlock, midgame HM routing |
| Phase 6: Feather Badge | 31-34 | Feather Badge + Fly use | Route 119, Weather Institute, Fortree, Devon Scope, Winona |
| Phase 7: Mind Badge | 39-43 | Mind Badge + Dive use | Mt. Pyre, villain hideout, Mossdeep, double battle prep |
| Phase 8: Rain Badge | 41-44 | Rain Badge + Waterfall use | Route 128 Dive routing, legendary story, Sootopolis, Wallace |
| Phase 9: Champion | 52-58 | Hall of Fame | Victory Road, Elite Four, Steven |
| Phase 10: Post-Game | 50+ | Battle Tower + legendary cleanup | Beldum, Latios/Latias, Rayquaza, Regis, side areas |
Best Use Cases
Use the walkthrough straight through for a normal playthrough. The phase pages are written to keep you moving without over-explaining every trainer who owns one Zigzagoon. Important trainers, bosses, gifts, HMs, and route decisions get the extra detail.
Use the guide as a Nuzlocke planner by treating each phase’s target level as a soft cap and each Gym ace as a hard cap. The phase checklists call out the encounters that matter most for survivability.
Use it with the PokedexGenerator Team Randomizer by rolling a fresh team after each badge. The Randomizer Hooks section in each phase tells you which routes have opened so your team pool stays game-aware instead of becoming pure chaos.
Version Split Cheat Sheet
| Category | Pokemon Ruby | Pokemon Sapphire |
|---|---|---|
| Villain team | Team Magma | Team Aqua |
| Main leader | Maxie | Archie |
| Cave of Origin legendary | Groudon | Kyogre |
| Roaming Eon Pokemon | Latios | Latias |
| Early Grass exclusive | Seedot line | Lotad line |
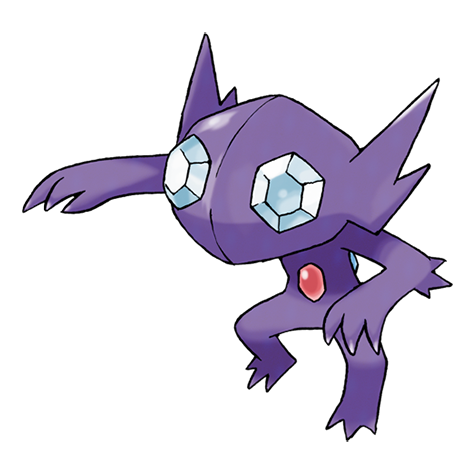
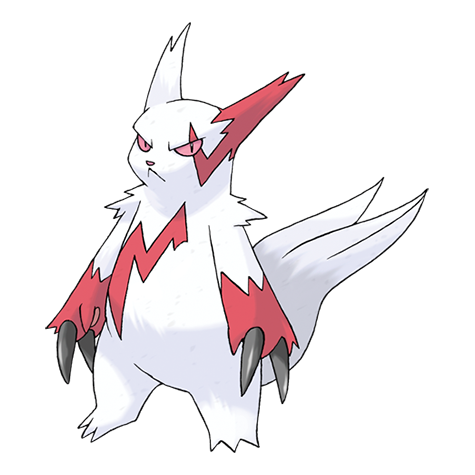
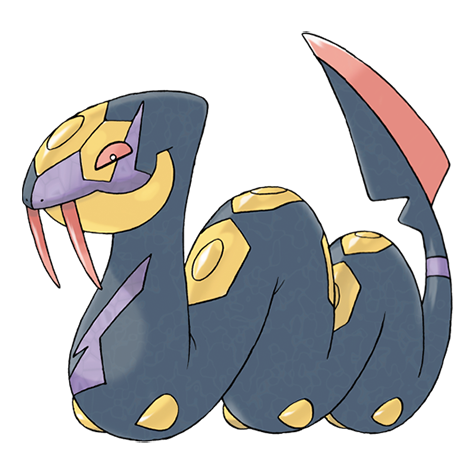
| Notable single-stage exclusives | Mawile, Zangoose, Solrock | Sableye, Seviper, Lunatone |
| Story flavor | Expanding land | Expanding sea |
The walkthrough calls the villain team “your version’s villain team” when the route is identical. When the actual fight or reward differs, the phase page splits Ruby and Sapphire into separate notes.
Recommended Companion Tools
- Team Randomizer for badge-lock challenge runs and streamer teams.
- Team Analysis before Wattson, Norman, Tate and Liza, Drake, and Steven.
- Pokedex pages for move learnsets, evolution timing, typing, and defensive matchups.
- The character image manifest at
/guides/pokemon-ruby-sapphire-character-images.jsonfor local art paths, alt text, captions, and rights review.
Character Art Set
The Ruby/Sapphire image set includes Brendan, May, Professor Birch, Wally, Norman, Roxanne, Brawly, Wattson, Flannery, Winona, Tate and Liza, Wallace, Steven, Maxie, Archie, Sidney, Phoebe, Glacia, and Drake.
Use Brendan and May together in the hub hero. Use Gym Leader art beside each badge phase, Maxie and Archie in the version split and Seafloor Cavern phases, Steven in the Champion phase, and the Elite Four portraits in Phase 9.
Dex quick links
Pokemon in this phase
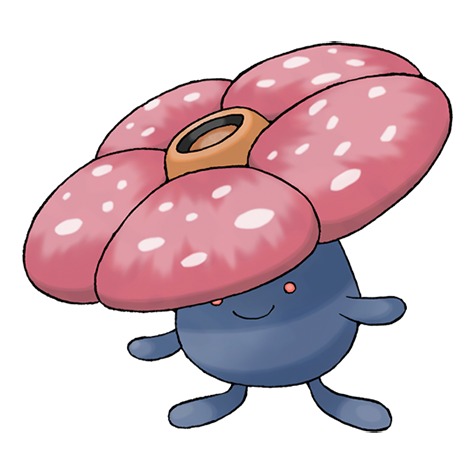 Vileplume
 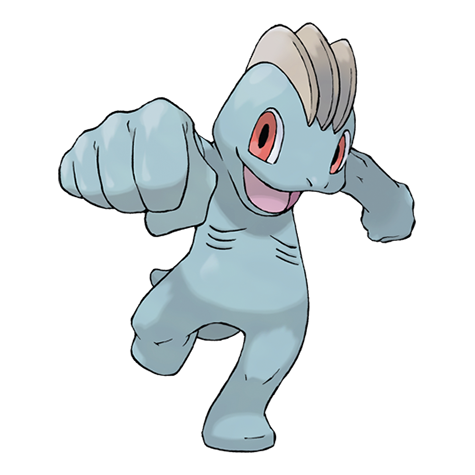 Machop
 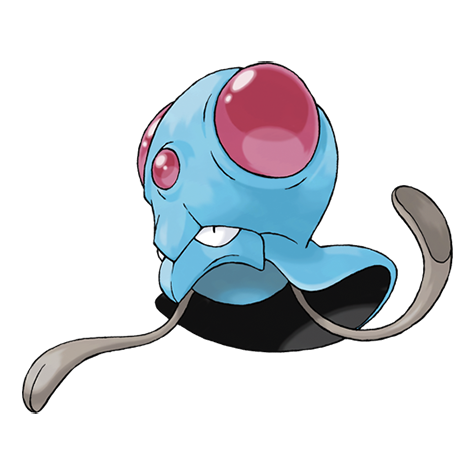 Tentacool
 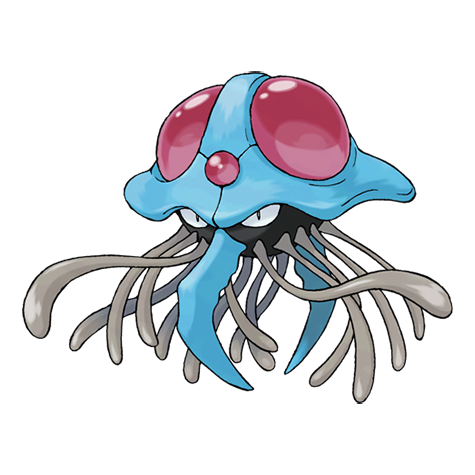 Tentacruel
  Geodude
  Magnemite
  Magneton
  Voltorb
 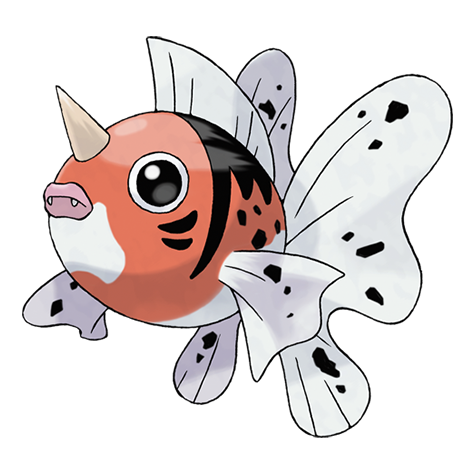 Seaking
 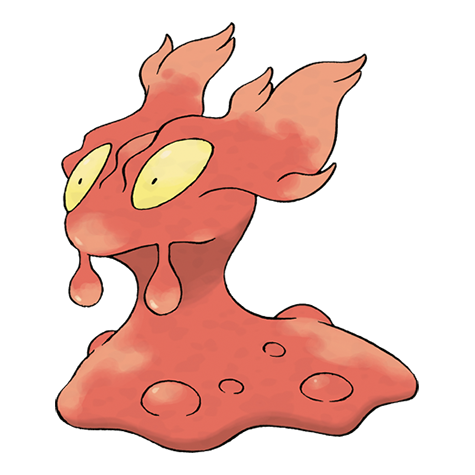 Slugma
 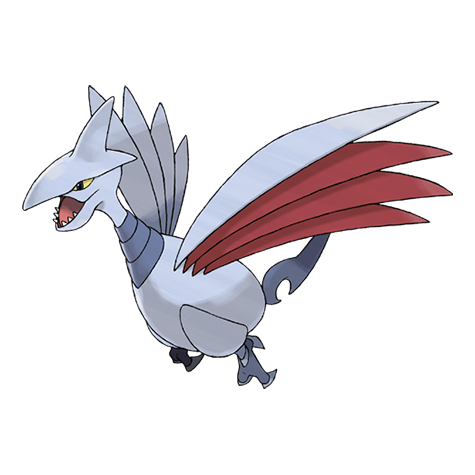 Skarmory
 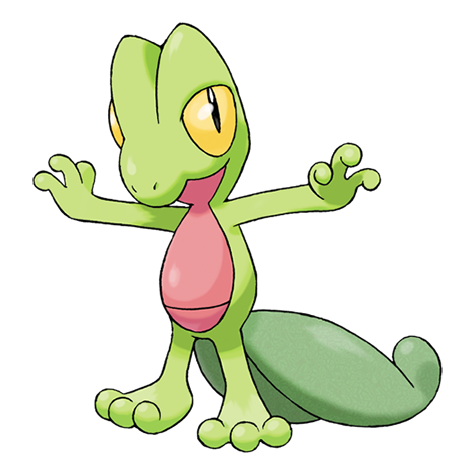 Treecko
 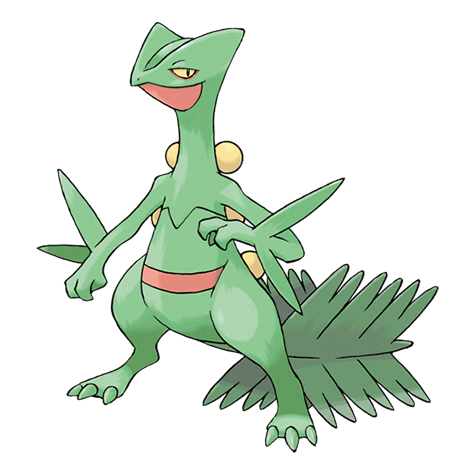 Sceptile
 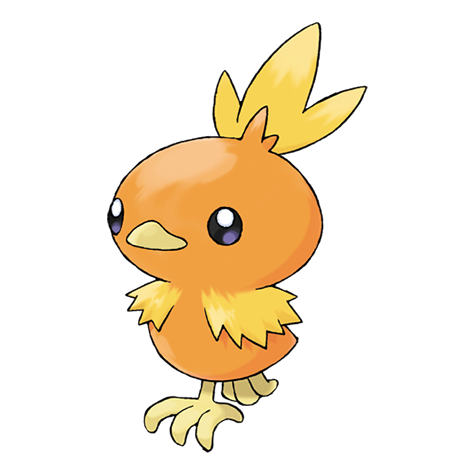 Torchic
 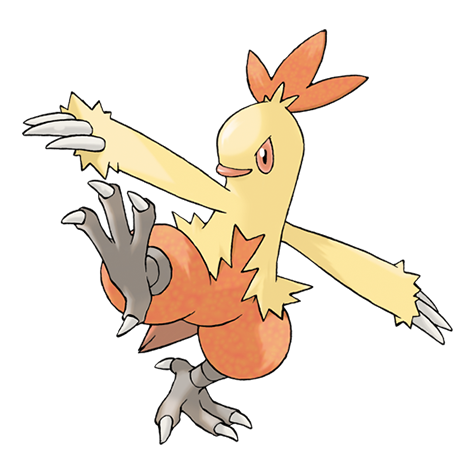 Combusken
 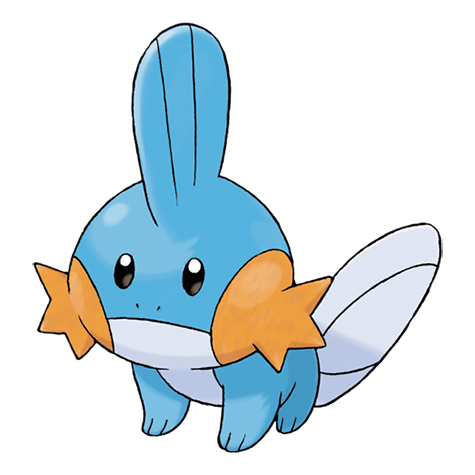 Mudkip
 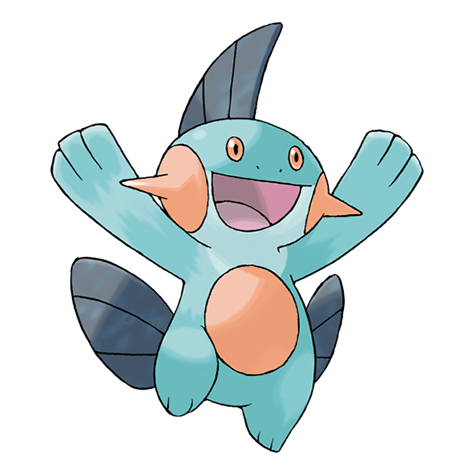 Marshtomp
 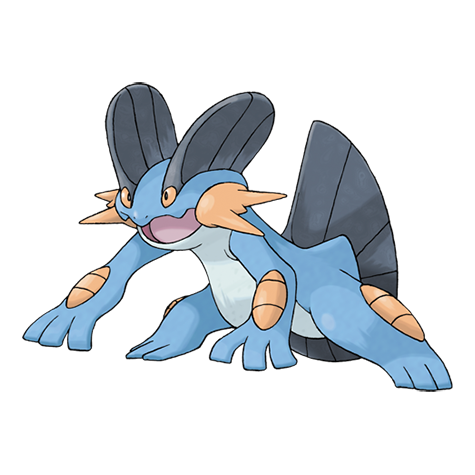 Swampert
 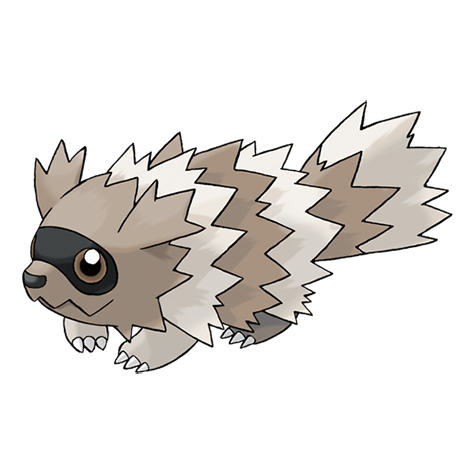 Zigzagoon
 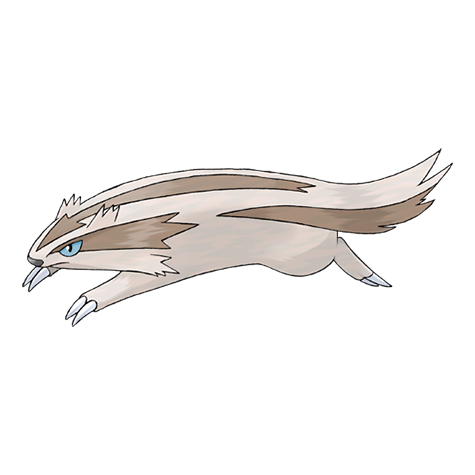 Linoone
 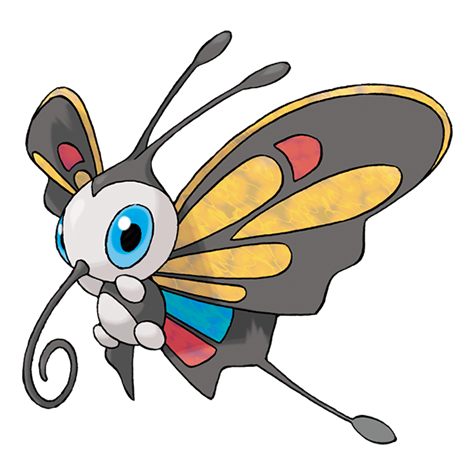 Beautifly
 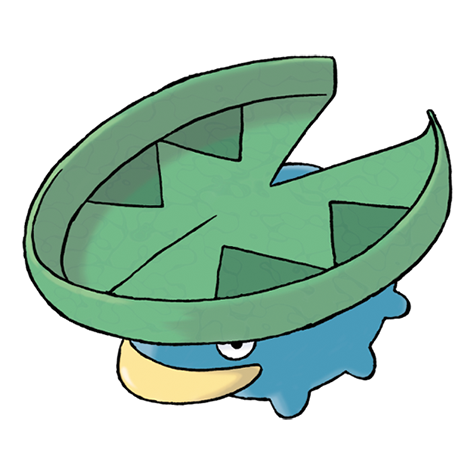 Lotad
Lotad 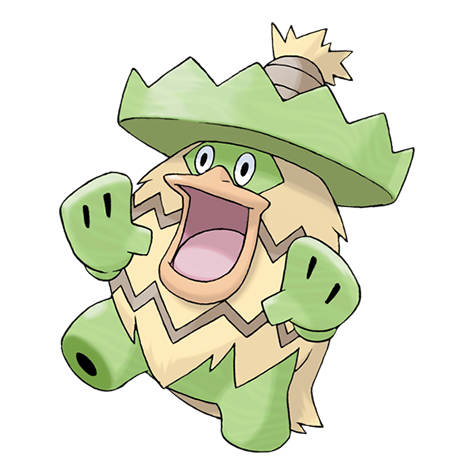 Ludicolo
 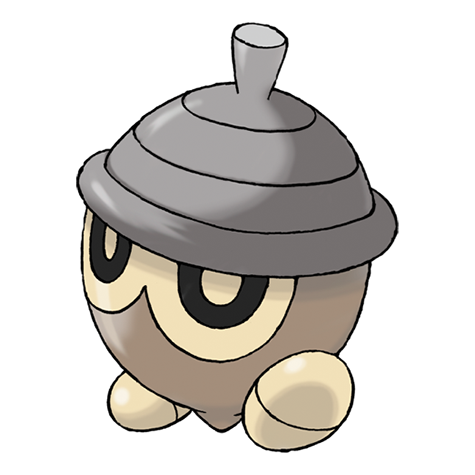 Seedot
 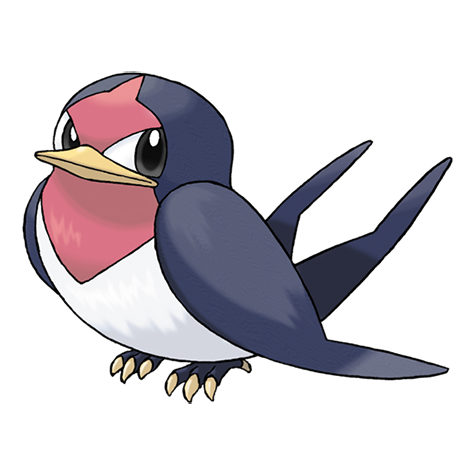 Taillow
 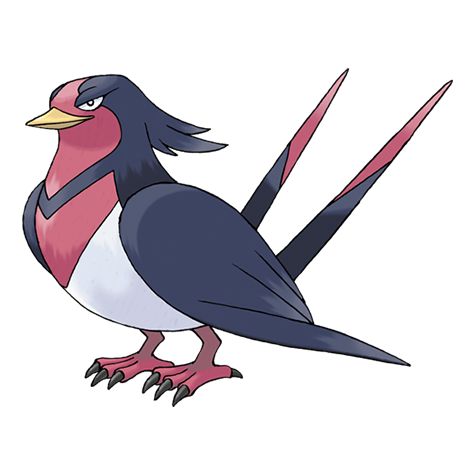 Swellow
  Wingull
 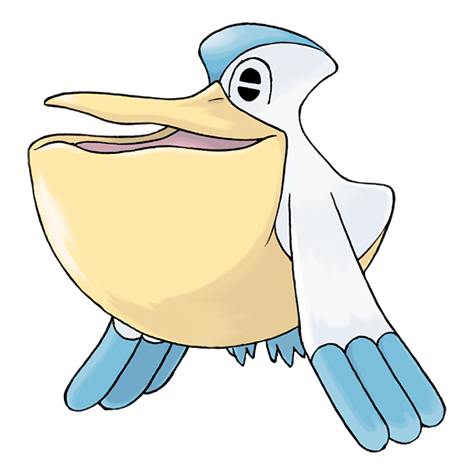 Pelipper
 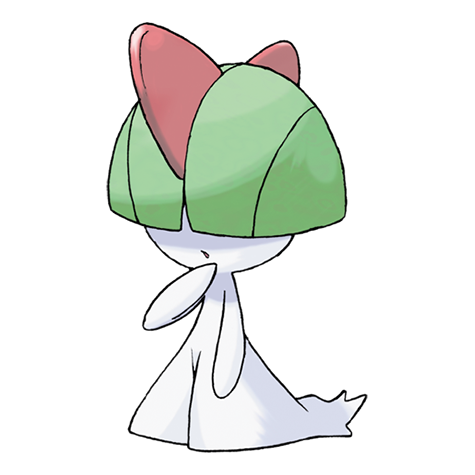 Ralts
Ralts 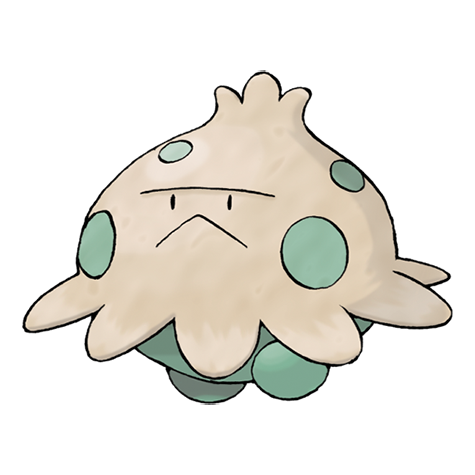 Shroomish
 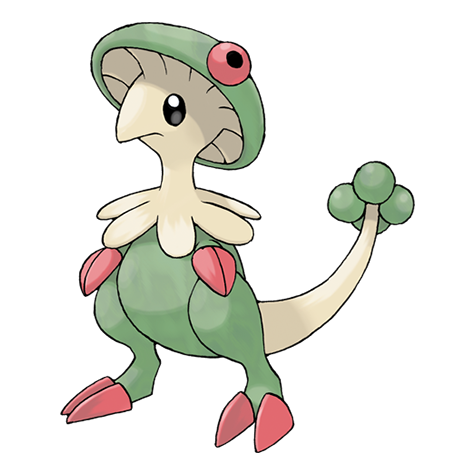 Breloom
 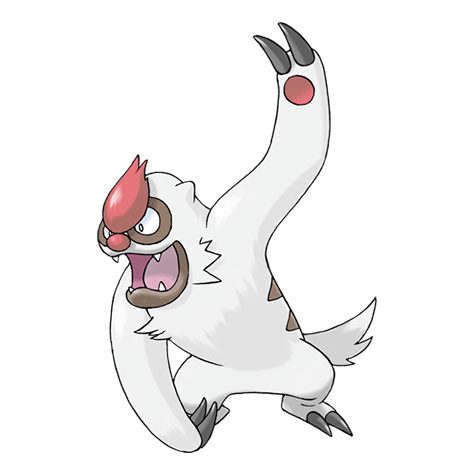 Vigoroth
 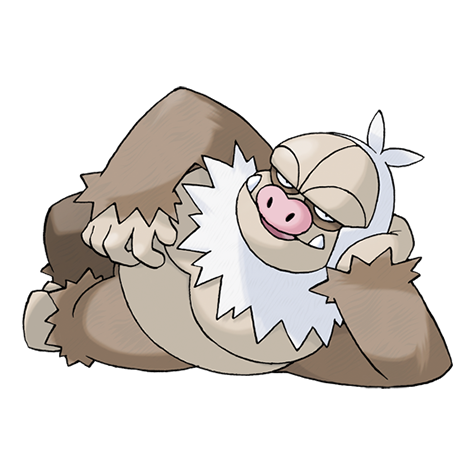 Slaking
  Makuhita
  Hariyama
  Nosepass
  Sableye
 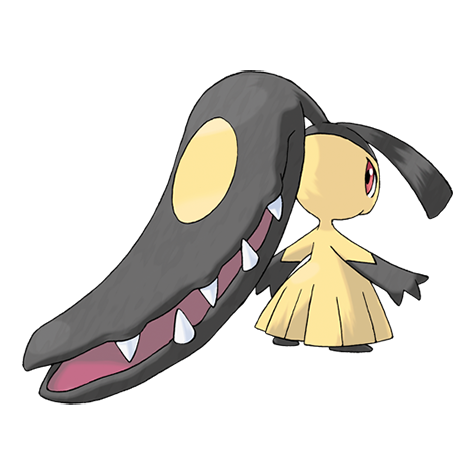 Mawile
 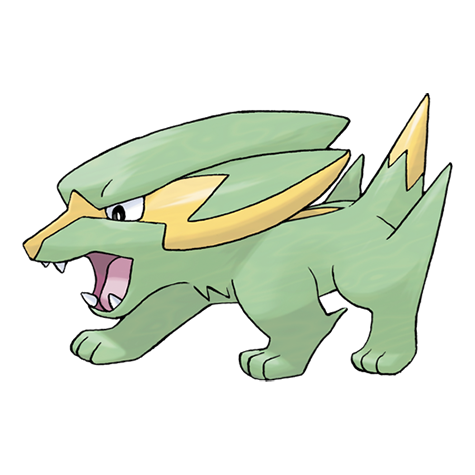 Electrike
 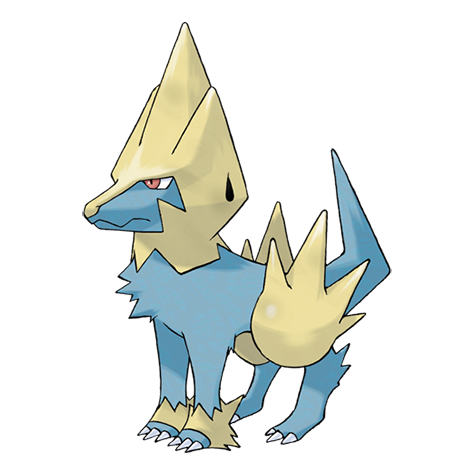 Manectric
 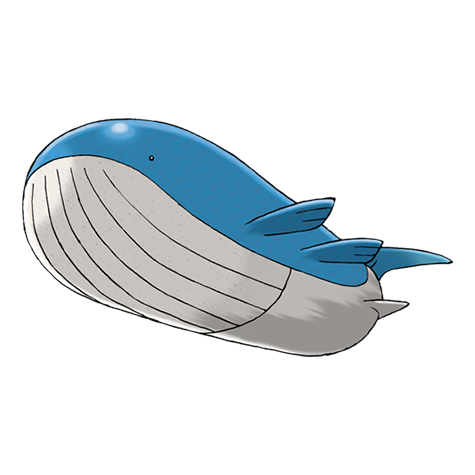 Wailord
  Torkoal
  Altaria
  Zangoose
  Seviper
  Lunatone
 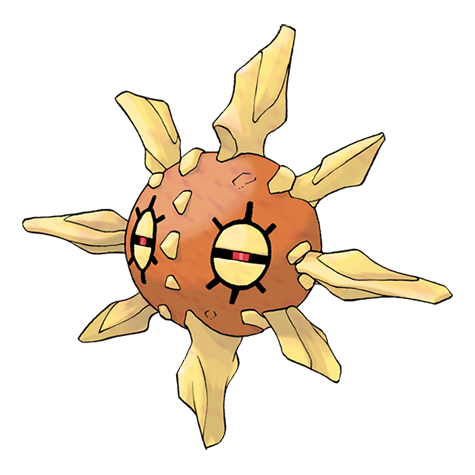 Solrock
 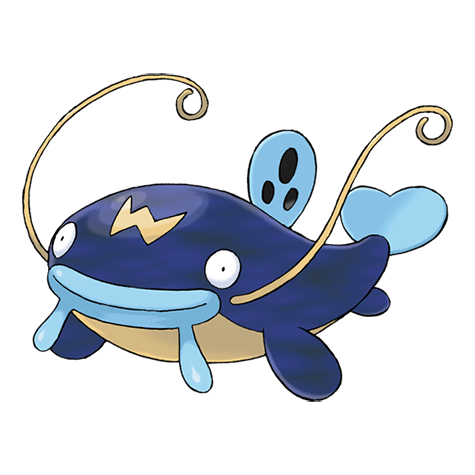 Whiscash
 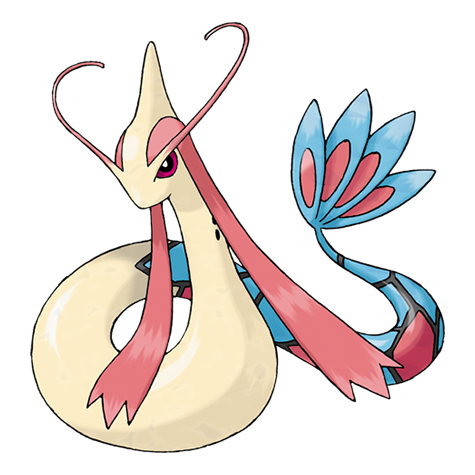 Milotic
  Castform
 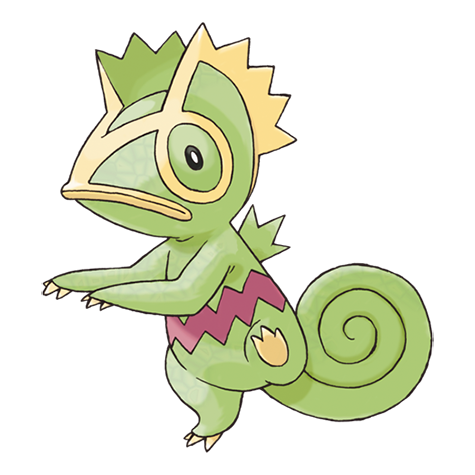 Kecleon
 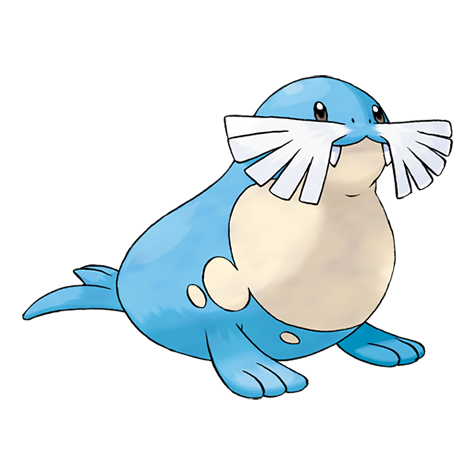 Sealeo
 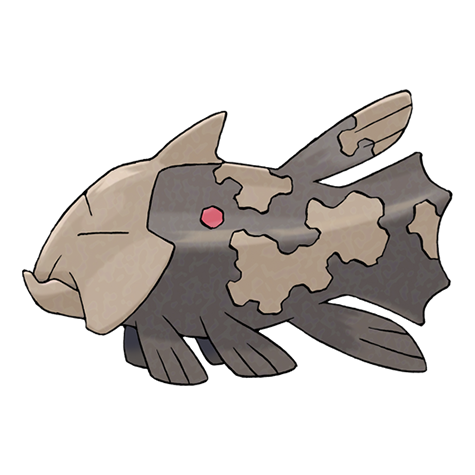 Relicanth
 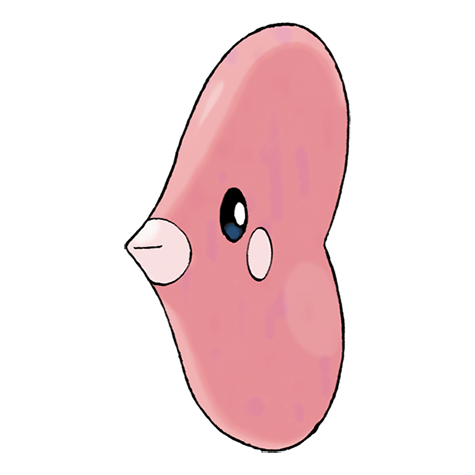 Luvdisc
 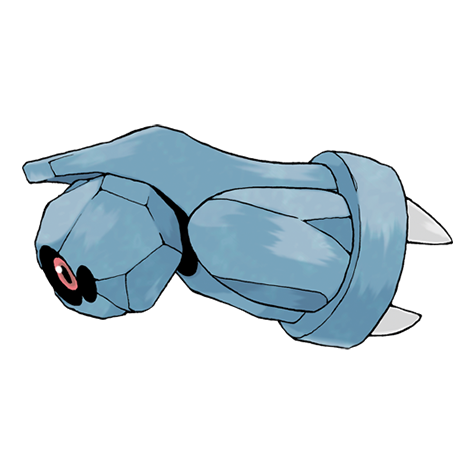 Beldum
 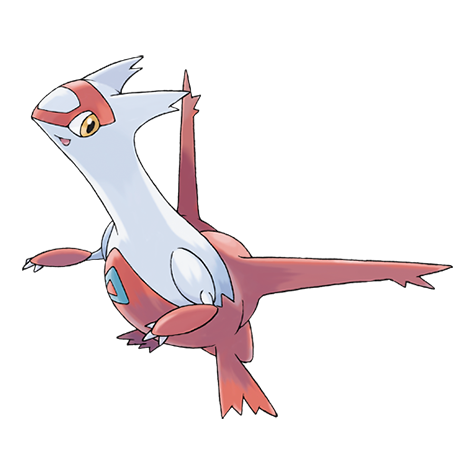 Latias
 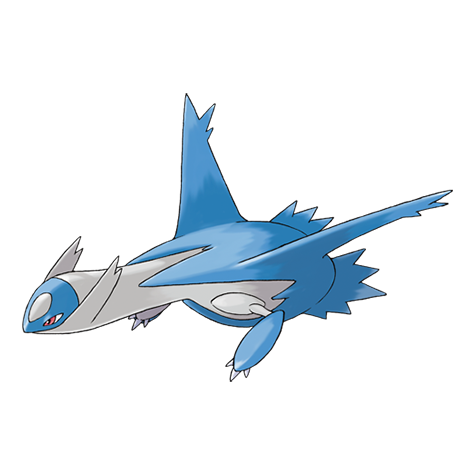 Latios
 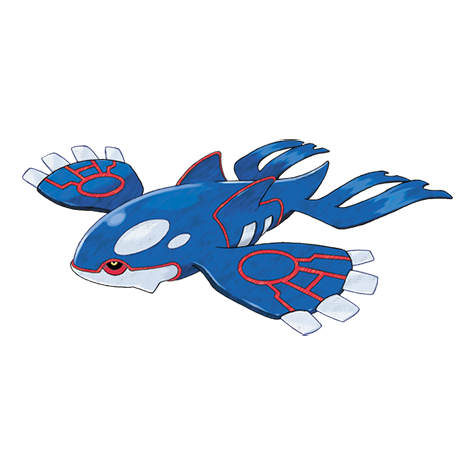 Kyogre
 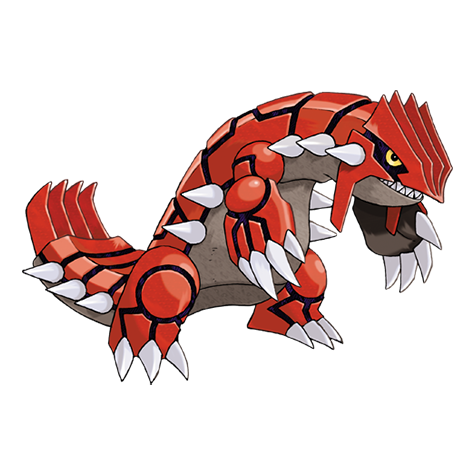 Groudon
  Rayquaza