
Crystal walkthrough hub

Pokemon Crystal Walkthrough Guide
Complete Pokemon Crystal walkthrough for Johto and Kanto with badge order, route maps, encounters, time-of-day notes, legendary routing, Red prep, and post-game cleanup.
Game box art
Pokemon Crystal
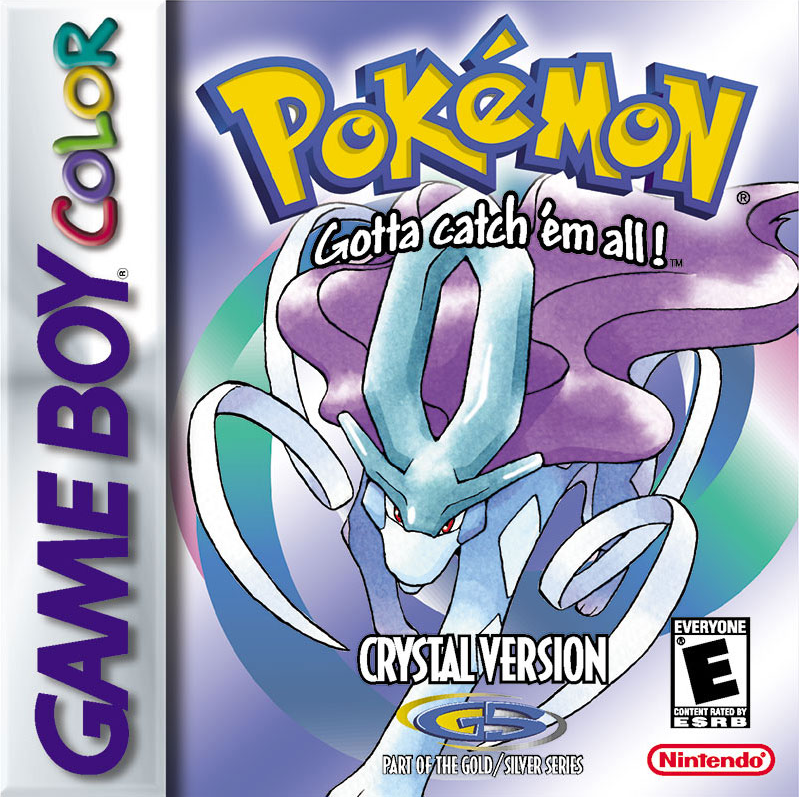
Complete Pokemon Crystal walkthrough for Johto and Kanto: 12 phase indexes plus 82 deeper section pages for badge order, route planning, time-of-day catches, key item checks, legendary routing, Elite Four prep, all 16 Kanto/Johto badges, and the final Red battle.
Use this hub as your Crystal route planner. Jump into the phase you are currently playing, check the target level, clear the route map, then open the nested section pages for the detailed route, encounter, boss, item, legendary, and checklist notes.
Pokemon Crystal walkthrough
Follow Johto by badge, pivot into Kanto after Lance, then use the legendary reference and Mt. Silver phase to finish the file cleanly.







Quick Start
- Pick Totodile for the smoothest no-grind route. Cyndaquil is close behind and Chikorita needs more team support early.
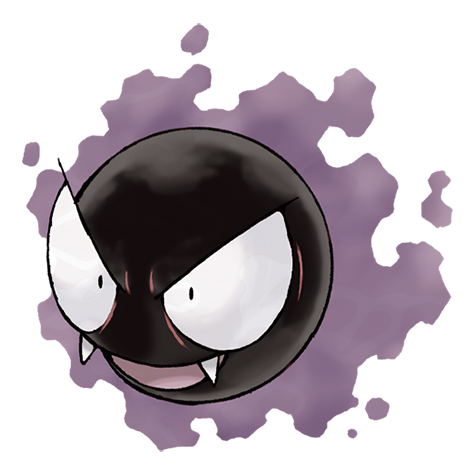
- Time of day matters constantly in Crystal. Check the encounter tables before waiting for Hoothoot, Gastly, Heracross, Lapras, or other gated catches.
- Treat Whitney, Morty, Chuck, Jasmine, Clair, Lance, Blue, and Red as the major danger points.
- Save before one-time or fragile encounters: Sudowoodo, Red Gyarados, Suicune, Lugia, Ho-Oh, and Red.
- If you are using Nuzlocke rules, use the target level band in the phase planner as your planning guardrail.
Walkthrough Table of Contents
Phase 1 Zephyr Badge
Professor Elm hands you one of three starters, then sends you to Mr. Pokemon on Route 30.
02 Route 29 — Cherrygrove CityYour first wild grass. Catch one or two utility mons here — you want a Flying-type and a body or two to spread experience.
03 Route 30 — Mr. Pokemon's ErrandHead north to Mr. Pokemon's house at the top of Route 30.
04 Rival Battle — Cherrygrove OutskirtsOn the way back, your red-haired rival steals a starter from Elm's lab and ambushes you just outside Cherrygrove.
05 Route 31 — Dark Cave MouthRoute 31 connects Cherrygrove to Violet City and passes the Dark Cave entrance (you can't use it yet — needs Flash Normal , which you're about to get).
06 Route Trainer Data — Routes 30-31Once Elm's errand is done, the west side of Route 30 opens up. These are every trainer battle before Violet City.
07 Violet City — Sprout TowerBefore challenging Falkner, clear Sprout Tower on the north side of town.
08 Gym Strategy - Falkner, The Flying LeaderGym puzzle: None to speak of — a short straight gym with two warm-up trainers before the leader.
09 Phase 1 Resources And ChecklistTeam Recommendations Phase 1 is short, so keep it lean: your starter plus one or two utility catches.
Phase 2 Hive Badge
Exit Violet south through the gate. Talk to the Fishing Guru in the house just inside Route 32 for a free Old Rod — your first water catches.
02 Ruins of Alph — Unown DetourMidway down Route 32, the Ruins of Alph branch west.
03 Union CaveUnion Cave links Route 32 to Route 33. This is your Rock-type stop — and Rock is exactly what wrecks Bugsy's Scyther.
04 Route 33 — Into AzaleaA short western stretch with a couple of trainers. Encounters mirror the cave/route mix (Spearow, Rattata, Ekans, Zubat).
05 Azalea Town — Slowpoke WellAzalea's Slowpoke have gone silent — Team Rocket is in the Slowpoke Well cutting off Slowpoke tails to sell.
06 Rival Battle — Ilex Forest GateAfter Bugsy, your rival ambushes you at the Ilex Forest entrance .
07 Ilex Forest — Cut and HeadbuttIlex Forest is a small maze and the gateway to Goldenrod. Two big pickups here, plus the best catch of the phase.
08 Gym Strategy - Bugsy, The Bug LeaderGym puzzle: None — a straight path past two Bug-Catcher trainers to Bugsy.
09 Phase 2 Resources And ChecklistTeam Recommendations Phase 2 is where your team takes shape.
Phase 3 Plain Badge
South of Ilex, Route 34 runs down to Goldenrod past the Day-Care (drop two Pokemon here to breed/level).
02 Goldenrod City — The Hub of JohtoGoldenrod is the biggest city in the game and a one-stop shop.
03 National Park — Bug-Catching ContestNorth through Route 35 is the National Park .
04 Route 36 — SudowoodoNorth of Goldenrod, a "tree" blocks Route 36 — it's a Sudowoodo .
05 Gym Strategy - Whitney, The Normal LeaderGym puzzle: Simple — a couple of trainers and a short path.
06 Phase 3 Resources And ChecklistTeam Recommendations Your roster should now be filling out.
Phase 4 Fog Badge
From Goldenrod, head north through Route 35, past the National Park, then Routes 36–37 to Ecruteak.
02 Ecruteak City — Dance Theatre and SurfEcruteak sits between the Burned Tower and the Tin Tower .
03 Burned Tower — The Beasts AwakenHead into the Burned Tower and down to the basement.
04 Rival Battle — Burned TowerYour rival challenges you at the Burned Tower. Two ghosts, an Electric, and his ace.
05 Gym Strategy - Morty, The Ghost LeaderGym puzzle: Walk the invisible floor path (follow the lit tiles) to reach Morty.
06 Phase 4 Resources And ChecklistTeam Recommendations Heading into Morty, prioritize Psychic and Dark coverage: Espeon (or Drowzee/Hypno): ★ Psychic is super-effective on Morty's whole Ghost/ Poison lineup — your single best tool this phase.
Phase 5 Storm Badge
West of Ecruteak, Routes 38–39 lead to Olivine, past the Moomoo Farm (feed the sick Miltank Berries for cheap Moomoo Milk healing).
02 Olivine City — The Locked LighthouseIn Olivine, gym leader Jasmine is up the Glitter Lighthouse tending a sick Ampharos ("Amphy") that powers the beacon.
03 Routes 40-41 — Surf to CianwoodSurf Water southwest from Olivine across Routes 40–41 to Cianwood. Fishing here gives Crystal's other Electric path.
04 Cianwood City — Pharmacy and SuicuneCianwood is a small island town with the medicine you need and a Fighting gym.
05 Eusine Battle — Cianwood LedgeOn the ledge north of Cianwood, Suicune appears, studies you, and bolts across the water.
06 Gym Strategy - Chuck, The Fighting LeaderGym puzzle: Minimal — beat the gym trainers and reach Chuck. Cianwood City Gym Leader Chuck, Cianwood City Gym Psychic or Flying pressure wins fast.
07 Phase 5 Resources And ChecklistTeam Recommendations Espeon / Psychic mon: ★ Psychic is super-effective on Chuck's Fighting pair — your cleanest gym answer again.
Phase 6 Mineral Badge
Fly Flying or Surf Water back to Olivine and climb the lighthouse with the SecretPotion .
02 Strength and the PortBefore the gym, pick up HM04 Strength from the sailor in Olivine's port/cafe area — the Plain Badge already lets you use it, so you can now shove boulders (handy in Mt.
03 Mt. Mortar — Tyrogue DetourMt. Mortar (off Route 42, between Ecruteak and Mahogany) is an optional cave with strong catches and a gift.
04 Gym Strategy - Jasmine, The Steel LeaderGym puzzle: None — straight to Jasmine once Amphy is cured.
05 Phase 6 Resources And ChecklistTeam Recommendations A Ground, Fire, or Fighting attacker: ★ All three hit Jasmine's Steel team super-effectively — a single good one wins the gym.
Phase 7 Glacier Badge
Travel east toward Mahogany along Route 42 (the western mouth of Mt. Mortar is here too).
02 Mahogany and Lake of Rage — Red GyaradosMahogany's "souvenir shop" is a front for a Team Rocket base broadcasting a radio signal that force-evolves Magikarp.
03 Team Rocket HQ — MahoganyDrop into the hideout beneath the shop.
04 Goldenrod Radio Tower — The Clear BellTeam Rocket isn't done — they seize the Goldenrod Radio Tower .
05 Tin Tower — Catch SuicuneWith the Clear Bell , Fly Flying to Ecruteak and enter the Tin Tower .
06 Gym Strategy - Pryce, The Ice LeaderGym puzzle: Slide across the ice to clear the path (the gym opens only after you've cleared the Rocket HQ).
07 Phase 7 Resources And ChecklistTeam Recommendations Fighting or Fire or Rock for Pryce: ★ All beat Ice — Heracross/Hitmon, Growlithe/Typhlosion, or a Rock attacker.
Elite Four and Lance
East of Mahogany, Route 44 leads to the Ice Path , a sliding-puzzle cave that drops you into Blackthorn.
02 Blackthorn City — ClairBlackthorn is the last Johto city.
03 Dragon's Den — The Badge TestBehind the gym, Surf Water into the Dragon's Den .
04 Victory Road — Rival BattleWith all eight Johto badges, head to the League: from New Bark Town, Surf Water east along Routes 26–27 through Tohjo Falls (needs Waterfall Water / Surf Water ) into Victory Road .
05 Gym Strategy - Clair, The Dragon LeaderGym puzzle: Rotate the spinner tiles and use Strength/ Whirlpool Water to reach Clair.
06 Elite FourStock up at the Indigo Plateau Pokemon Center — once you start, it's all four members plus Lance with no break .
07 Champion — LanceChampion - Dragon Lance, Champion Ice is the key to the Dragonites. Electric checks Gyarados, and Rock hammers Aerodactyl and Charizard.
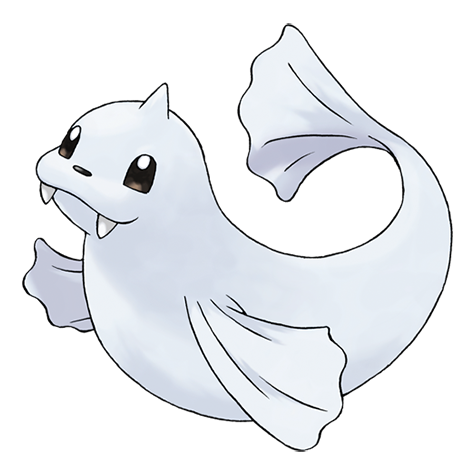
08 Phase 8 Resources And ChecklistTeam Recommendations An Ice attacker: ★ Ice Beam Ice / Blizzard Ice (Lapras, Piloswine, Jynx, Dewgong) wrecks Clair's dragons and is the single best tool vs Champion Lance.
Phase 9 Kanto Part 1
As Johto Champion you can sail the S.S. Aqua from Olivine to Vermilion City in Kanto.
02 Vermilion City — Surge and SnorlaxVermilion has Lt. Surge's Electric gym and a sleeping roadblock.
03 Saffron City — Sabrina and the Magnet TrainNorth of Vermilion, Saffron hosts Sabrina (Psychic) and the Magnet Train station back to Goldenrod (running once you fix the Power Plant).
04 Cerulean City — Power Plant and MistyMisty isn't at her gym at first — and the Power Plant (north on Route 10) has had its generator Machine Part stolen.
05 Celadon City — ErikaWest lies Celadon — the Dept.
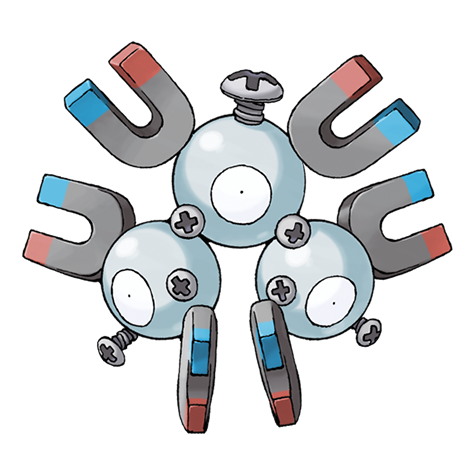
06 Gym Strategy - Southern Kanto LeadersVermilion City Gym Leader Lt. Surge, Vermilion City Gym Ground types ignore Electric, hit Magneton super-effectively, and make this badge nearly free if you respect Explosion.
07 Phase 9 Resources And ChecklistTeam Recommendations Ground (Dugtrio/Golem/Donphan): ★ Trivializes Surge and helps everywhere Electric appears.
Phase 10 Kanto Part 2
Fuchsia hosts Janine (Koga's daughter), a Poison gym.
02 Cinnabar and Seafoam — The Blaine QuestSurf Water south to Cinnabar Island — but the island was destroyed by a volcanic eruption ; only a lone Pokemon Center floats offshore.
03 Pewter City — Brock and the Silver WingPewter has Brock's Rock gym and a key item for the endgame.
04 Viridian City — BlueViridian's gym leader is Blue — the toughest Kanto leader, and he'll only battle once you hold the other seven Kanto badges .
05 Mt. Moon — Final Rival BattleYour rival makes his last story stand at Mt. Moon (around the Mt. Moon Square event).
06 Gym Strategy - Outer Kanto LeadersFuchsia City Gym Leader Janine, Fuchsia City Gym She is underleveled for Kanto.
07 Phase 10 Resources And ChecklistTeam Recommendations A strong Grass attacker: ★ 4× sweeps Brock and helps vs Blaine's Magcargo and Blue's Rhydon.
Legendary Roundup
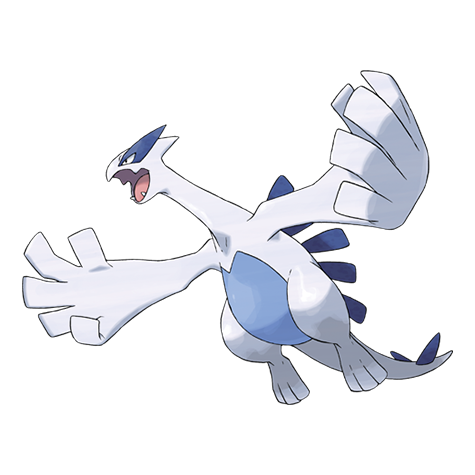
With the Silver Wing from Pewter, return to the Whirl Islands on Route 41 (between Olivine and Cianwood).
02 Roaming Beasts — Final CleanupIf you haven't bagged Raikou (Electric) and Entei (Fire) yet, now's the time.
03 Ho-Oh — Rainbow Wing via EusineIn Crystal, Ho-Oh is gated behind catching all three beasts.
04 Celebi — GS Ball EventLv 30 GS Ball event Celebi Psychic/Grass · Ilex Forest shrine · platform-dependent Heal Bell Normal Safeguard Normal AncientPower Rock Future Sight Psychic Platform-d.
05 Battle TowerCrystal's exclusive Battle Tower (on Route 40 near Olivine) is the marquee postgame challenge: runs of seven straight battles against rental-style trainers, with separate level divisions (Lv 50 and open).
06 Phase 11 Resources And ChecklistCatcher Setup Status user: Thunder Wave Electric (paralysis) or a Sleep move — your safety net for every legendary (no False Swipe Normal in Gen 2).
Mt. Silver and Red
After all 16 badges and Oak's blessing in Pallet, reach Route 28 beyond Victory Road ( Surf Water + Waterfall Water to get there).
02 Mt. Silver — Encounters and LarvitarMt. Silver has some of the best catches in the game, including the only Larvitar line in Crystal.
03 The Grind PlanRed's team sits at Lv 73-81 .
04 Red's Team — Full AnalysisGym puzzle: None — just survive the climb. Red disappears after you beat him (and returns for a rematch once you re-clear the Elite Four).
05 Phase 12 Resources And ChecklistTeam Recommendations Ground (Donphan/Golem/Dugtrio): ★ Hard-walls Red's lead Pikachu and chips Charizard/Blastoise.
Legendary Reference
Phase Planner
| Phase | Target Level | Main Reward | Use It For |
|---|---|---|---|
| Phase 1: Zephyr Badge | Lv 12-14 | Zephyr Badge + TM31 Mud-Slap | New Bark Town, Cherrygrove, Routes 29-31, Sprout Tower, HM05 Flash, and Falkner. |
| Phase 2: Hive Badge | Lv 15-17 | Hive Badge + TM49 Fury Cutter | Route 32, Ruins of Alph, Union Cave, Slowpoke Well, Ilex Forest, Cut, and Bugsy. |
| Phase 3: Plain Badge | Lv 18-20 | Plain Badge + TM45 Attract | Route 34, Goldenrod City, National Park, Bug-Catching Contest, Sudowoodo, and Whitney. |
| Phase 4: Fog Badge | Lv 22-25 | Fog Badge + TM30 Shadow Ball | Ecruteak City, Burned Tower, roaming beast release, Dance Theater, Surf, and Morty. |
| Phase 5: Storm Badge | Lv 27-31 | Storm Badge + Fly use | Olivine Lighthouse, Cianwood City, Shuckle, Eusine, HM02 Fly, and Chuck. |
| Phase 6: Mineral Badge | Lv 30-35 | Mineral Badge + TM23 Iron Tail | Cure Amphy, return to Olivine, Strength cleanup, and Jasmine’s Steelix. |
| Phase 7: Glacier Badge | Lv 34-40 | Glacier Badge + TM16 Icy Wind | Route 42, Lake of Rage, Rocket HQ, Goldenrod Radio Tower, Suicune, and Pryce. |
| Phase 8: Rising Badge + Elite Four | Lv 40-50 | Rising Badge + Hall of Fame | Ice Path, Blackthorn, Clair, Dragon’s Den, Victory Road, Elite Four, and Lance. |
| Phase 9: Kanto Part 1 | Lv 45-52 | Four Kanto badges | S.S. Aqua, Vermilion, Saffron, Cerulean, Celadon, Snorlax, Surge, Sabrina, Misty, and Erika. |
| Phase 10: Kanto Part 2 | Lv 48-58 | All 16 badges + Silver Wing | Fuchsia, Pewter, Viridian, Seafoam, Cinnabar, Blaine, Brock, Janine, Blue, and Silver Wing. |
| Phase 11: Legendary Roundup | Lv 50-65 | Lugia, Ho-Oh, beasts, and Battle Tower | Whirl Islands Lugia, roaming Raikou and Entei, Ho-Oh requirements, Celebi notes, and Battle Tower. |
| Phase 12: Mt. Silver + Red | Lv 65-80 | Red defeated | Route 28, Mt. Silver, Larvitar, final training plan, and Red’s full team. |
Legendary Routing
Use the Legendary Reference alongside the phase pages. The short version: the Burned Tower wakes the beasts in Phase 4, Suicune becomes a fixed Crystal story encounter in Phase 7, Silver Wing opens Lugia after Kanto, and Ho-Oh requires all three beasts before Eusine gives the Rainbow Wing.
Kanto Badge Order
Crystal’s Kanto half is looser than Johto, but this walkthrough keeps it efficient: Vermilion, Saffron, Cerulean, and Celadon in Phase 9; then Fuchsia, Pewter, Seafoam, Cinnabar/Viridian, and Blue in Phase 10. After all 16 badges, Mt. Silver opens for the Red finale.
Recommended Companion Tools
- Team Randomizer for badge-lock challenge runs and themed teams.
- Team Analysis before Whitney, Morty, Clair, Lance, Blue, and Red.
- Pokedex pages for evolution timing, typing, move learnsets, and defensive matchups.
Dex quick links
Pokemon in this phase
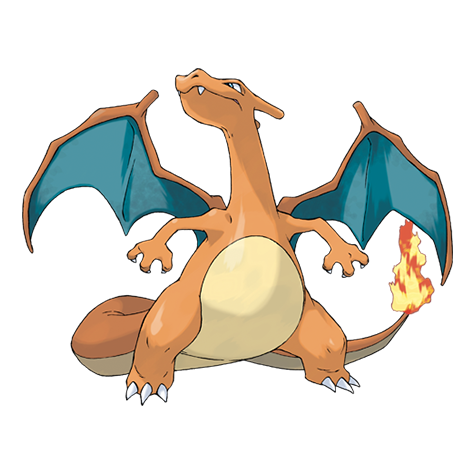 Charizard
 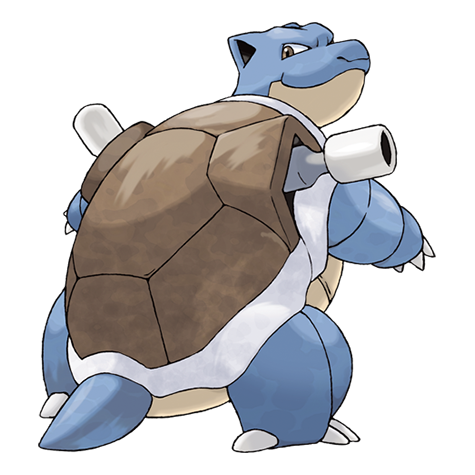 Blastoise
 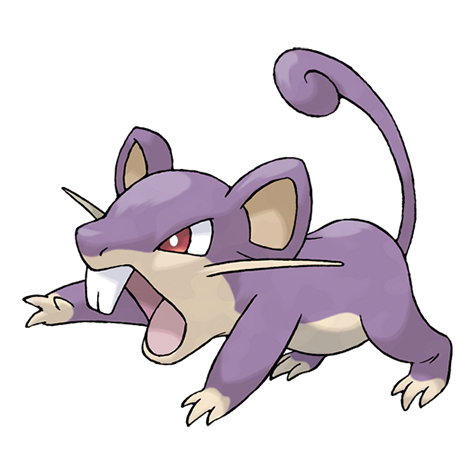 Rattata
 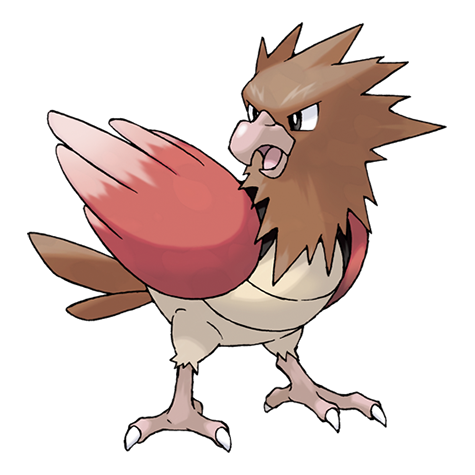 Spearow
 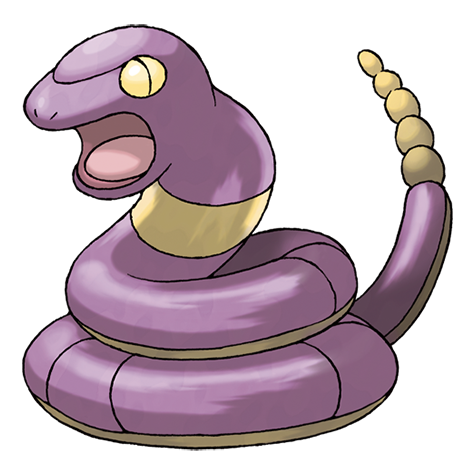 Ekans
Ekans 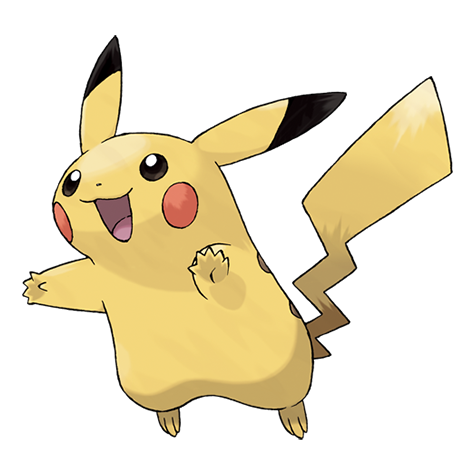 Pikachu
 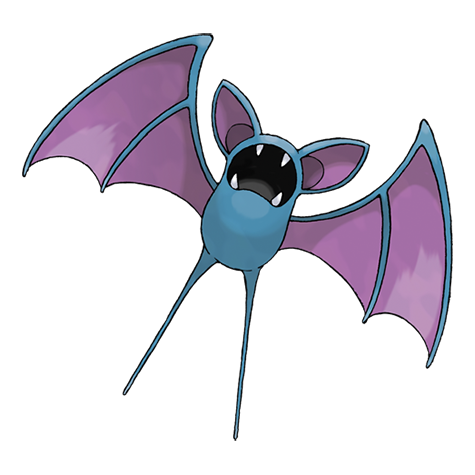 Zubat
Zubat 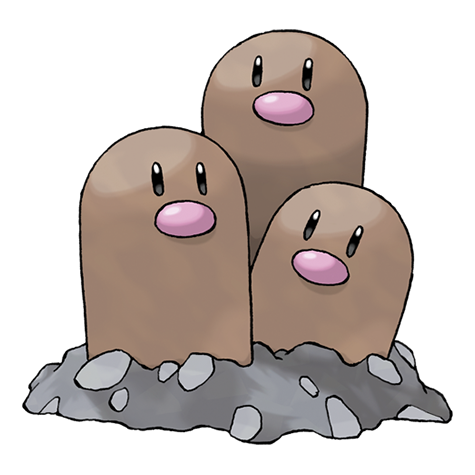 Dugtrio
 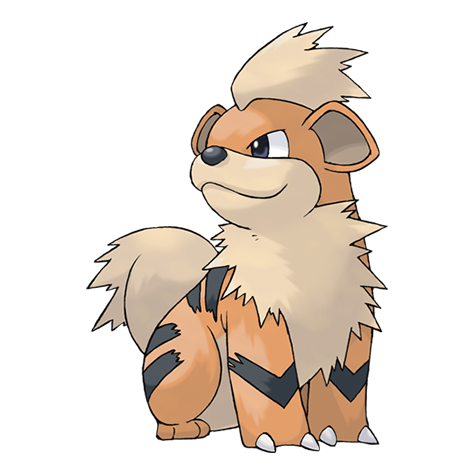 Growlithe
 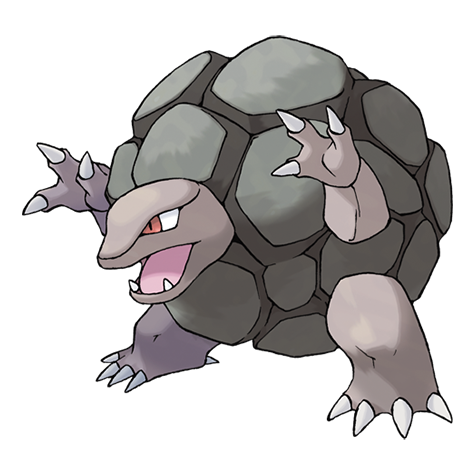 Golem
Golem 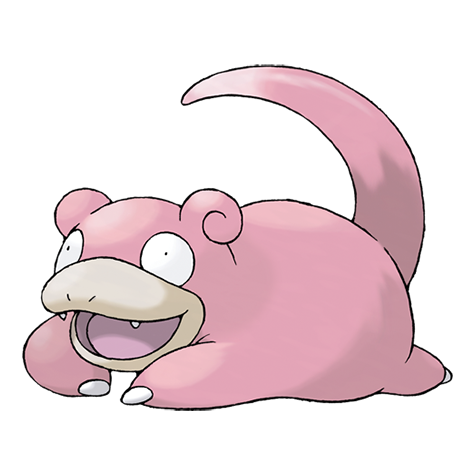 Slowpoke
  Magneton
  Dewgong
  Gastly
 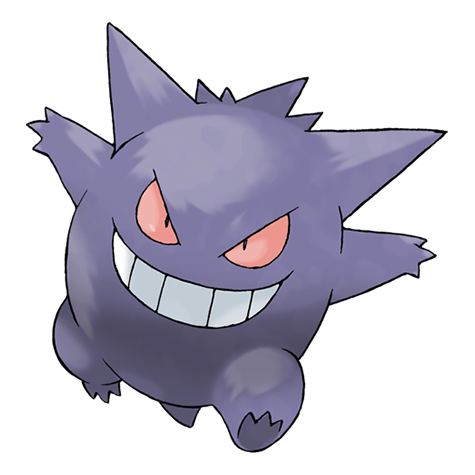 Gengar
 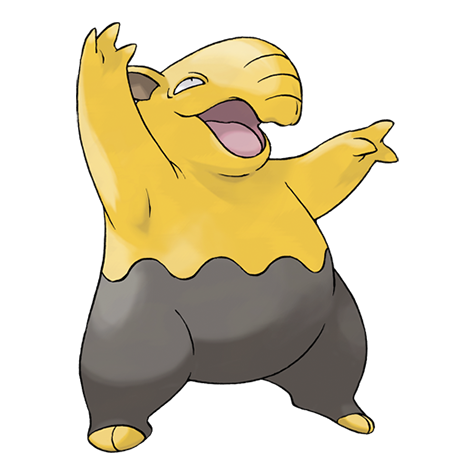 Drowzee
 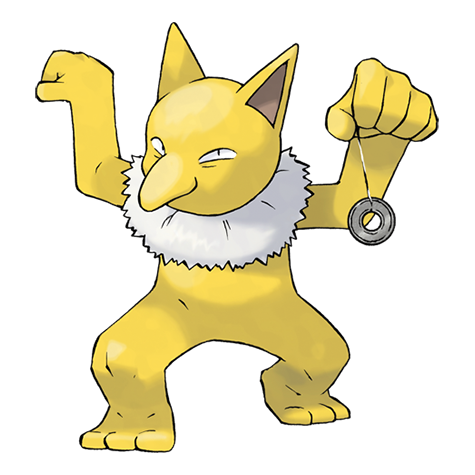 Hypno
Hypno 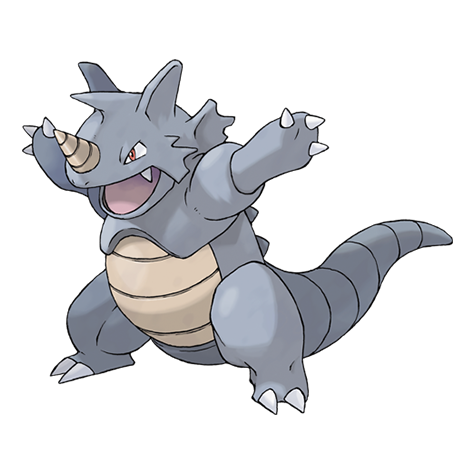 Rhydon
 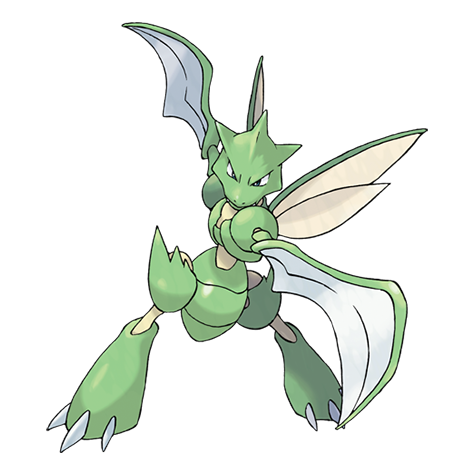 Scyther
 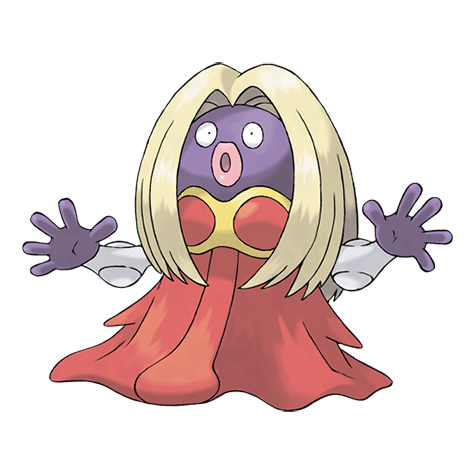 Jynx
Jynx 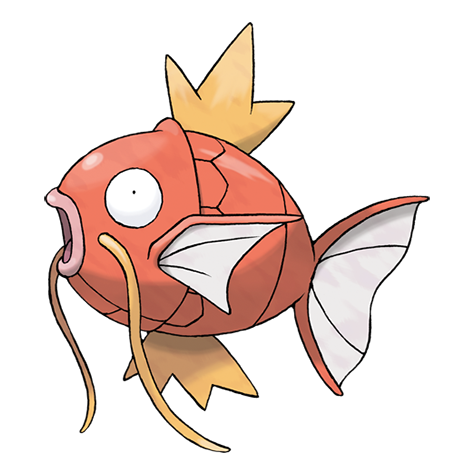 Magikarp
 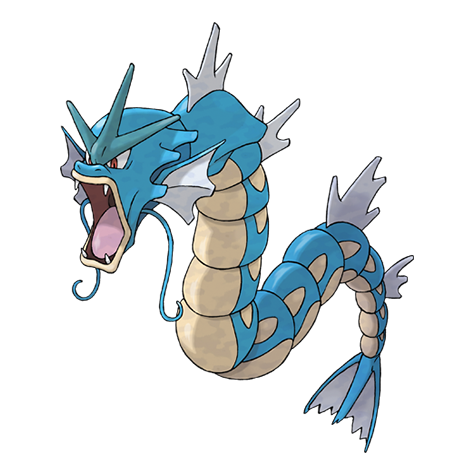 Gyarados
 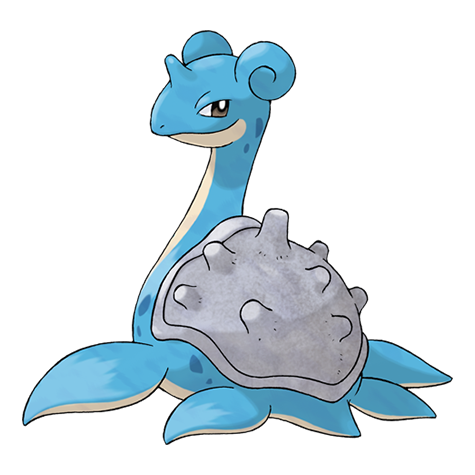 Lapras
 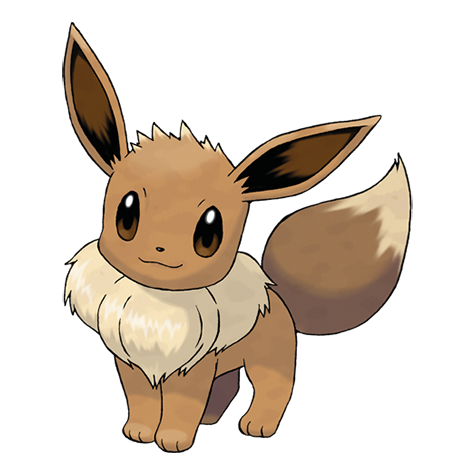 Eevee
Eevee 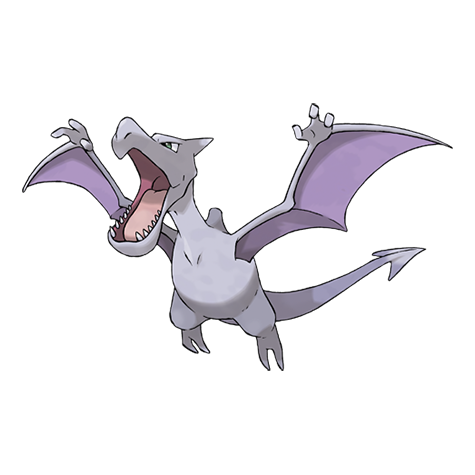 Aerodactyl
 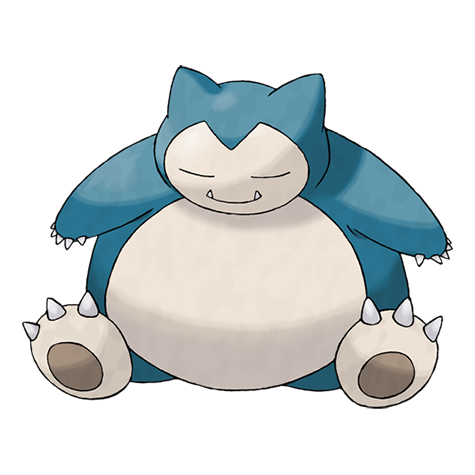 Snorlax
 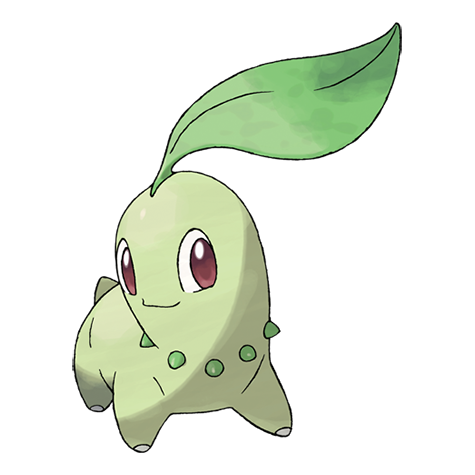 Chikorita
 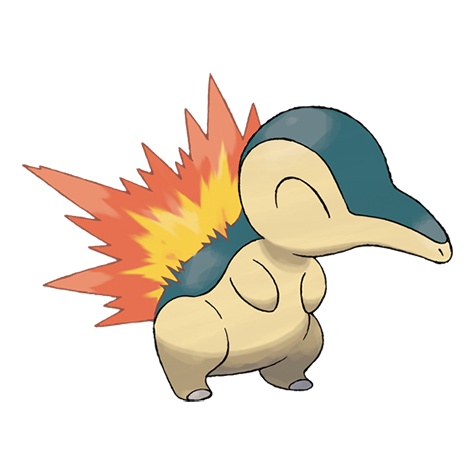 Cyndaquil
 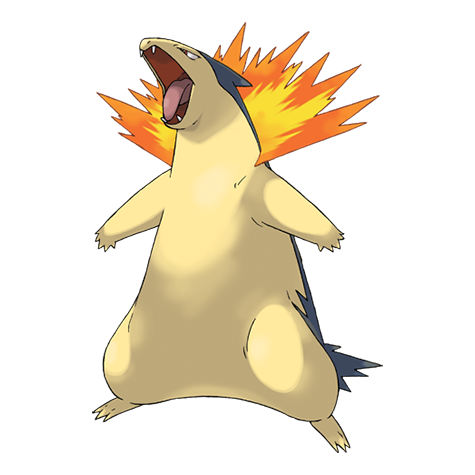 Typhlosion
 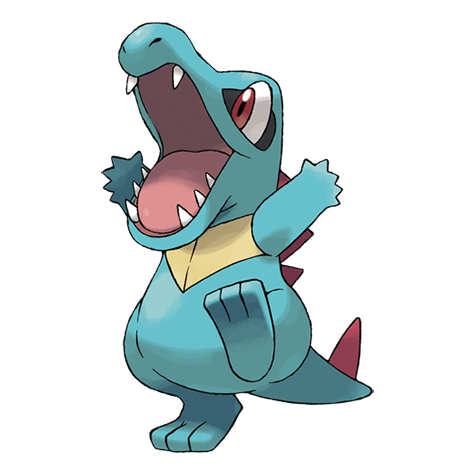 Totodile
 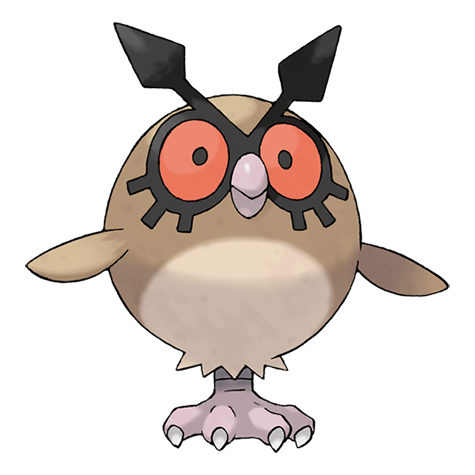 Hoothoot
 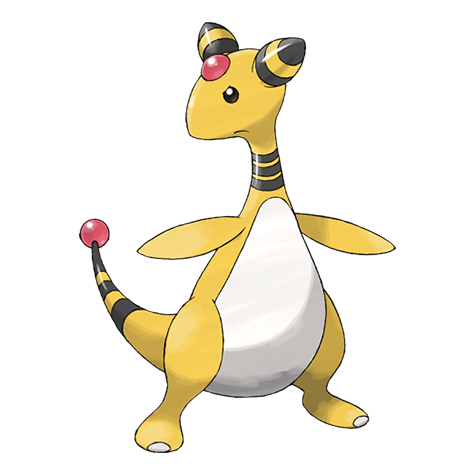 Ampharos
 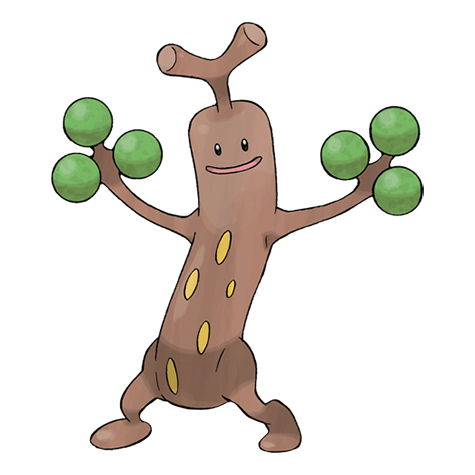 Sudowoodo
 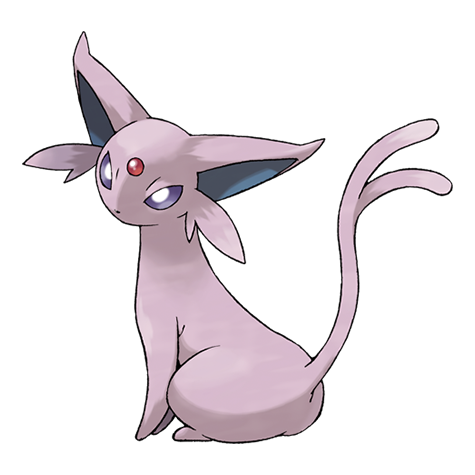 Espeon
  Unown
Unown 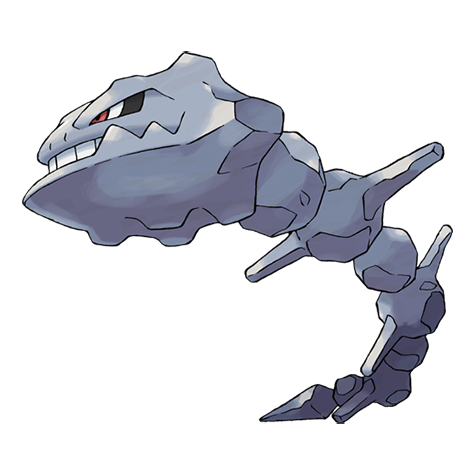 Steelix
 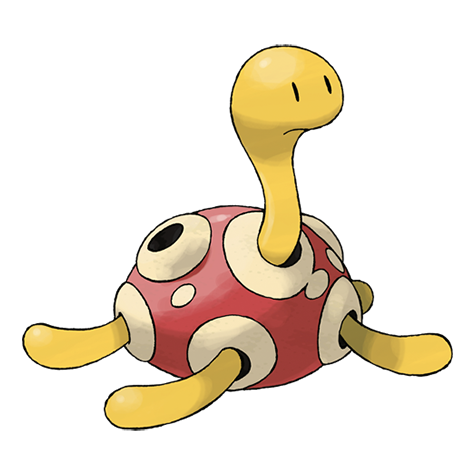 Shuckle
 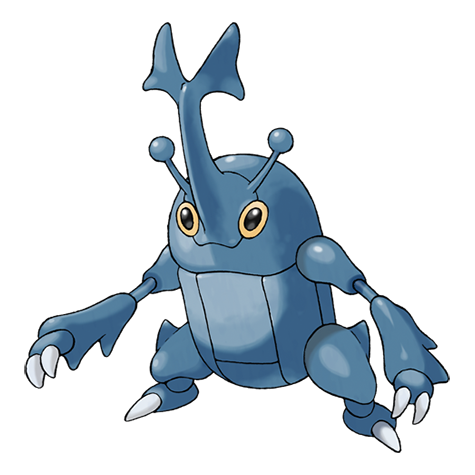 Heracross
 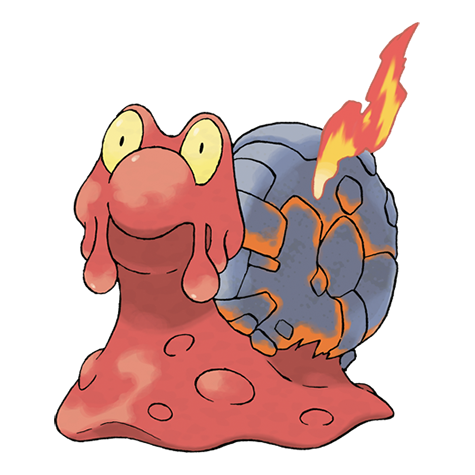 Magcargo
 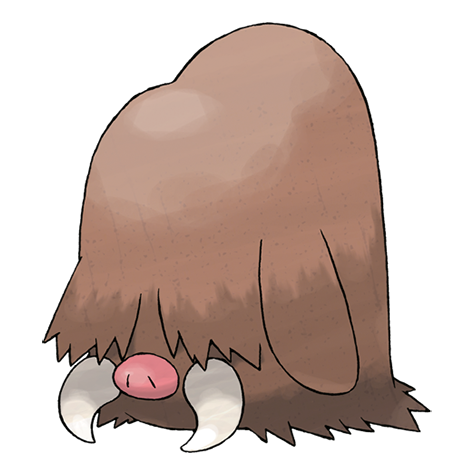 Piloswine
 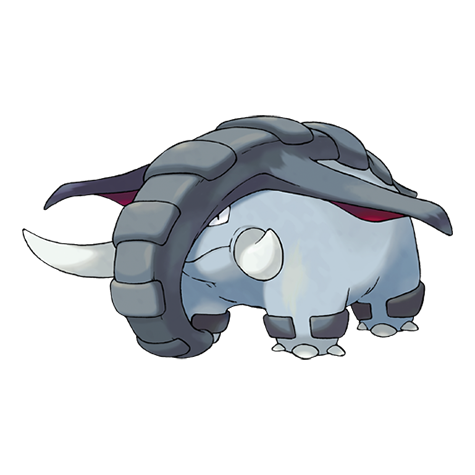 Donphan
 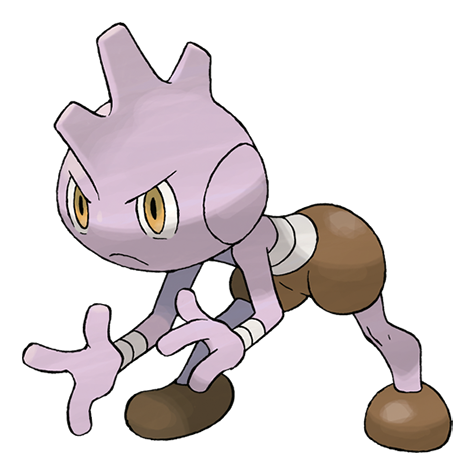 Tyrogue
 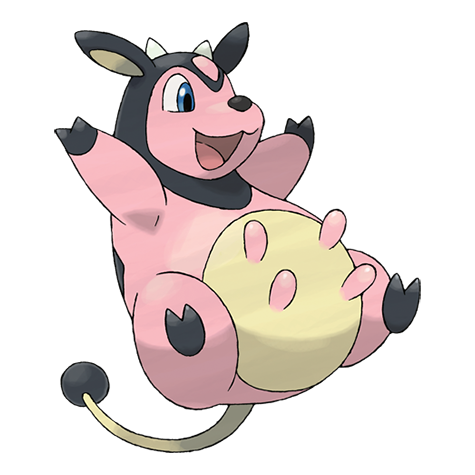 Miltank
 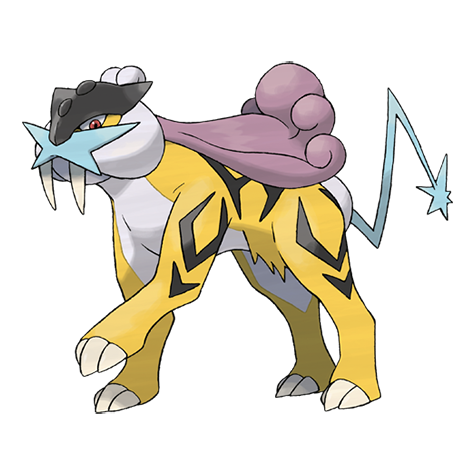 Raikou
 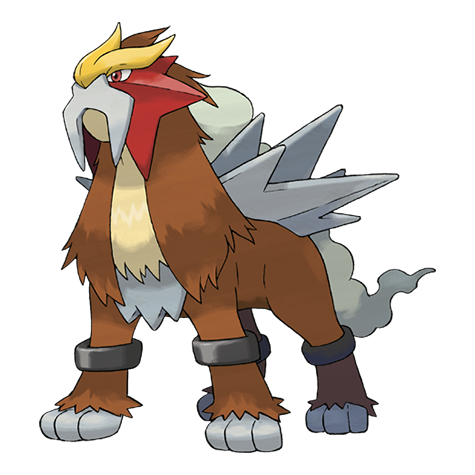 Entei
Entei 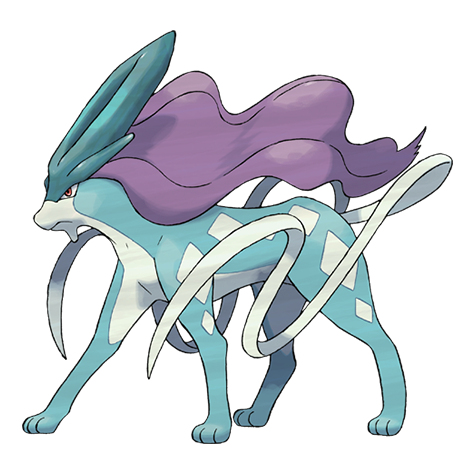 Suicune
 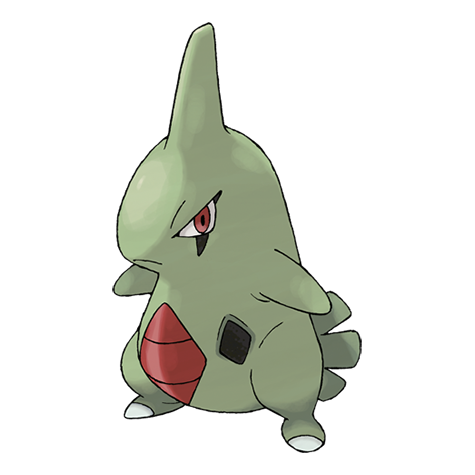 Larvitar
  Lugia
Lugia 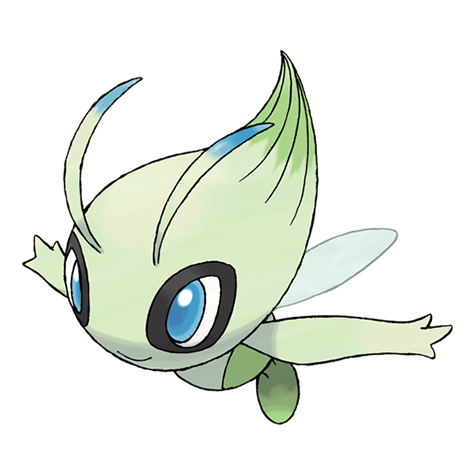 Celebi