
Kanto + Sevii Islands walkthrough hub
Pokemon FireRed and LeafGreen Walkthrough
Complete Pokemon FireRed and LeafGreen walkthrough with Kanto, Sevii Islands, National Dex, Network Machine, event islands, source-backed encounters, trainers, items, hidden items, and bosses.
Complete Pokemon FireRed and LeafGreen walkthrough for Kanto and the Sevii Islands. It uses pret/pokefirered for wild encounter slots, trainer teams, map item data, hidden items, scripted gifts, static Pokemon, rematches, and trainer assets.
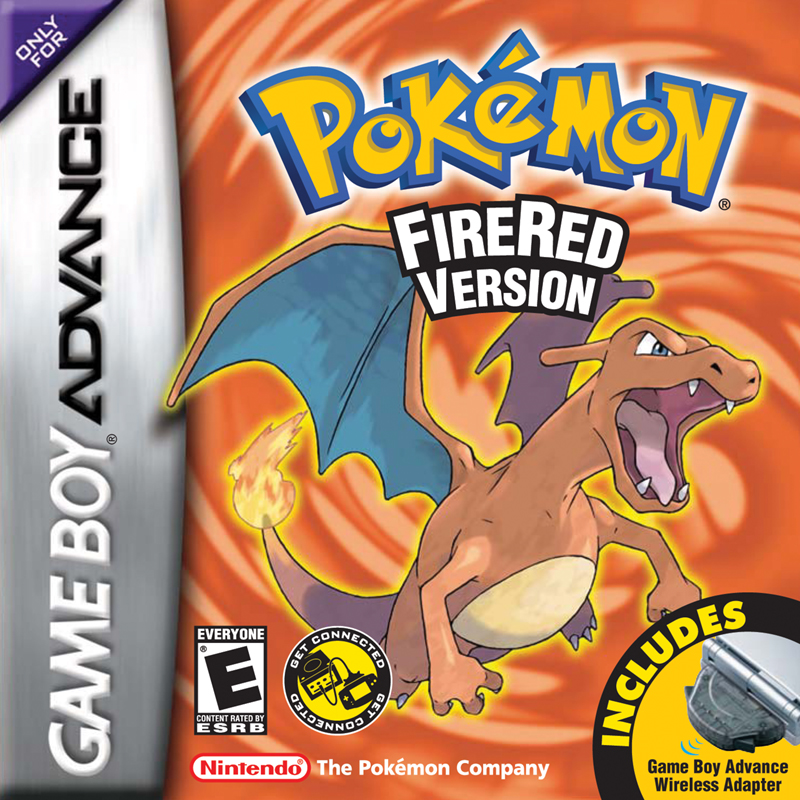
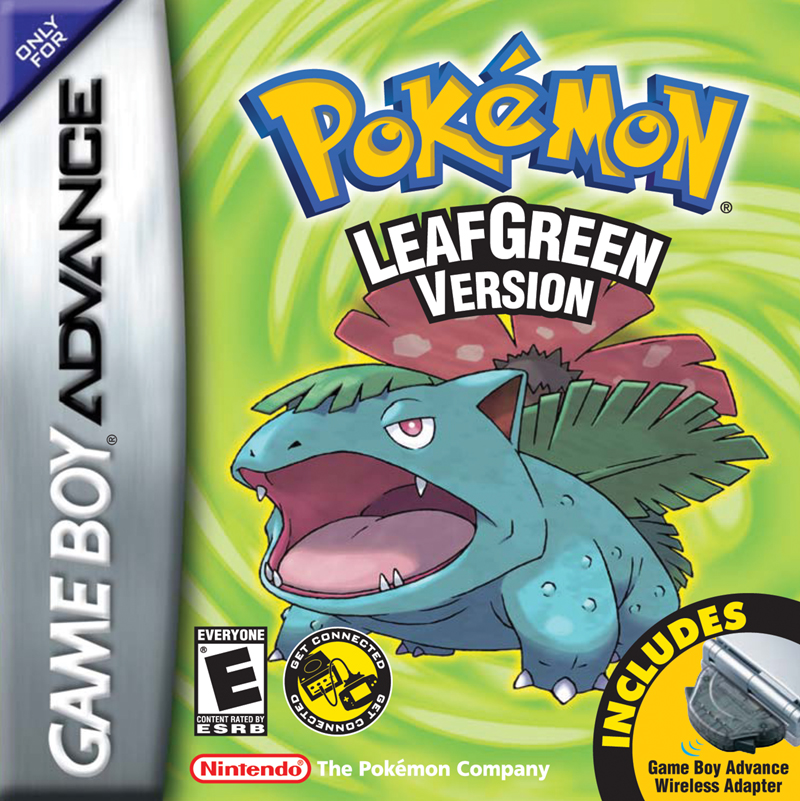
FireRed/LeafGreen walkthrough
This is the remake-specific Kanto route: abilities, natures, held items, VS Seeker rematches, Sevii Islands, Ruby/Sapphire Network Machine, National Dex, Trainer Tower, Altering Cave, Birth Island, and Navel Rock are all treated as FR/LG content.
Quick Start
- Choose Bulbasaur for the easiest first two badges, Squirtle for a smooth Brock/Blaine path, or Charmander for a harder start with better remake support from Metal Claw.
- FireRed and LeafGreen share the route order but split wild encounters, Game Corner prizes, and some trades. Version exclusives are marked with FR/LG game chips in the encounter tables.
- Use the VS Seeker after Vermilion for rematches. Rematch-capable trainers are marked in section trainer tables.
- Do not stop at the Champion: FR/LG's identity is the Sevii post-game, National Dex, Ruby/Sapphire Network Machine, Rocket Warehouse, Tanoby Unown, Mewtwo, and event islands.
Walkthrough Table Of Contents
Phase 1: Boulder Badge
Name the player and Rival, choose Bulbasaur, Charmander, or Squirtle, clear the first Rival battle, deliver Oak's Parcel, and collect the Pokedex and Town Map.
Make the parcel loop, buy early supplies, catch Route 1 support, and optionally fight the early Route 22 Rival before the Pokemon League gate.
Catch forest staples, collect hidden forest items, and clear Bug Catchers before Pewter.
Visit the museum, clear Brock's Gym trainer, beat Brock, and leave with the first badge.
Phase 2: Cascade Badge
Clear Route 3, buy or skip the Route 4 Magikarp, cross Mt. Moon, and choose the Helix or Dome Fossil.
Beat the Cerulean Rival, clear Nugget Bridge, help Bill, collect the S.S. Ticket, and open the robbed house path.
Clear the swimmers and defeat Misty for the Cascade Badge.
Phase 3: Thunder Badge
Move south from Cerulean, use the Underground Path, reach Vermilion, collect the Bike Voucher and Old Rod, and pick up early trades.
Sweep cabins for trainers and items, beat the ship Rival, help the Captain, and receive HM01 Cut.
Solve the trash-can switch puzzle and beat Lt. Surge.
Use Diglett's Cave to reach Route 2's east side, collect Flash if you meet the Pokedex requirement, and sweep Route 11.
Phase 4: Rainbow Badge
Cut east from Cerulean, clear Route 9, reach the Rock Tunnel Pokemon Center, and mark Power Plant for later.
Navigate the dark cave, collect cave items, and exit toward Lavender Town.
Visit Lavender, preview Pokemon Tower, use the Underground Path connector, and reach Celadon.
Collect Tea, Coin Case, Eevee, Game Corner prizes, department store supplies, and open the Rocket Hideout.
Use spin tiles and the Lift Key to reach Giovanni, defeat him, and claim the Silph Scope.
Cut into the Gym, clear Grass trainers, and beat Erika.
Phase 5: Soul Badge
Use the Silph Scope, defeat the Marowak ghost, clear Rocket grunts, rescue Mr. Fuji, and receive the Poke Flute.
Wake Snorlax, collect the Super Rod route, clear the long trainer gauntlet, and approach Fuchsia from the east.
Enter Fuchsia, clear Safari Zone item routing, collect Gold Teeth, Surf, Strength, Good Rod, and Super Rod support.
Navigate invisible walls and defeat Koga for the Soul Badge.
Wake the western Snorlax, collect Fly, sweep Cycling Road, and finish the Fuchsia west approach.
Phase 6: Marsh Badge
Use Tea to enter Saffron, pick up Mr. Psychic's TM, clear the Fighting Dojo, and choose Hitmonlee or Hitmonchan.
Collect the Card Key, navigate warp tiles, beat the Rival and Giovanni, receive Lapras, and collect the Master Ball.
Use the warp room pattern to reach Sabrina and win the Marsh Badge.
Surf from Route 10 into the Power Plant, collect Electric items, dodge Voltorb/Electrode traps, and catch Zapdos.
Phase 7: Volcano Badge + First Sevii Trip
Surf from Fuchsia or Pallet, route through Seafoam, push boulders, and catch Articuno if desired.
Reach Cinnabar, revive fossils, use Pokemon Mansion switches, find the Secret Key, and prepare for Blaine.
Answer quiz doors or fight trainers, then beat Blaine for the Volcano Badge.
Meet Celio, receive the Tri-Pass, visit Kindle Road and Ember Spa for Rock Smash, explore Mt. Ember, and sweep Treasure Beach.
Visit Two Island, confront the Three Island biker gang, cross Bond Bridge, rescue Lostelle from Berry Forest, and finish the first Sevii story trip.
Phase 8: Earth Badge
Phase 9: Indigo Plateau
Phase 10: Post-Game Sevii Islands
After the Hall of Fame, obtain the National Dex if you have enough owned Pokemon, return to Celio, receive the Rainbow Pass, and retrieve the Ruby from Mt. Ember's Rocket path.
Visit Four Island, use Waterfall in Icefall Cave, help Lorelei against Team Rocket, and collect cave rewards.
Explore Five Island's branches, solve Lost Cave navigation, clear Memorial Pillar, and raid Rocket Warehouse for the Sapphire.
Explore Six Island, clear Pattern Bush and Outcast Island, use Cut at Dotted Hole, witness the Sapphire theft, and gain the second Rocket Warehouse password.
Complete the long Seven Island routes, solve Tanoby Key, unlock Tanoby Ruins Unown, climb Trainer Tower, and document Altering Cave.
After fixing the Network Machine, enter Cerulean Cave, sweep high-level wild tables, and catch Mewtwo.
Phase 11: Event Islands + Completion
Use the AuroraTicket event route, solve the triangle puzzle, and battle Deoxys.
Use the MysticTicket event route, descend for Lugia, climb for Ho-Oh, and record both Lv. 70 static encounters.
Finish fossils, trades, Game Corner prizes, Safari Zone catches, move tutors, VS Seeker rematches, Elite Four rematches, and National Dex gaps.
Phase Planner
| Phase | Target level | Main reward | Section pages |
|---|---|---|---|
| Phase 1: Boulder Badge | 12-15 | Boulder Badge, TM39 Rock Tomb, Pokedex errand complete | 4 |
| Phase 2: Cascade Badge | 18-24 | Cascade Badge, TM03 Water Pulse, S.S. Ticket, TM28 Dig | 3 |
| Phase 3: Thunder Badge | 22-29 | Thunder Badge, HM01 Cut, Bike Voucher, Old Rod, VS Seeker | 4 |
| Phase 4: Rainbow Badge | 28-35 | Rainbow Badge, Silph Scope, Coin Case, Tea, Eevee | 6 |
| Phase 5: Soul Badge | 32-43 | Soul Badge, Poke Flute, HM03 Surf, HM04 Strength, Good Rod, Super Rod | 5 |
| Phase 6: Marsh Badge | 38-45 | Marsh Badge, Master Ball, Lapras, Hitmonlee/Hitmonchan | 4 |
| Phase 7: Volcano Badge + First Sevii Trip | 42-50 | Volcano Badge, Secret Key, Tri-Pass, first Sevii Islands arc | 5 |
| Phase 8: Earth Badge | 47-55 | Earth Badge, TM26 Earthquake, Route 23 access | 2 |
| Phase 9: Indigo Plateau | 50-65 | Hall of Fame, National Dex setup | 2 |
| Phase 10: Post-Game Sevii Islands | 55-75 | National Dex, Rainbow Pass, Ruby/Sapphire Network Machine, Cerulean Cave | 6 |
| Phase 11: Event Islands + Completion | 70+ | AuroraTicket, MysticTicket, Deoxys, Lugia, Ho-Oh, completion cleanup | 3 |
Remake-Specific Checks
- Sevii split: One/Two/Three Island happen after Blaine; Four-Seven Island, Rocket Warehouse, Ruby/Sapphire, Tanoby, and Cerulean Cave are post-game.
- Network Machine: Celio needs the Ruby from Mt. Ember and Sapphire from Dotted Hole/Rocket Warehouse to unlock broader trading.
- Event islands: Birth Island uses AuroraTicket for Deoxys Lv. 30; Navel Rock uses MysticTicket for Lugia and Ho-Oh Lv. 70. They are not normal retail access.
- Generation III mechanics: abilities, natures, held items, double battles, move tutors, and modern TM/HM lists change team planning from Red/Blue/Yellow.
Trainer Assets


Asset manifest
Trainer front sprites are copied from graphics/trainers/front_pics, and Pokemon front sprites are copied from graphics/pokemon/*/front.png.
Sources
pret/pokefirered: wild encounters, trainers, trainer parties, maps, map scripts, item balls, event islands, VS Seeker rematches, and trainer graphics.- Encounter odds use the FR/LG source slot rates, with no time-of-day column because FireRed/LeafGreen do not use a normal day/night wild split.